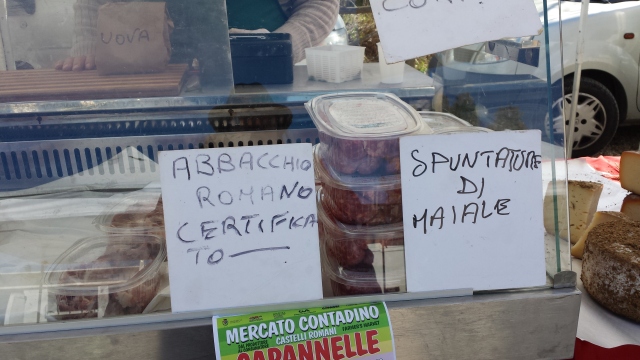
 I bought some mutton at the Mercato Contadino of Ariccia some time ago on a Sunday morning. The Azienda Agricola Fratelli Frasca farm is not far from Anzio and is called ‘Il Vecchio Ovile’, which translates as ‘The Old Sheep Farm’. Mr Frasca gave me ample instruction on how to make a great pasta sauce with the mutton and I will one day make one as per his instructions but I ended up making a stew instead. You never know with mutton or ‘castrato’ as it is called in Italy … it can be a tough, chewy meat, however rich in flavour. It is traditional in Italy to soak cuts of castrato in a marinade of wine or vinegar plus herbs, because it is supposed to be quite a ‘strong’ tasting meat and in need of taming. Mr Frasca assured me that his castrato needed no such tenderising and that its delicious taste was quite capable of speaking for itself.
I live in the Frascati wine-growing hills called the ‘Castelli romani’ south-east of Rome, and it came to me that, just as a Piemontese will proudly strut over a ‘brasato al barolo’ (braised beef in Barolo wine), we Castellani should likewise put our wine where our mouth is. And so I decided to enjoy creating a recipe where local ingredients would play the lead role and whose only ‘secret’ ingredient might be a playful element of Betty Hutton’s inimitable singing of ‘Anything you can do, I can do better’ in the 1946 musical ‘Annie, Get your Gun’
( http://www.youtube.com/watch?v=WO23WBji_Z0?). Not everyone might share my love of old musicals but this duet is guaranteed to bring a smile to anyone’s lips.
It is a Spring dish on account of the fresh peas. For those who follow a Lenten non-meat diet, this will be a lip-smacking treat to look forward to on Easter and after Easter. It is not a difficult recipe but does require good ingredients and, say I, Frascati white DOCG wine.
PARTI I
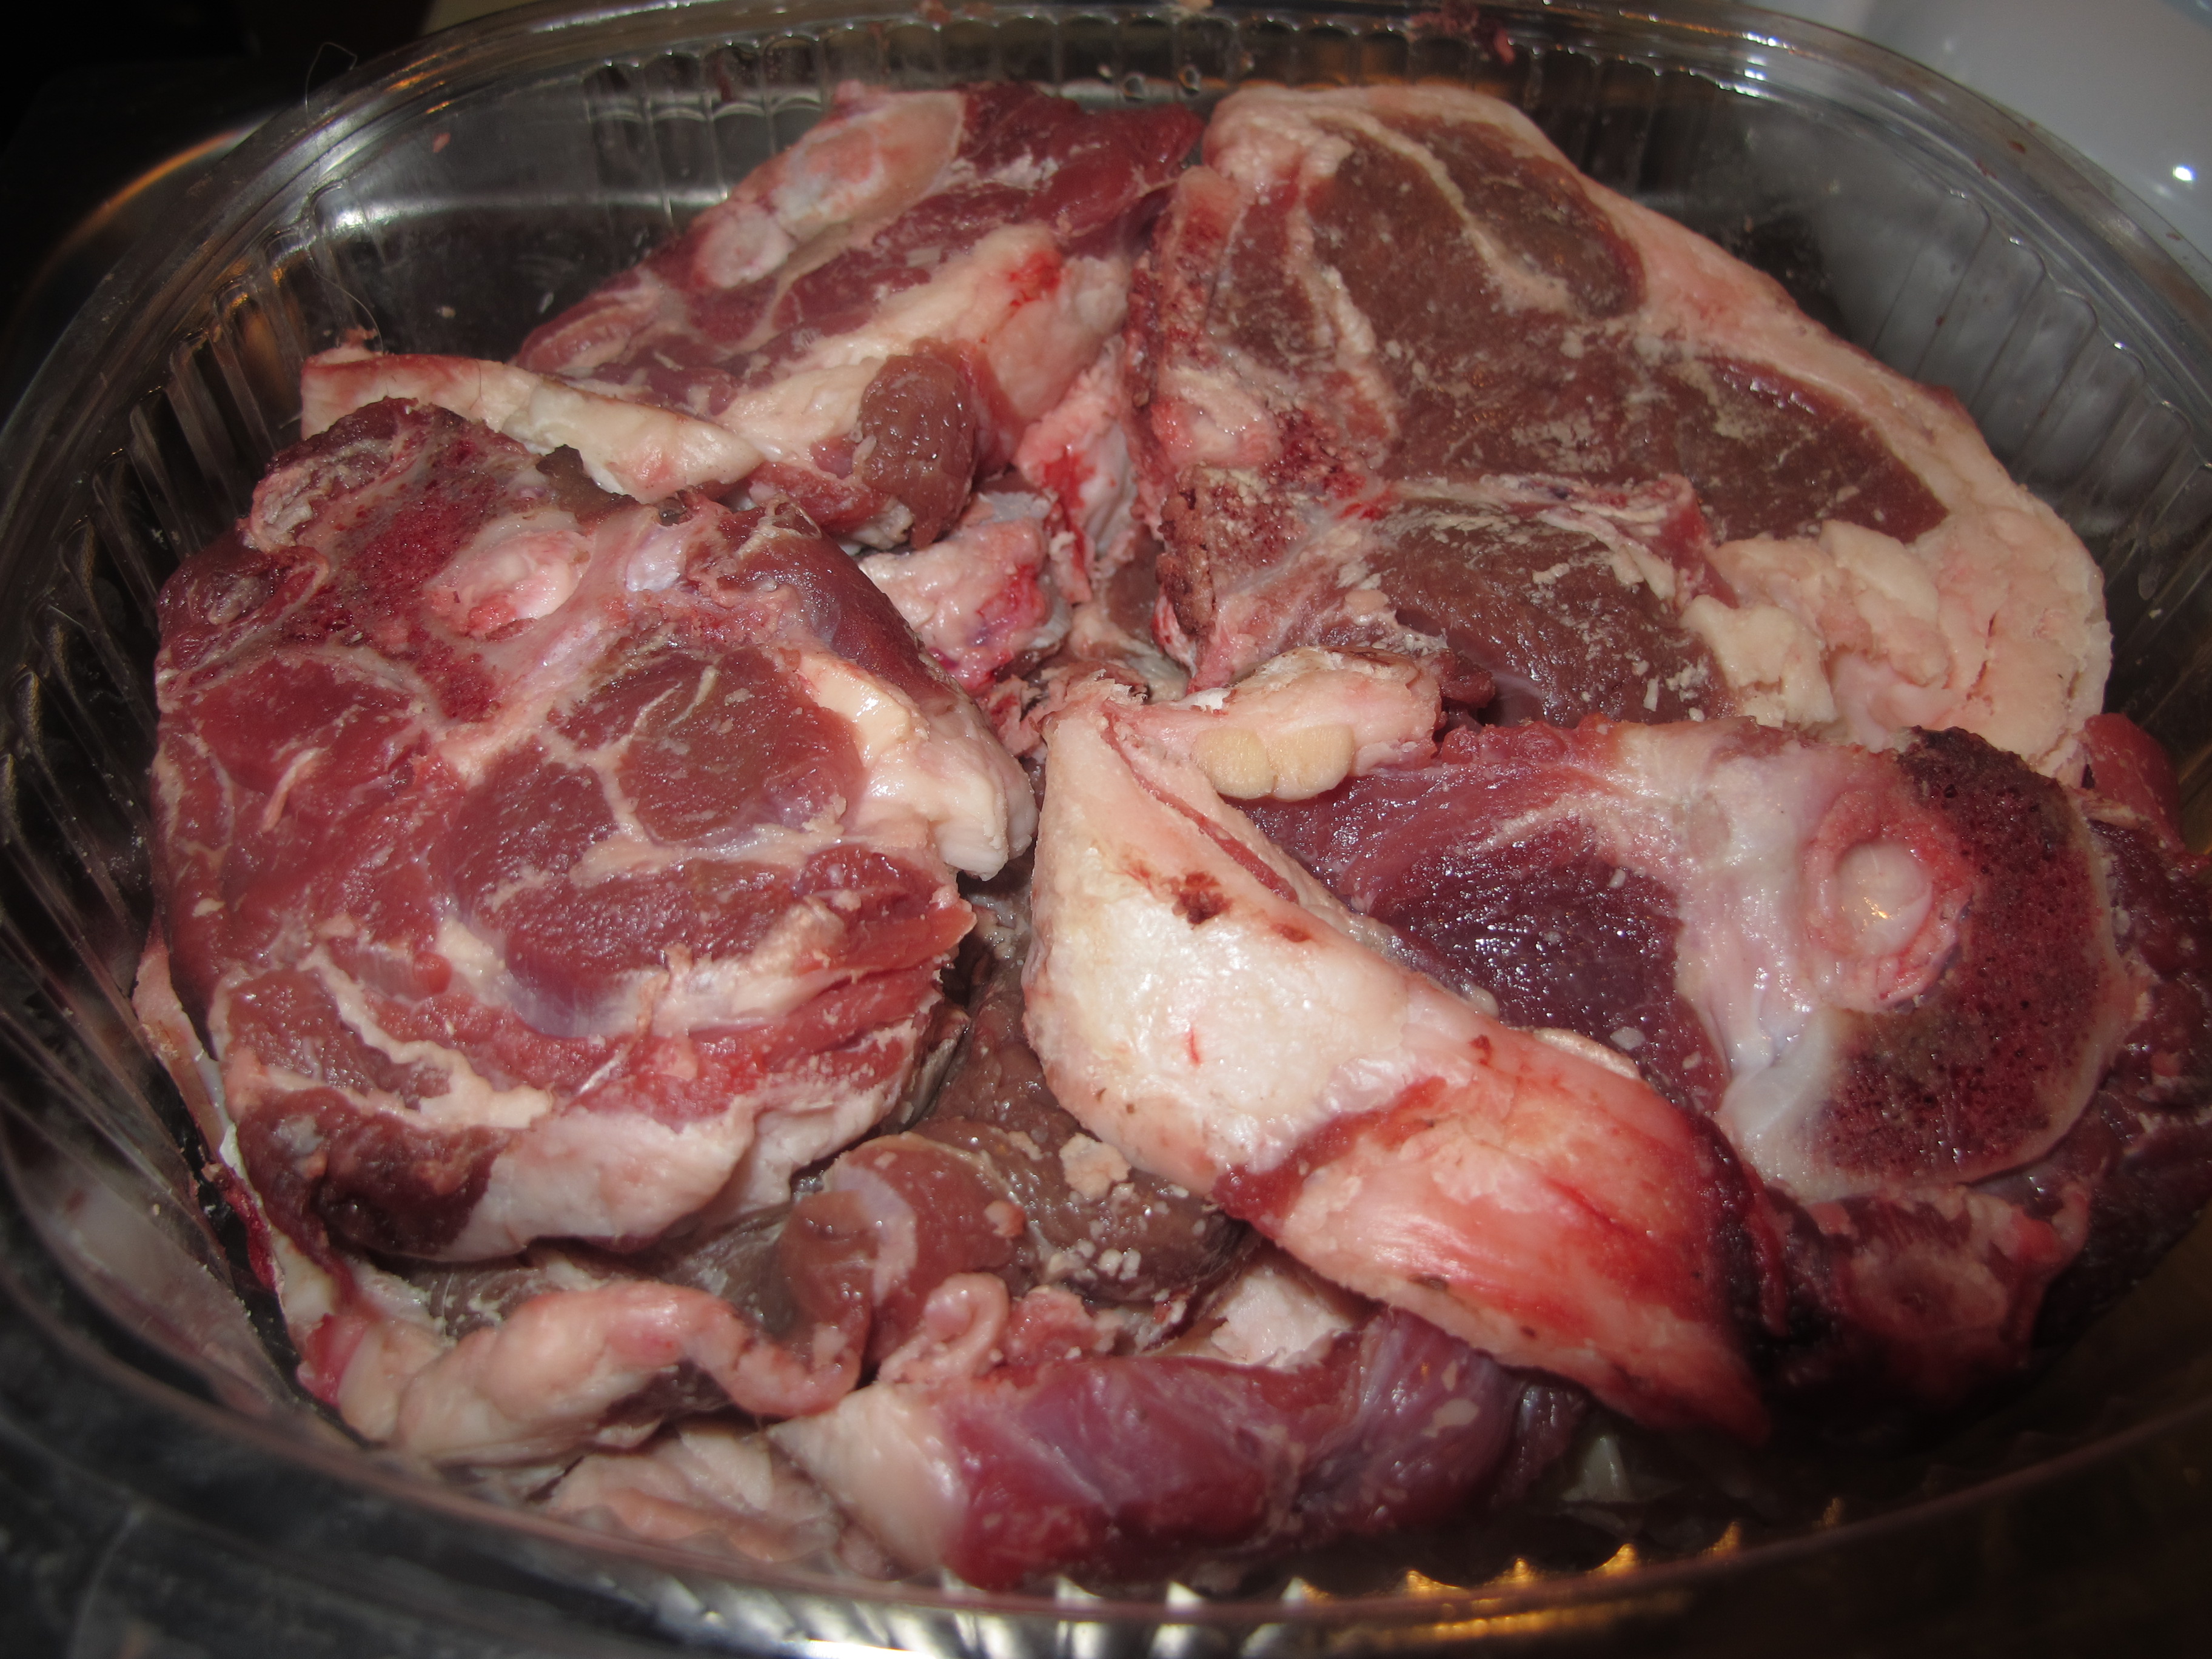
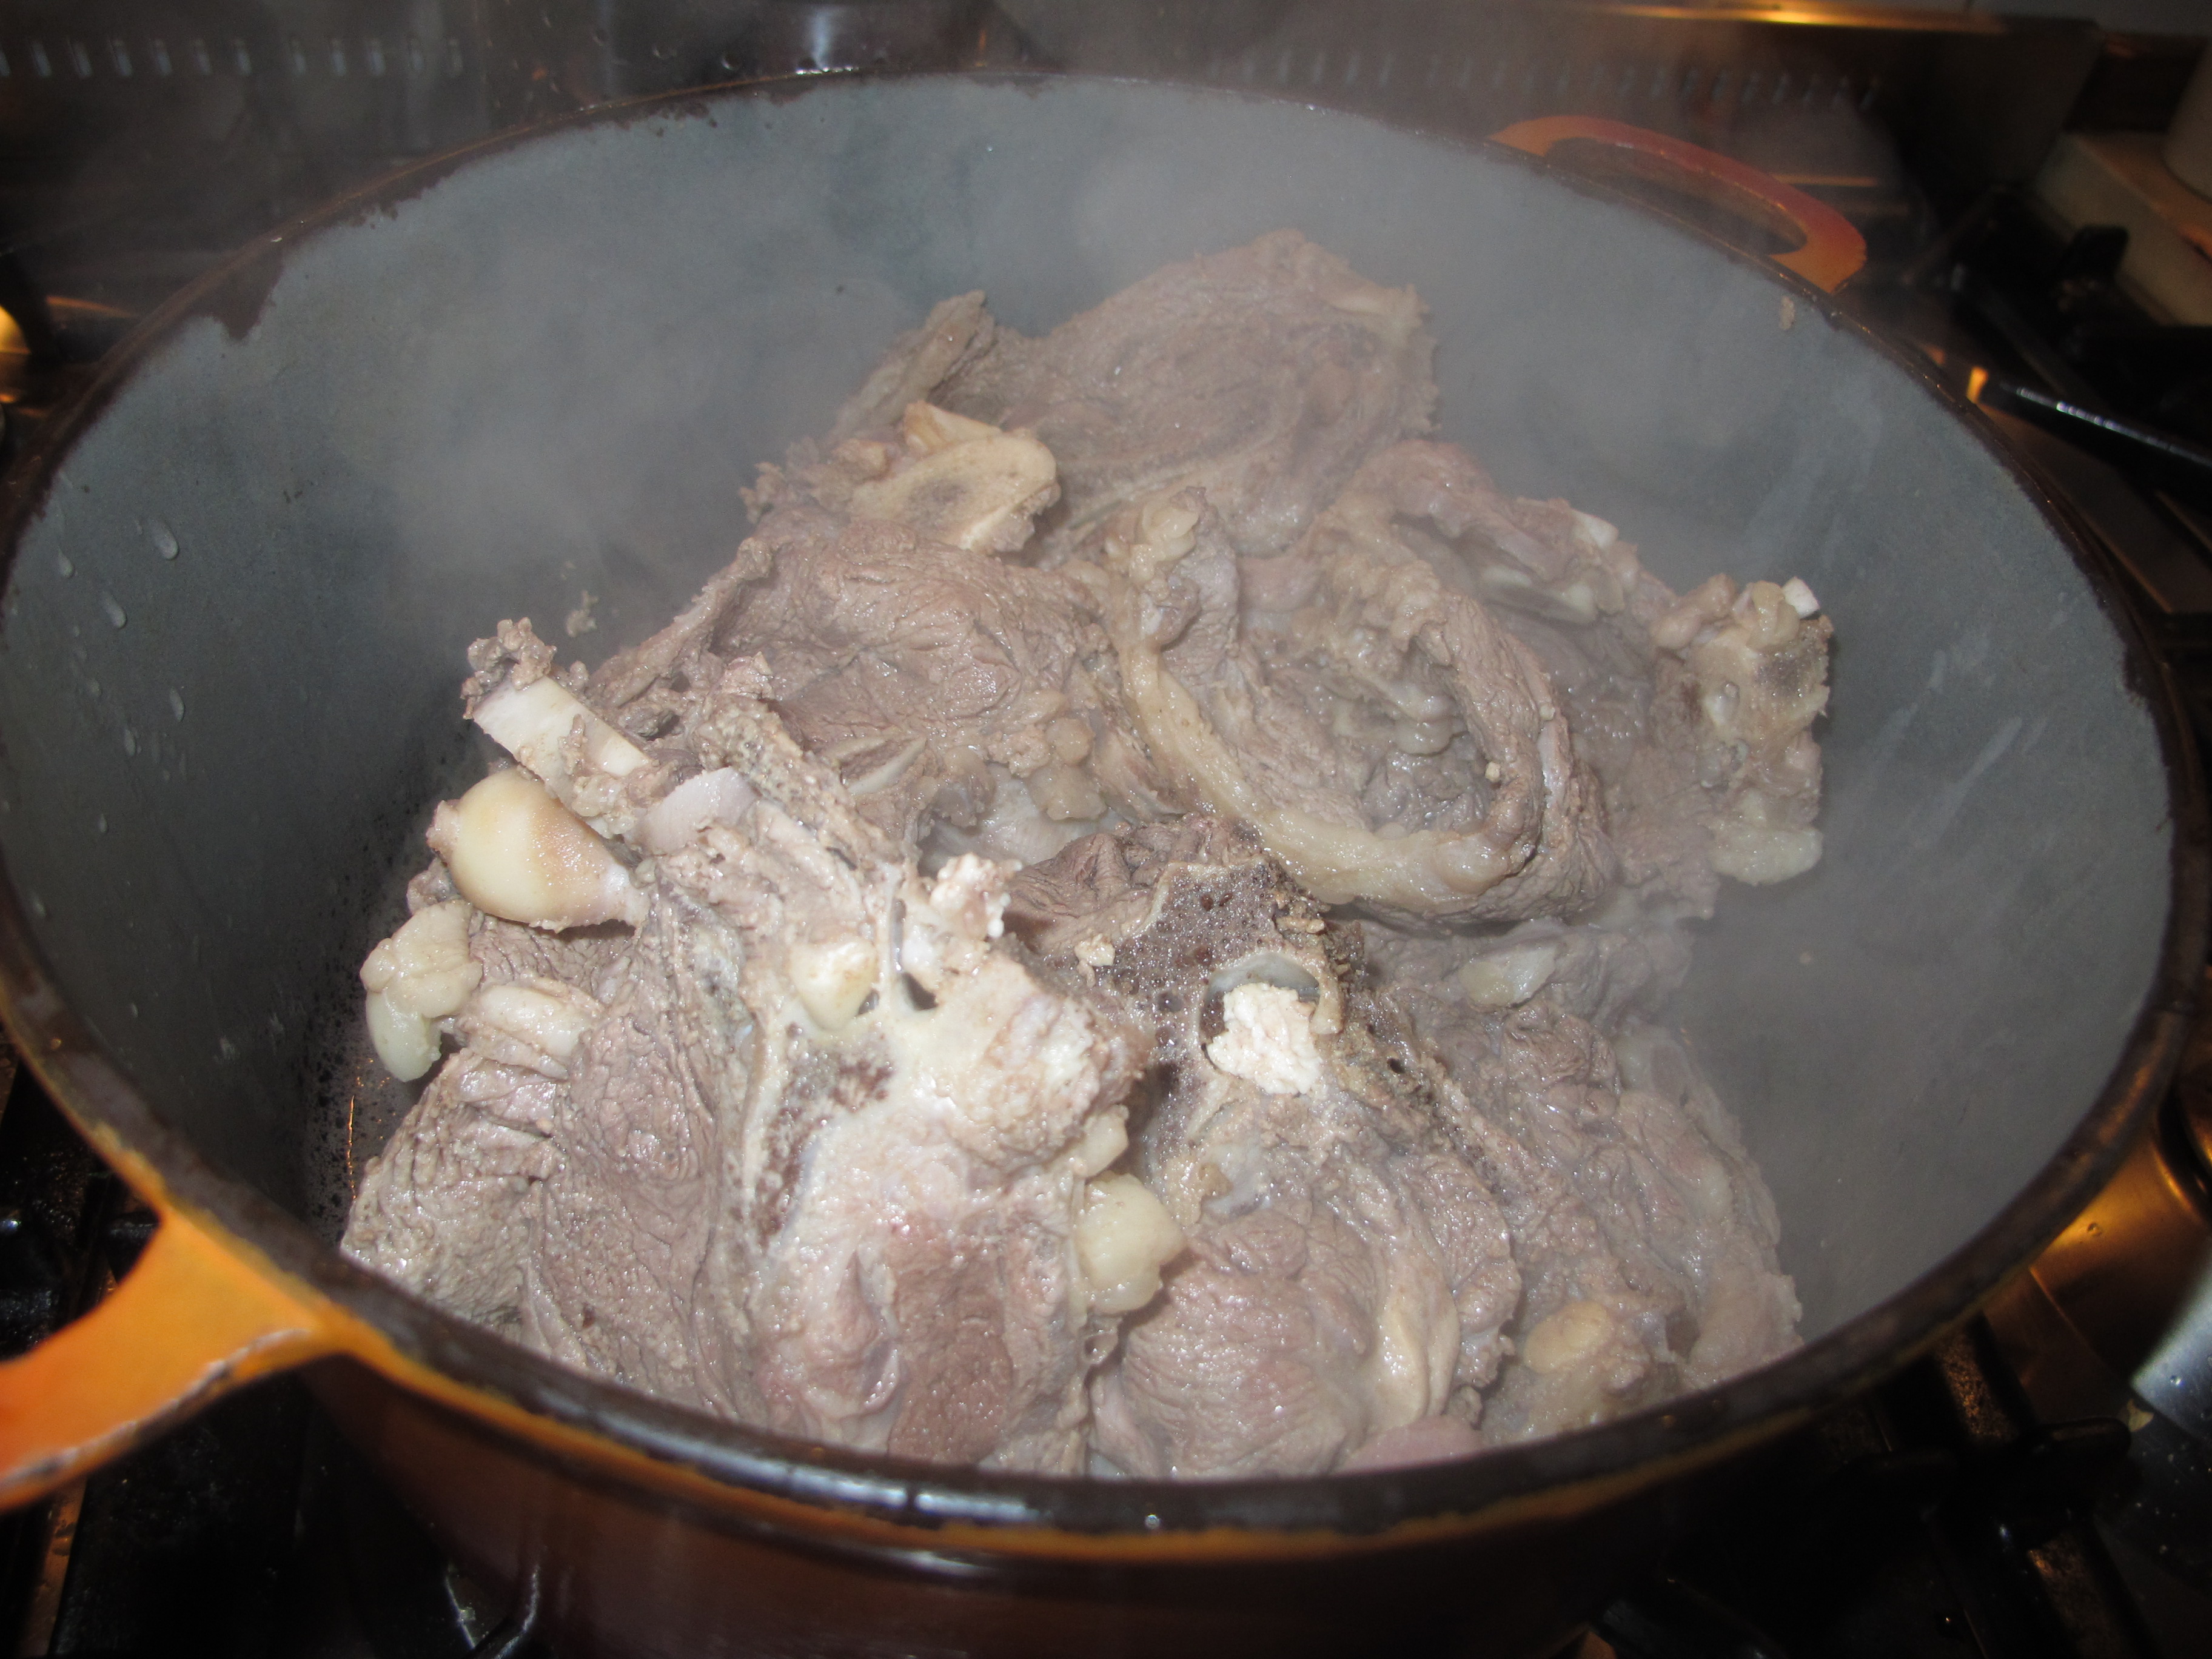
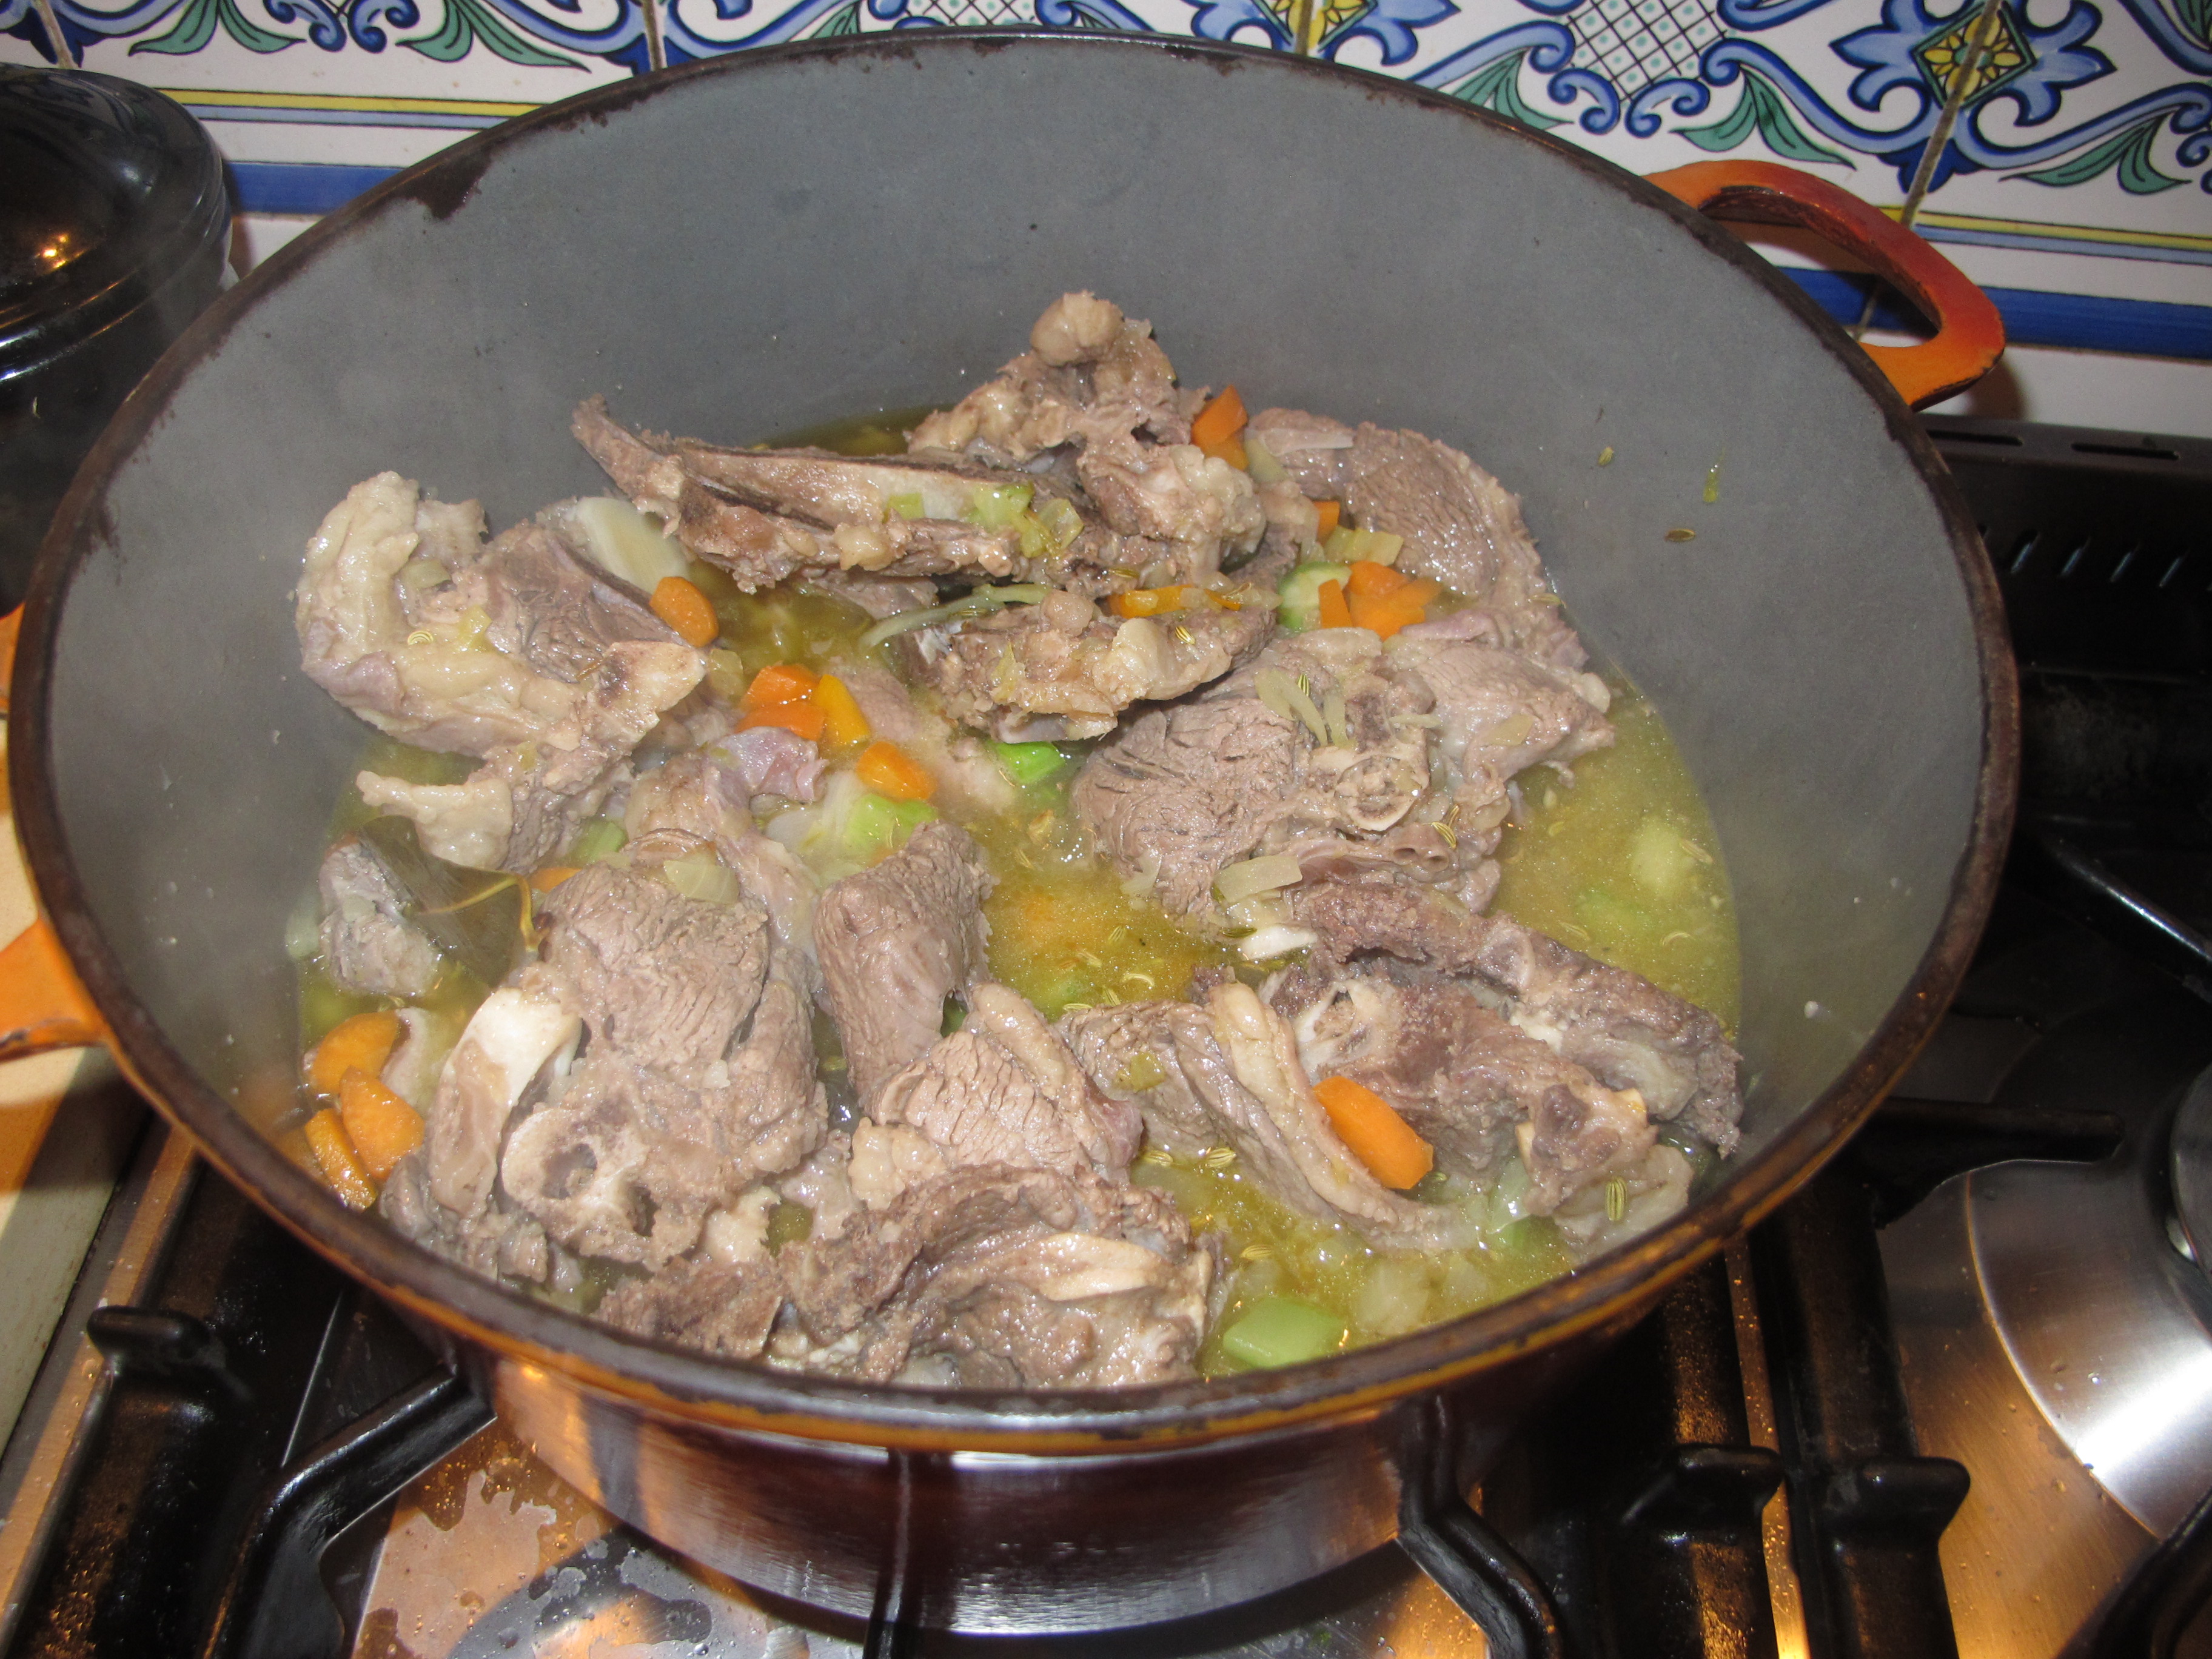
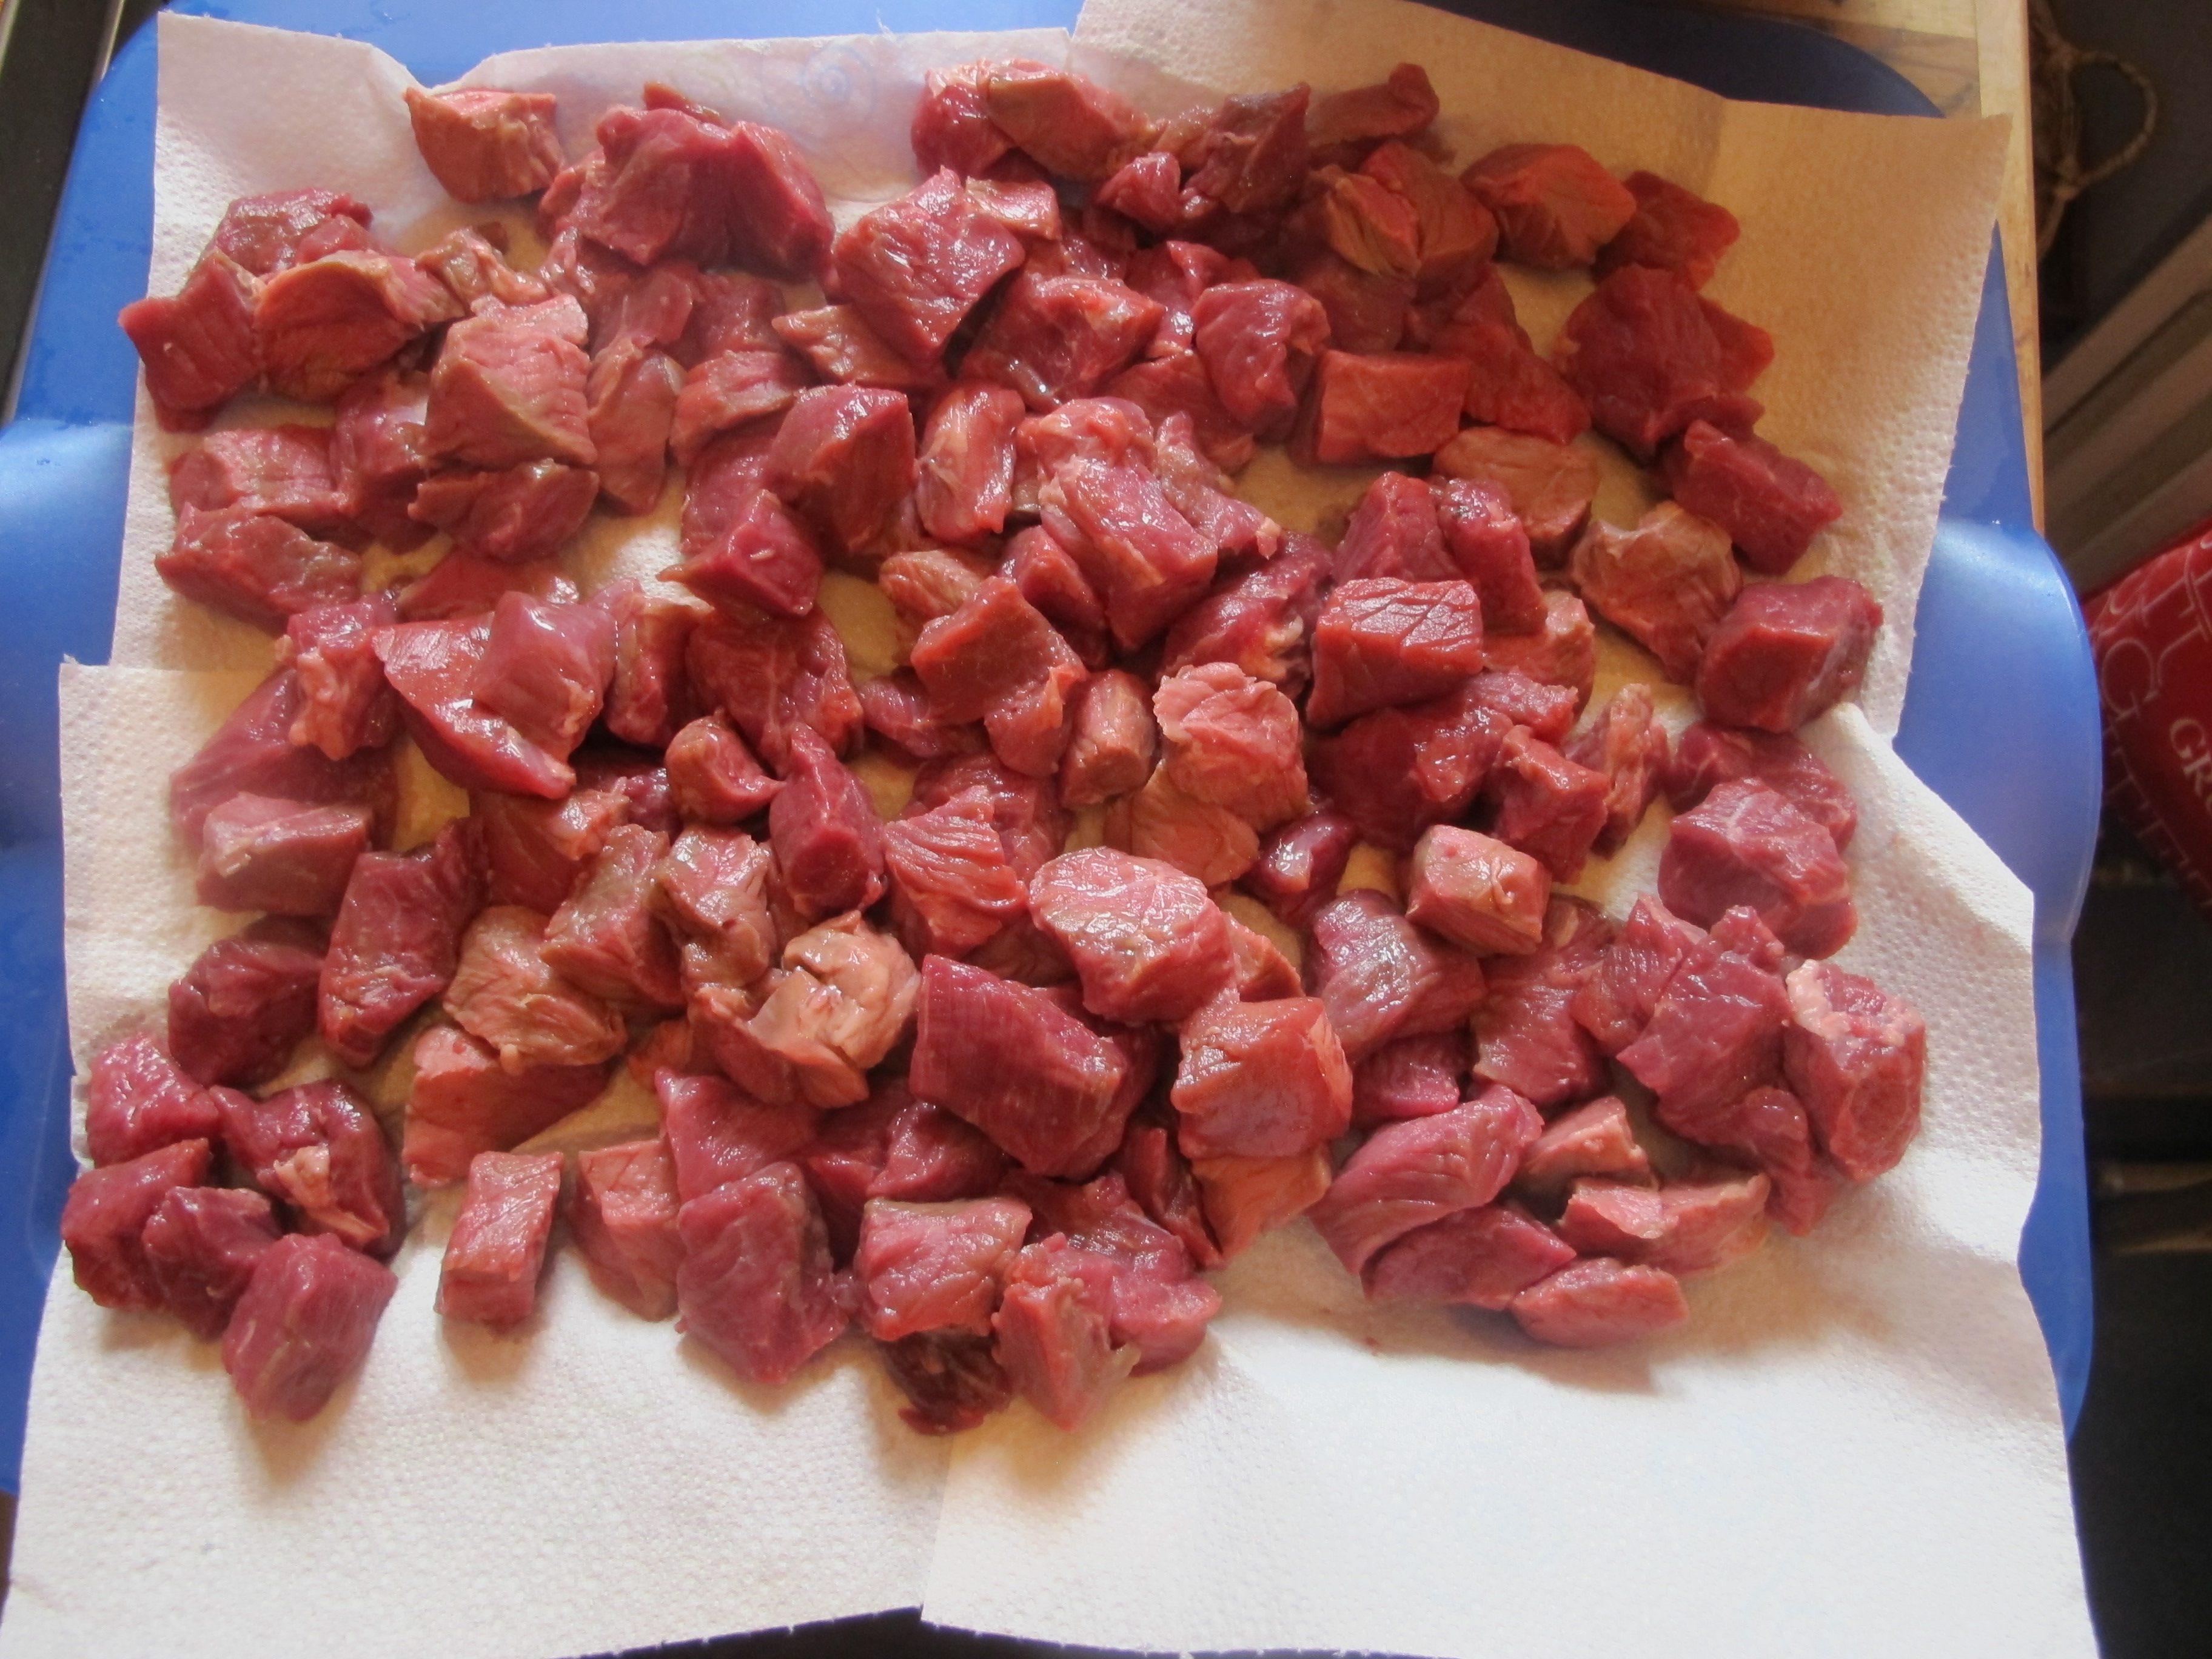
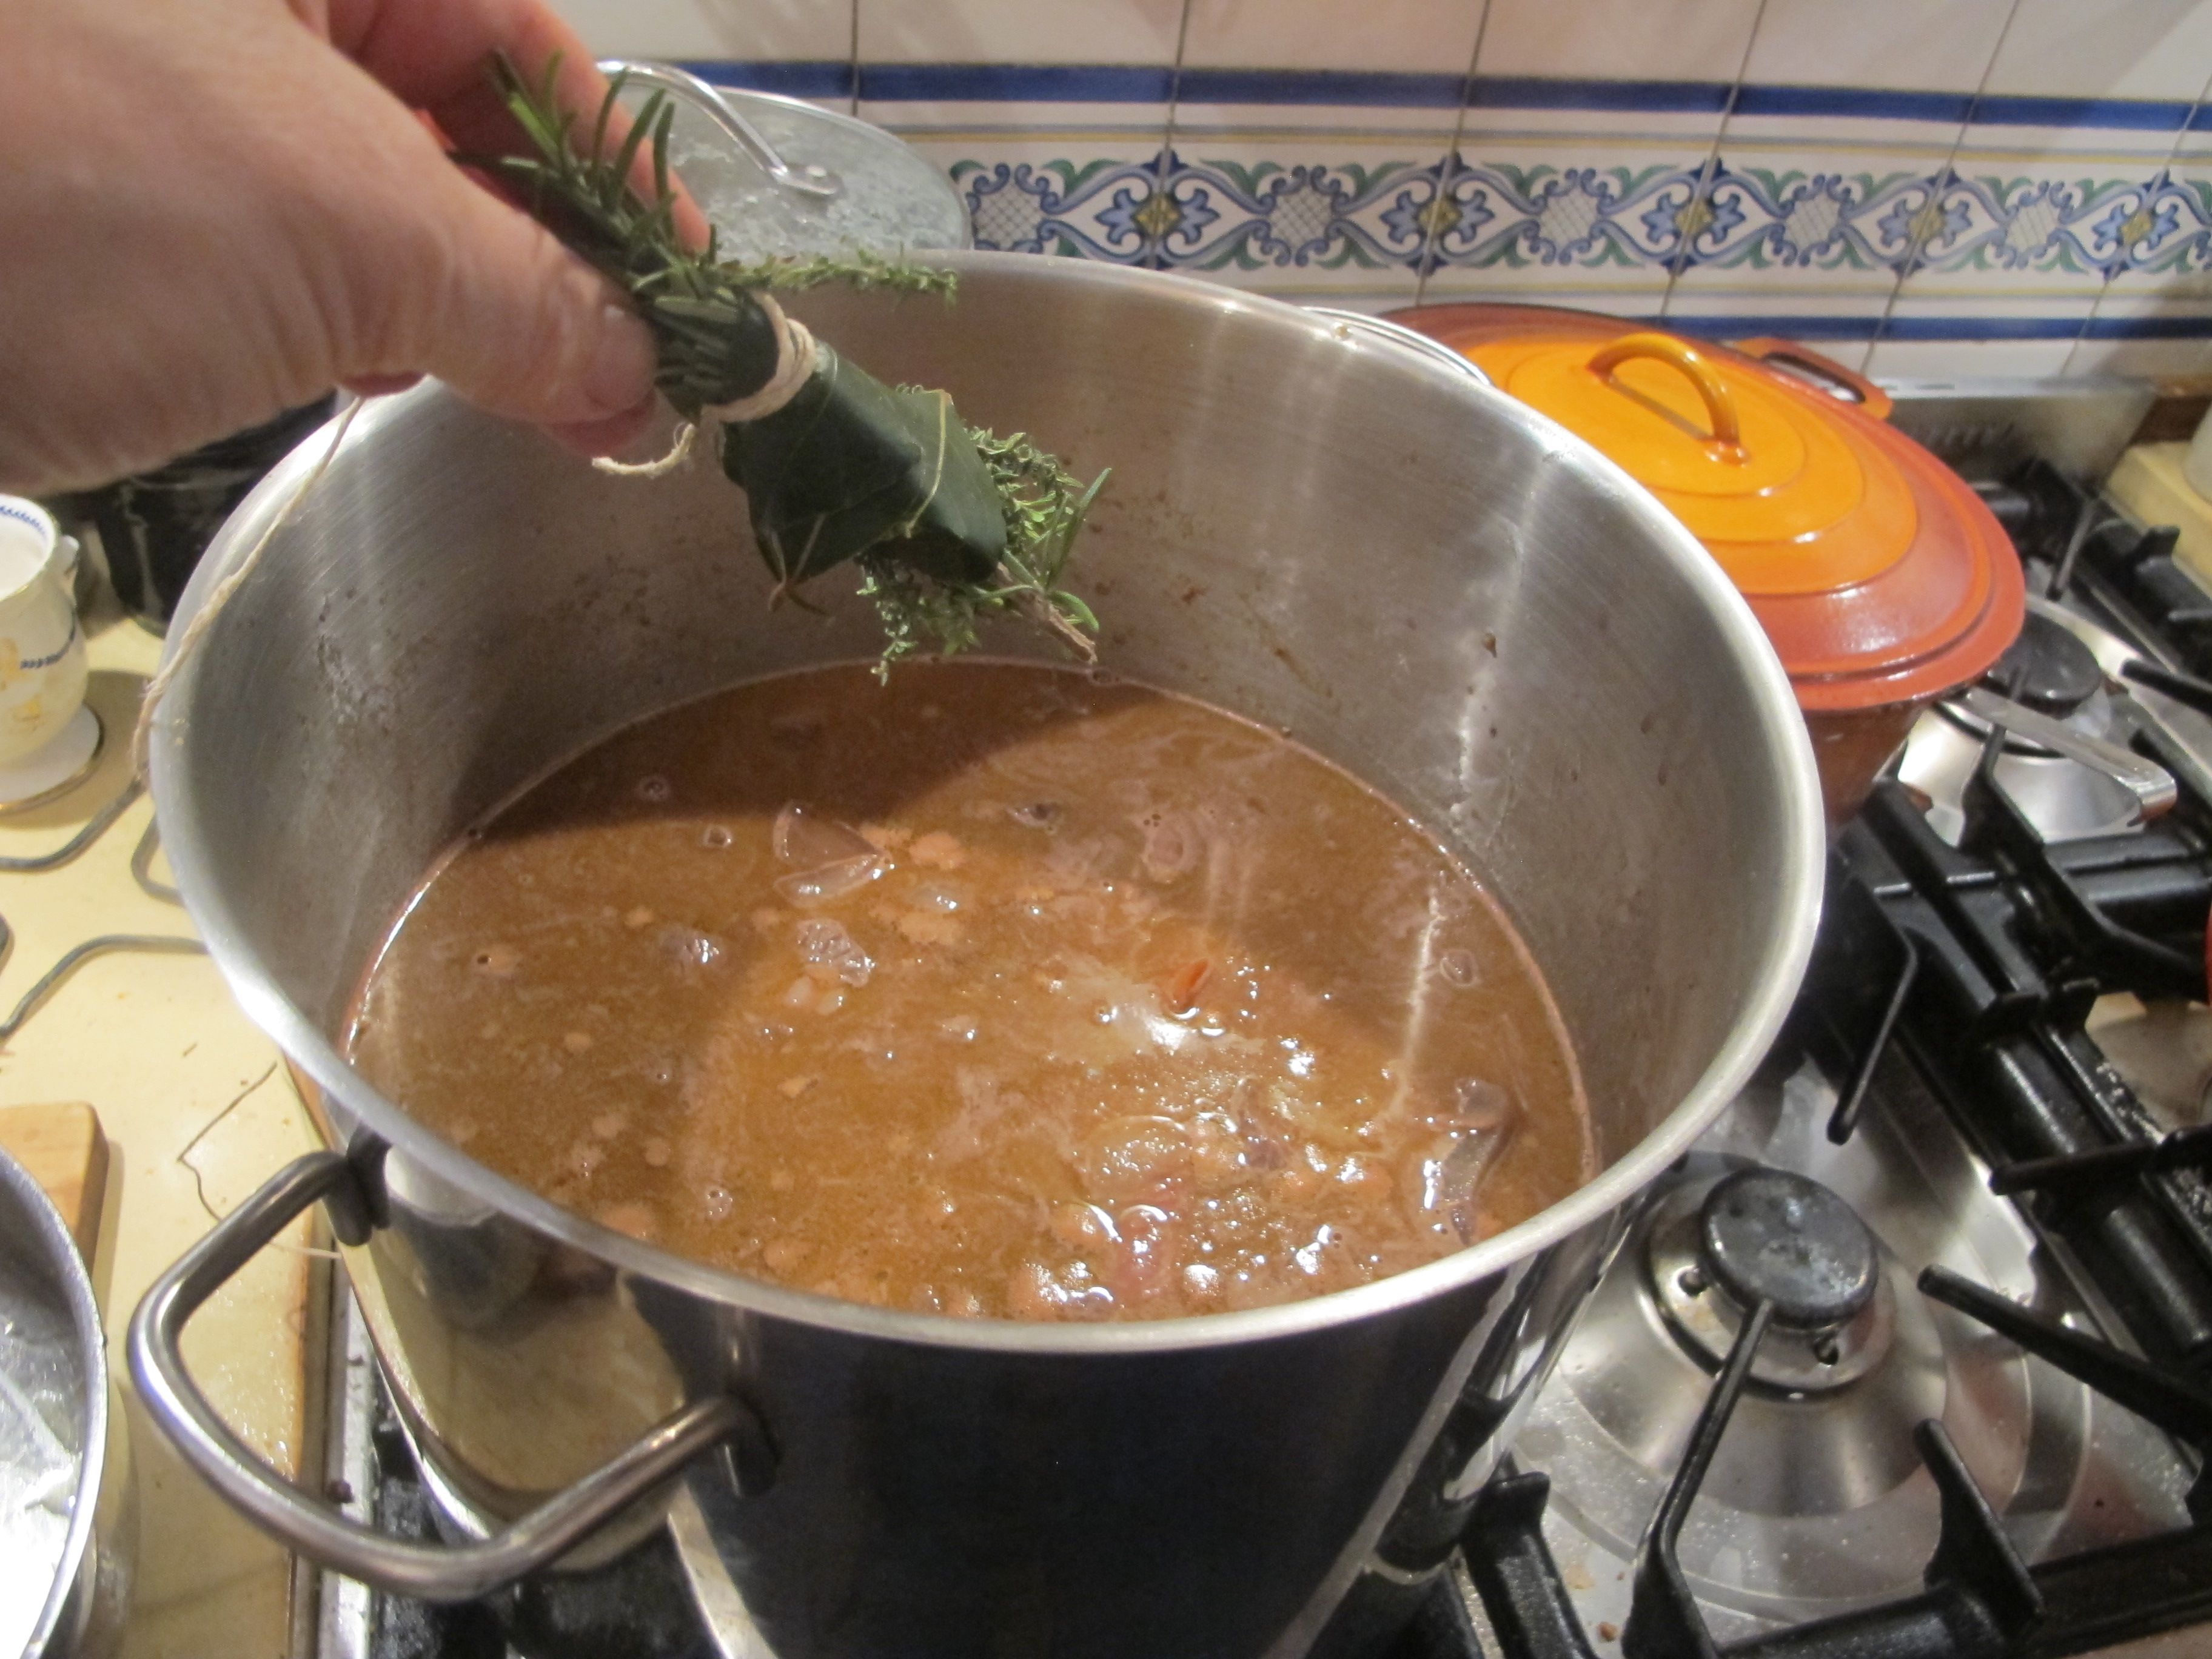
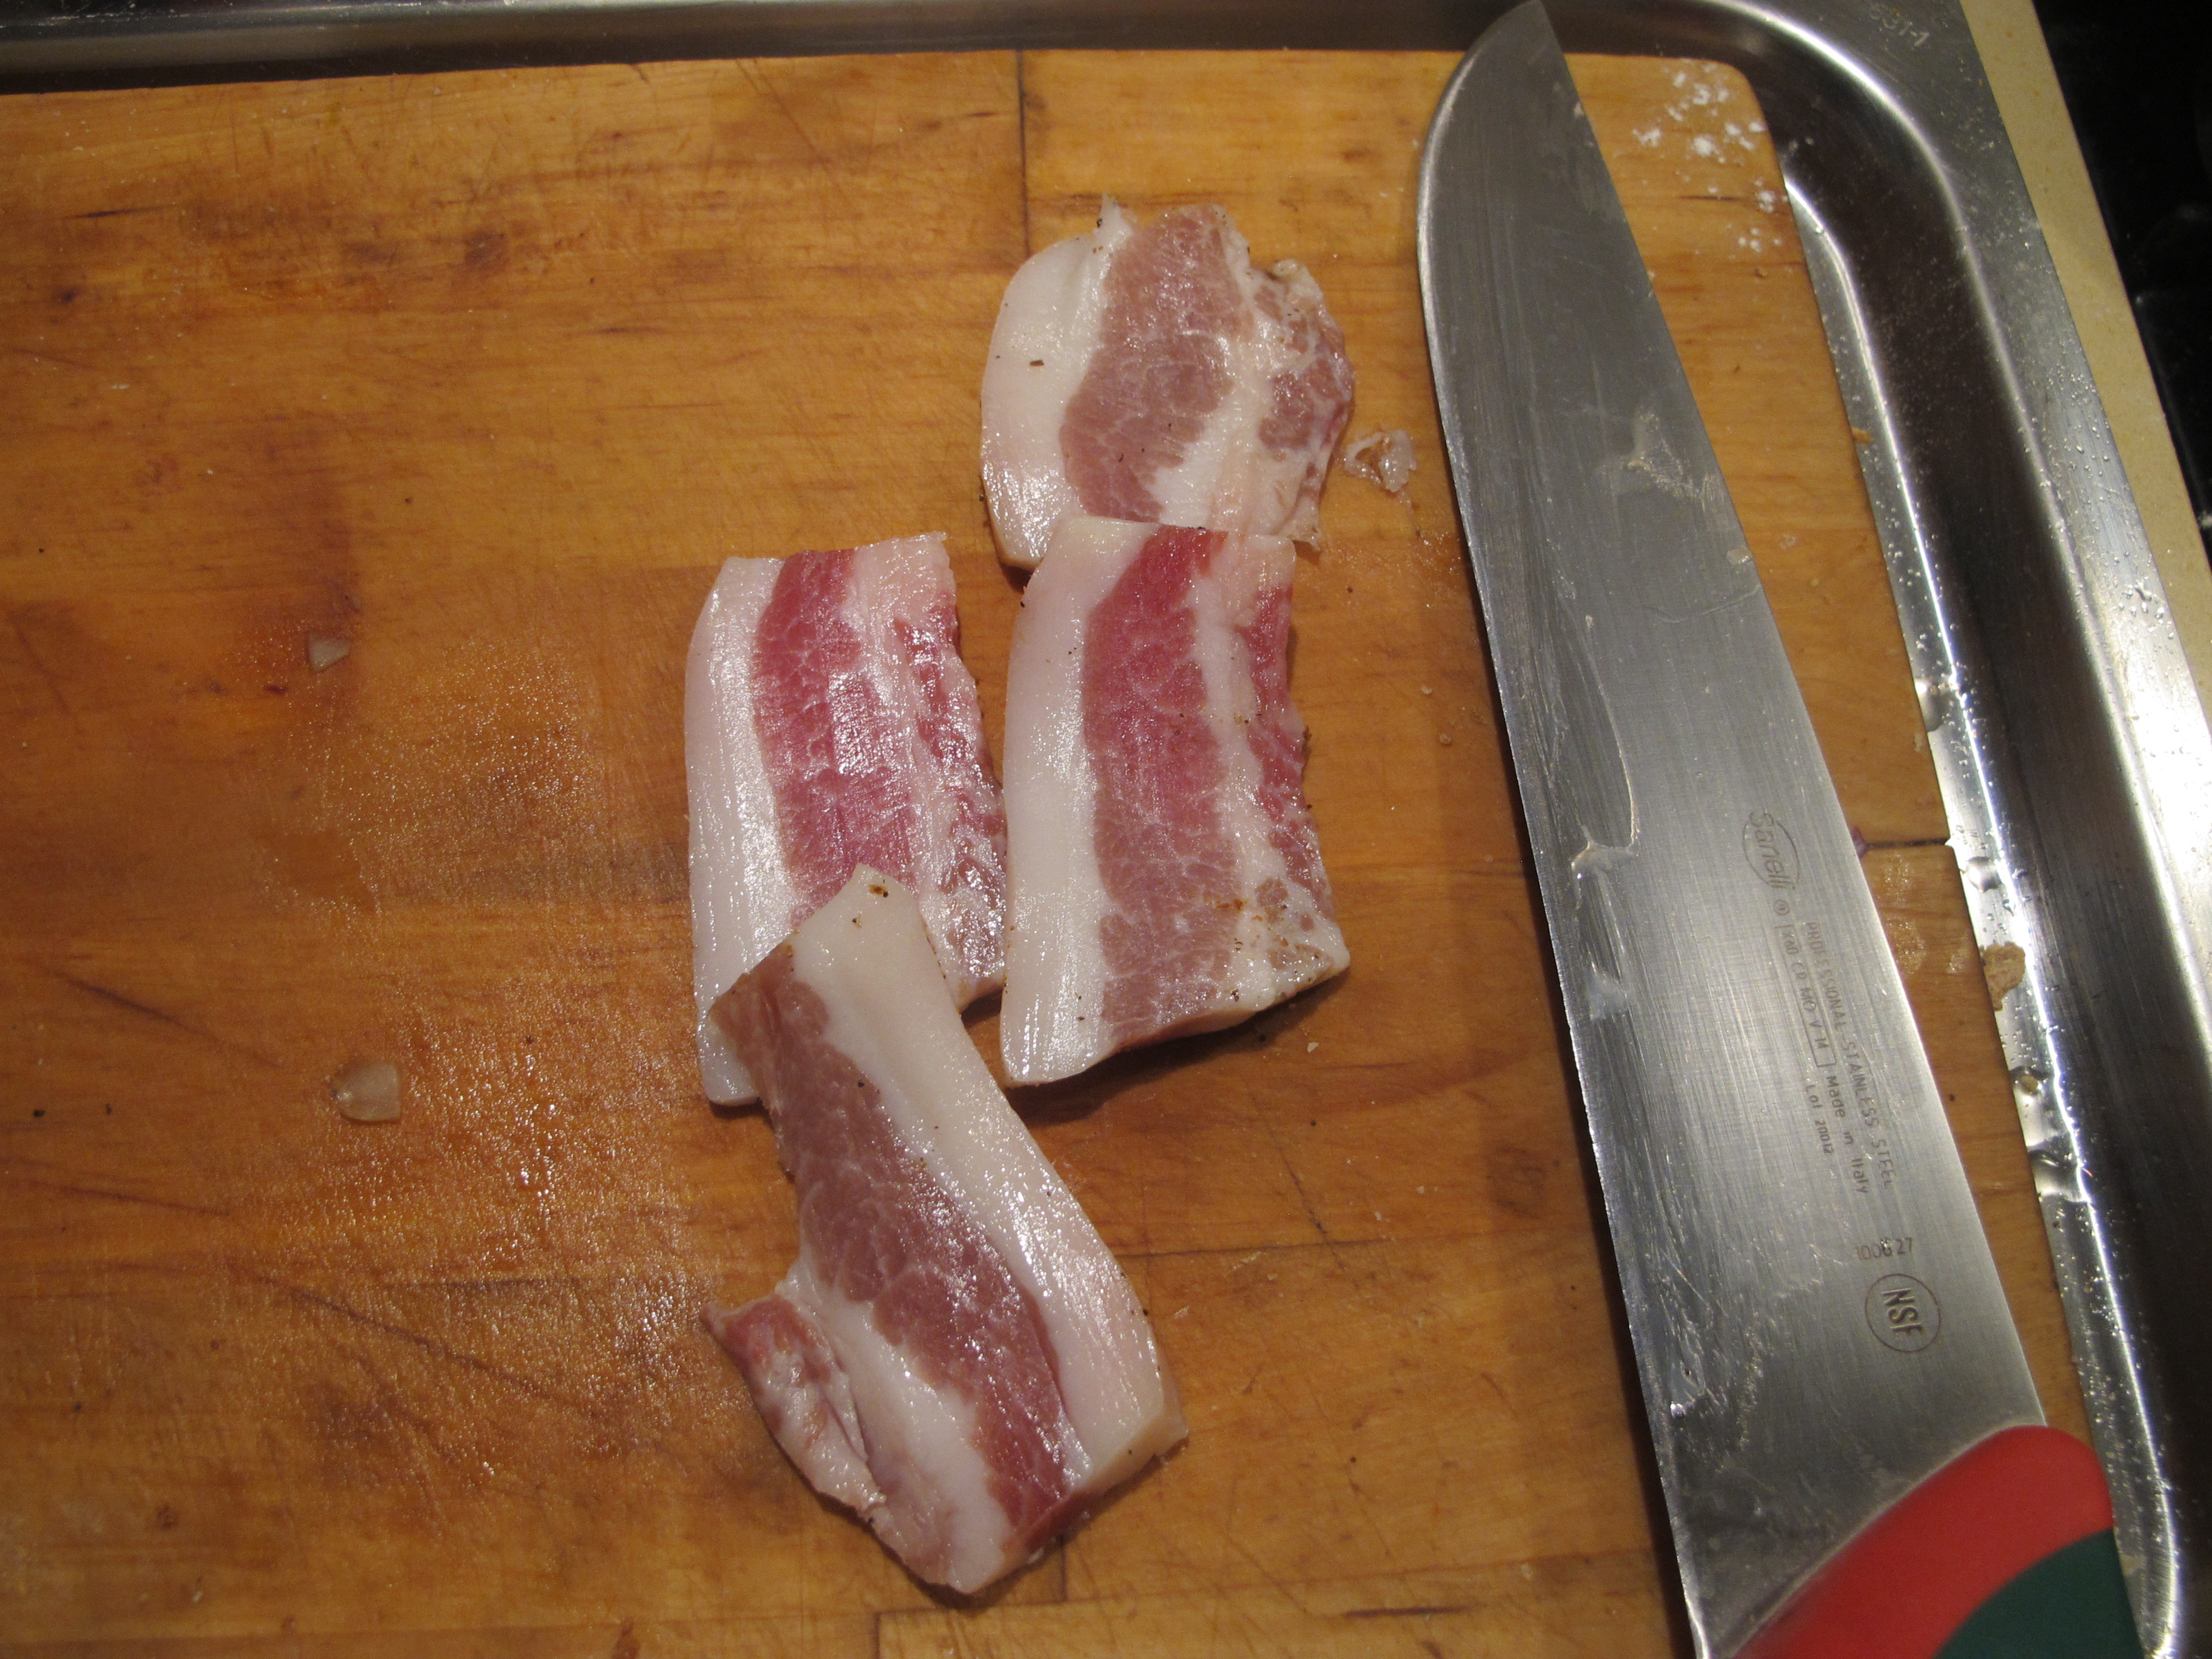
 Here are the castrato chunks … I decided to trust Mr Frasca and eschewed the idea of a marinade. I did, however, think it would be wise to briefly boil the meat in boiling water for a few minutes, as one does when making Blanquette de Veau, to remove any ‘scummy’ elements. It is easily done …
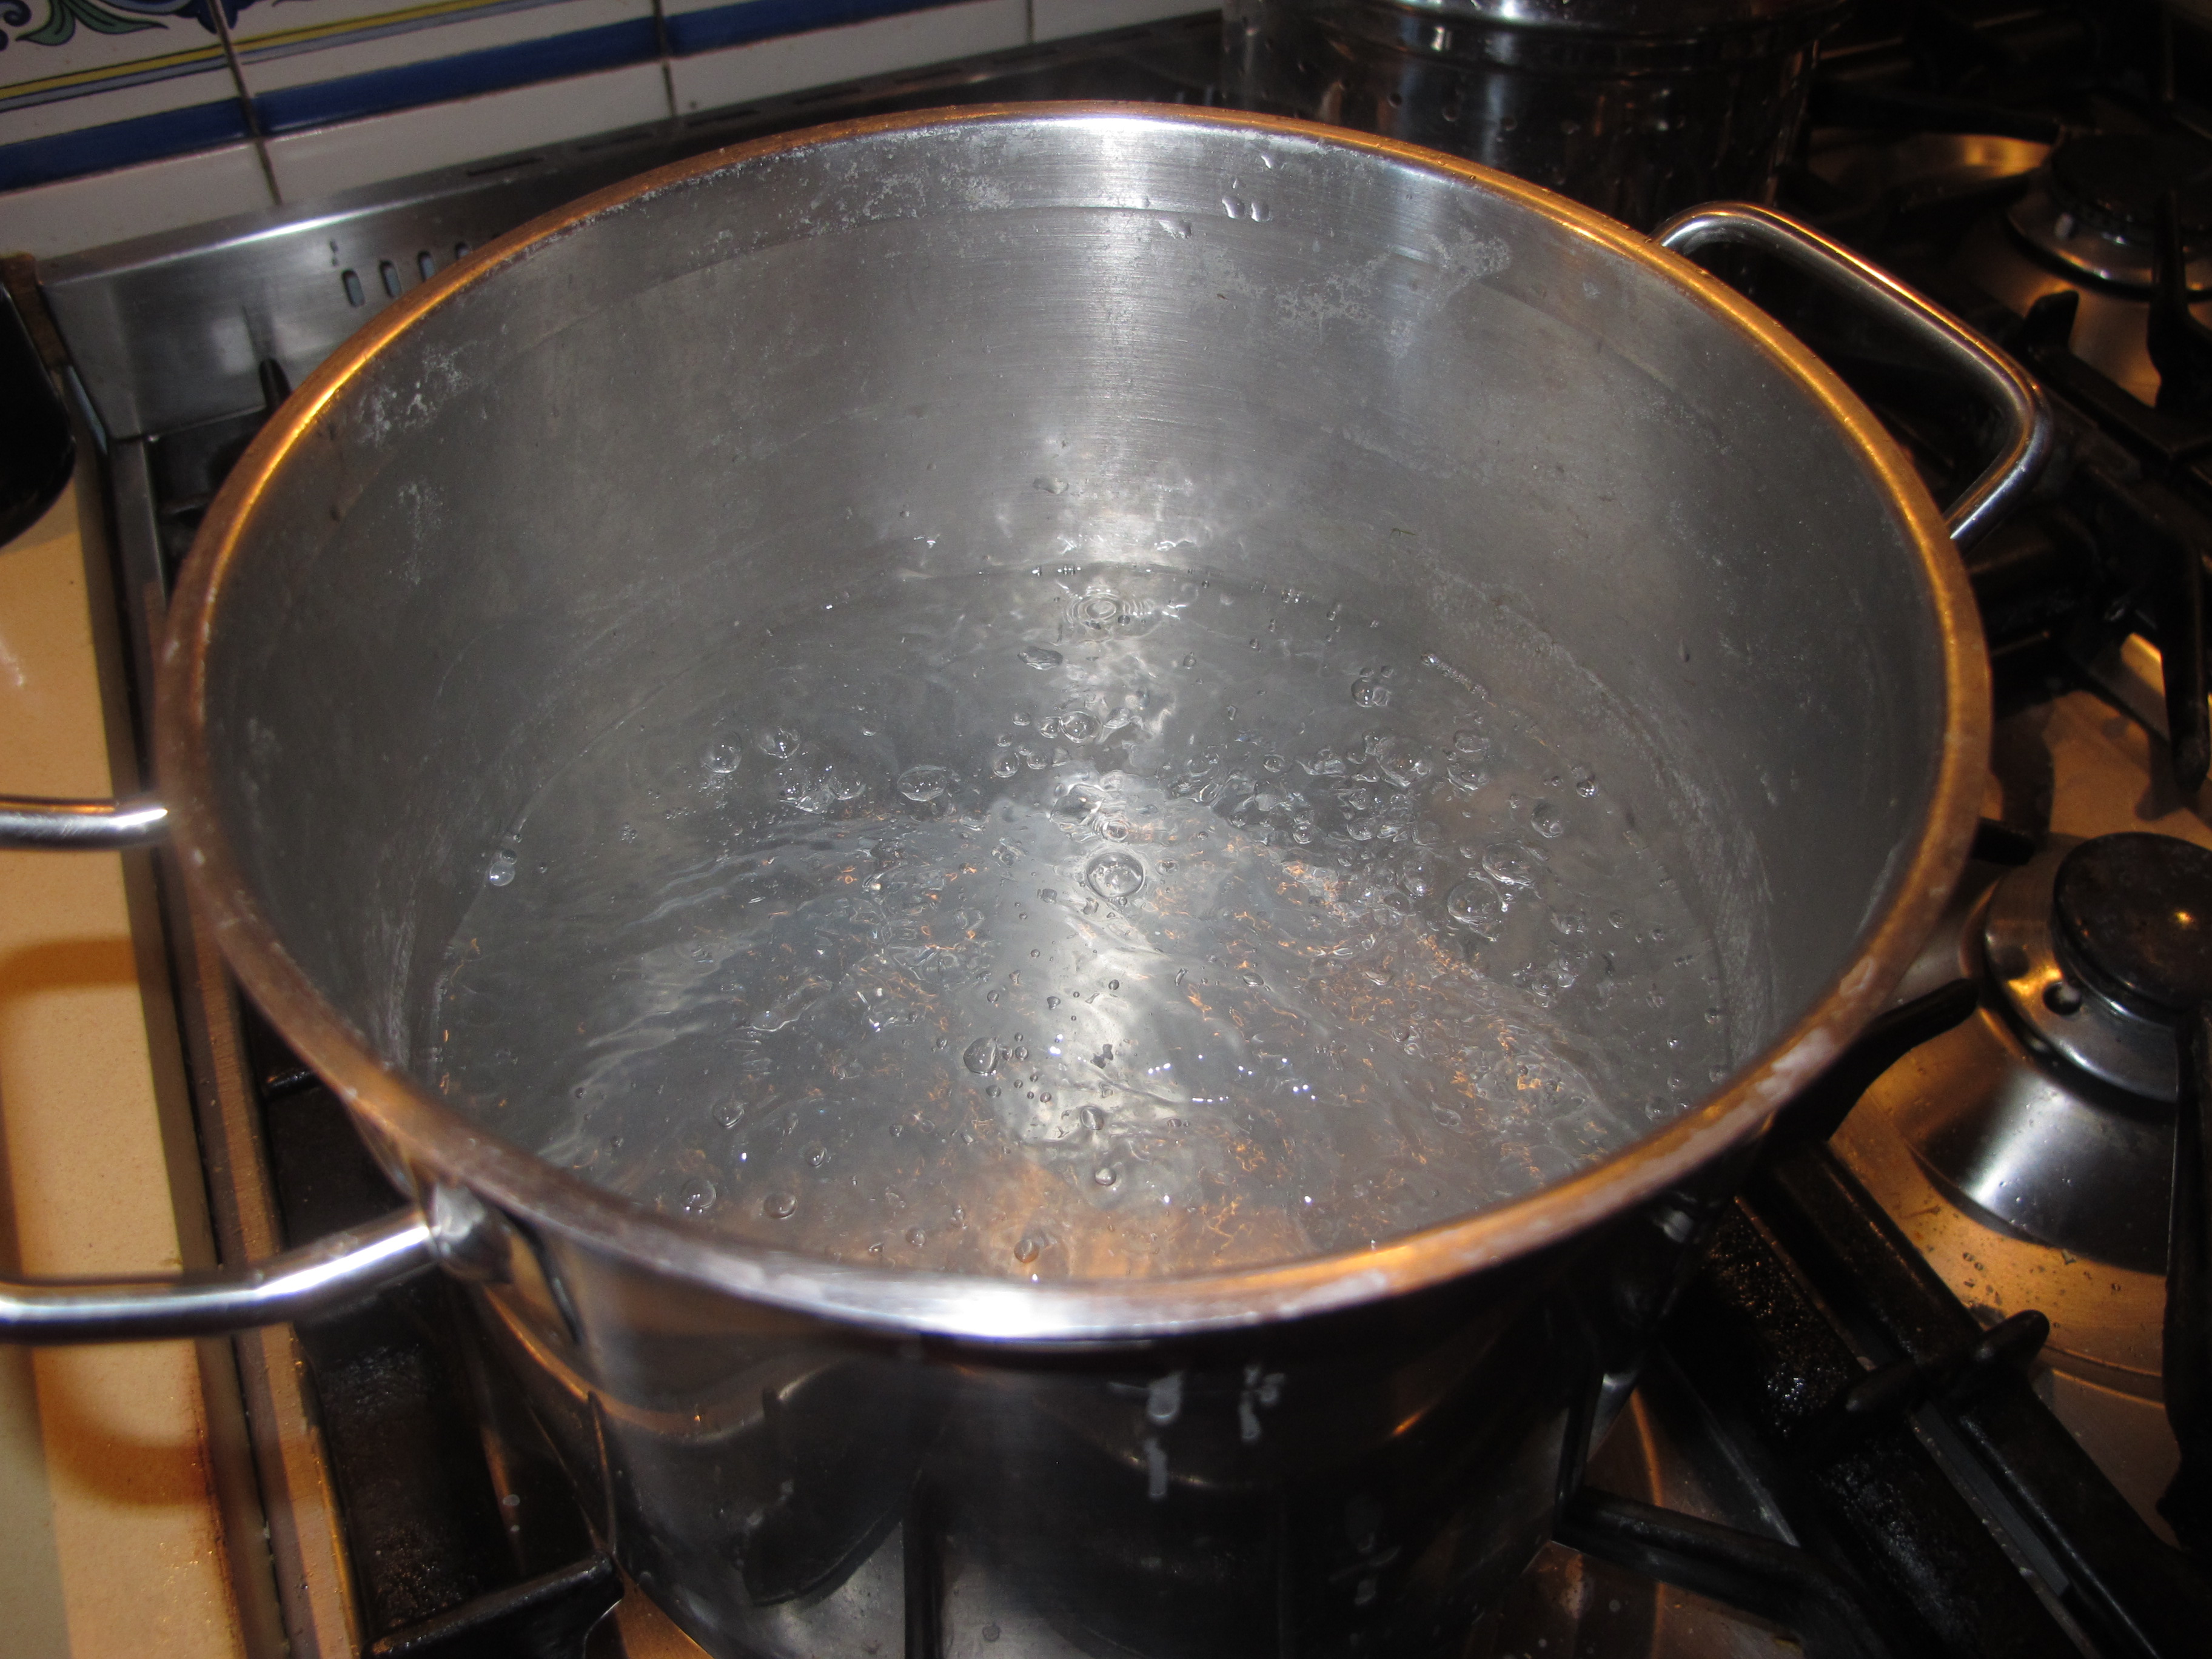
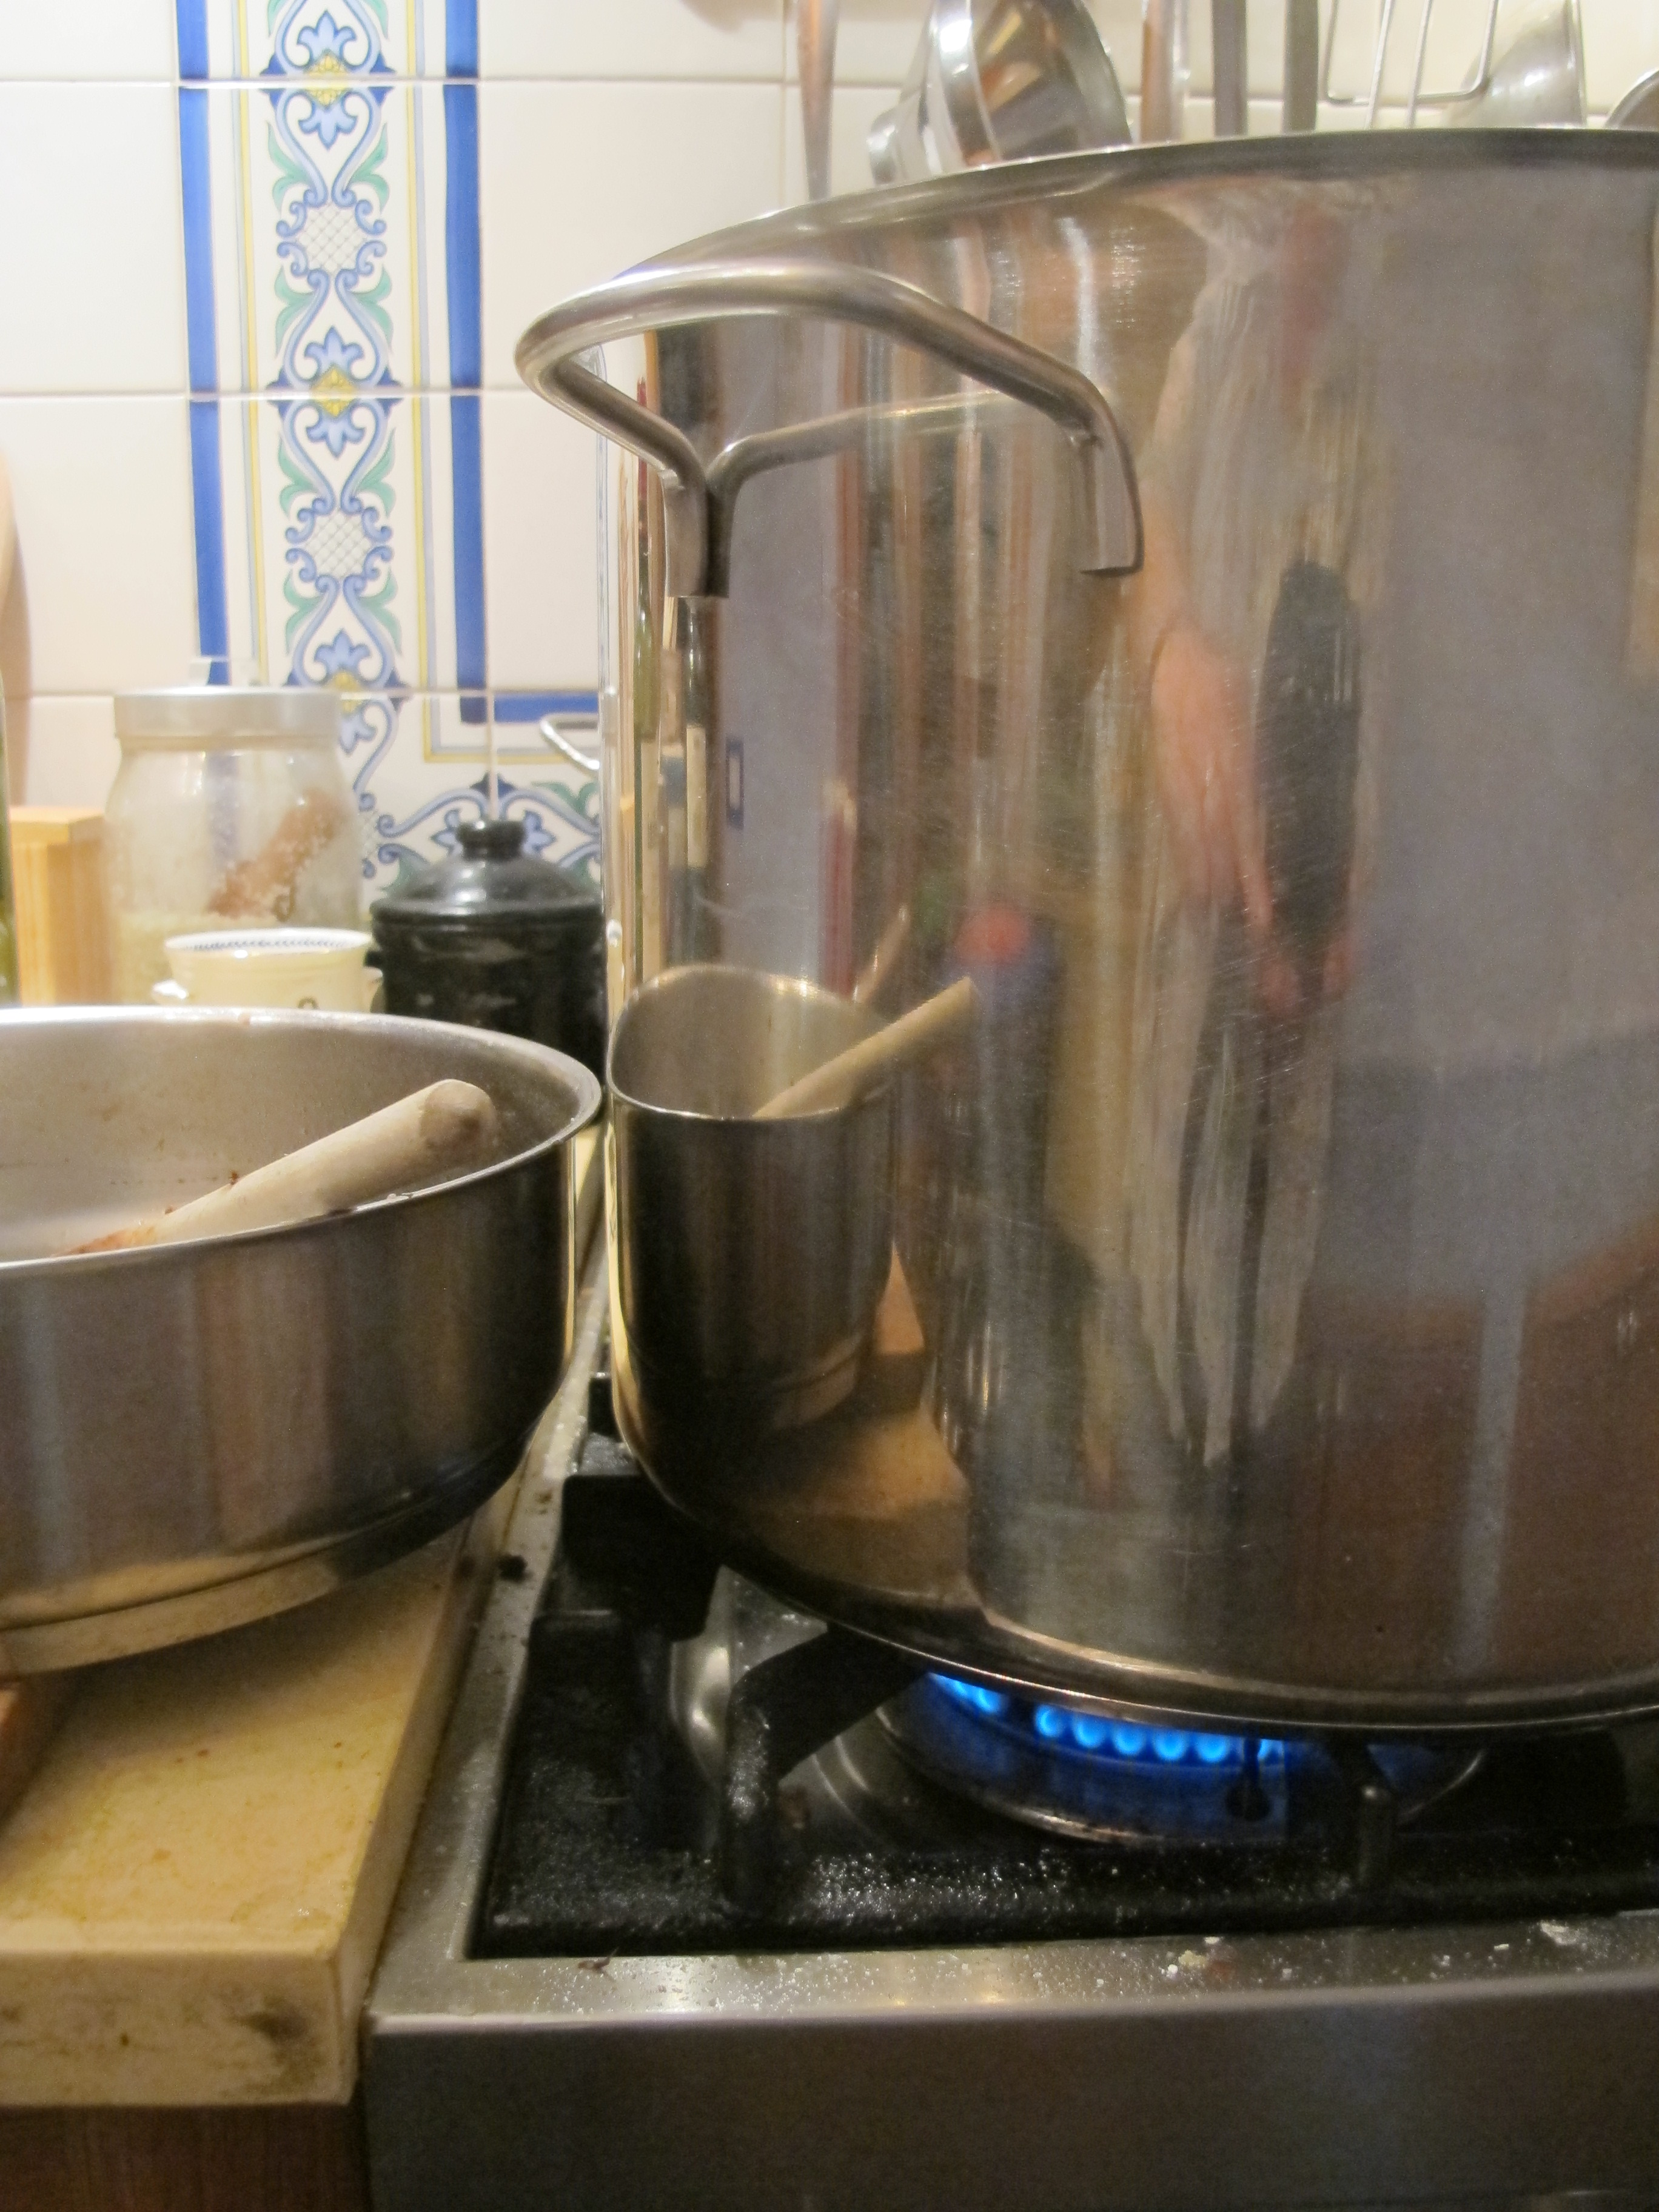
 Bring a pot of water to a strong boil …
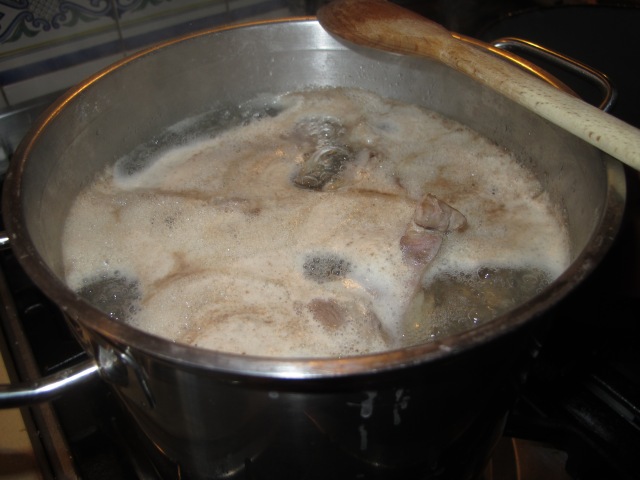 Plunge the meat inside and very shortly … this is the ‘froth’ that will rise to the surface. Remove the froth by and by, with a slotted spoon.
 After about 4-5 minutes, drain the meat and place it in a good casserole … an earthenware one or a heavy bottomed pan, that comes with a lid.
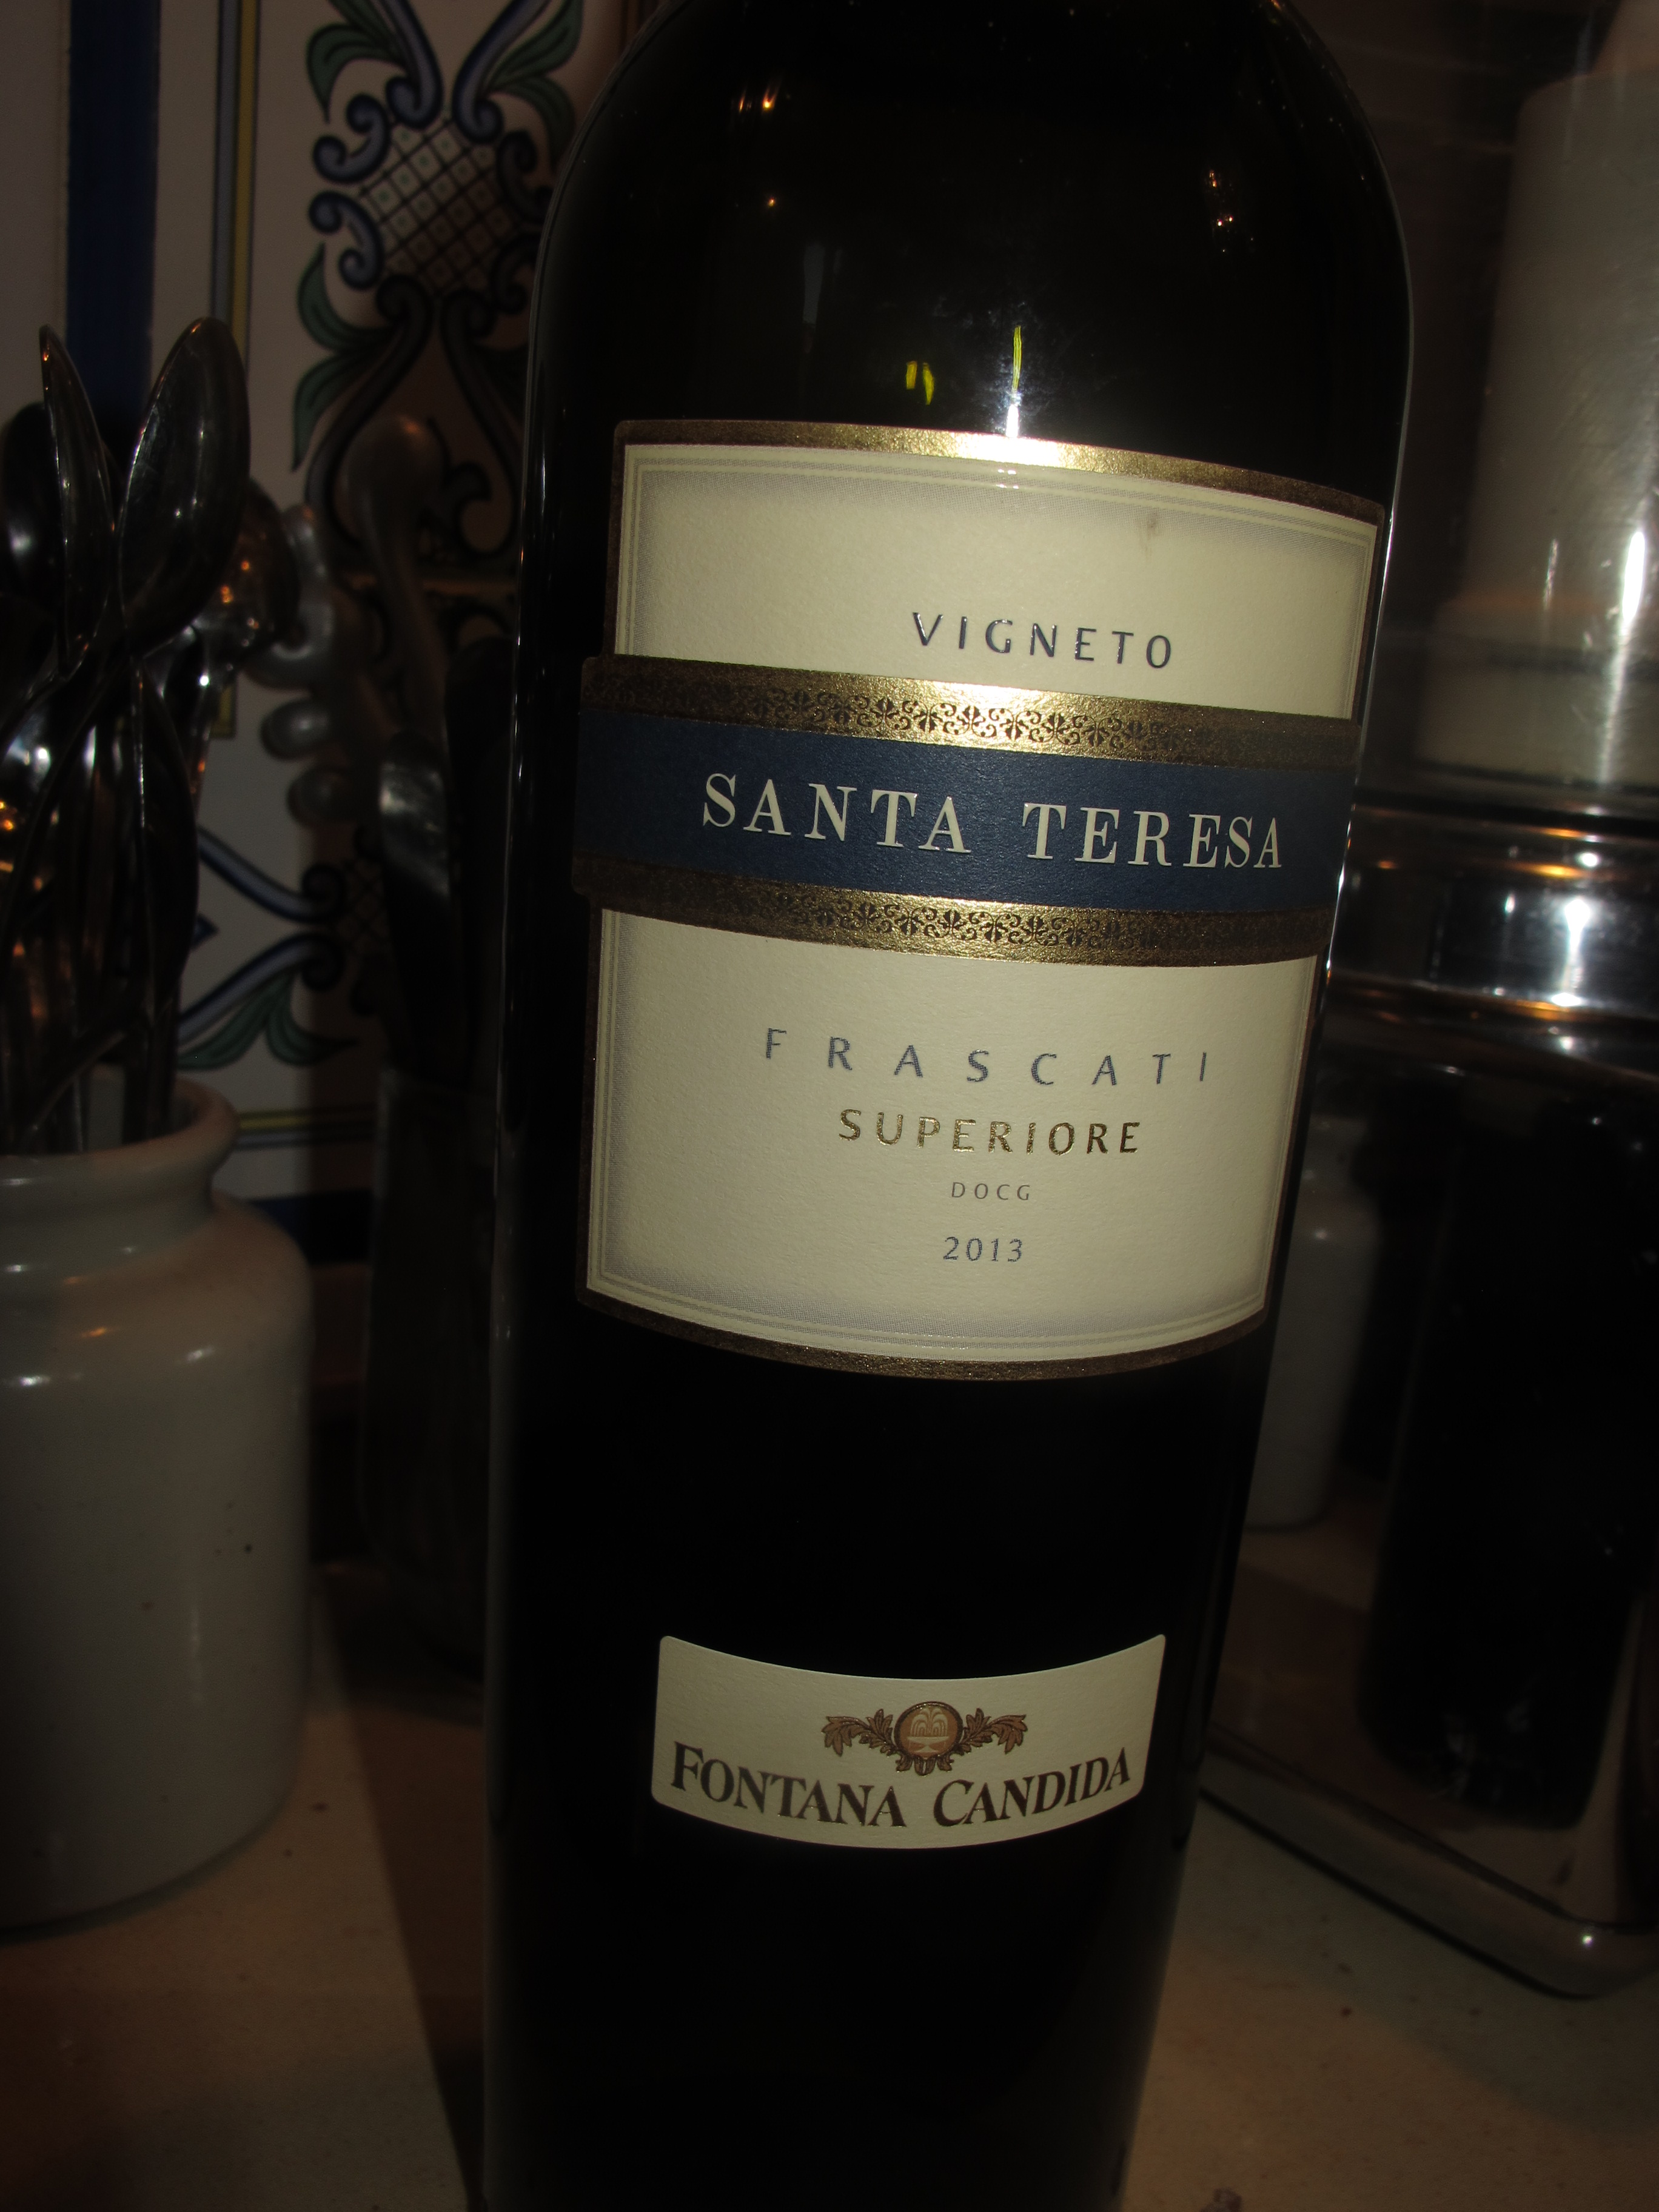
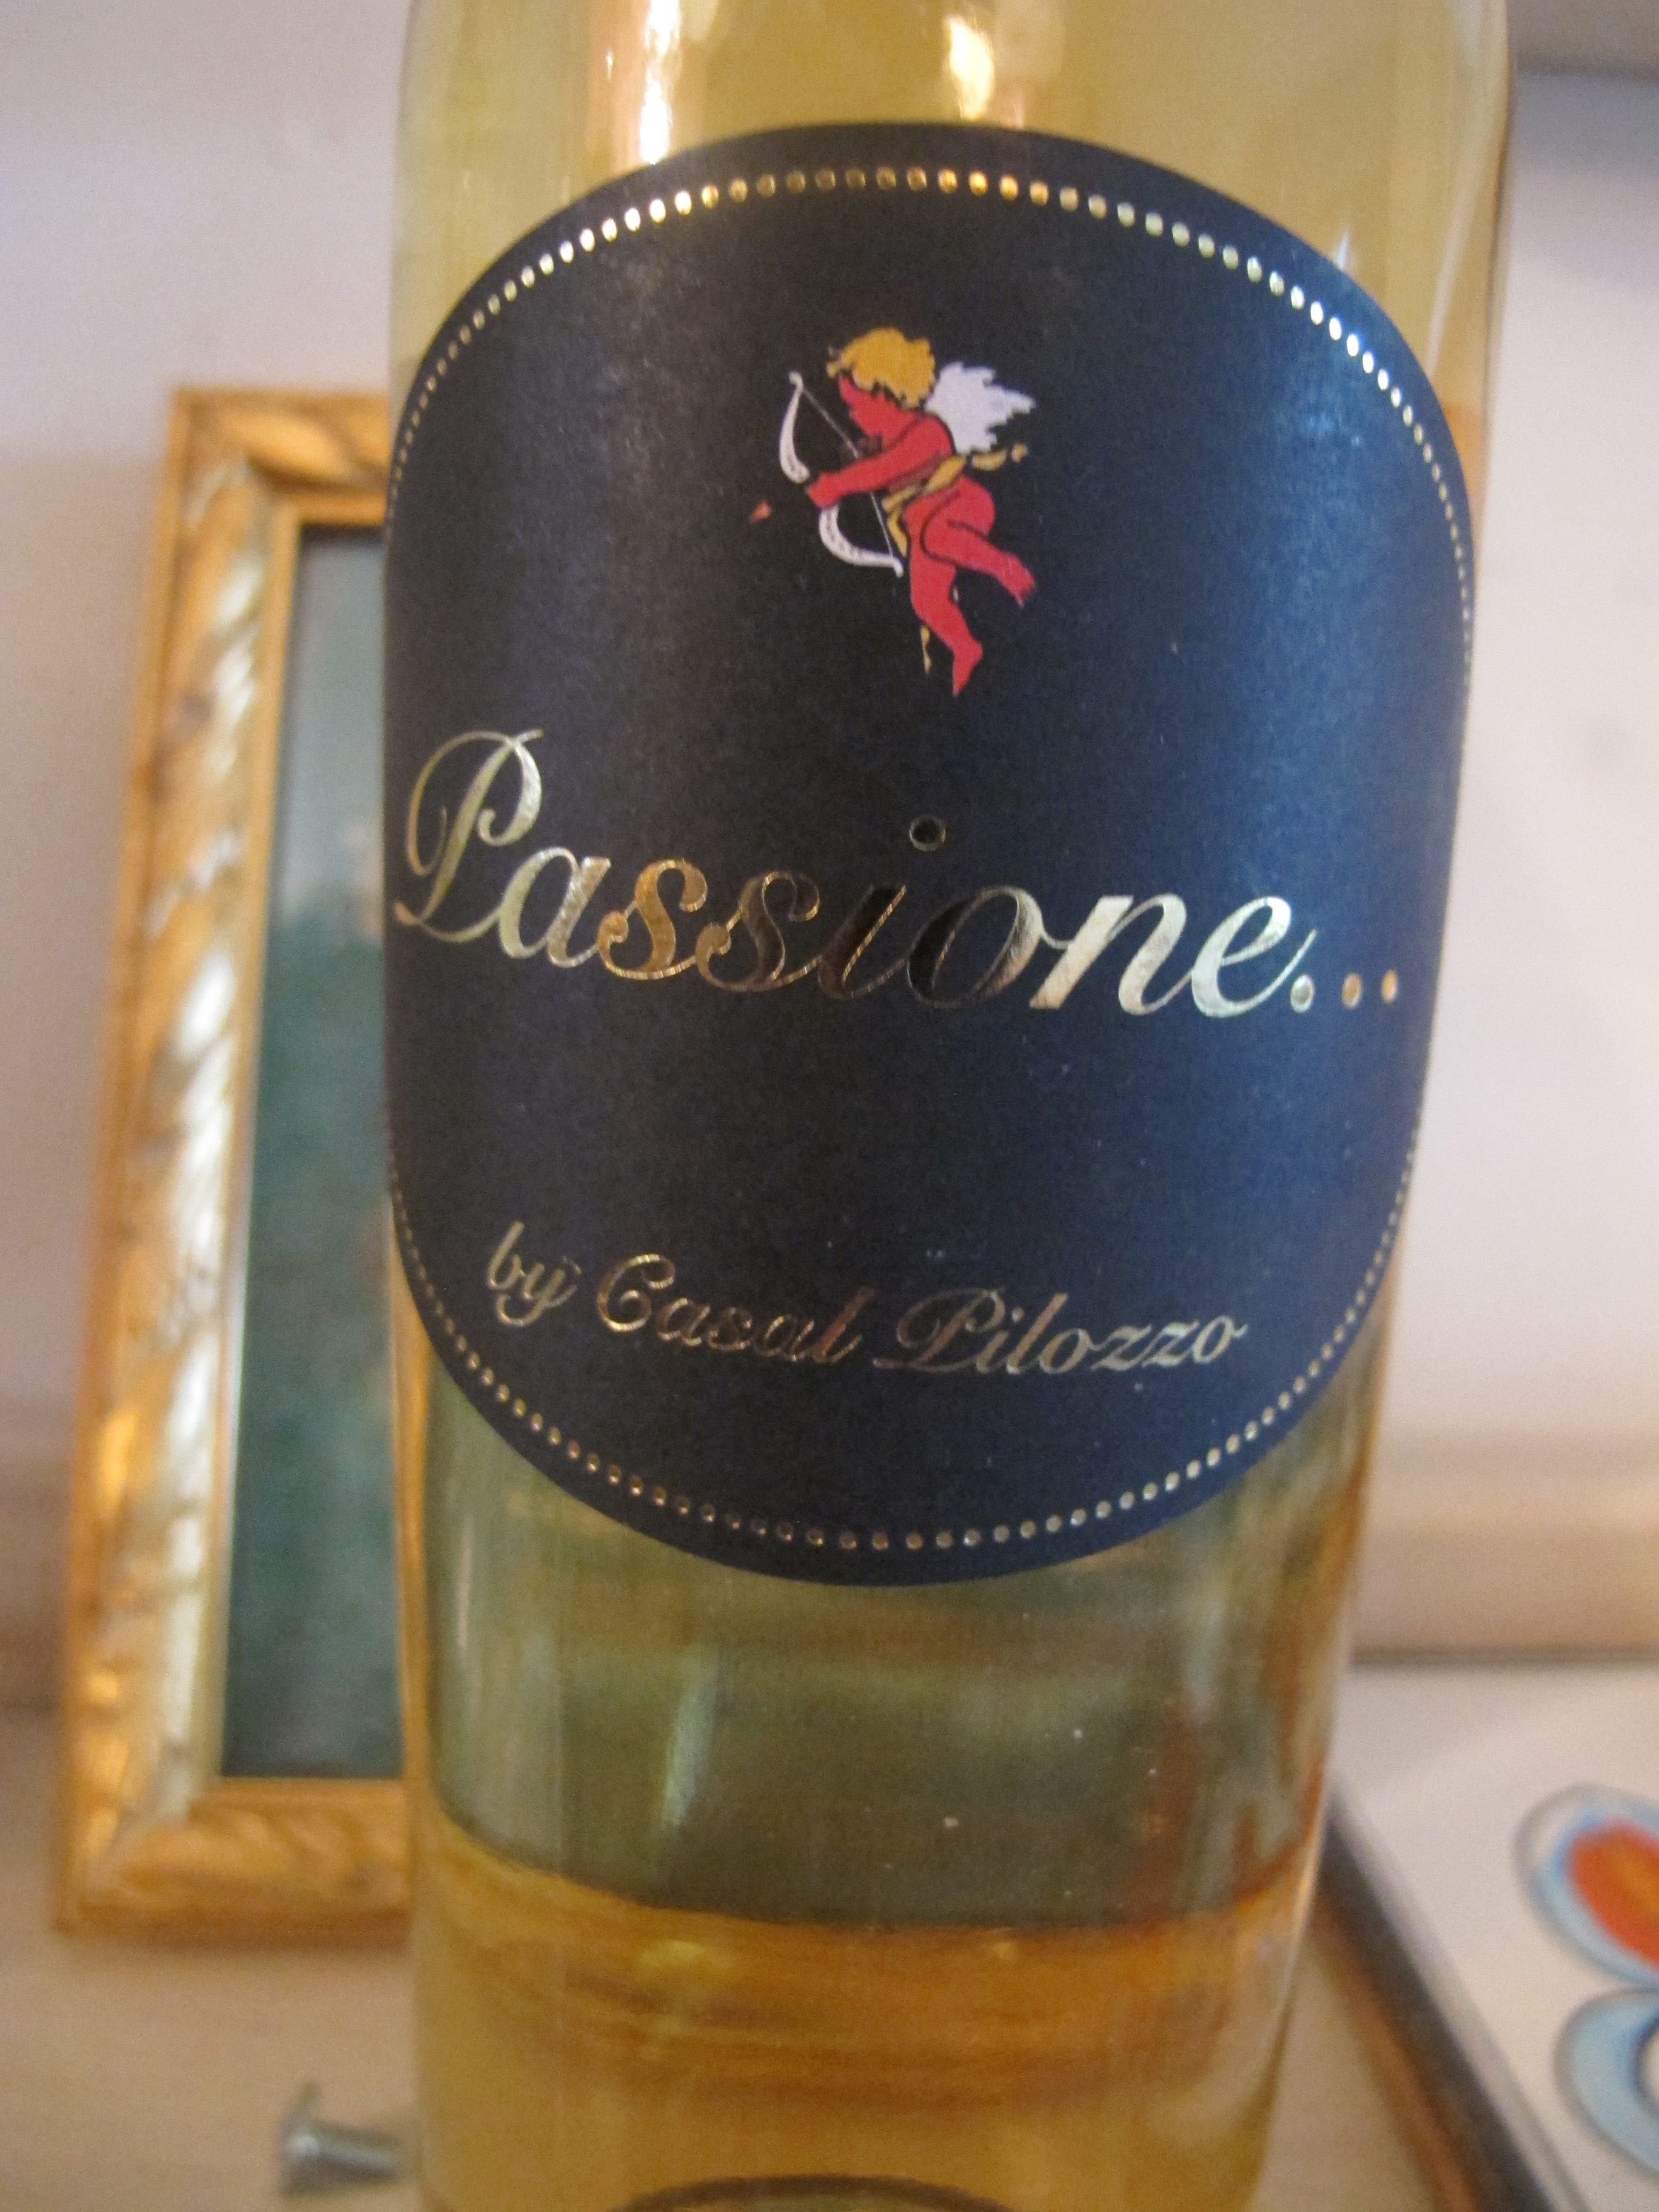
 Open a bottle of Frascati DOCG … I chose Fontana Candida’s Santa Teresa.
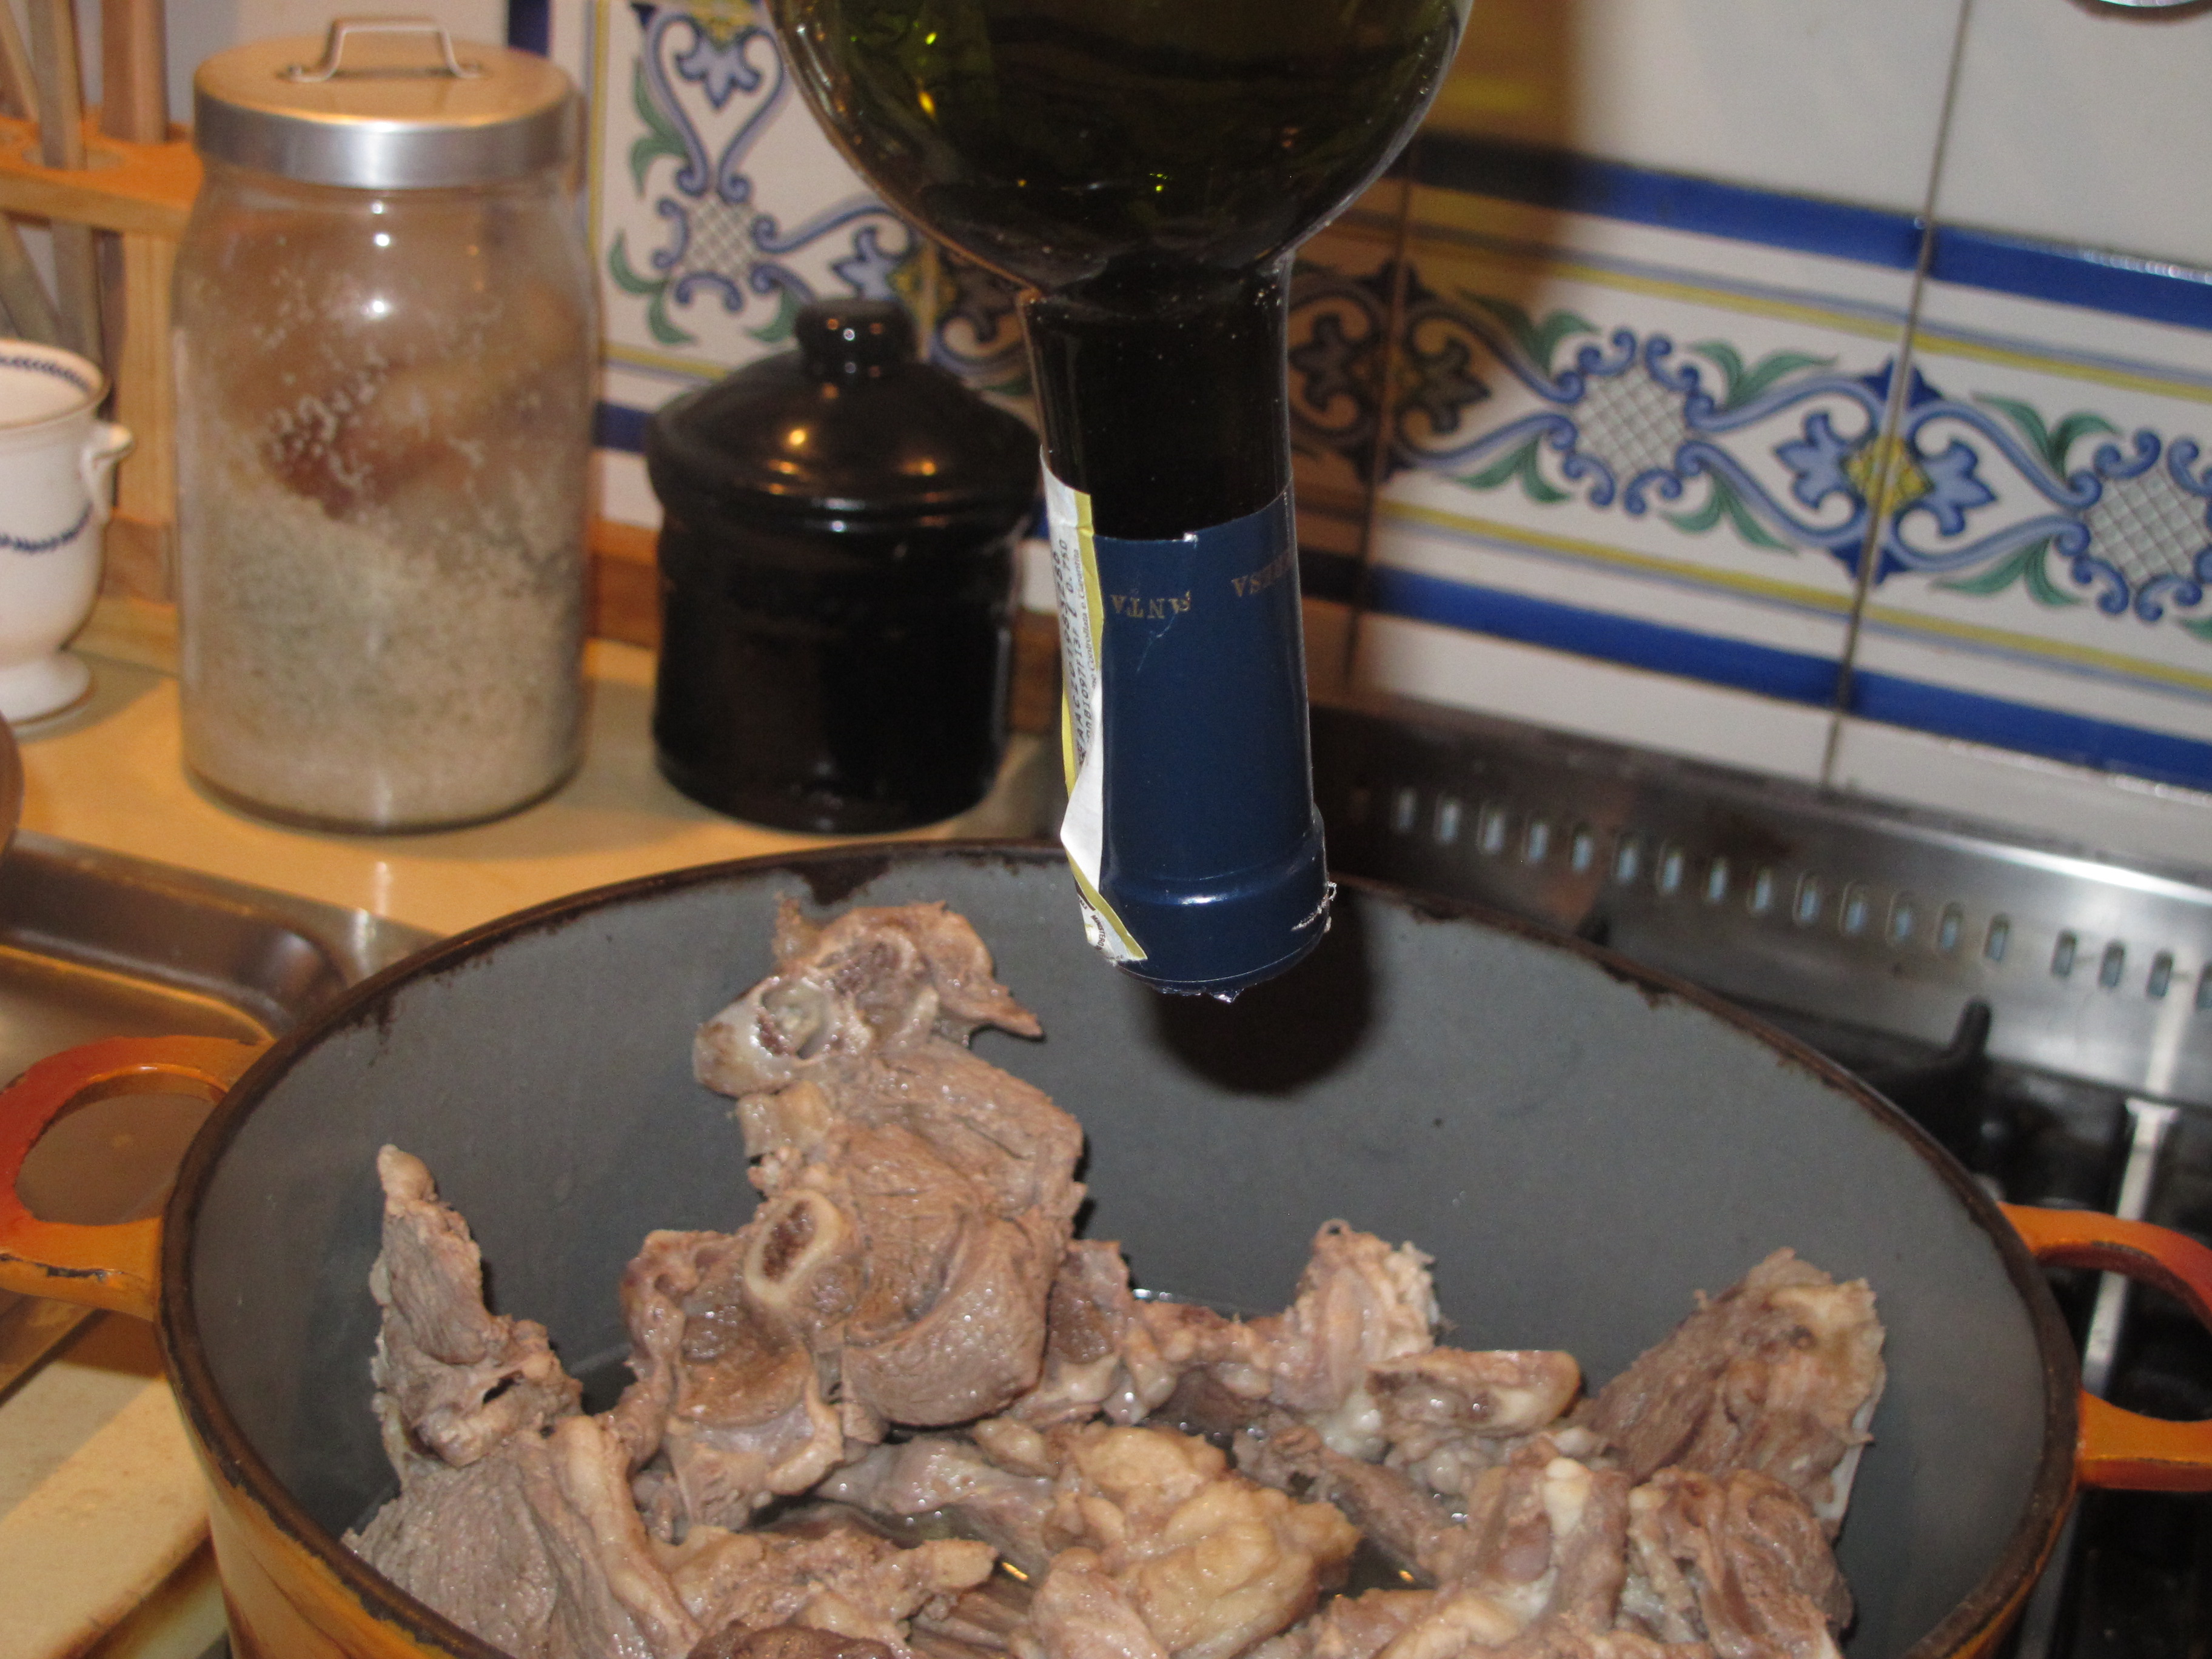
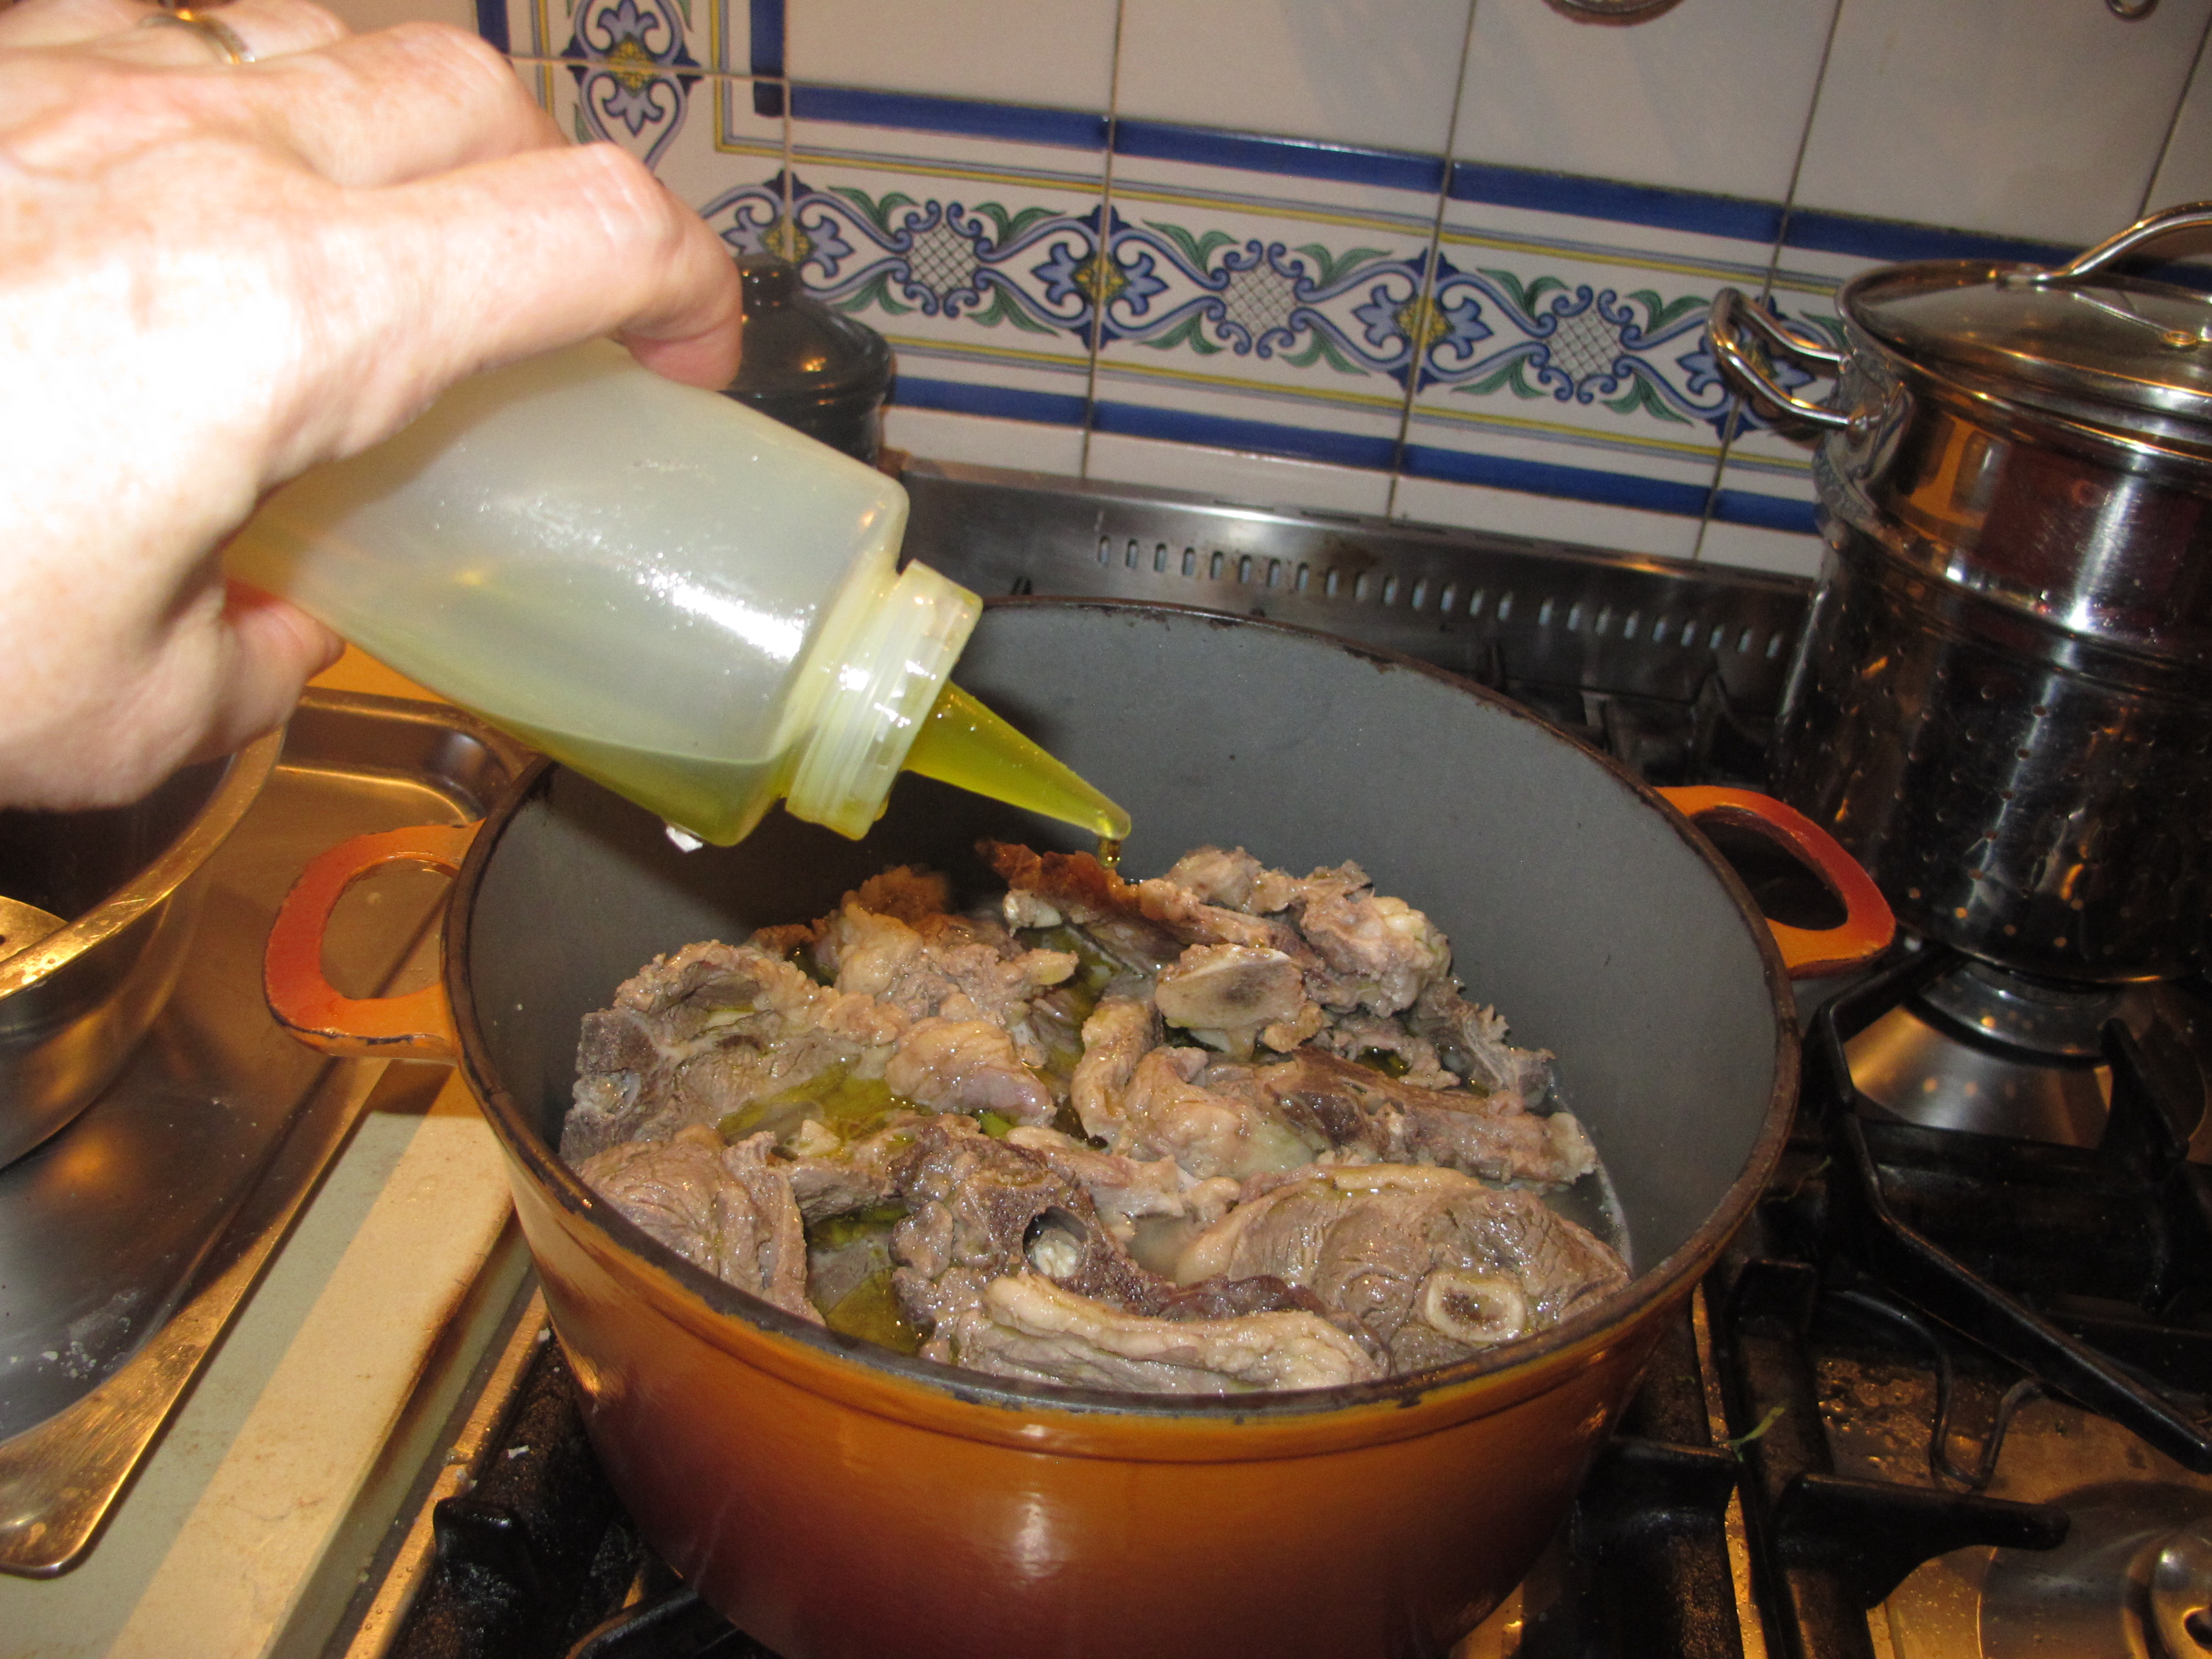
 Pour the entire bottle into the pan.
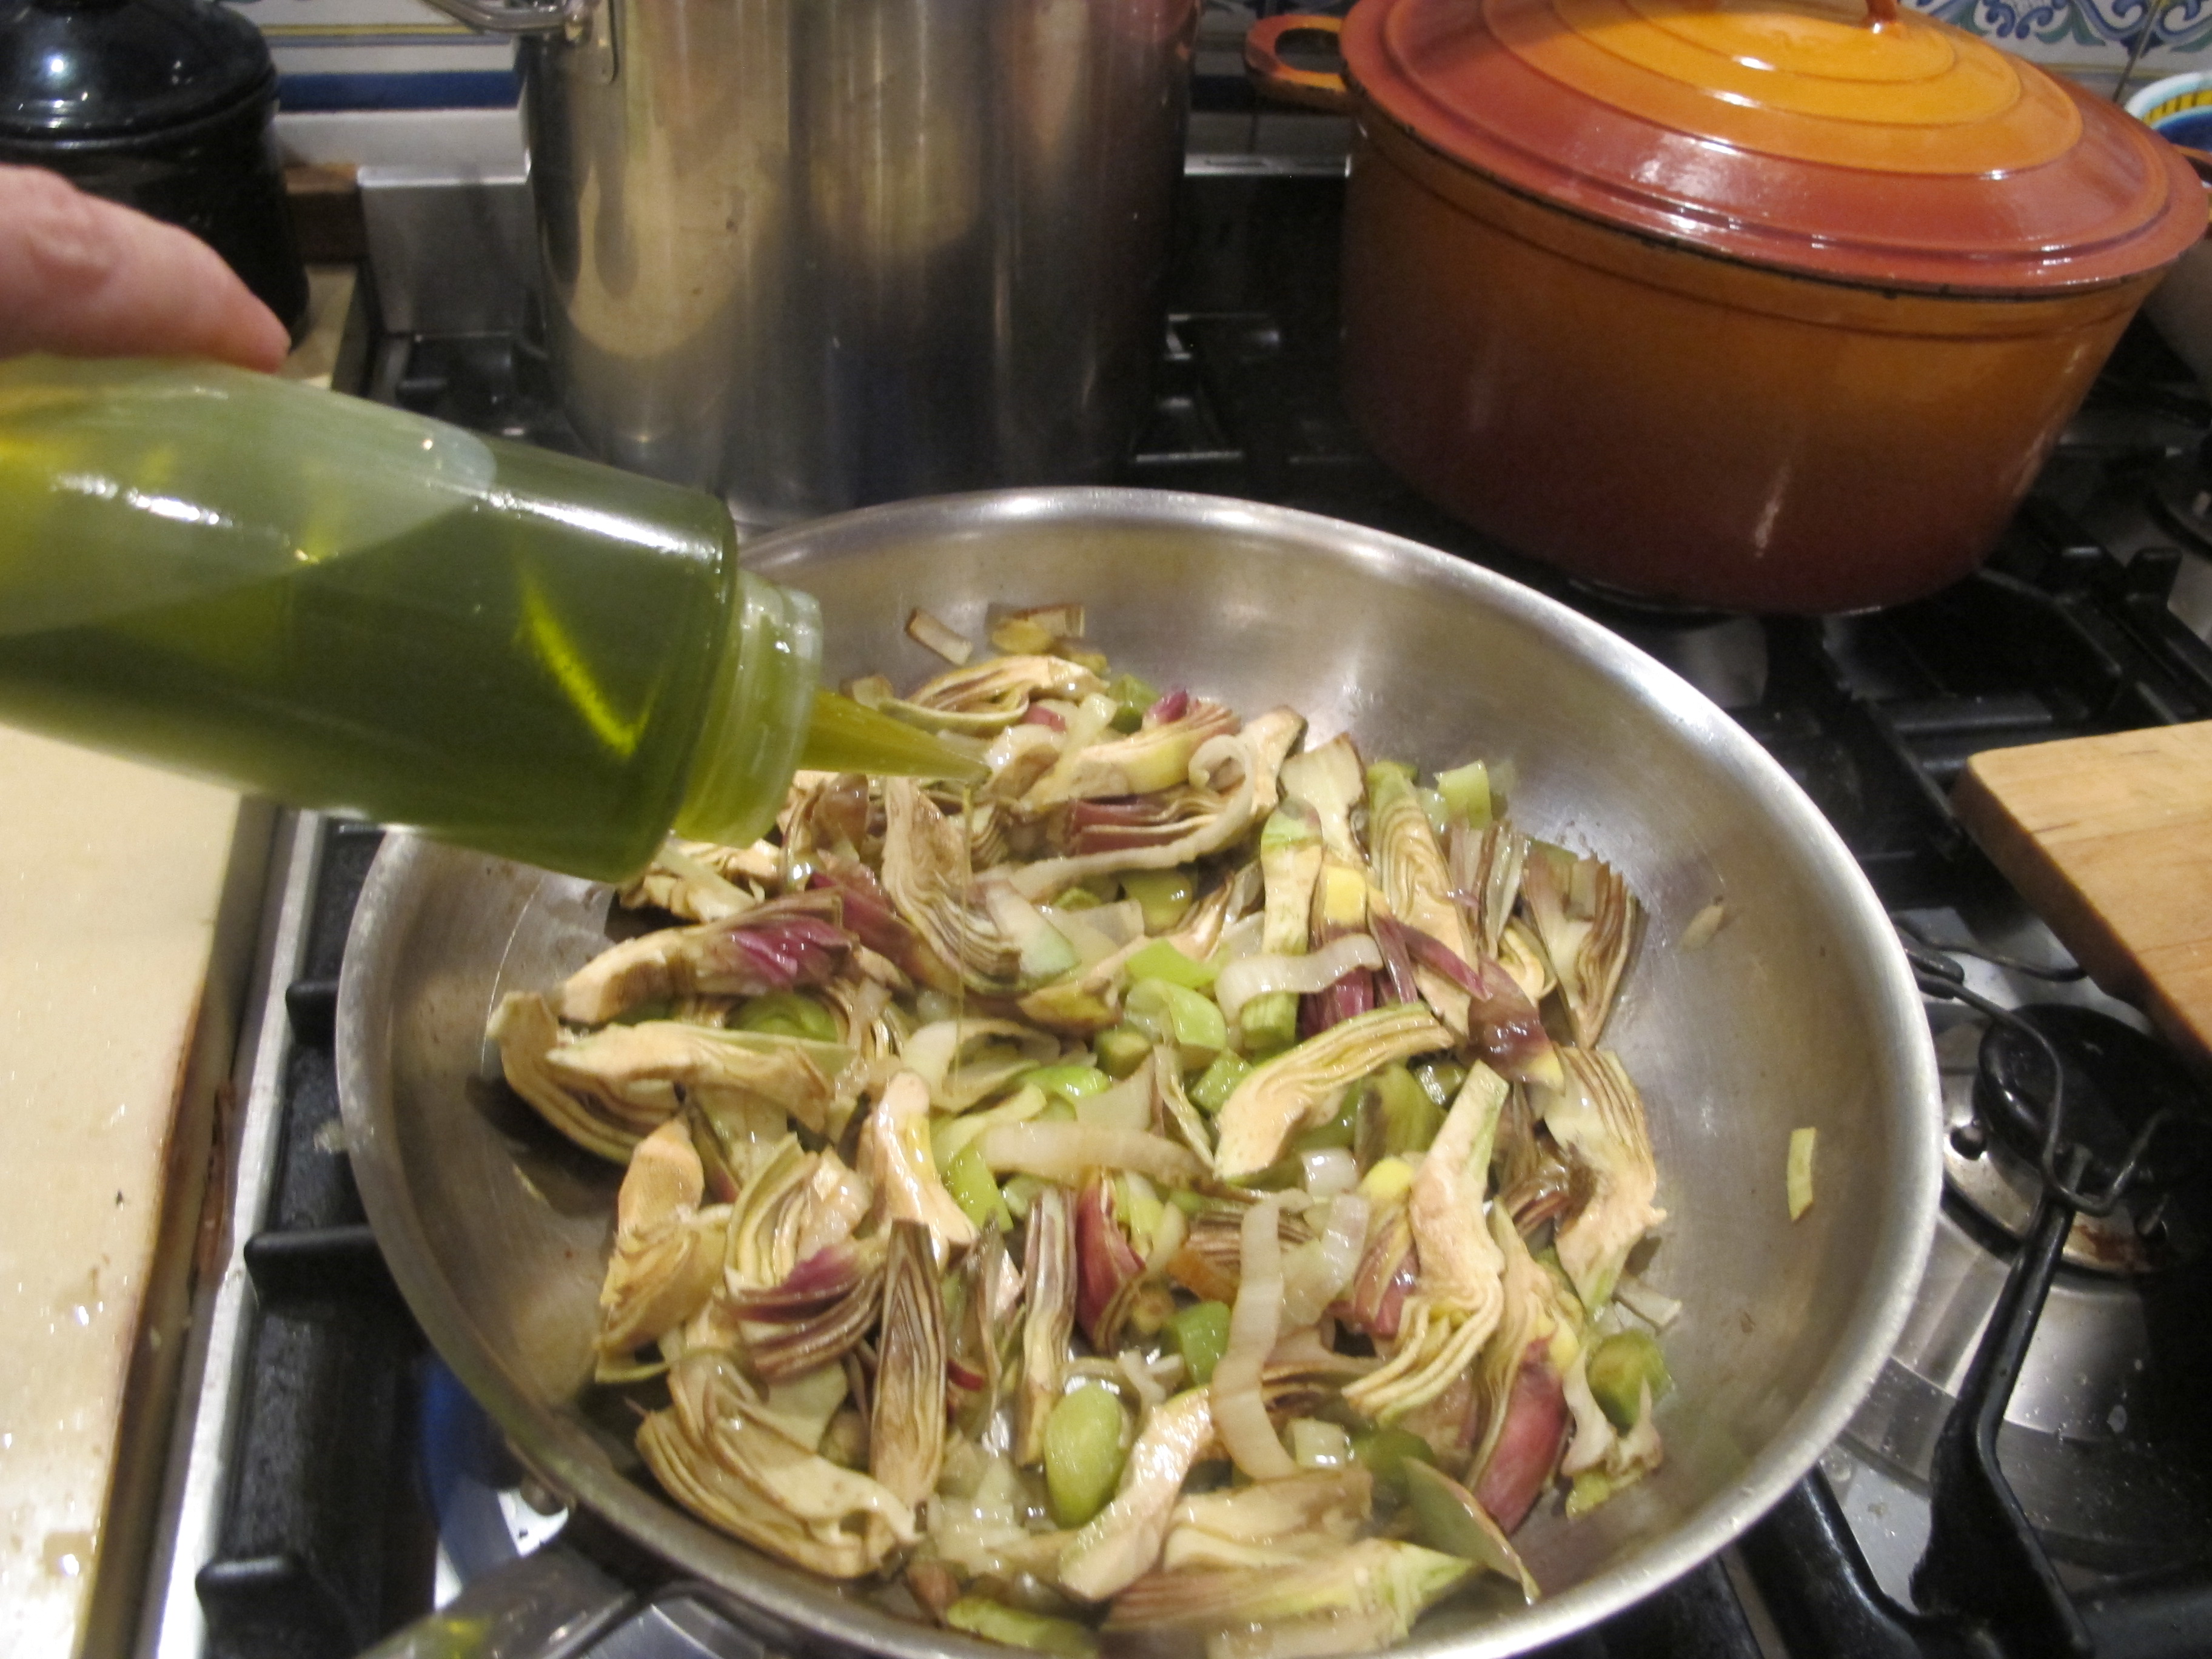
 Drizzle a little evoo … not too much, just a little to coat it.
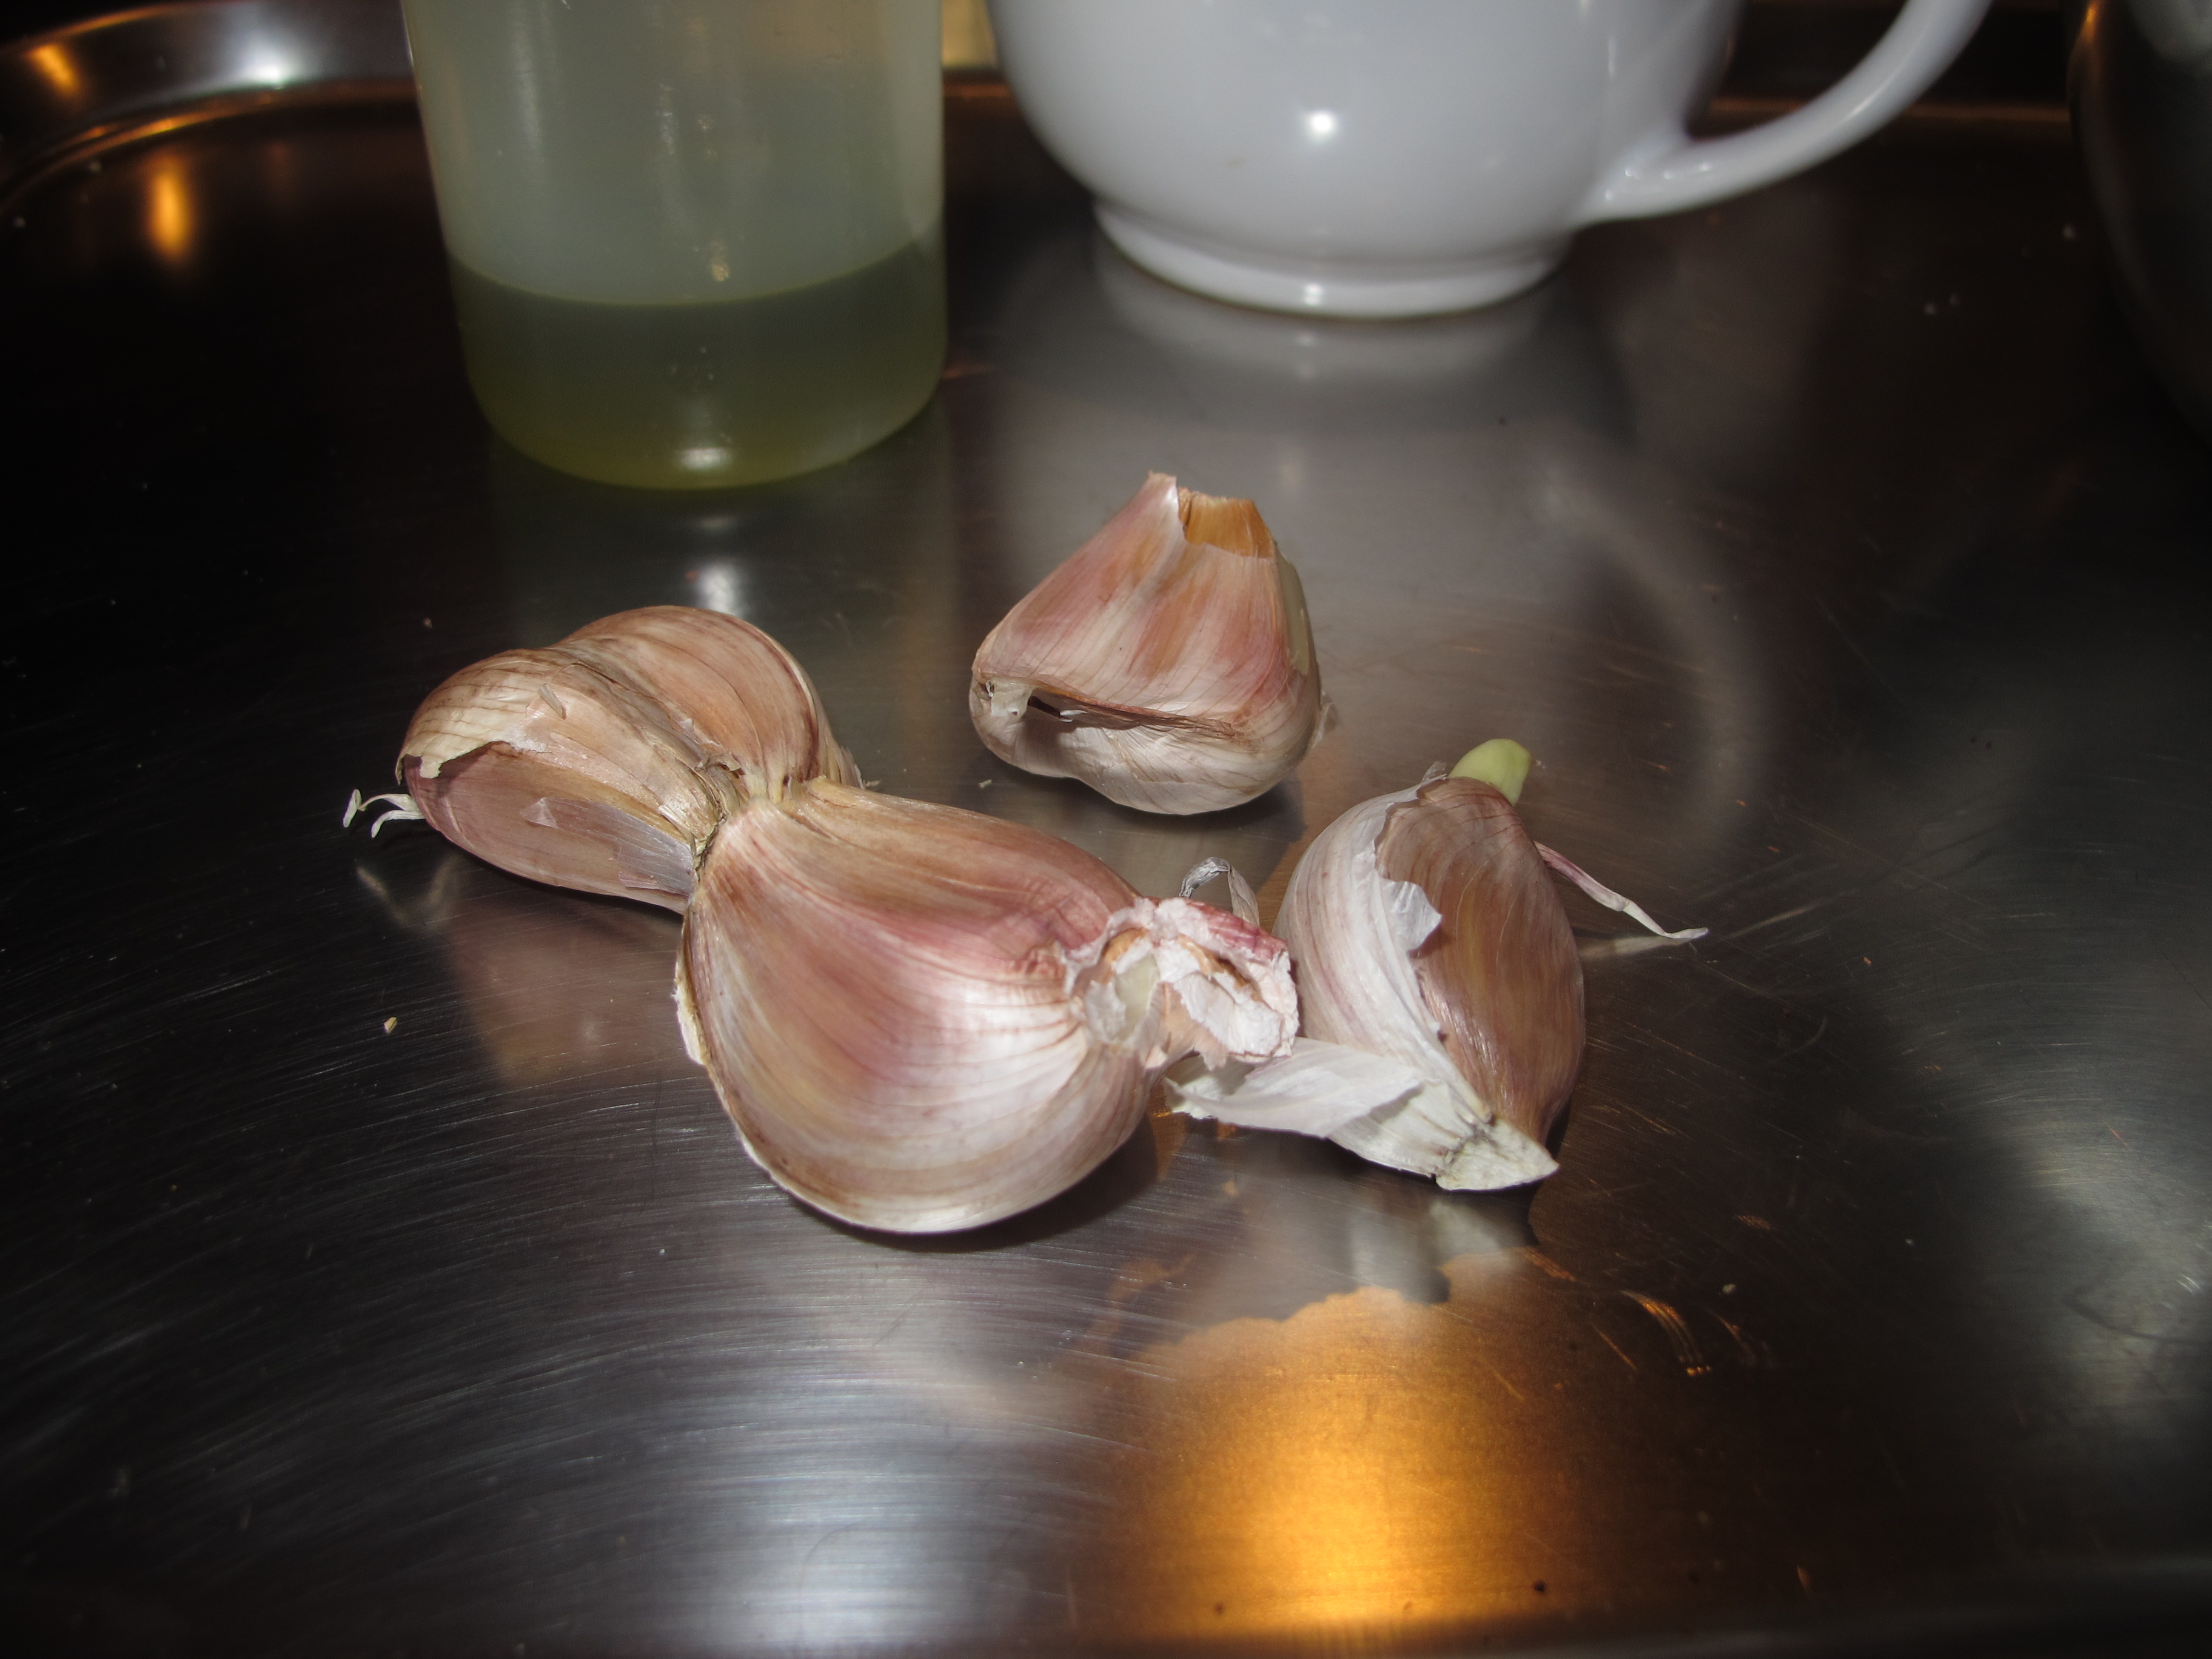
 Add 4 cloves of garlic, whole.
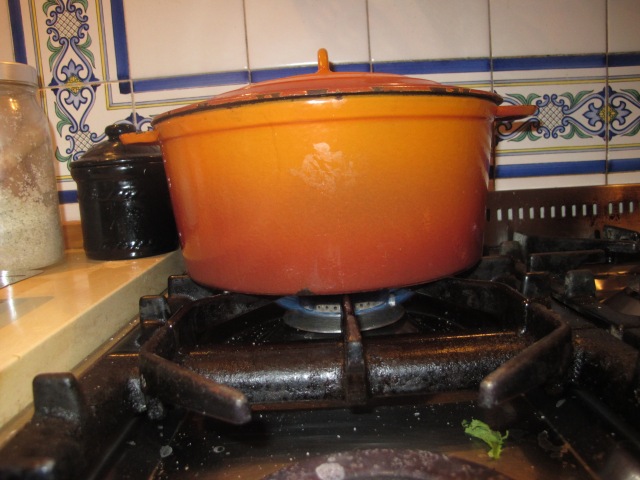 Cover with a lid and start simmering, over a low heat.
PART II – Adding Basic Vegetables for Taste
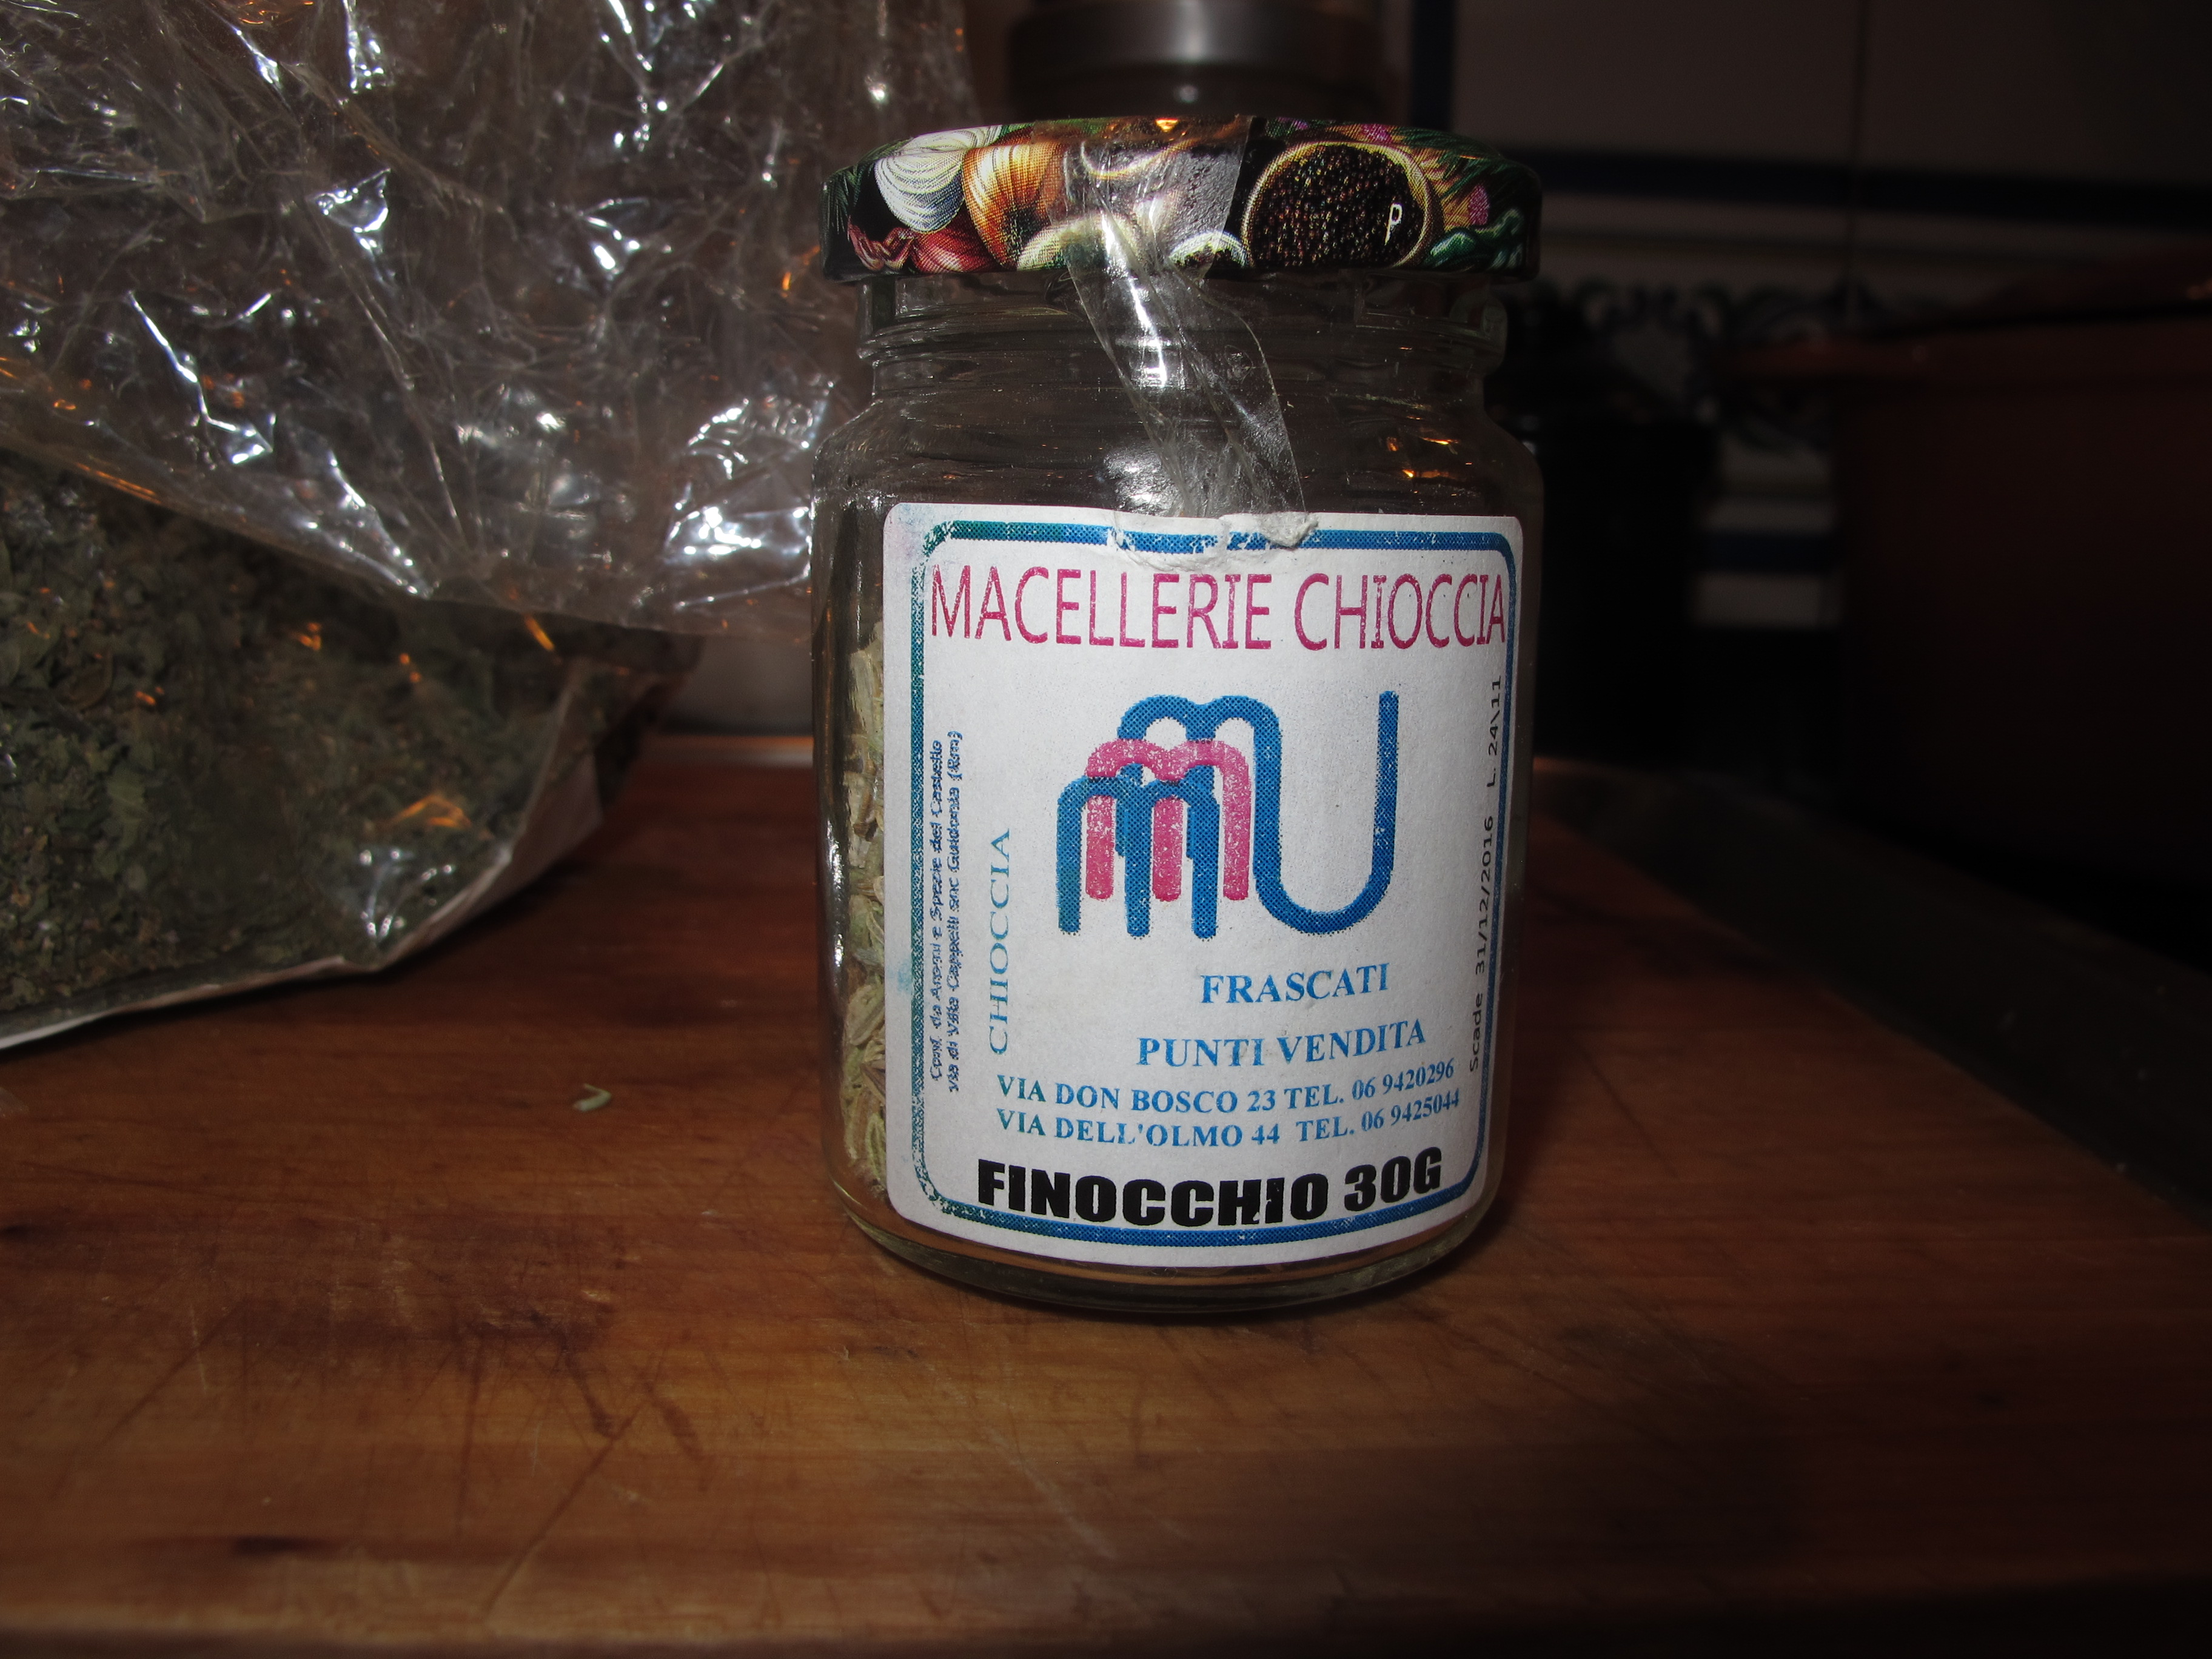
 Fennel seeds …
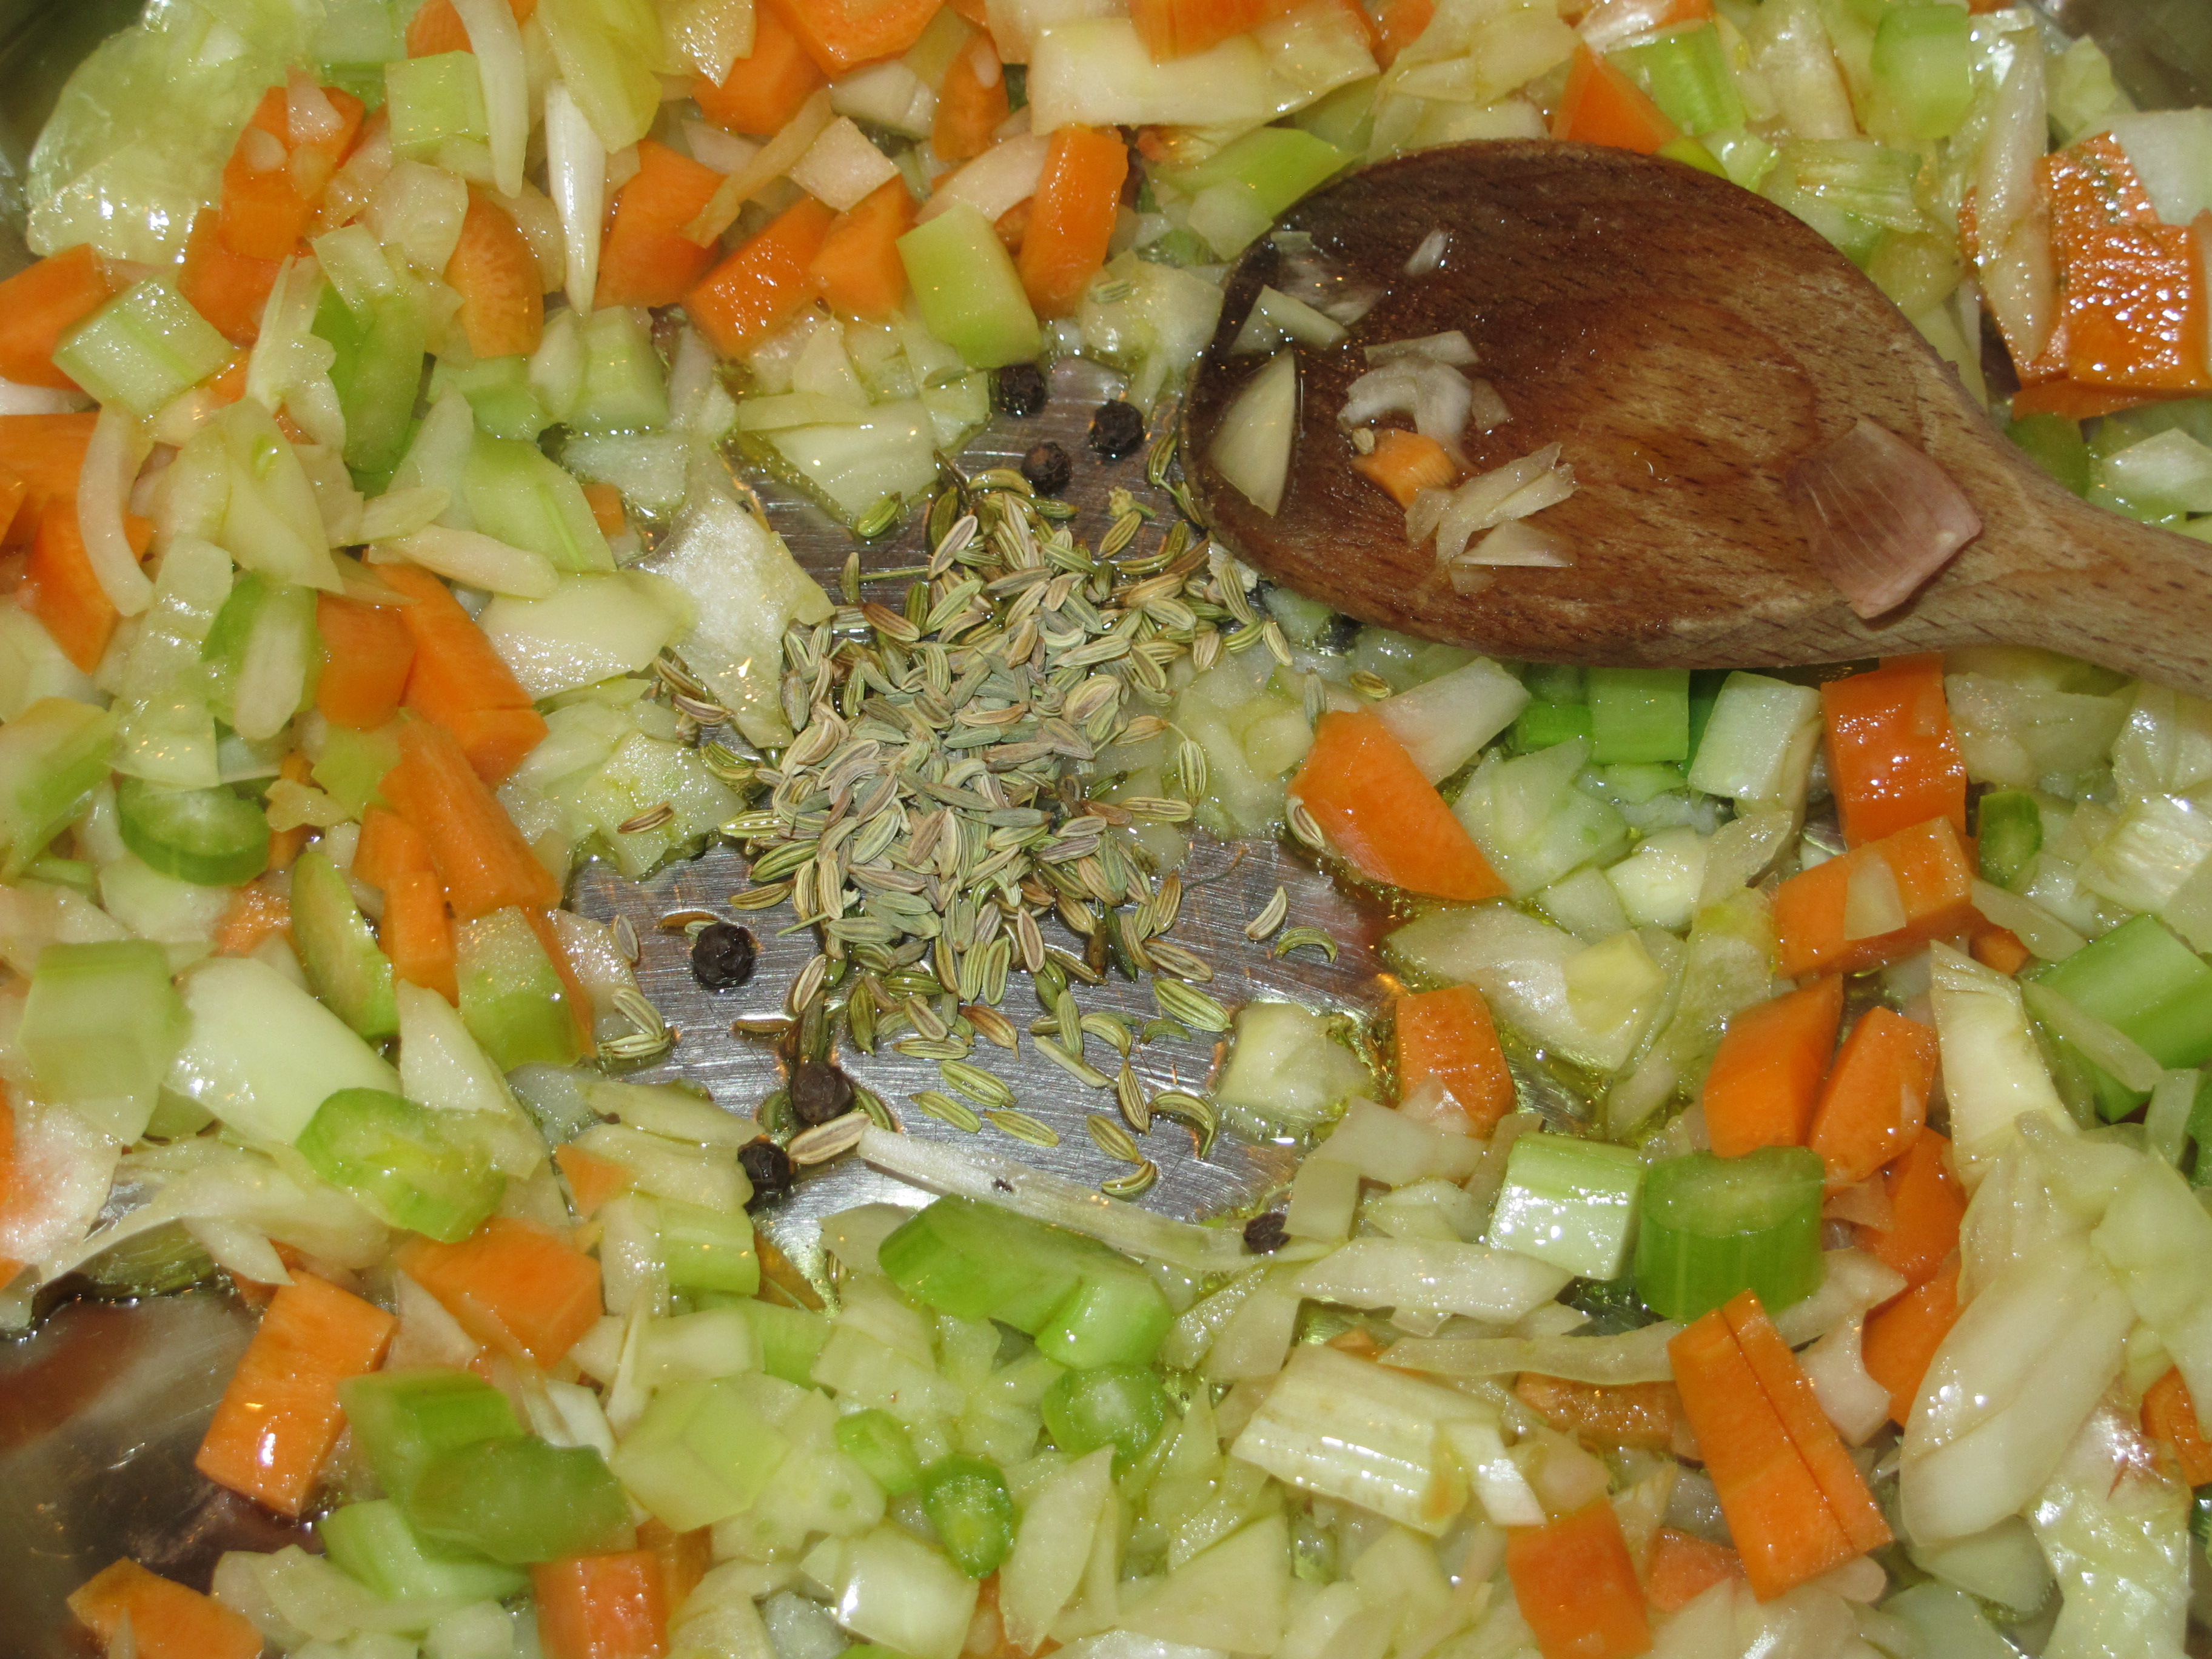
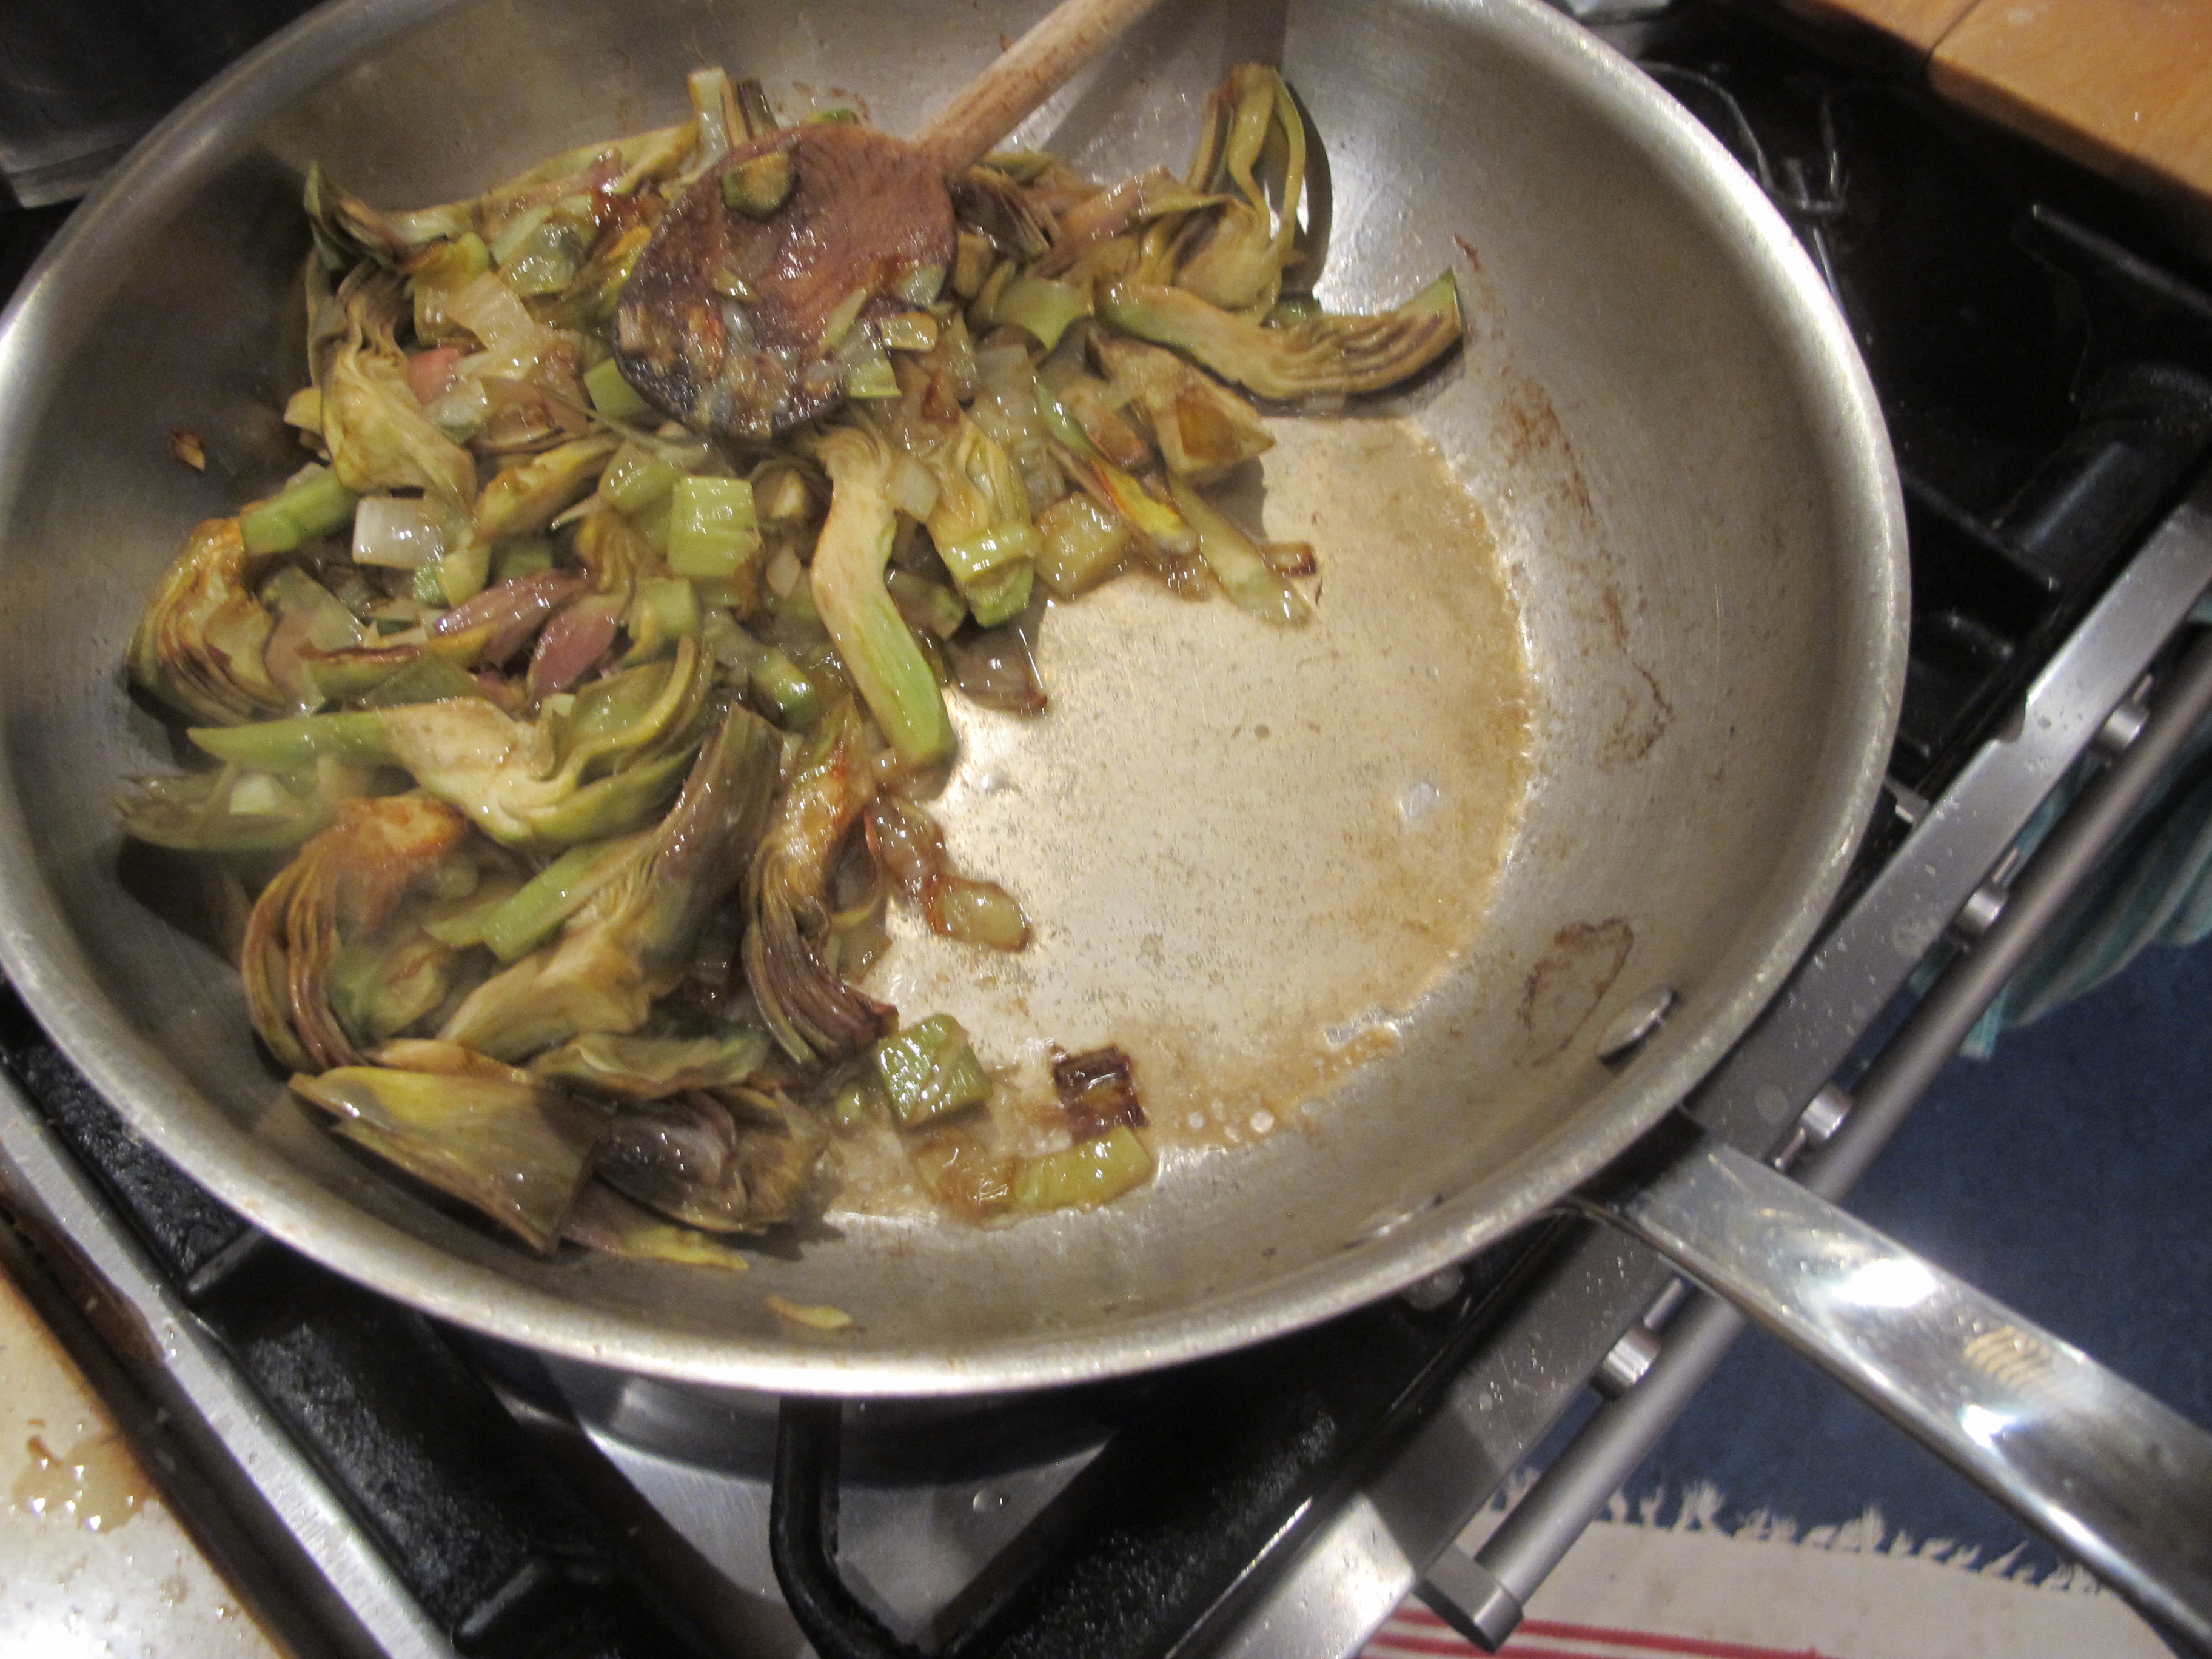
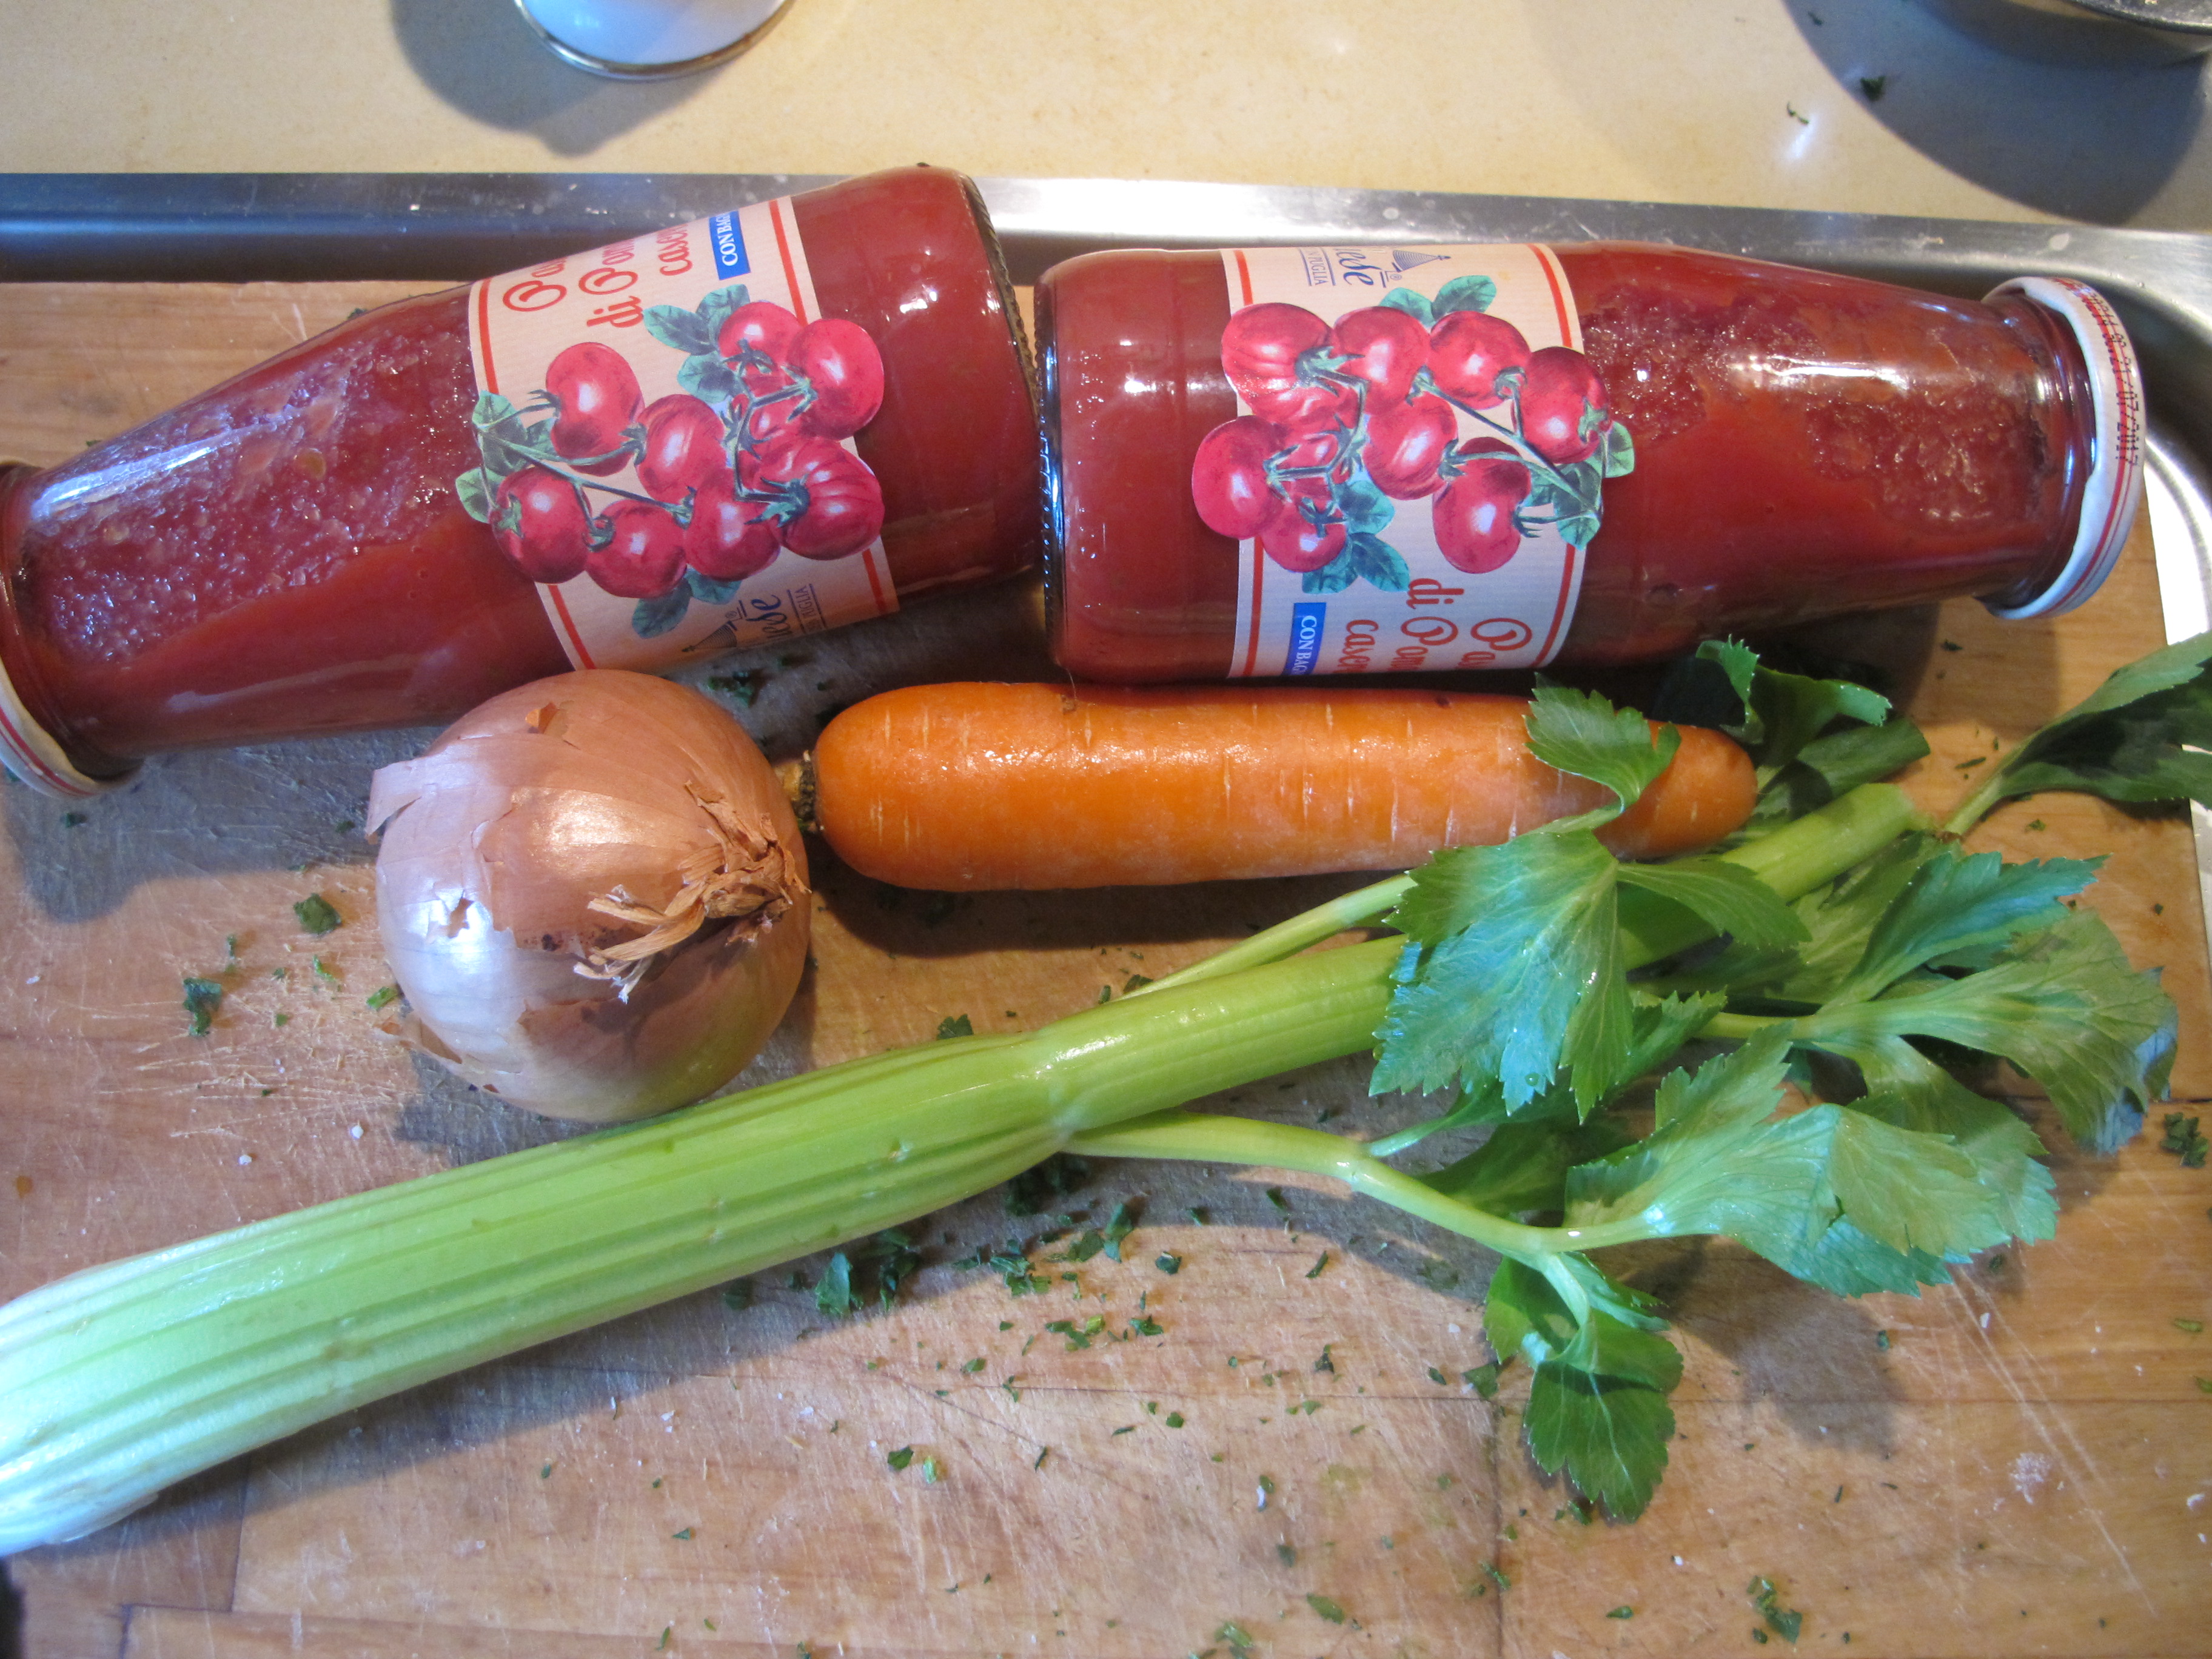
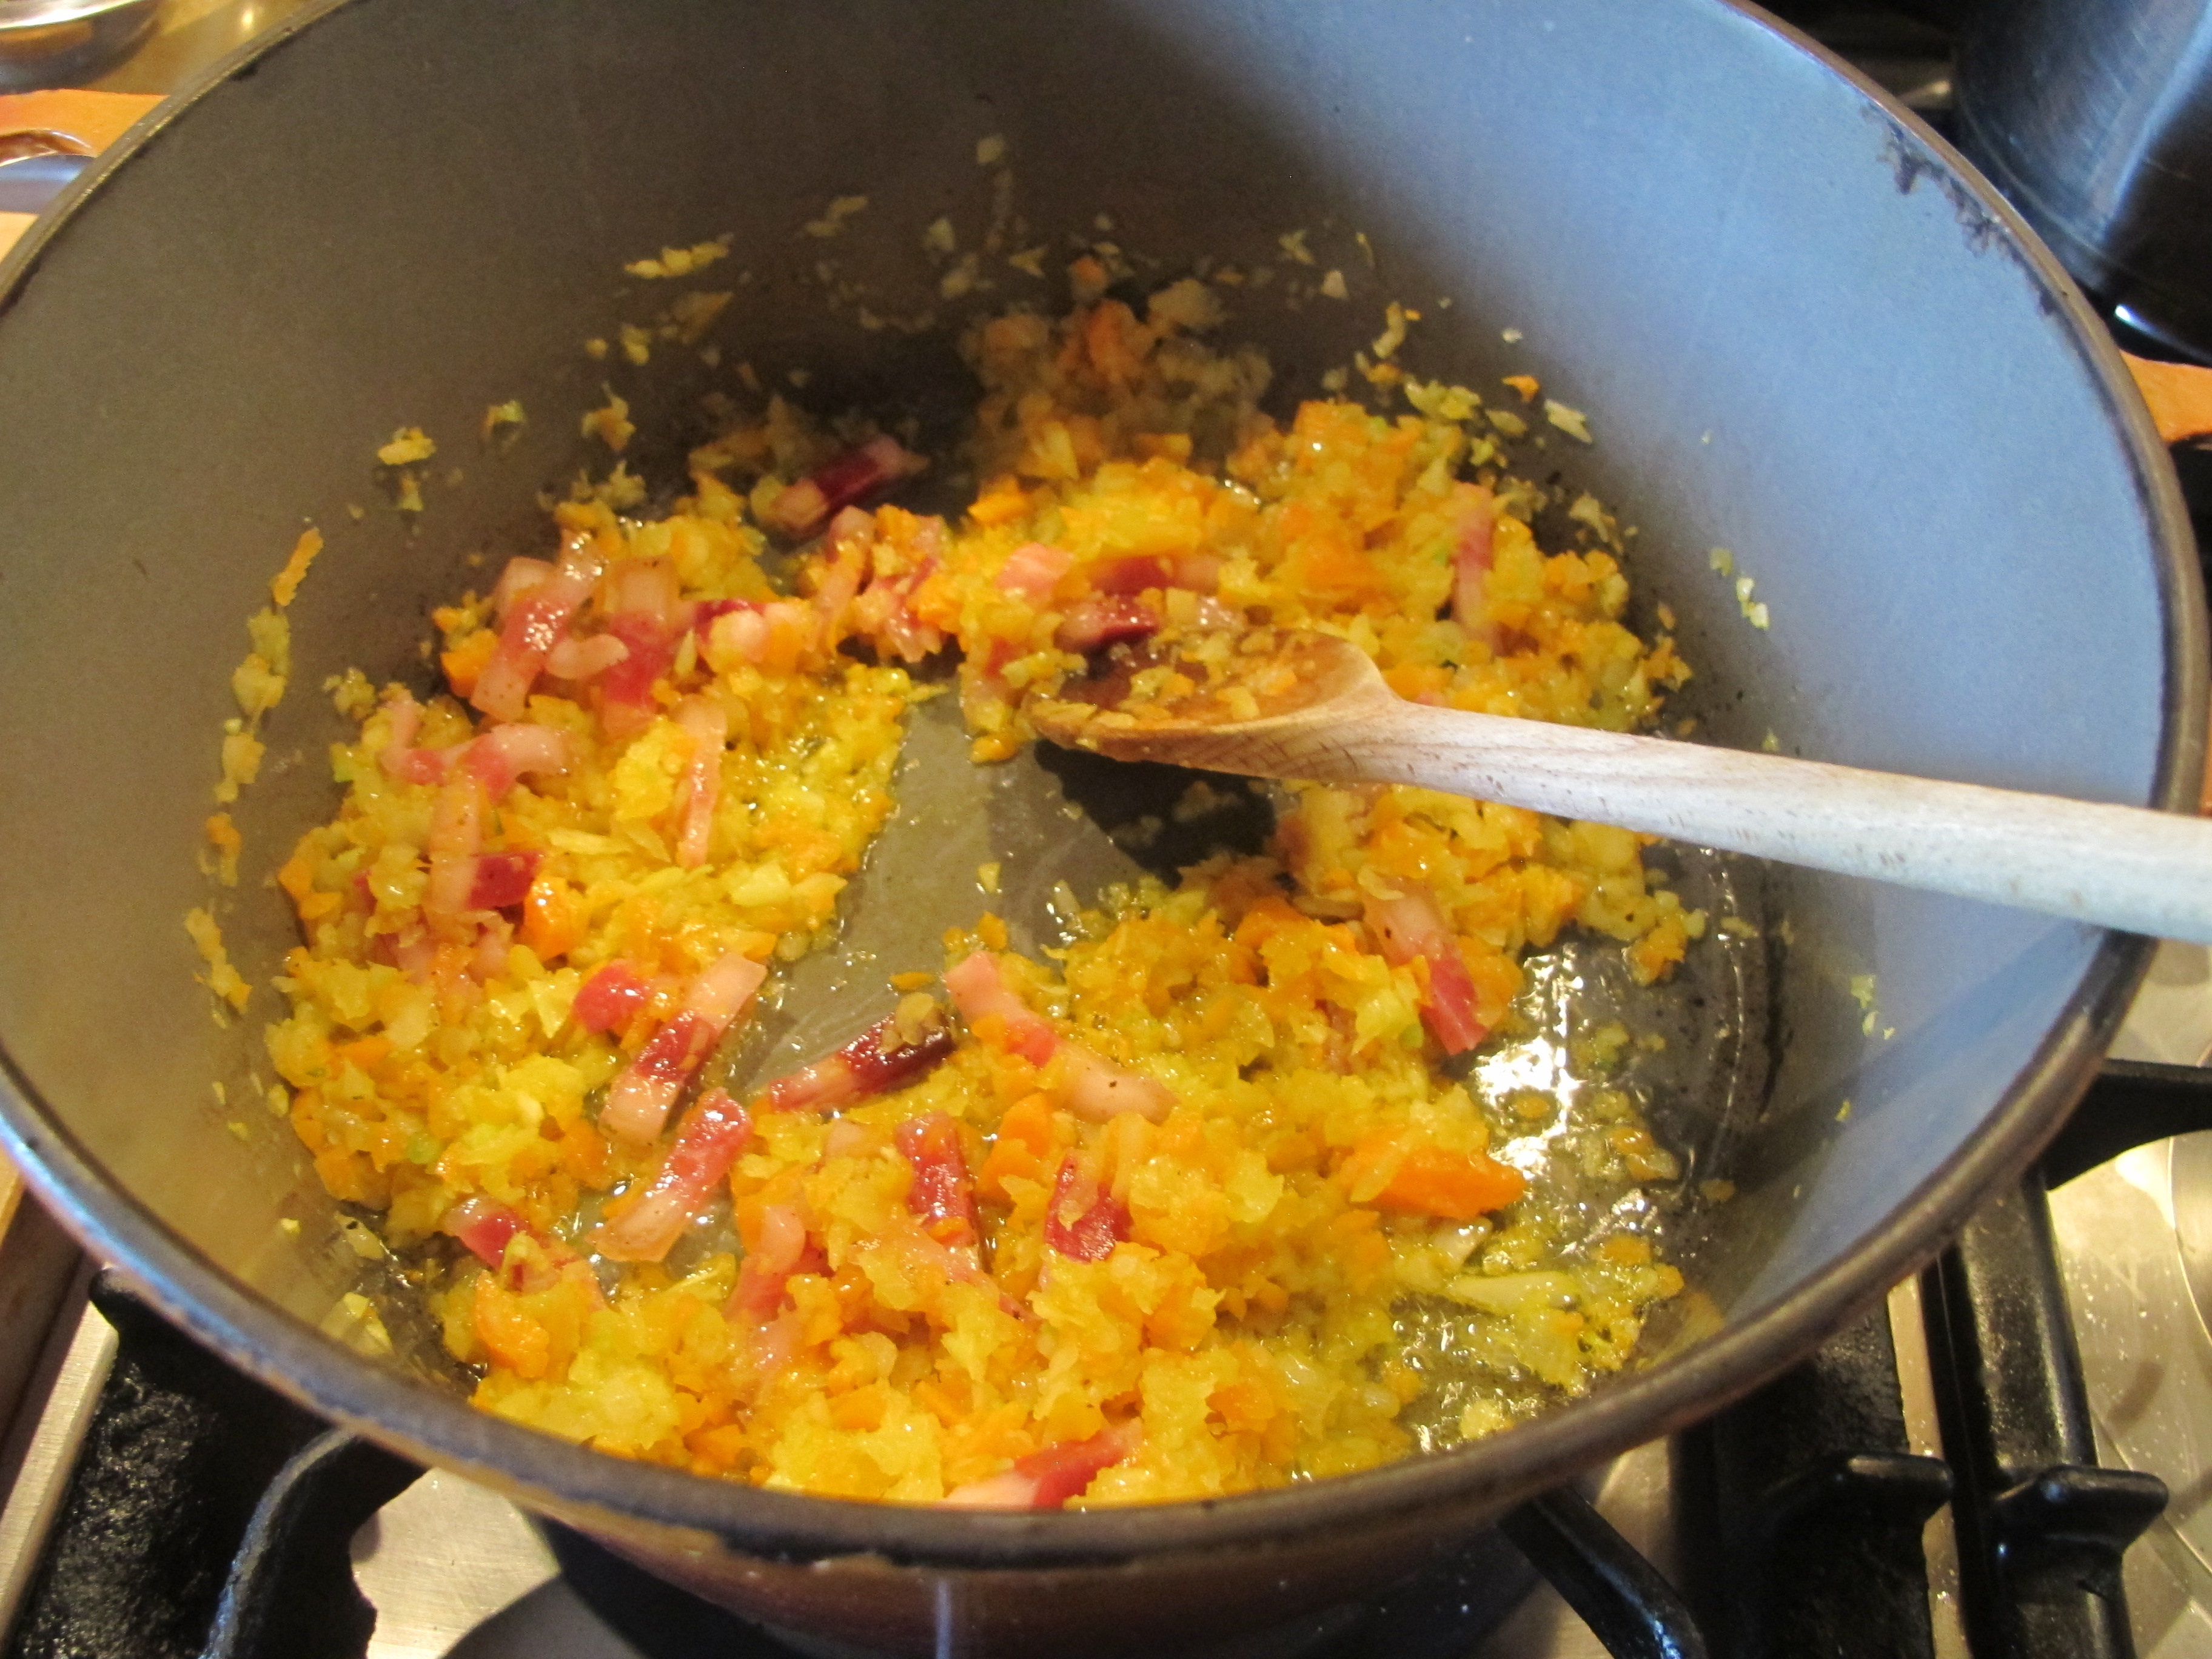
 Cut up some celery, carrot and onion … the classic Italian soffritto vegetables … and gently stew them in some evoo with a teaspoon of fennel seeds and a few cloves of black pepper.
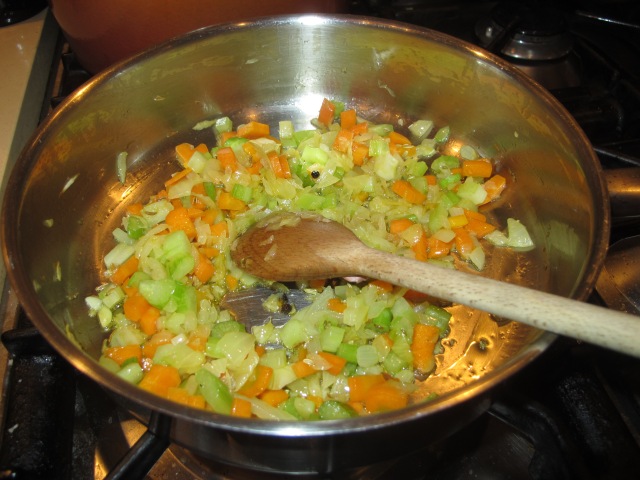 After about 12 to 15 minutes and after having sprinkled some salt over the soffritto …
 Add it to the meat and cover again. Carry on stewing.
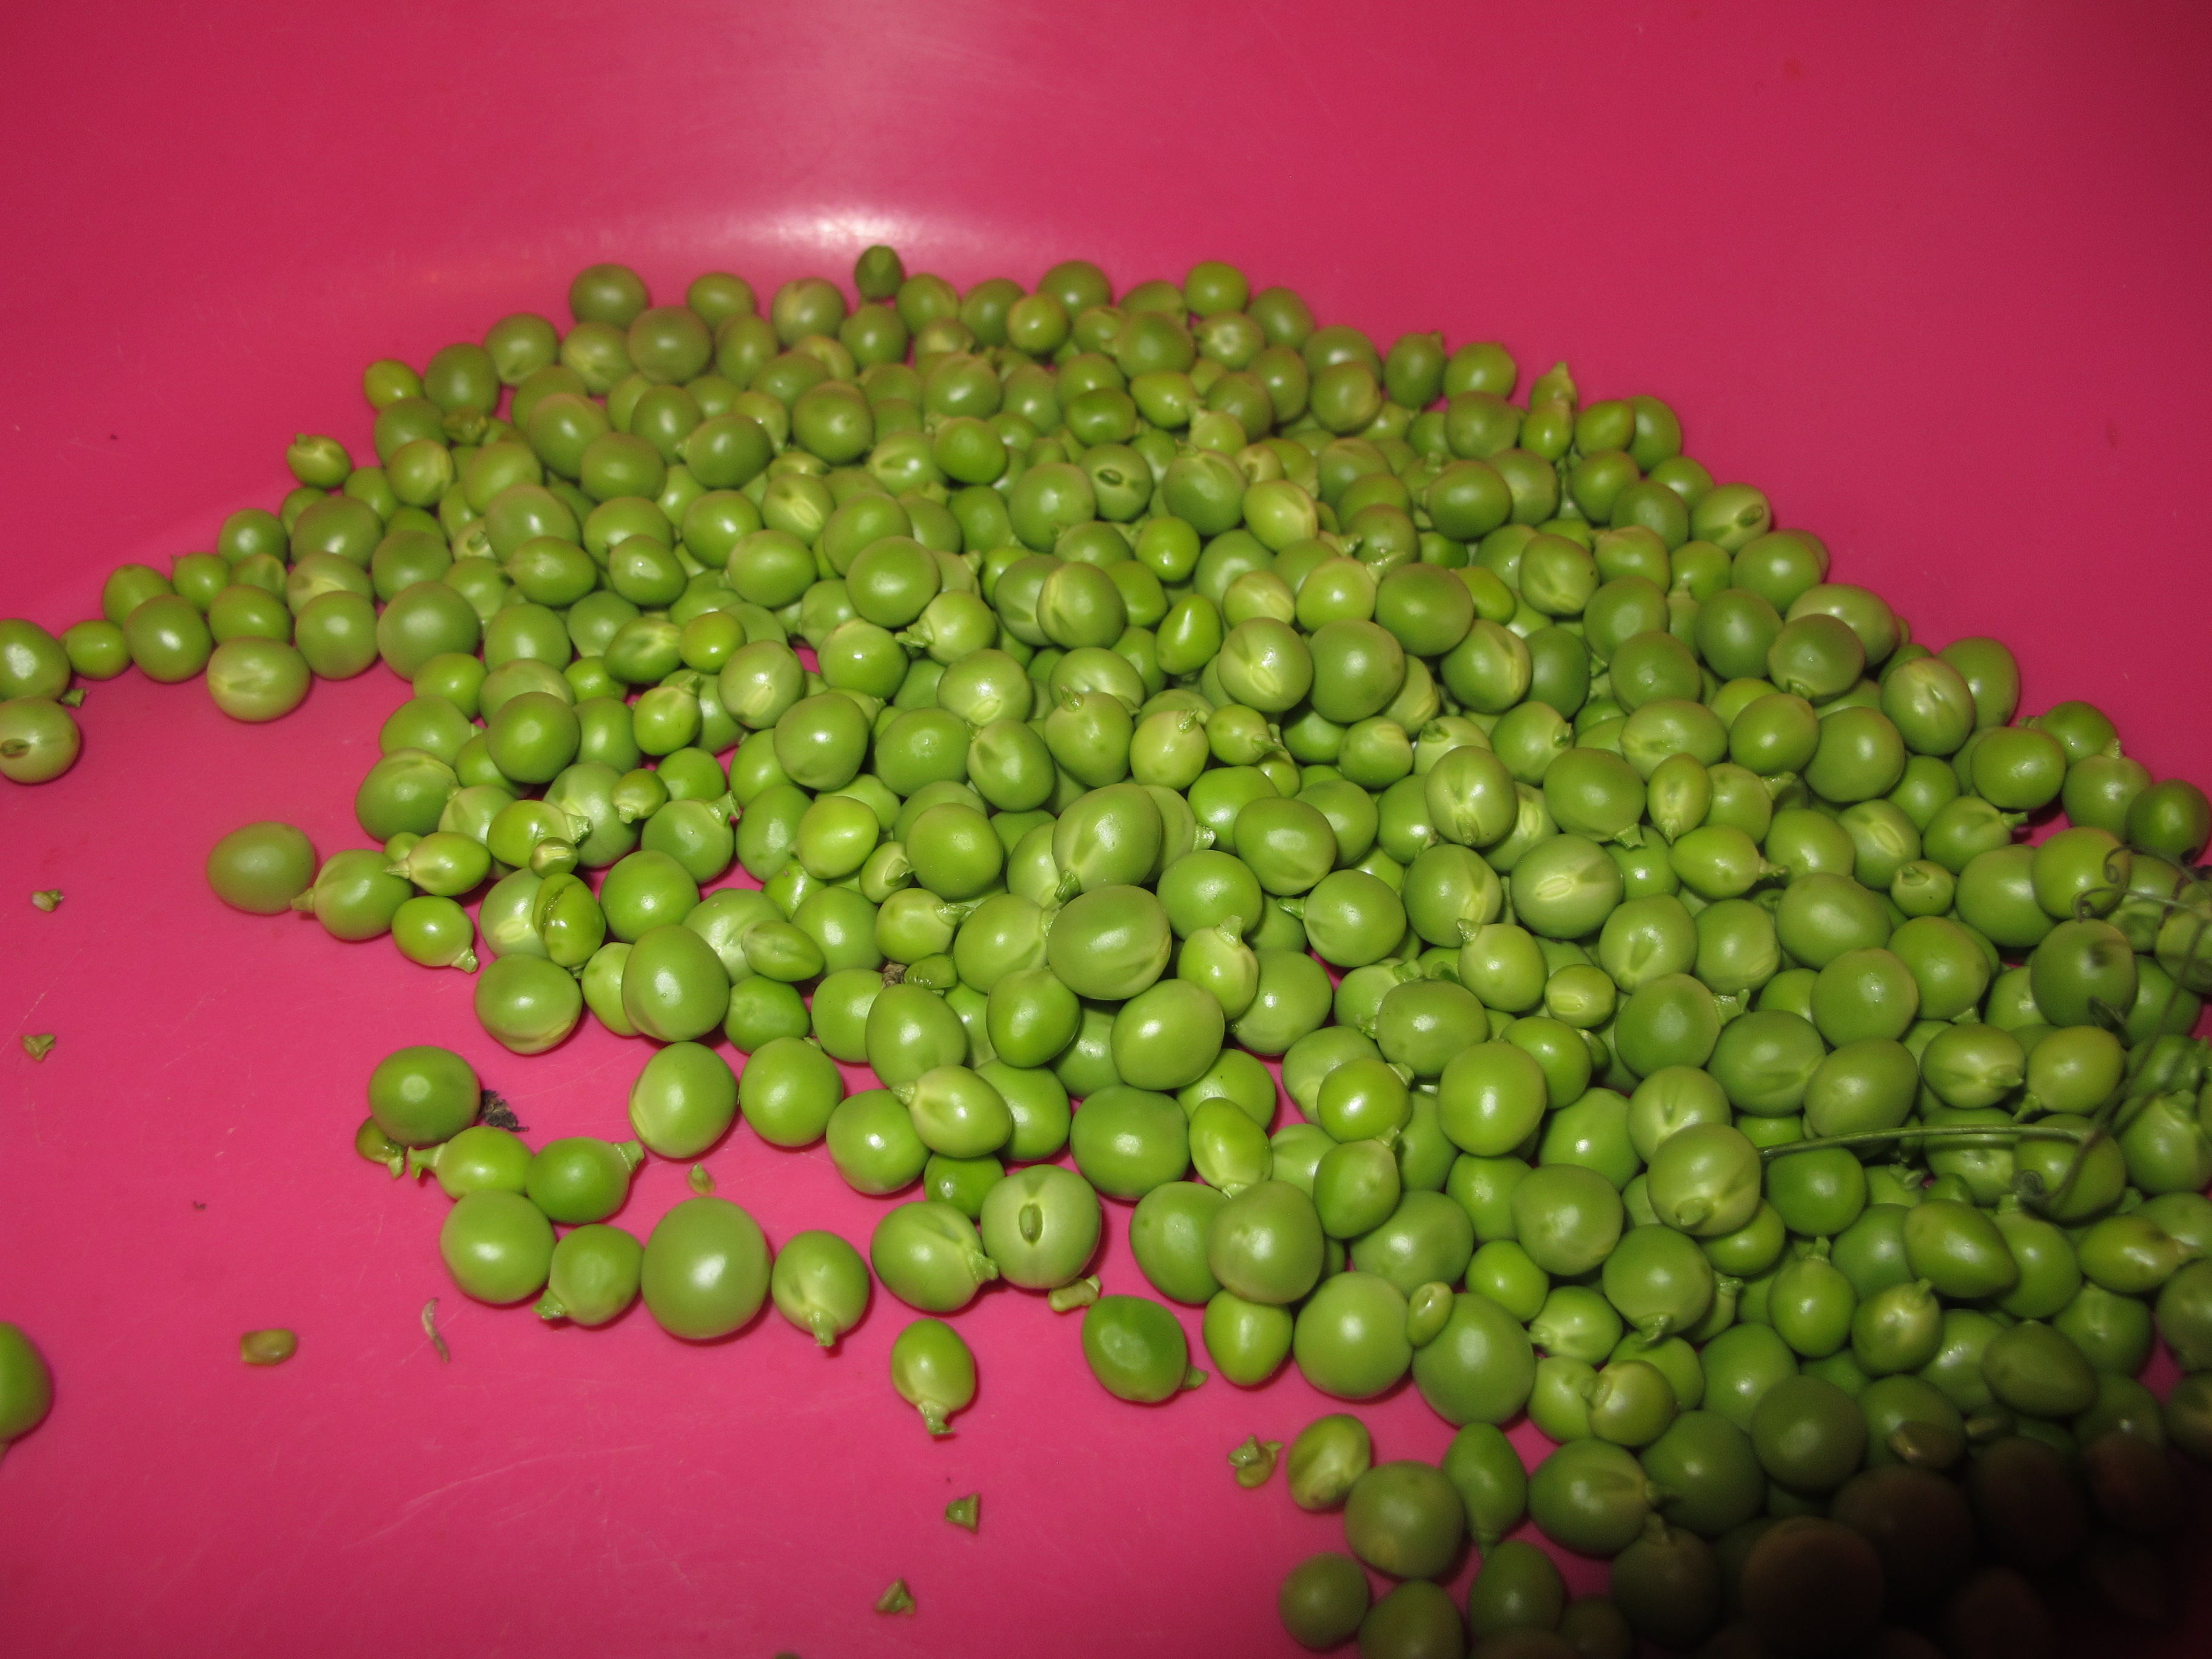
PART III – Cooking the Peas It was my saintly son who went to the trouble of shelling the peas. It is something that can be done the day before, while watching something engrossing on television.
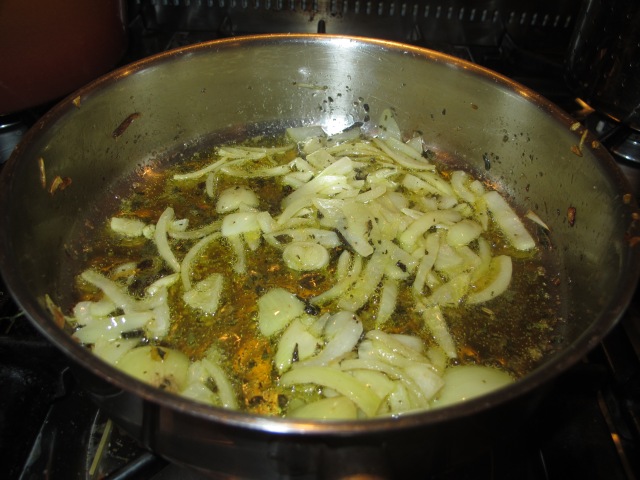 Roughly chop up one onion and cook it gently in some evoo with the addition of dry mint.
Repeat : dry mint. This will add a depth to the stew that I can’t describe but one that works beautifully, trust me. Granted the mint I obtained was the kind the Romans call ‘mentuccia’ (and a search on the internet identifies is botanically as Mentha pulegium), it’s the one that makes trippa alla romana or carciofi alla romana so delicious. I got my dry mentuccia from Maria Regina Bortolato’s line of organically grown herbs ‘Erba Regina’ (I can’t wait for the inaguration of her Castelli farm hotel in early May — http://www.youtube.com/watch?v=QcTTMf82zzY). As you can see, I tried to make my ingredients as much Lazio and Castelli-sourced as possible. And yes, the evoo too … it is Quattrociocchi’s and hails from the area near Alatri, in Lazio’s Ciociaria land.
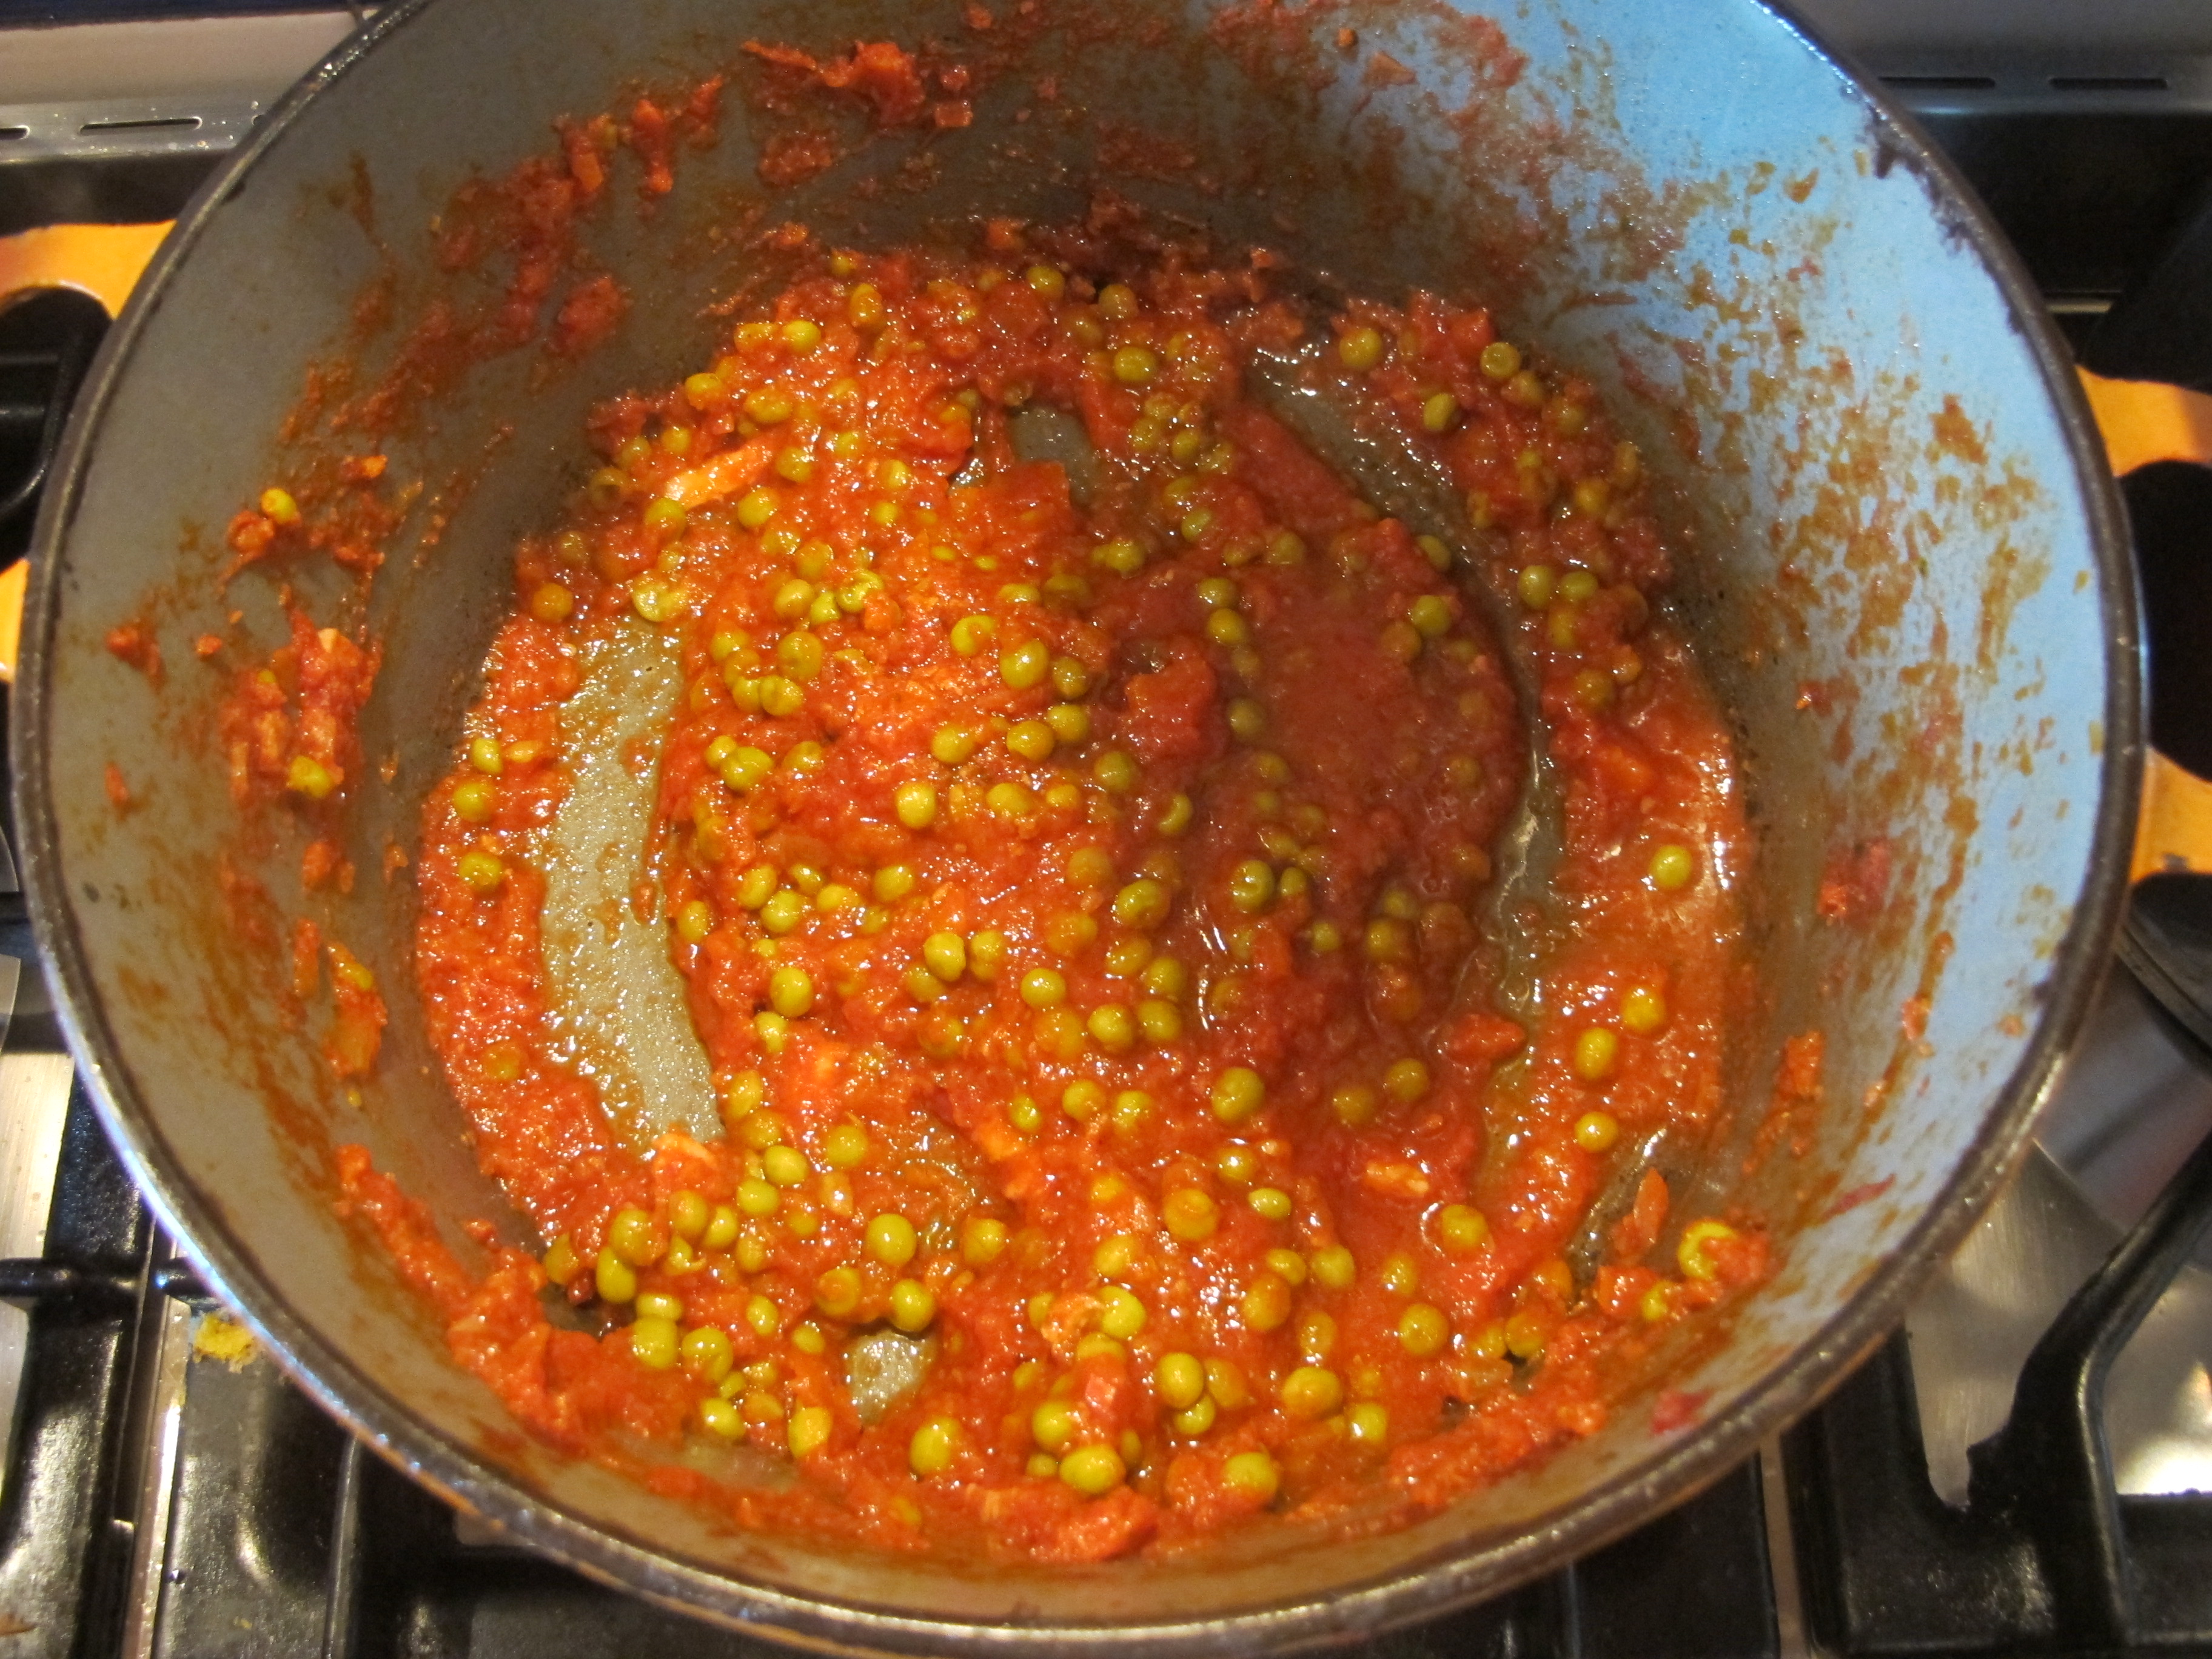
Anyway, on with the recipe.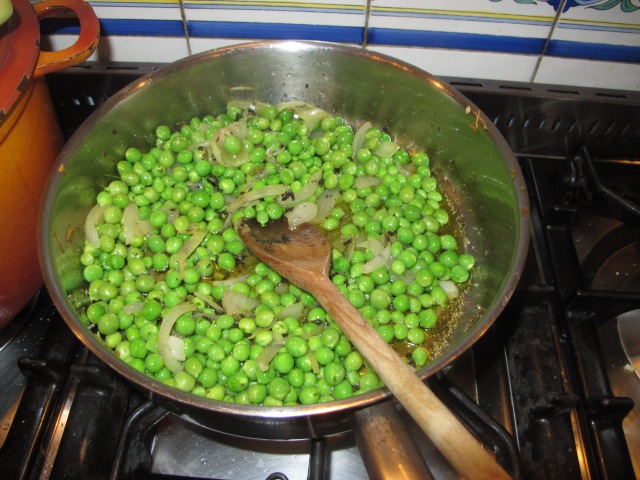 Add one teaspoon of sugar to the peas, as well as a good pinch of salt.
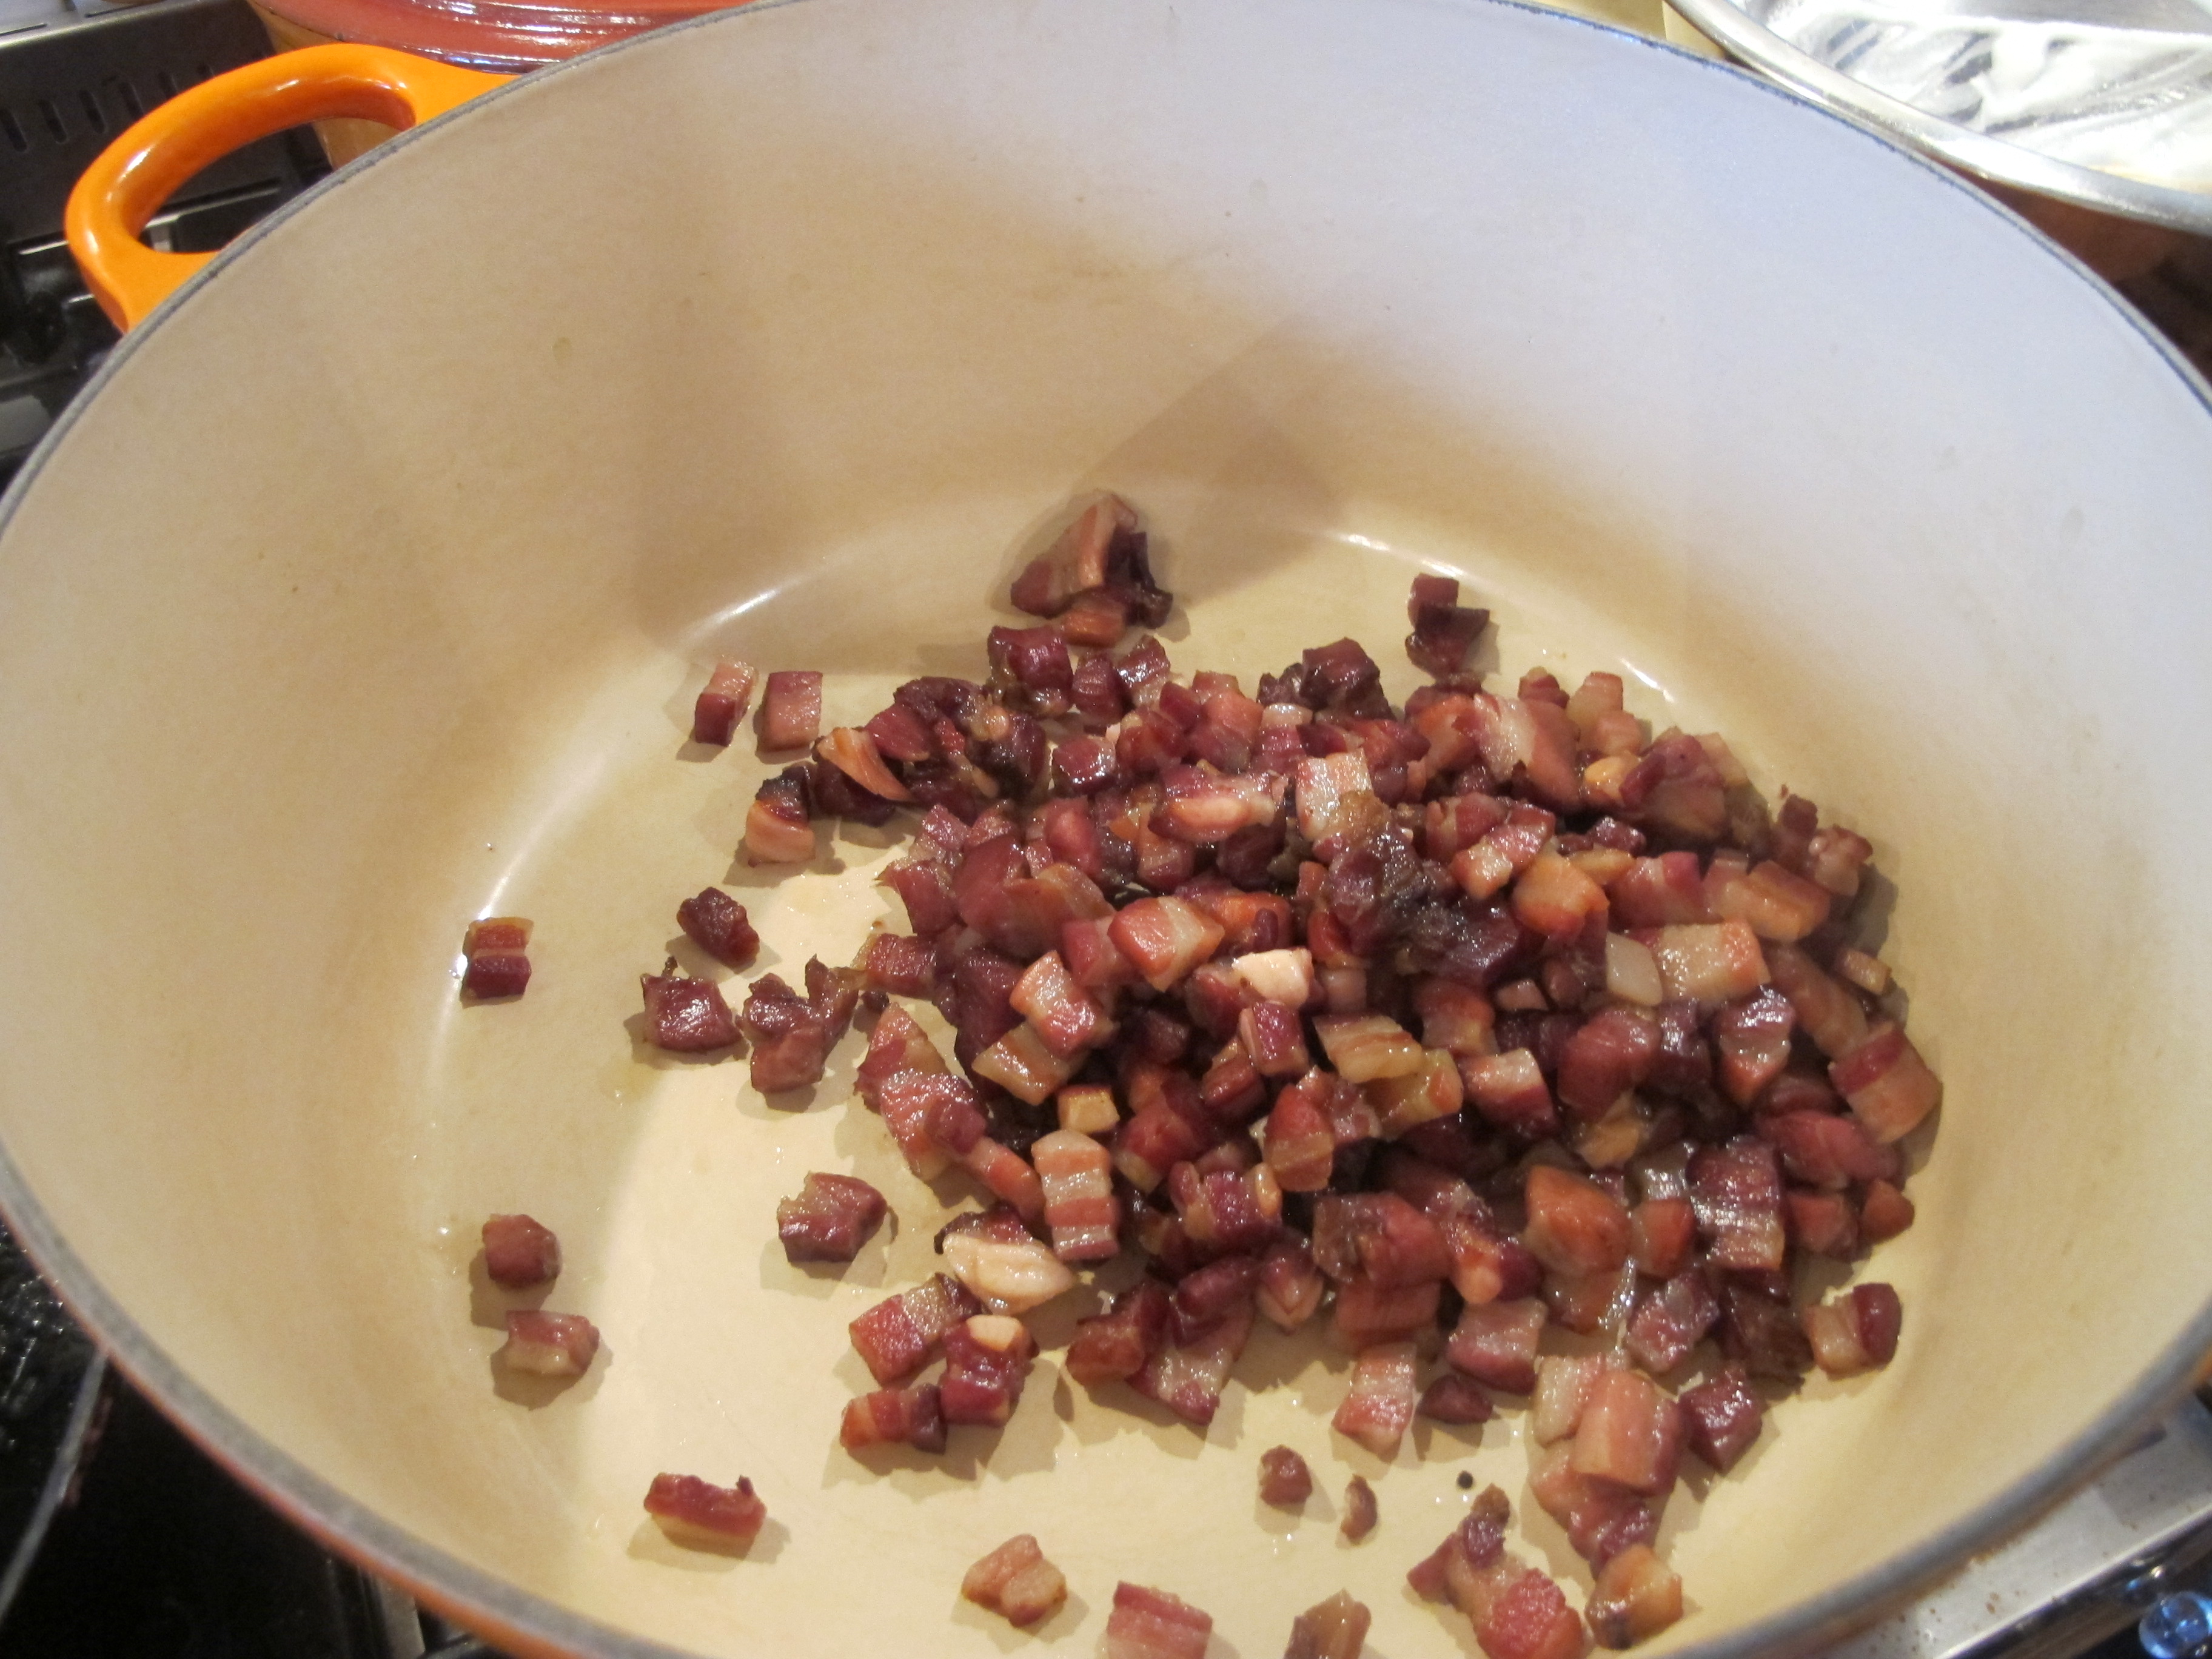
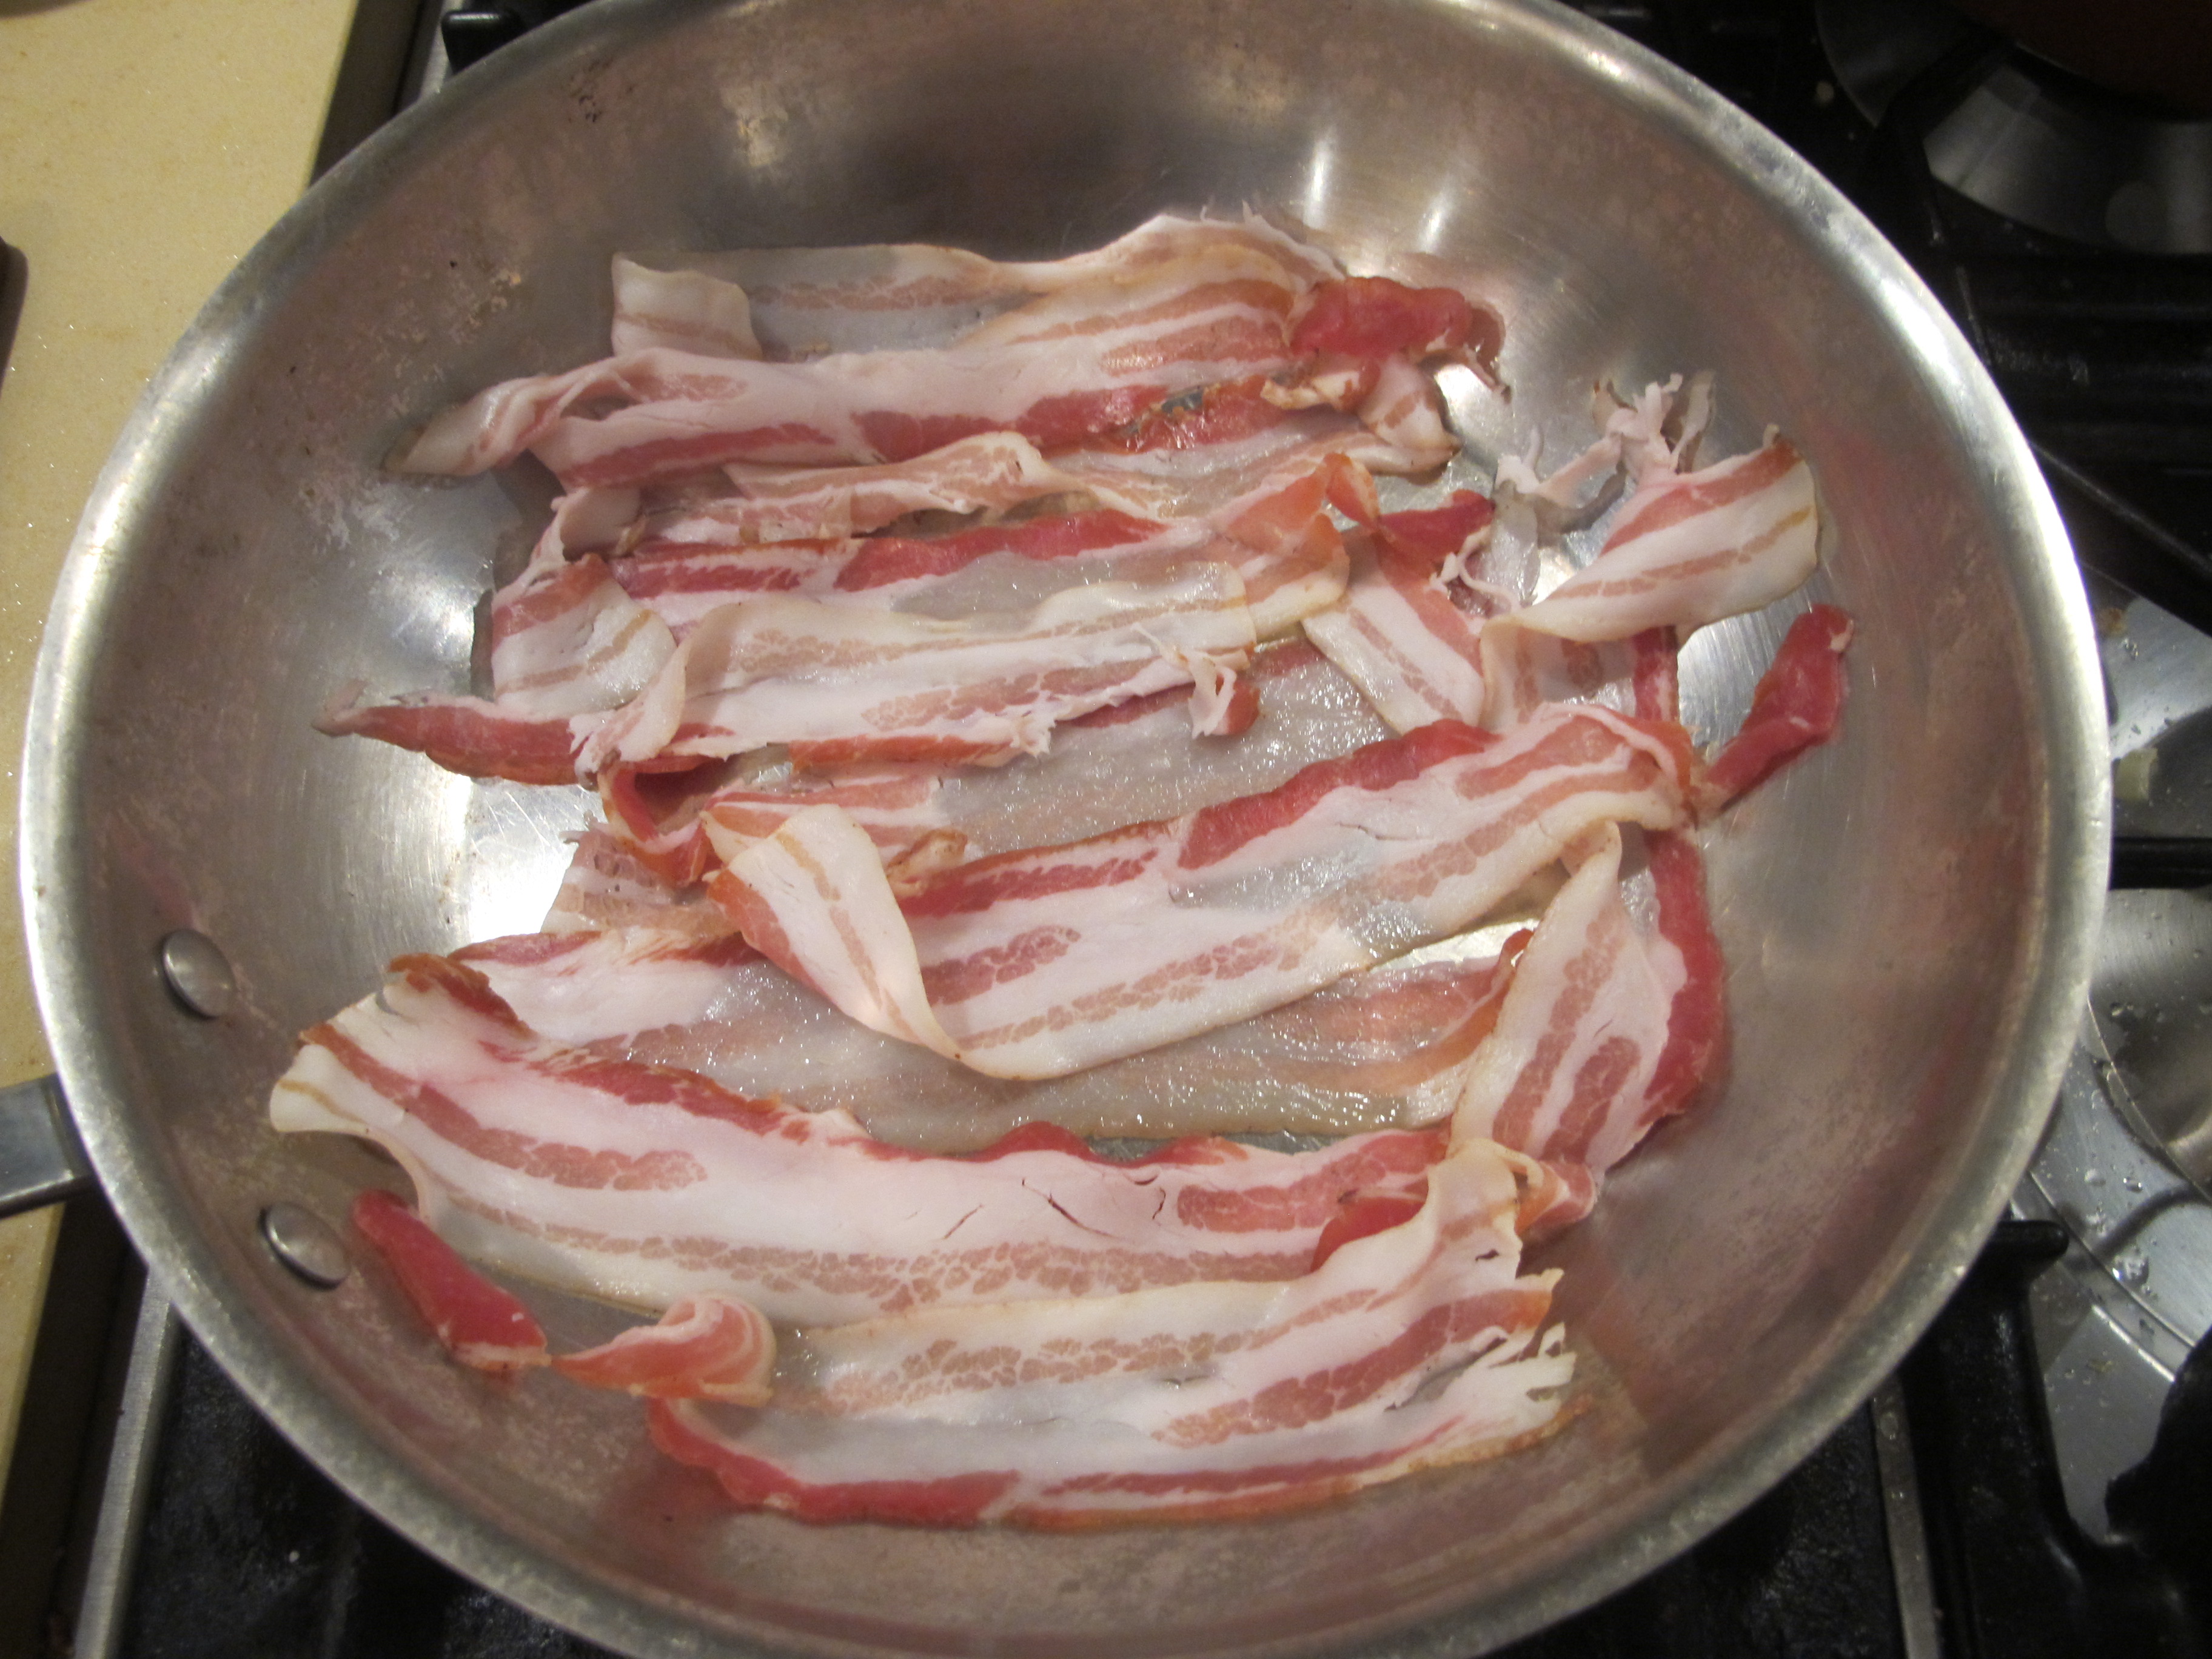
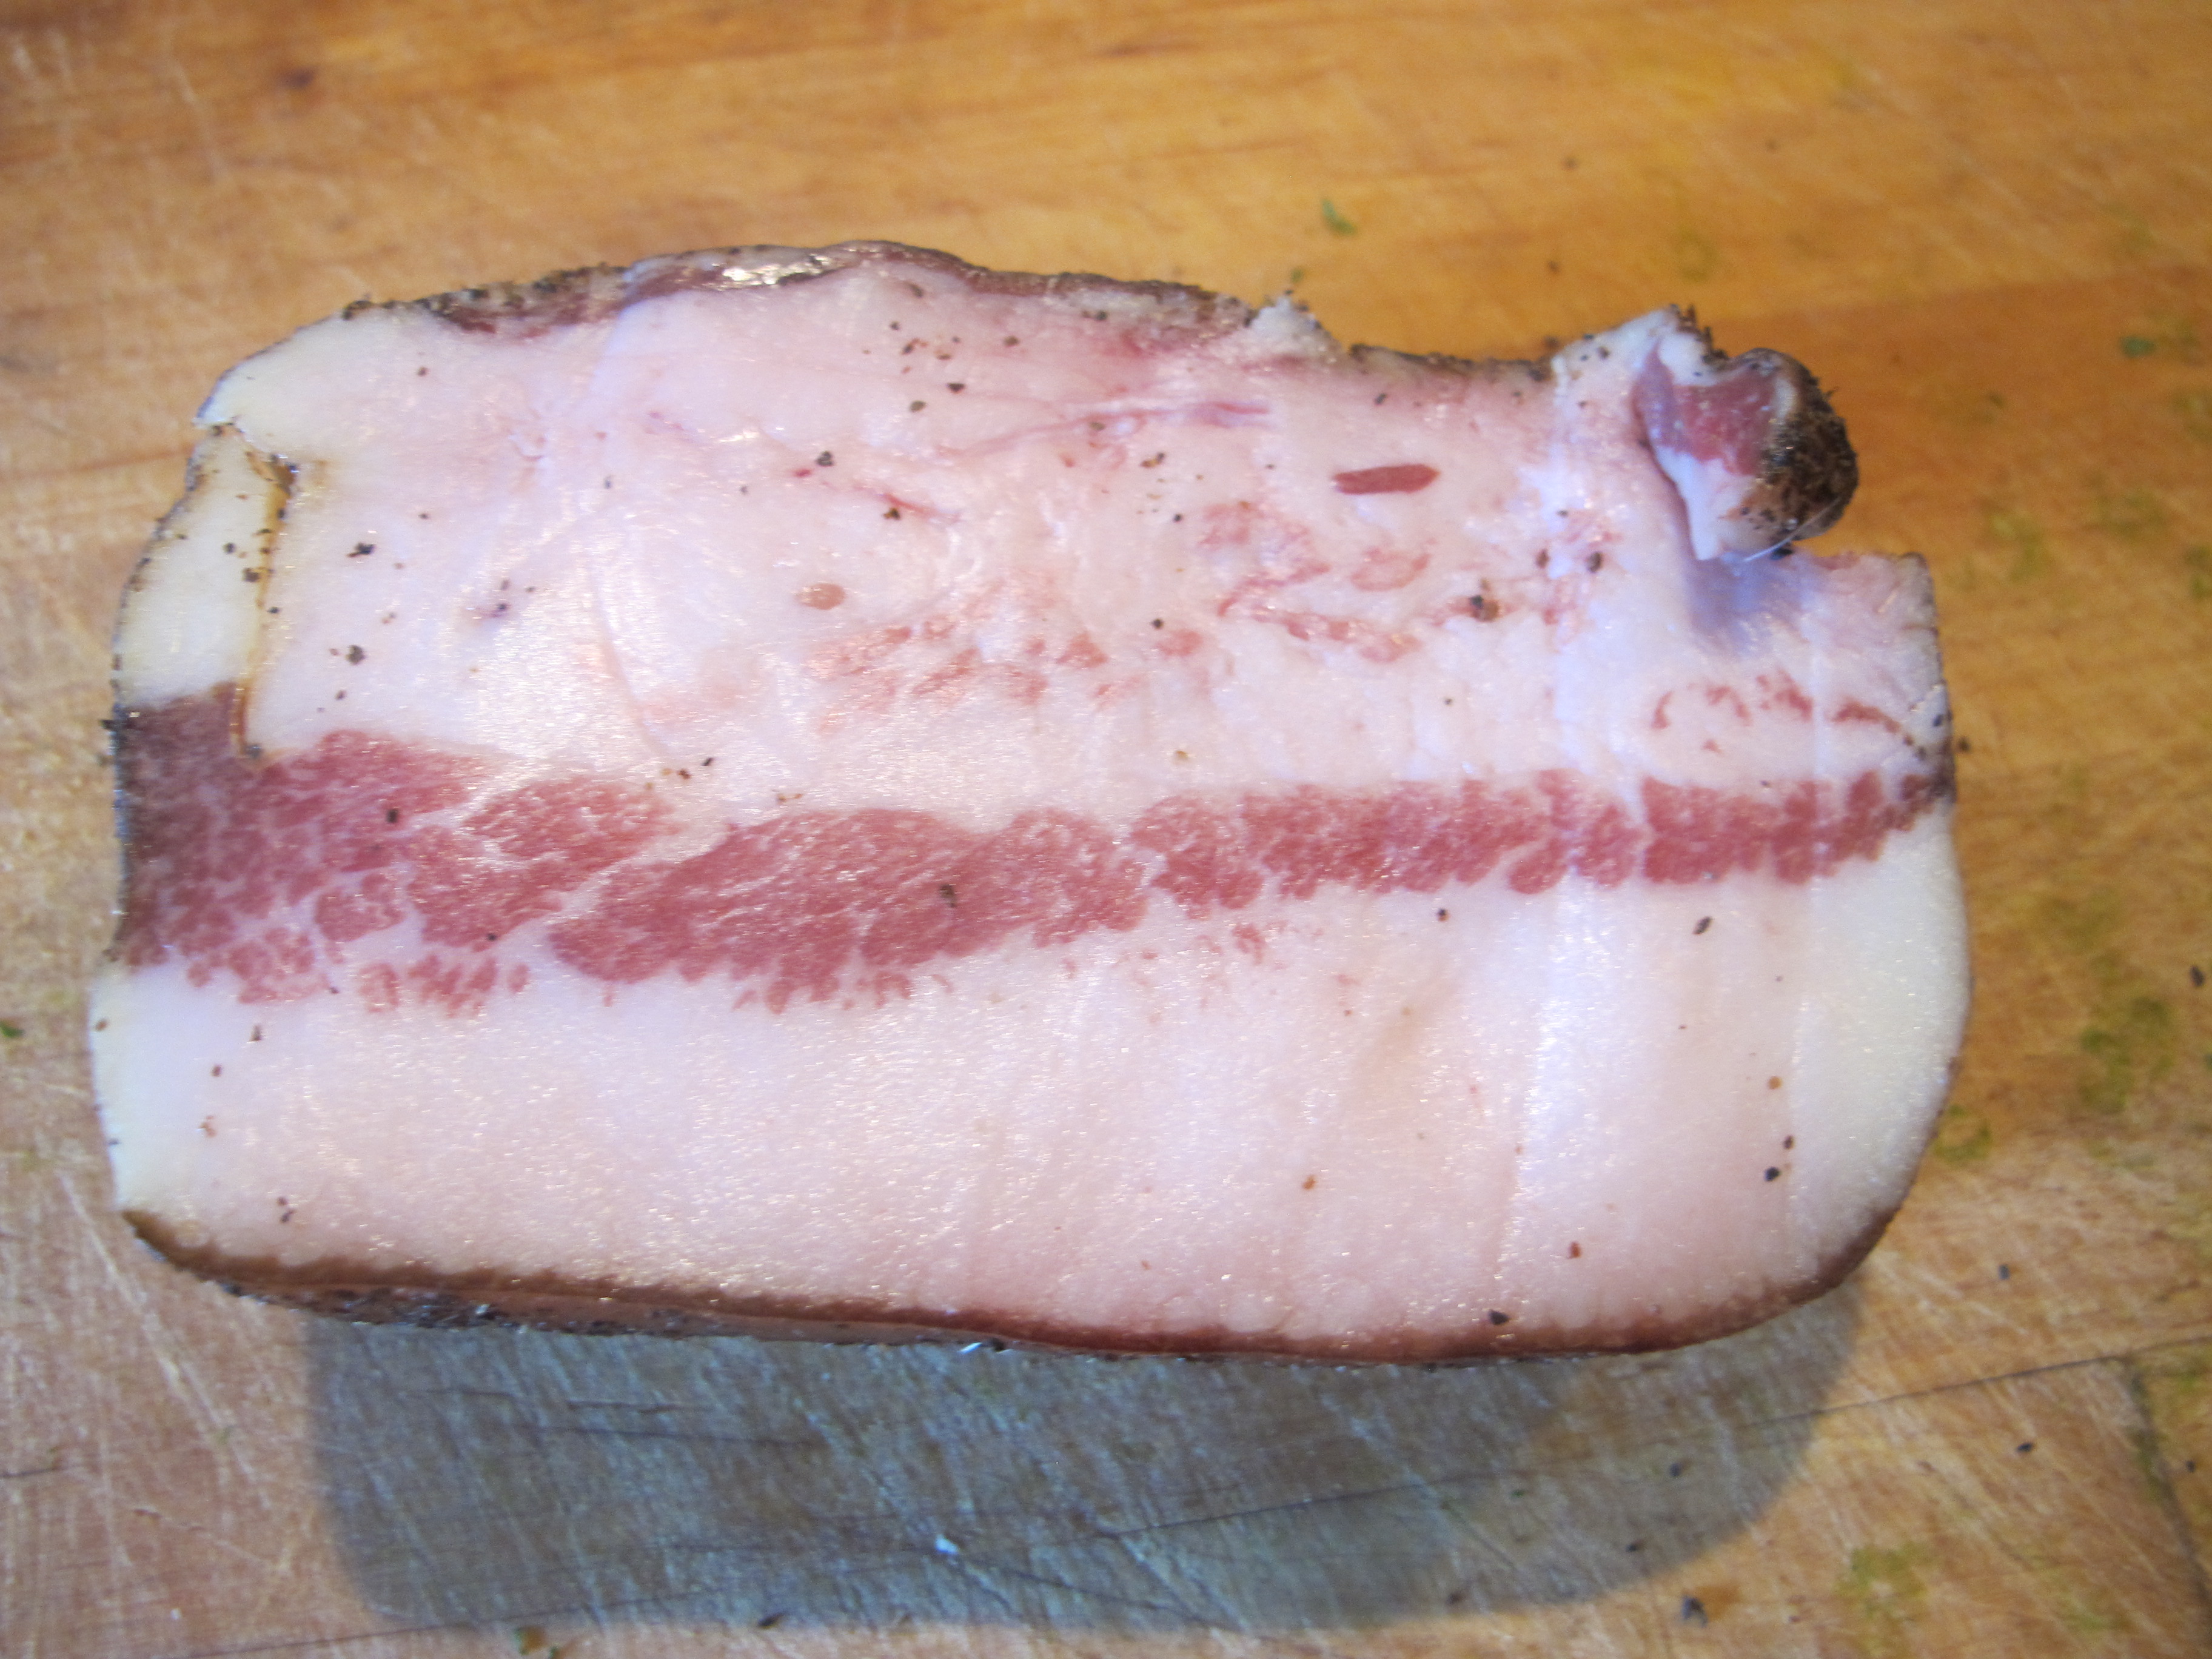
 Then add a few strands of either guanciale or pancetta. I prefer the guanciale, myself, but either will do. Add two ladles of water and cover the peas and cook until they are tender (this took a lot longer than I thought, half an hour). Set aside.
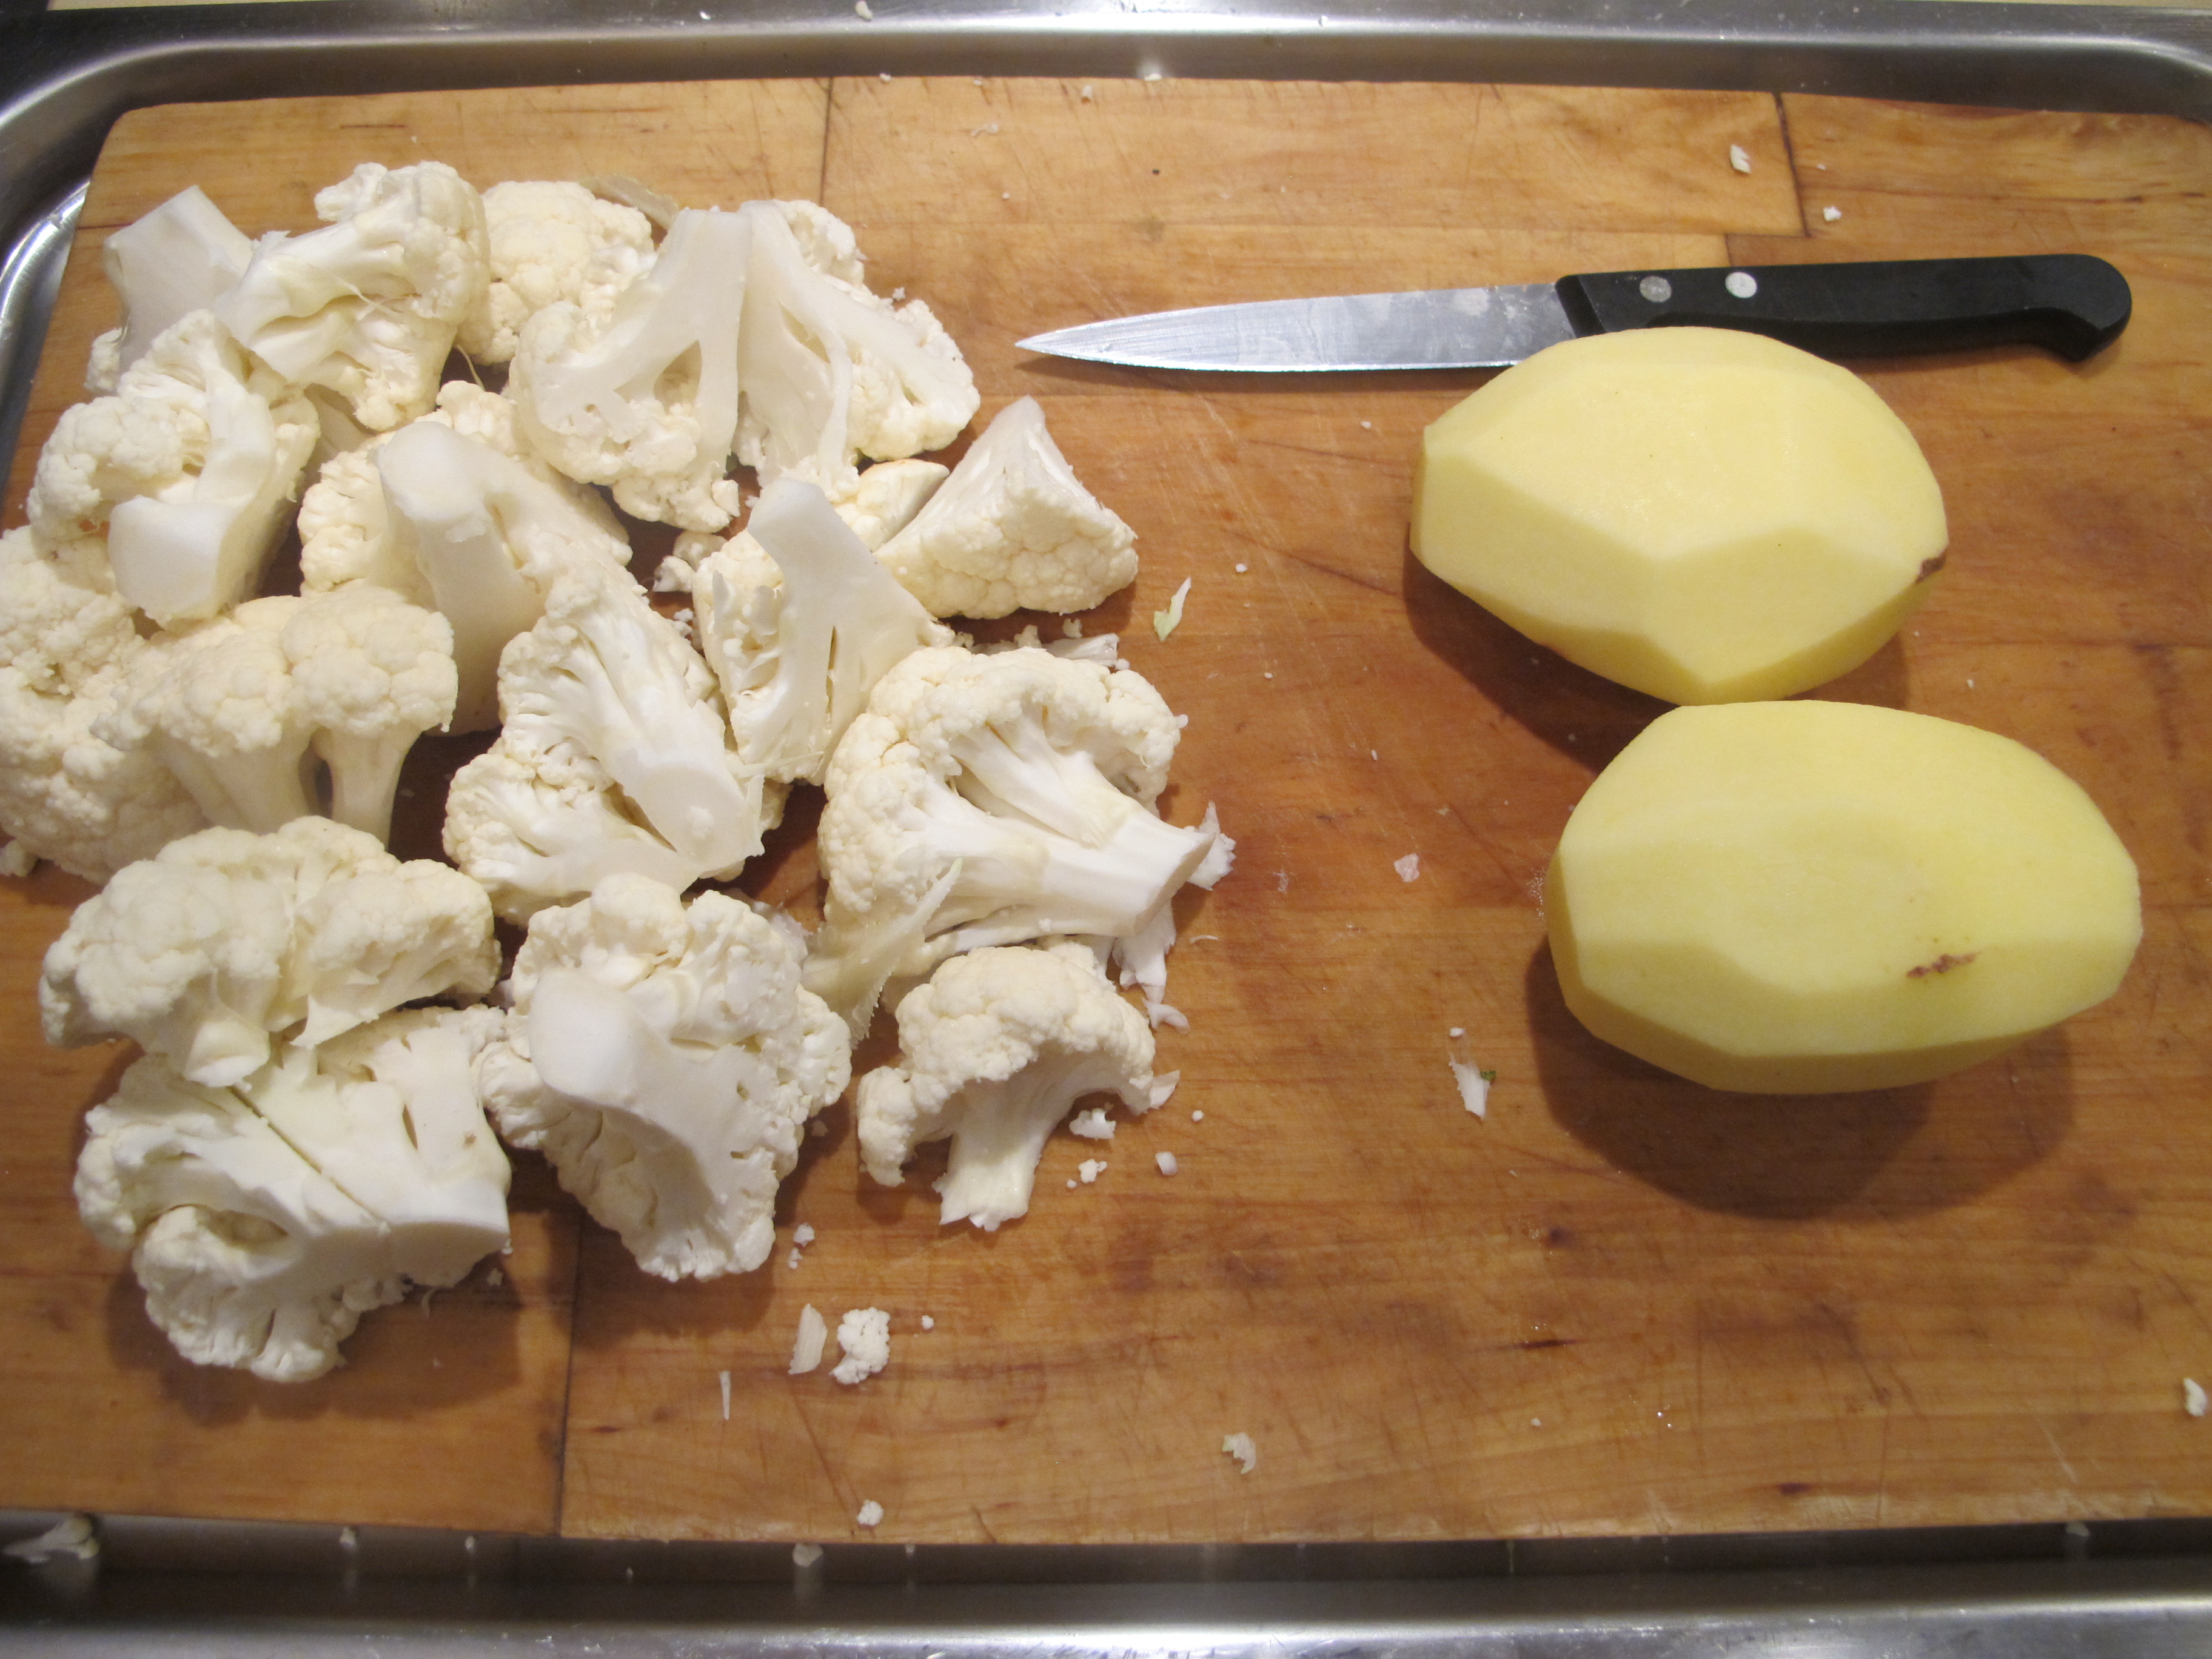
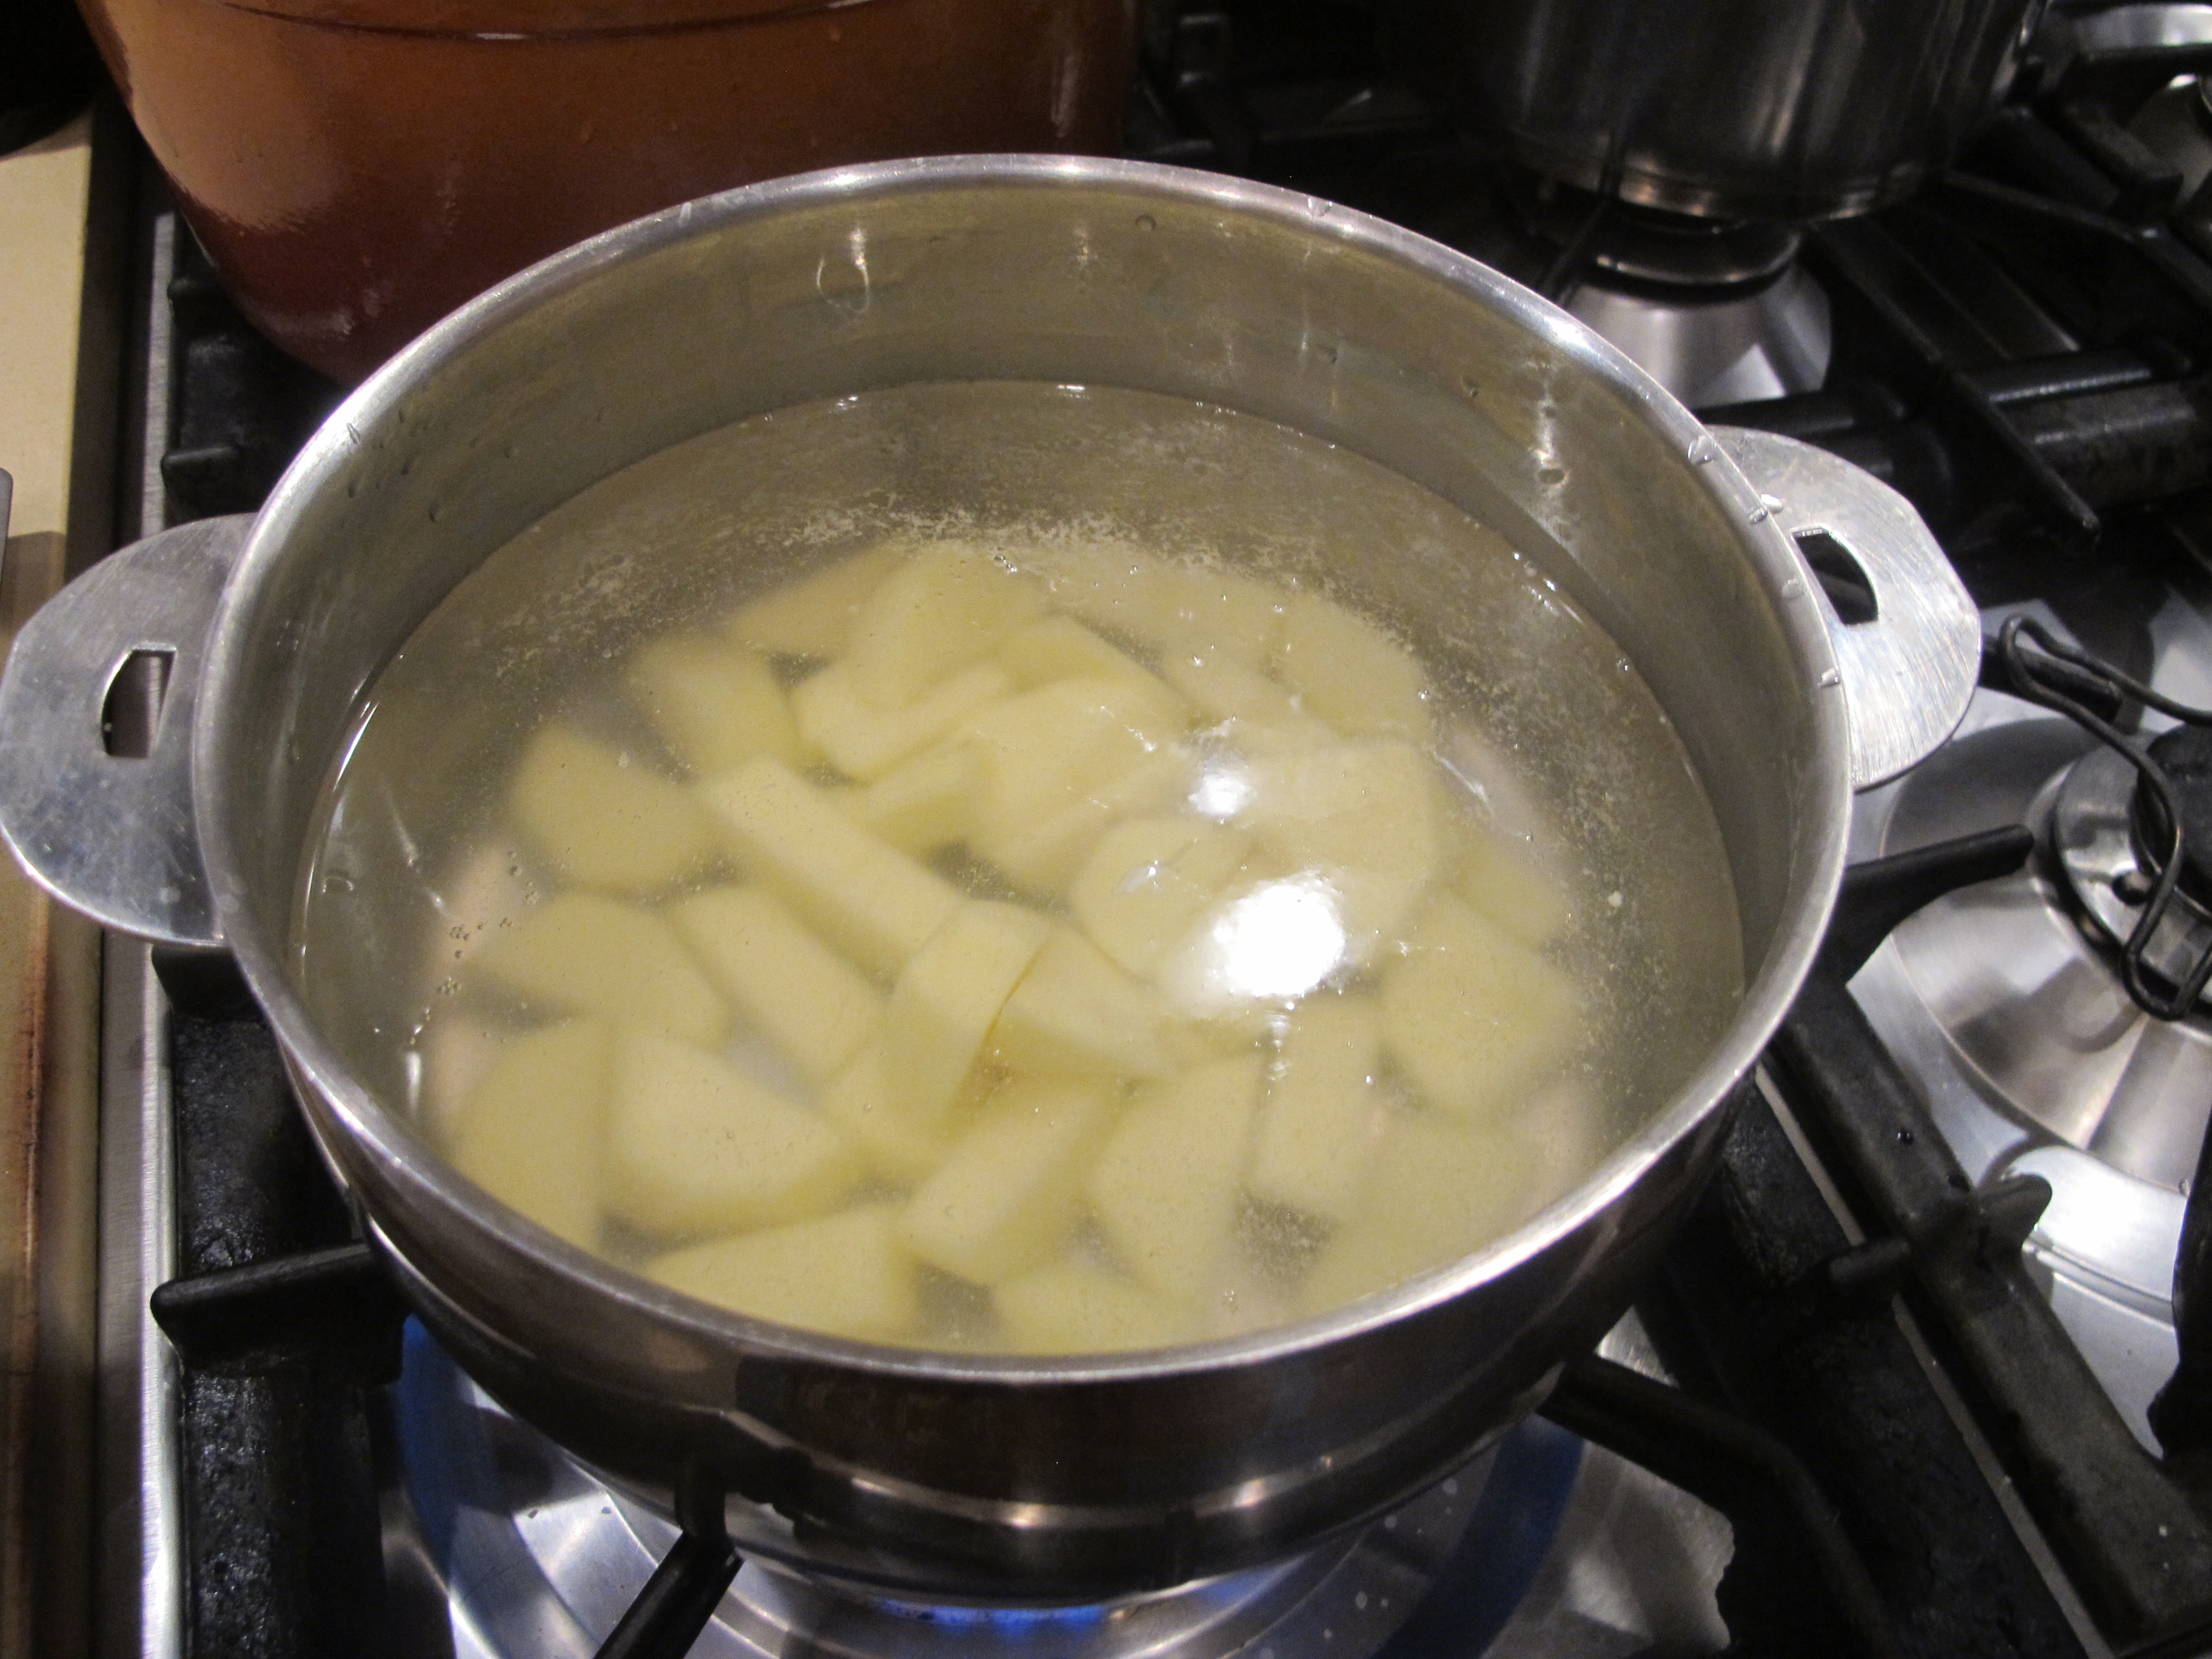
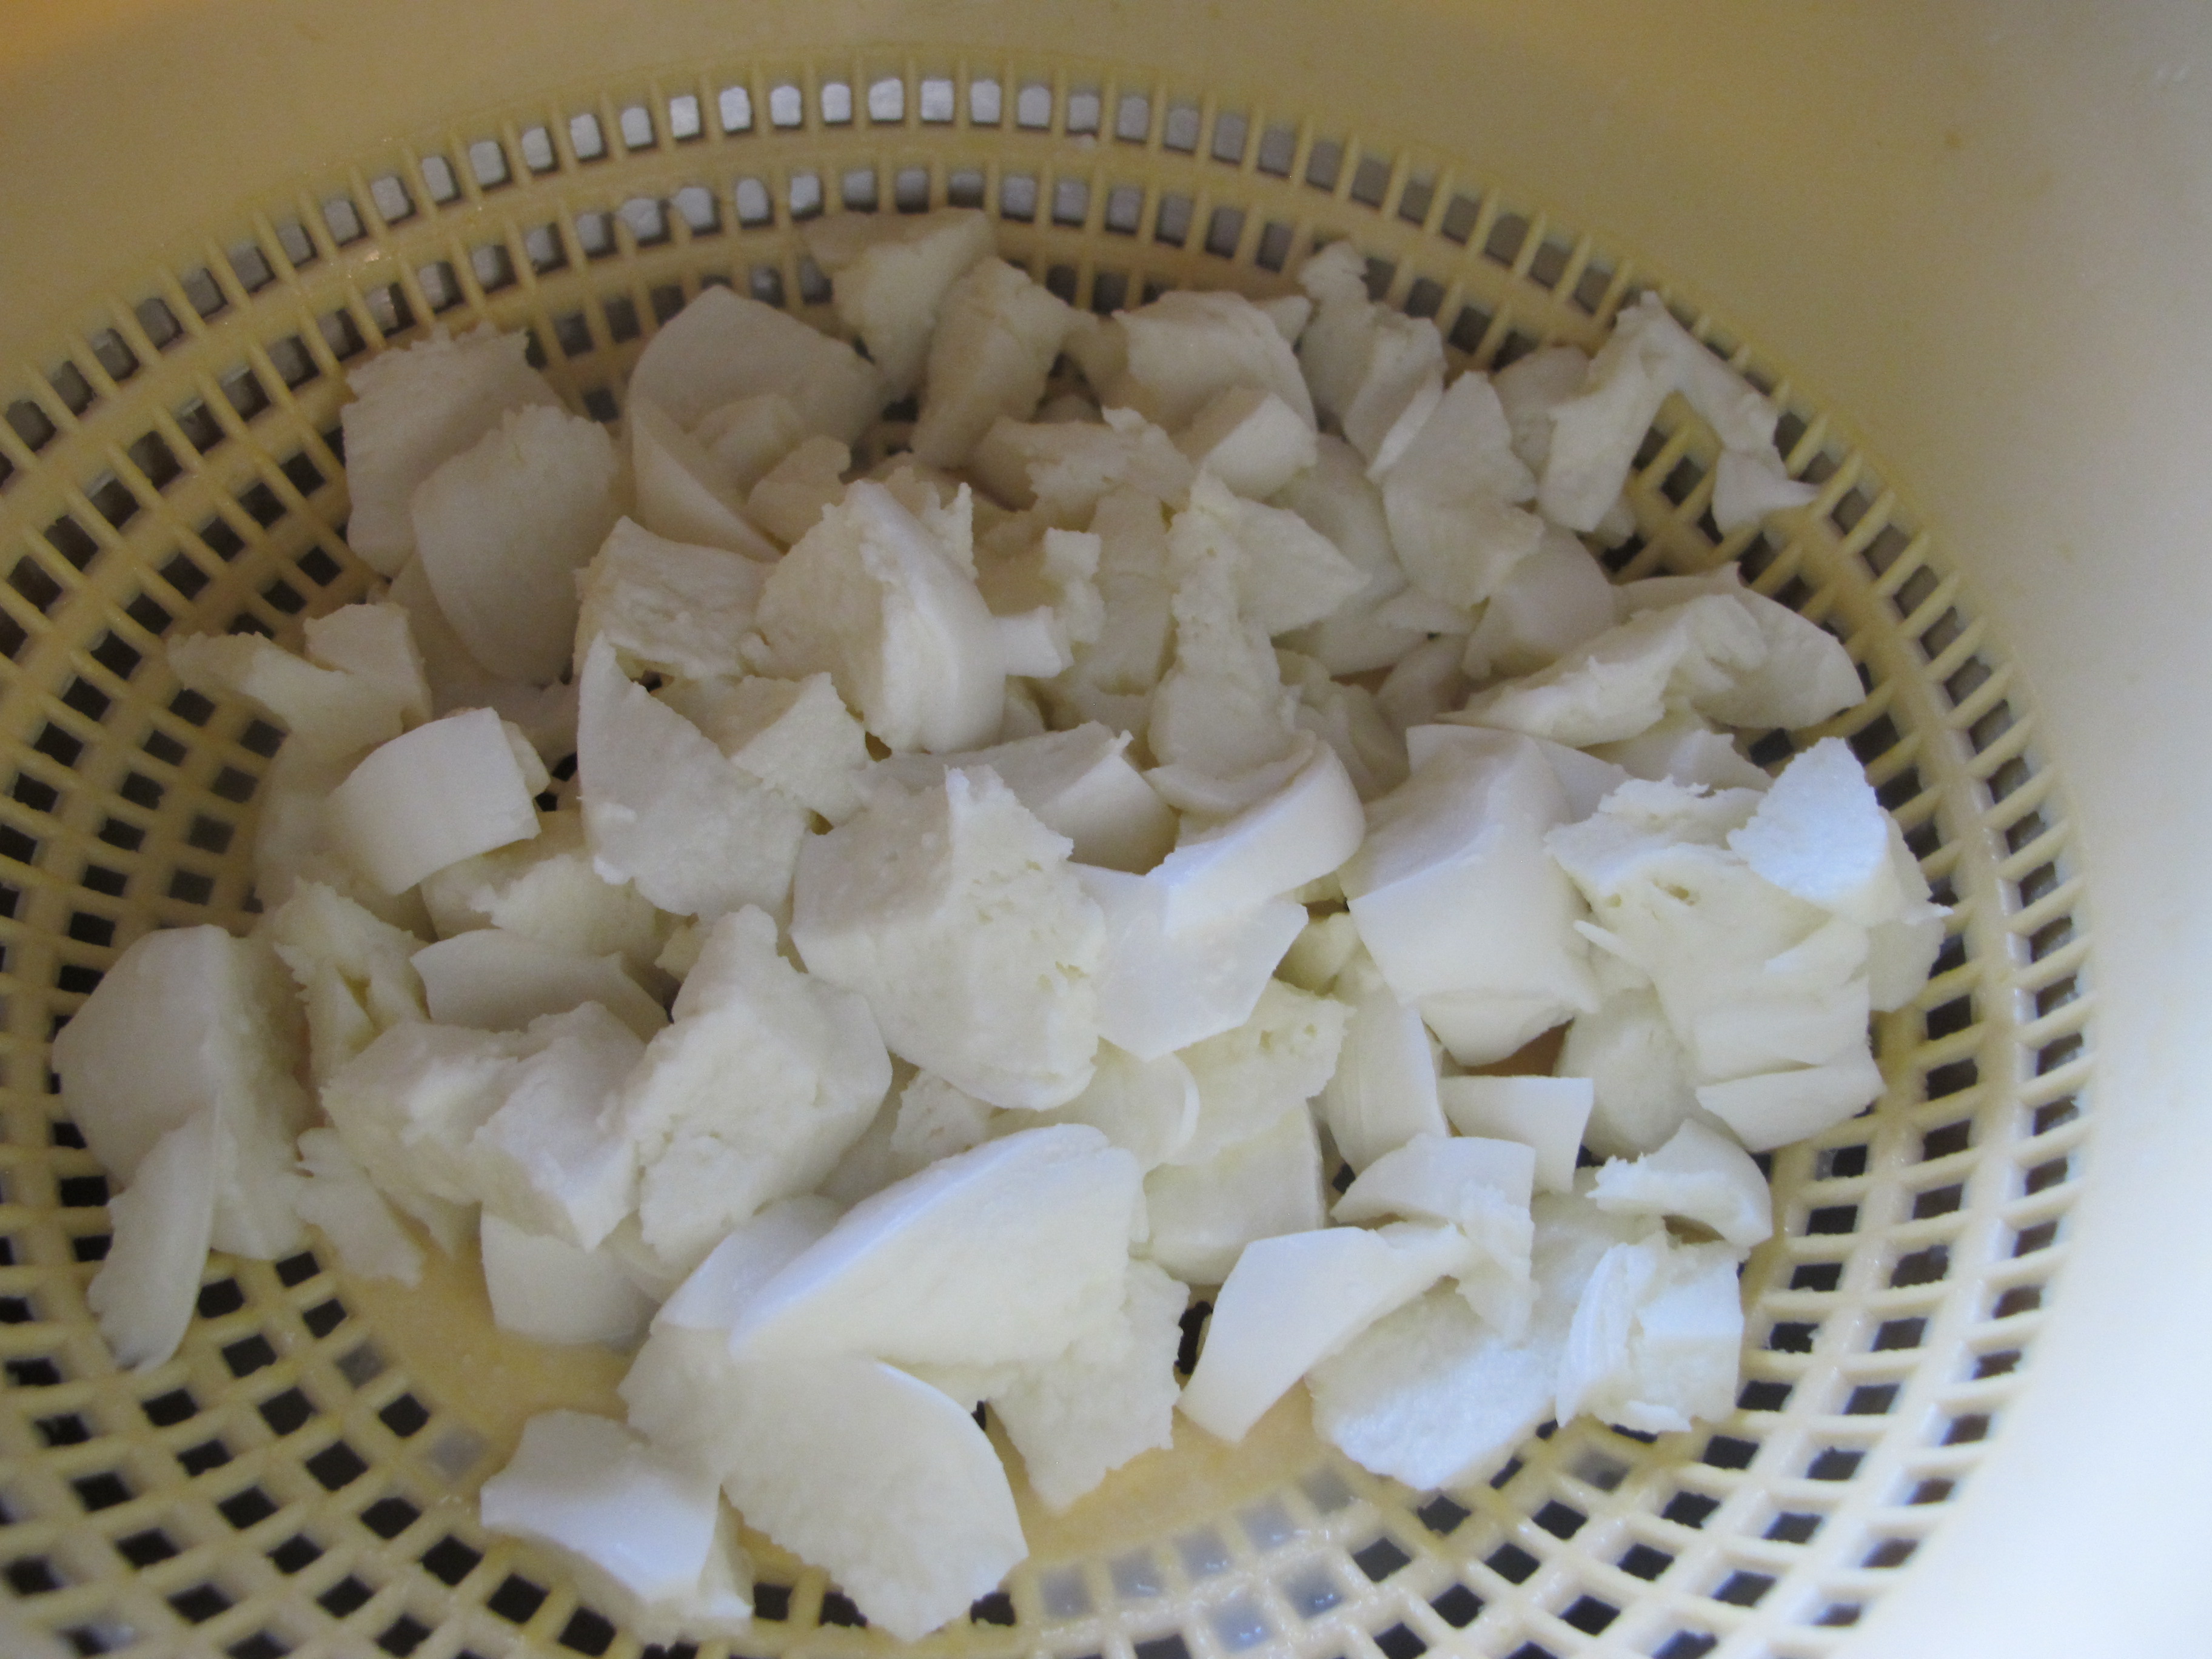
PART IV – Make Mash Potato Italian Style
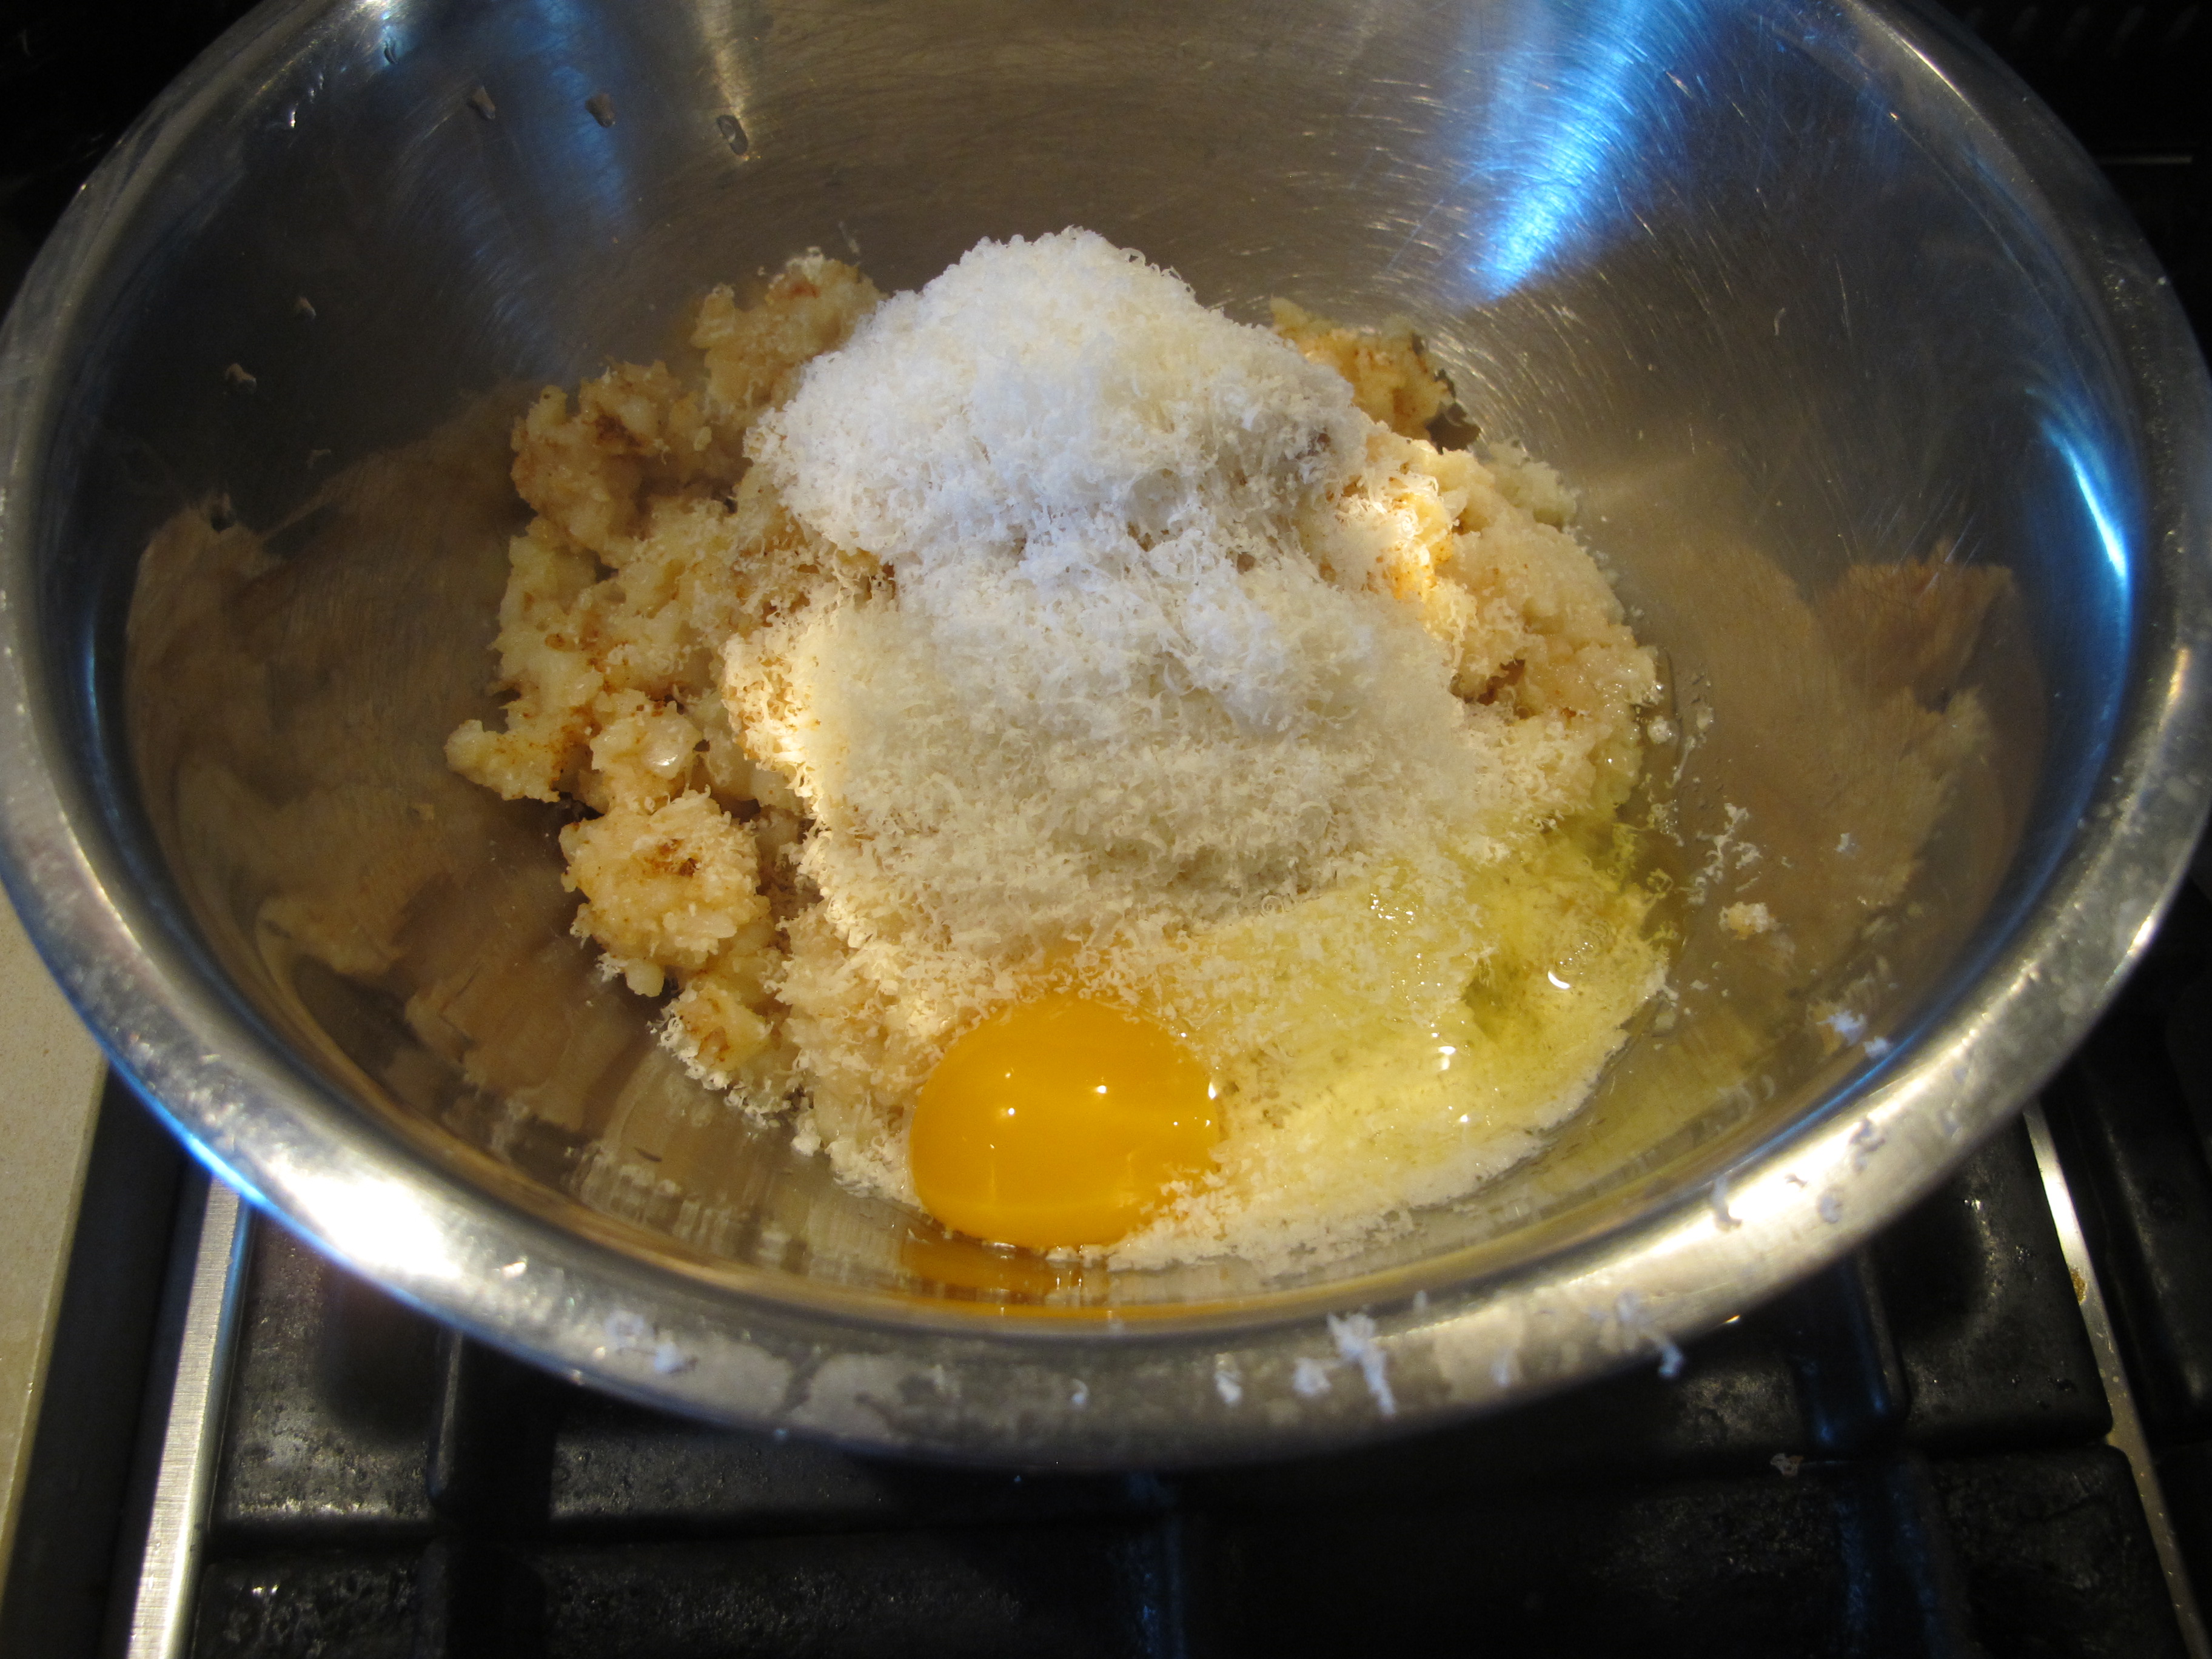
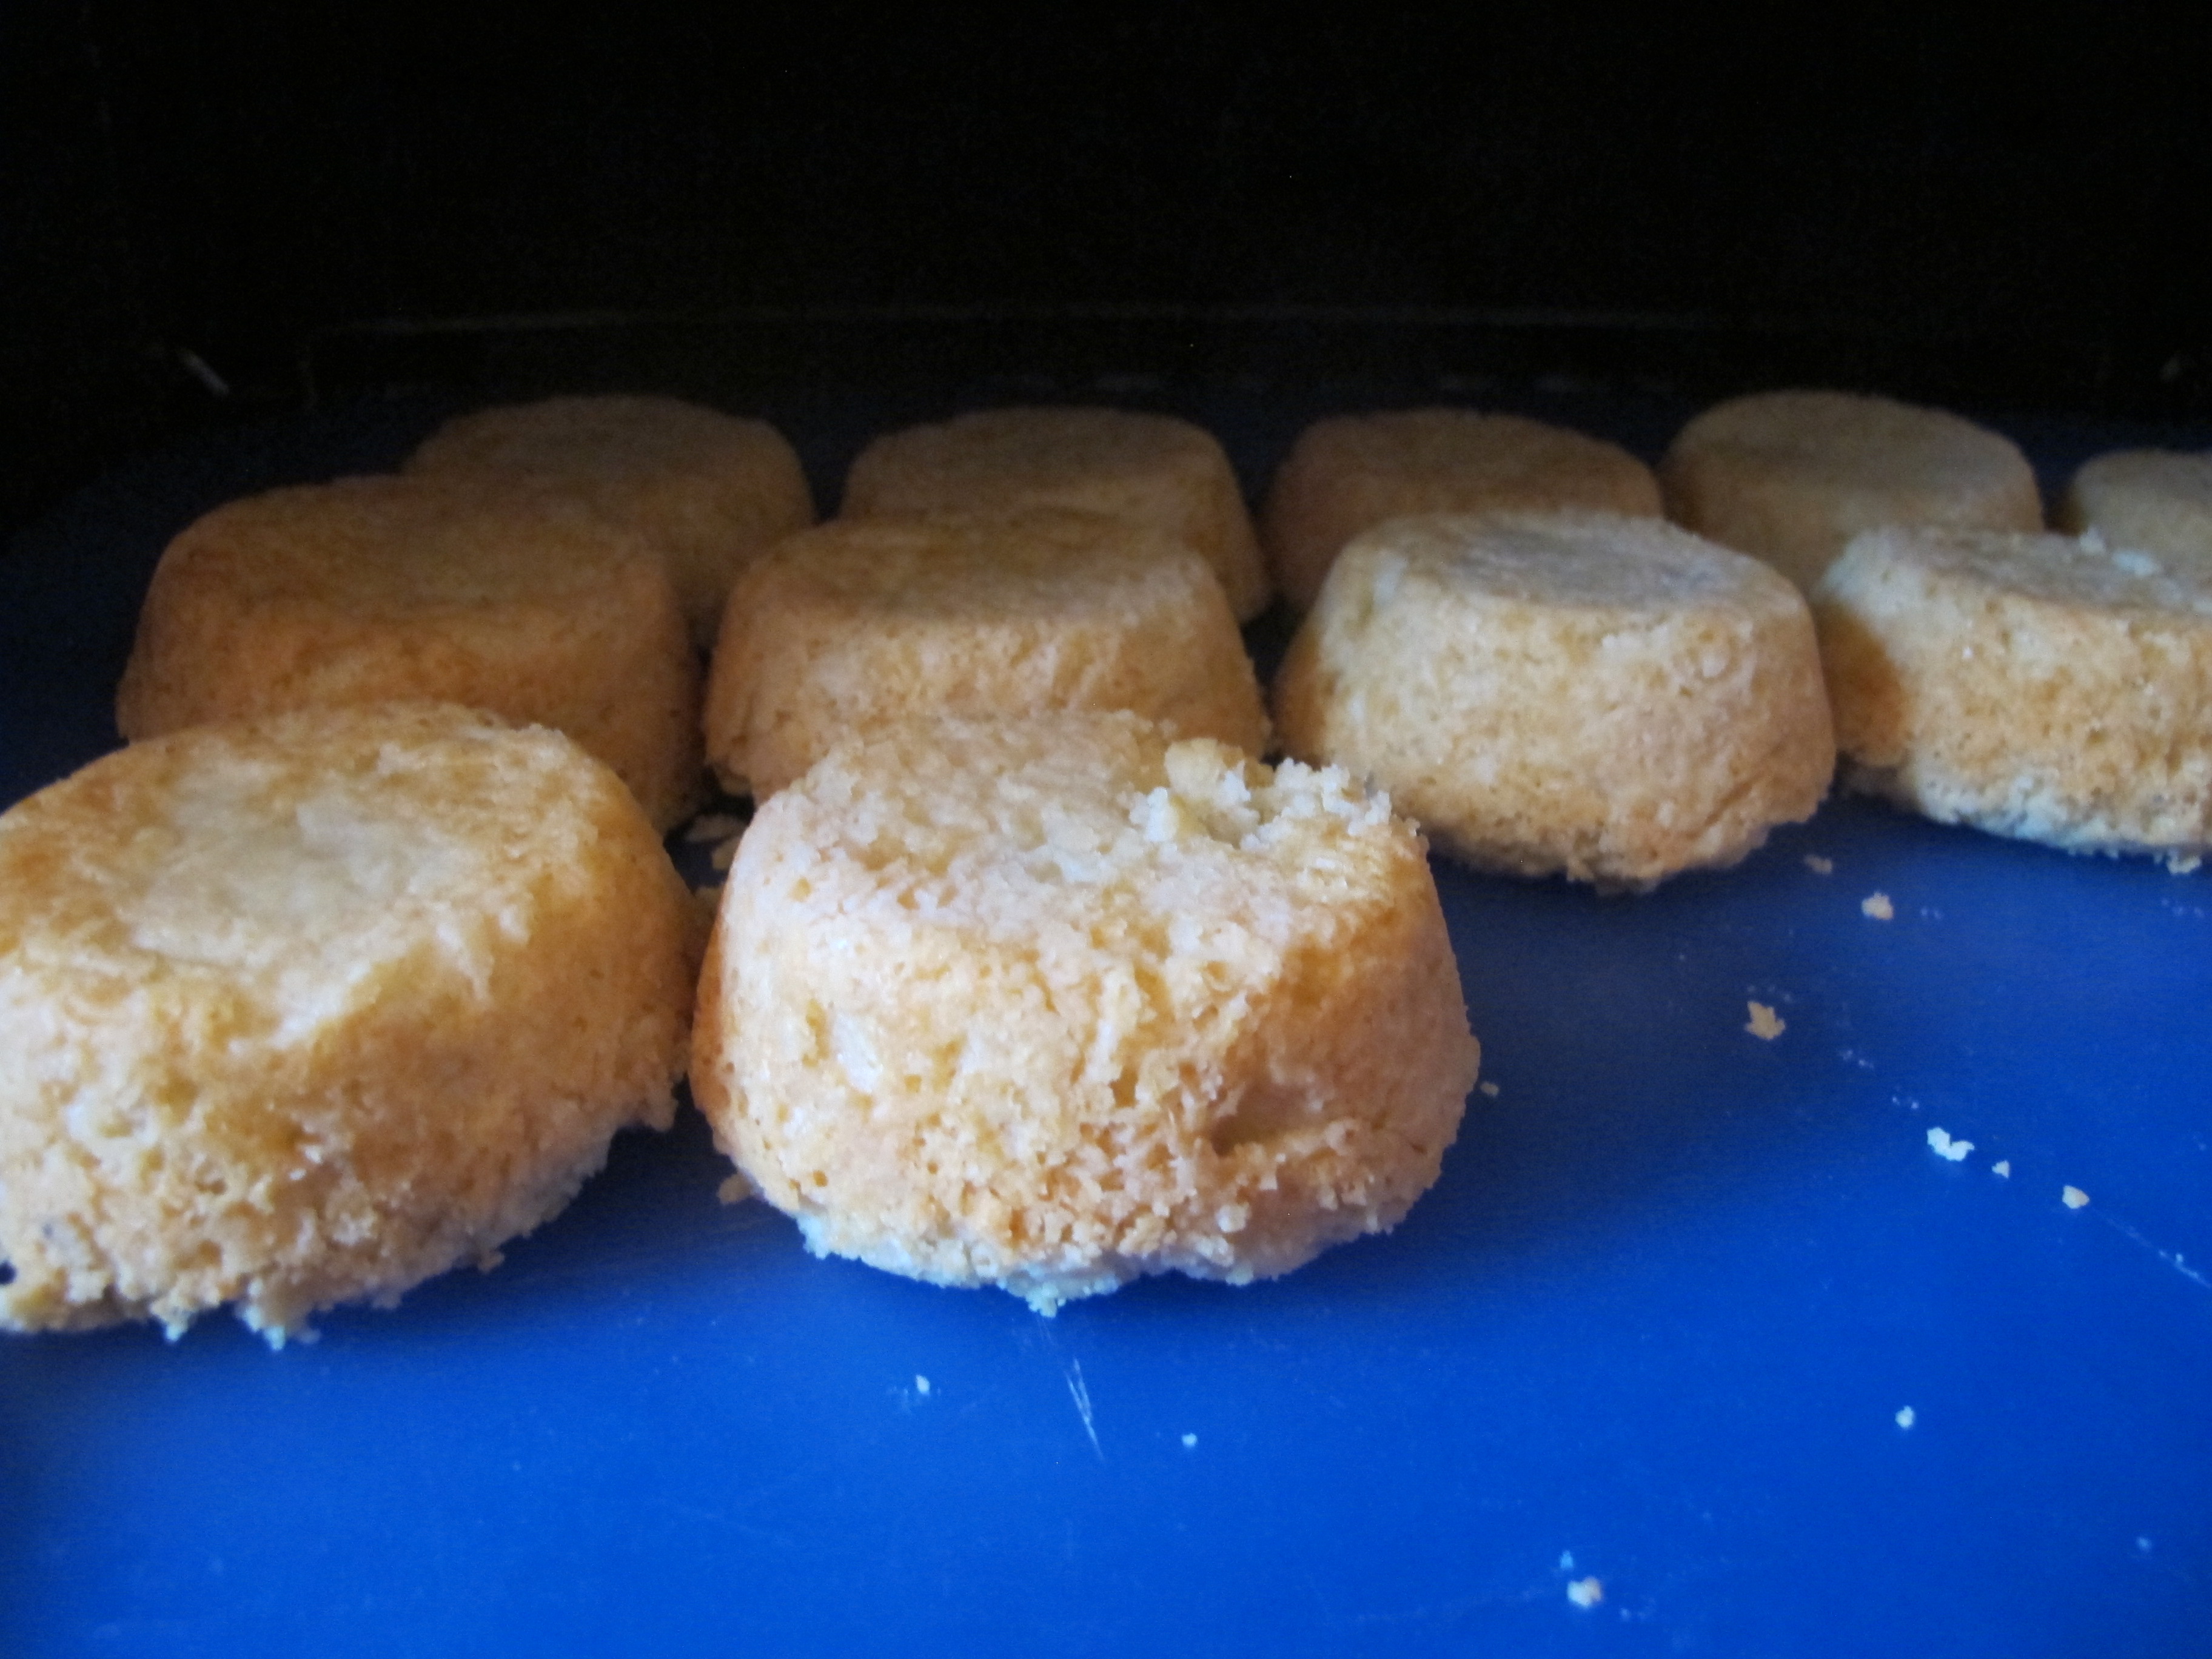
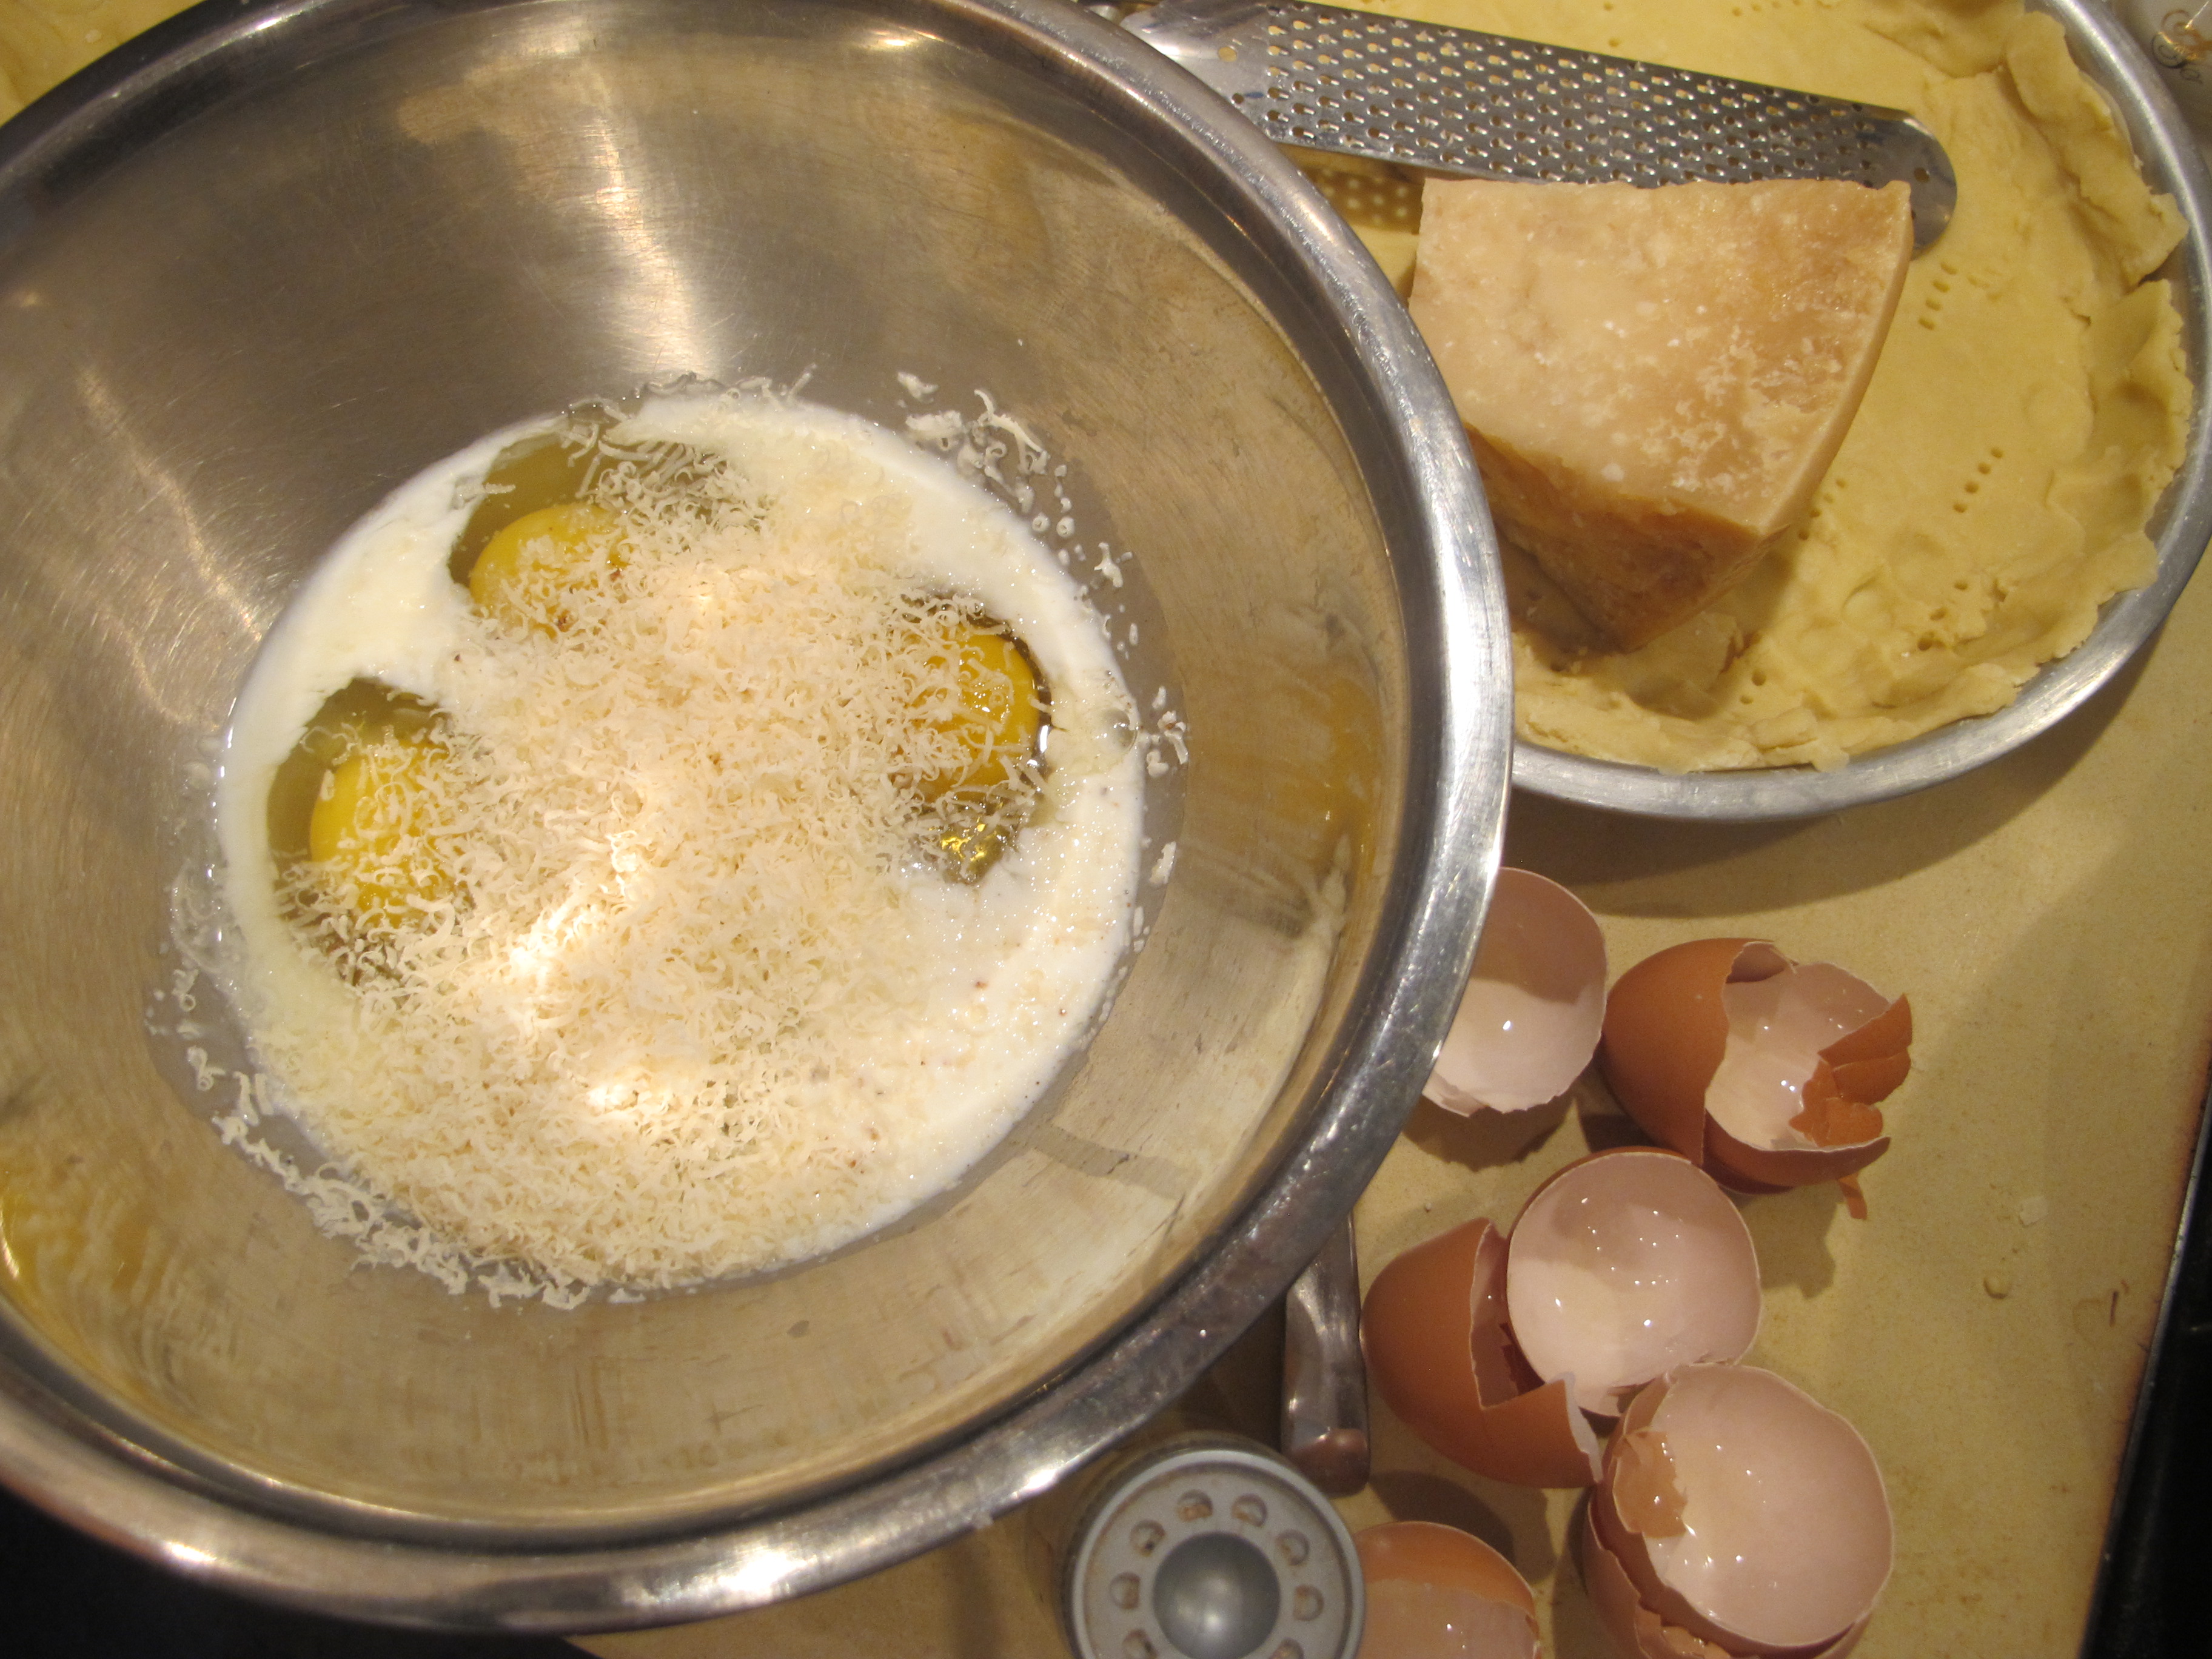
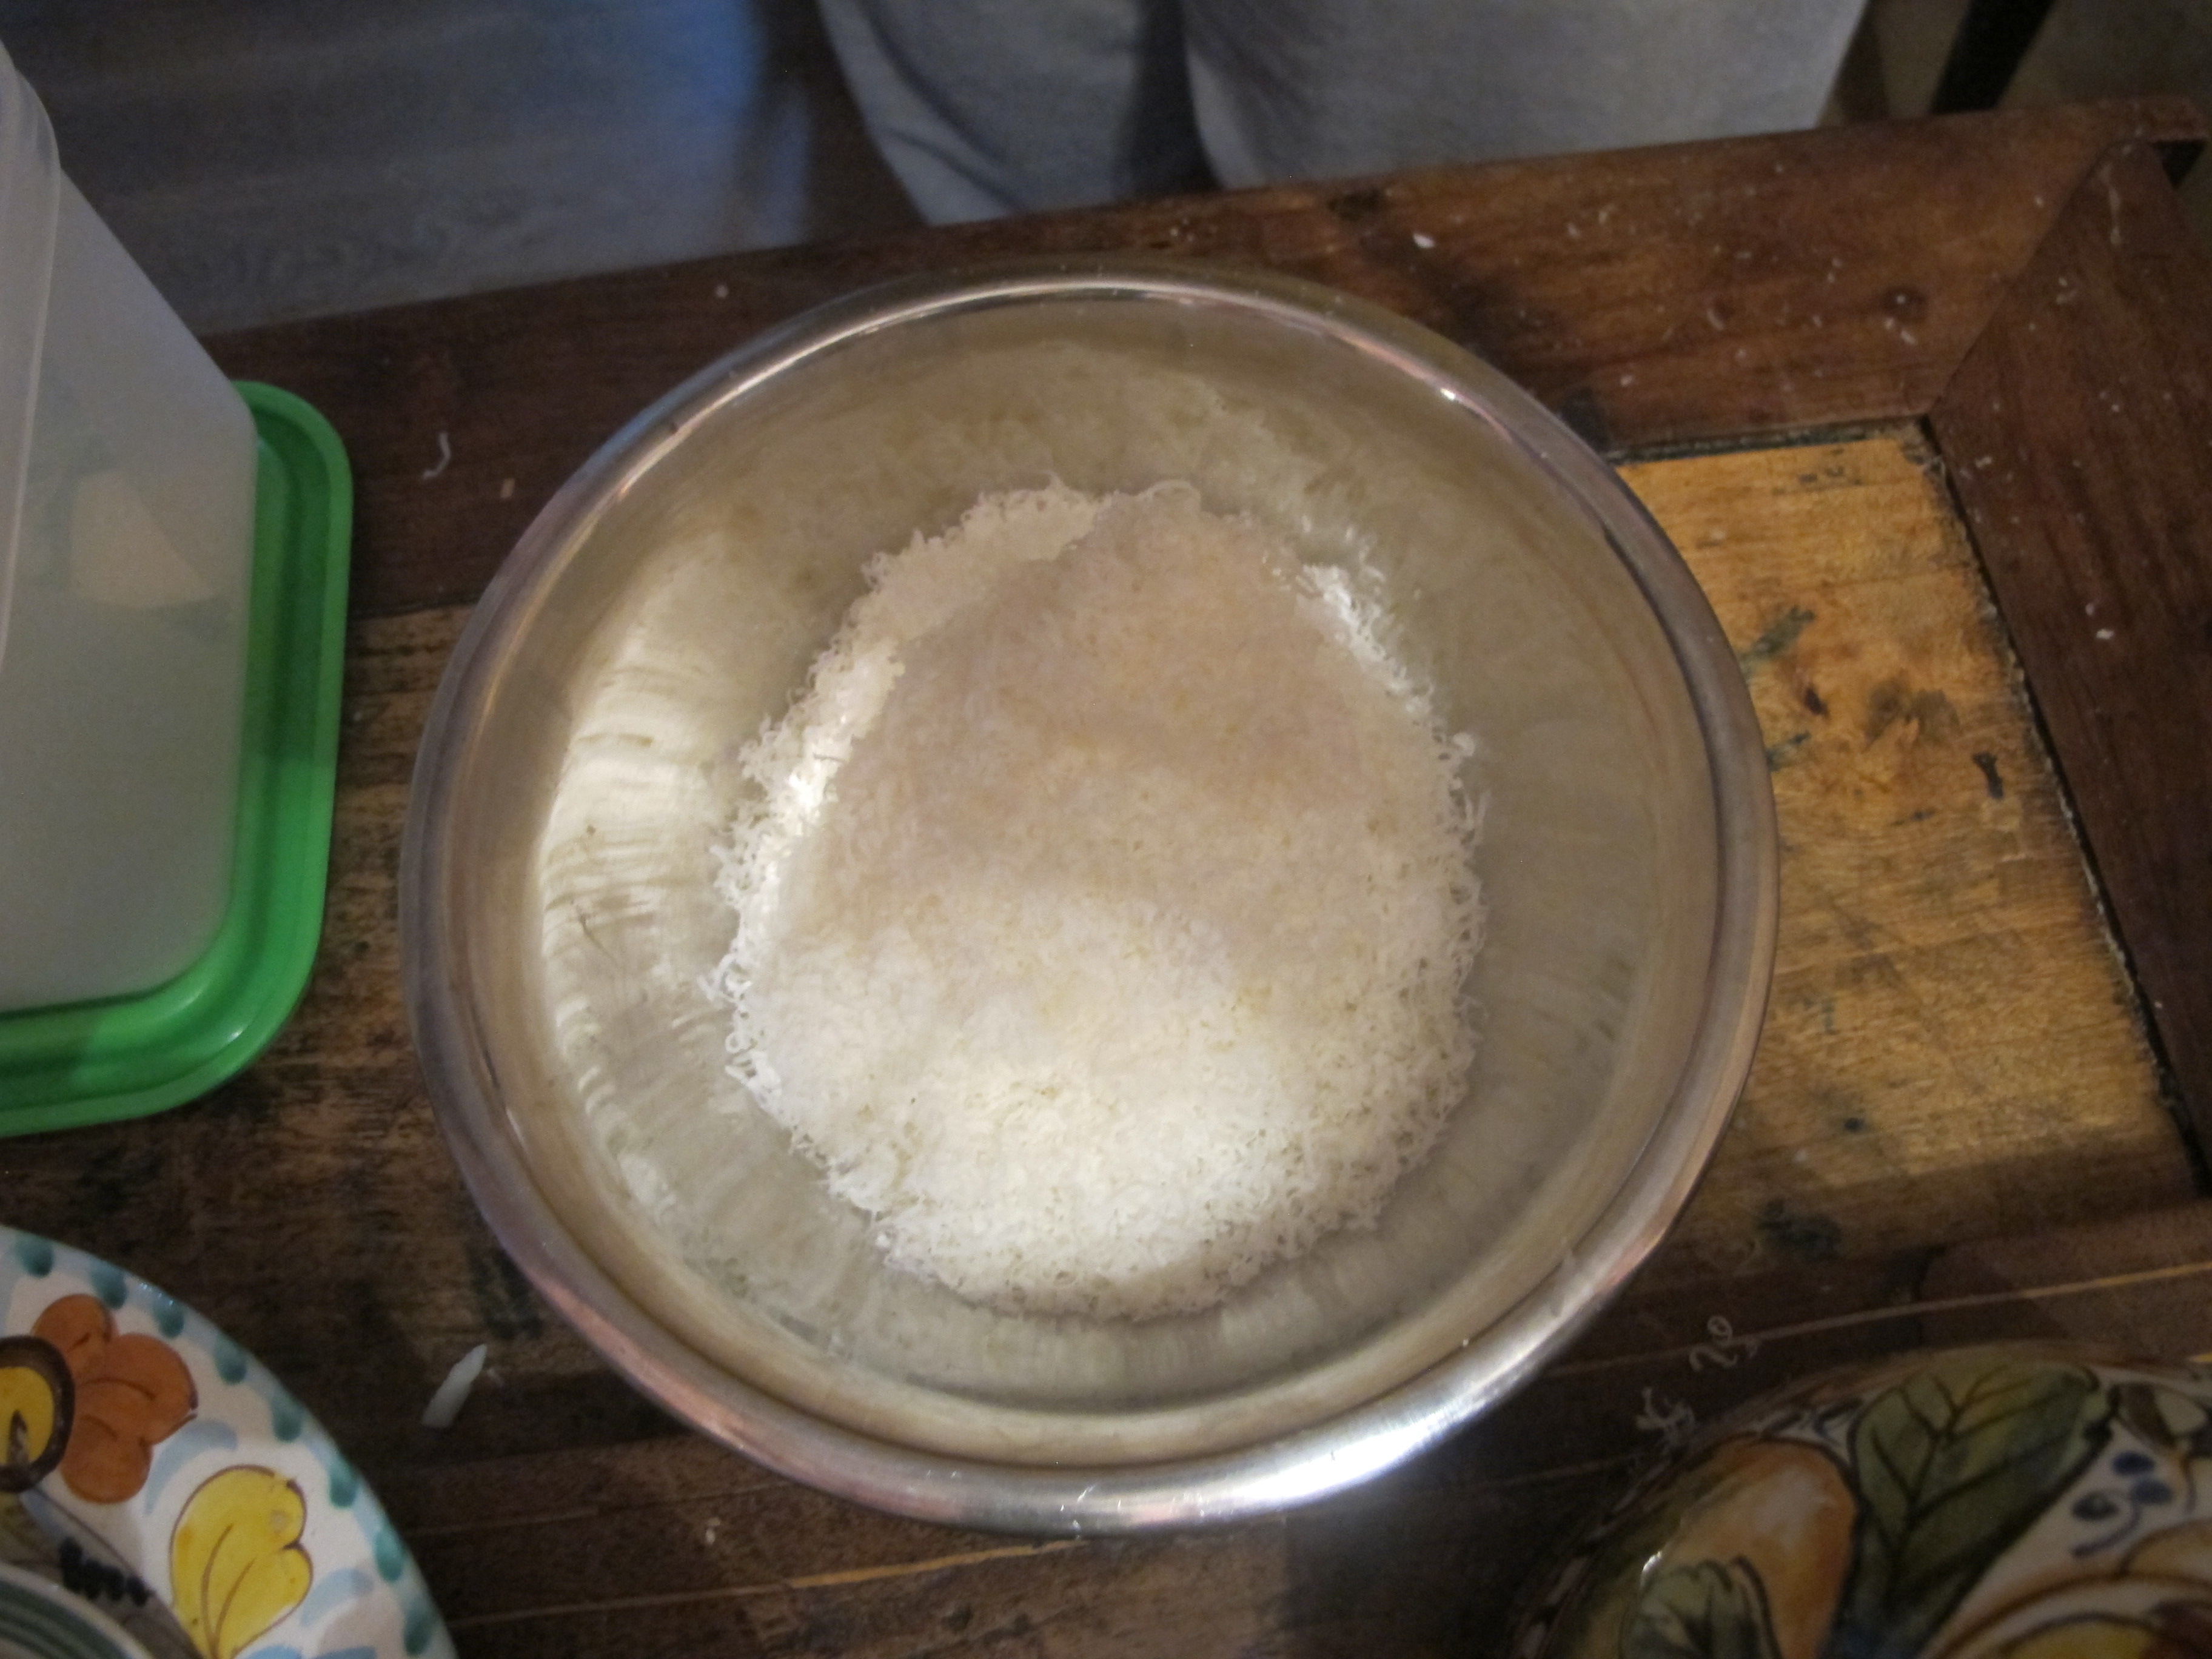
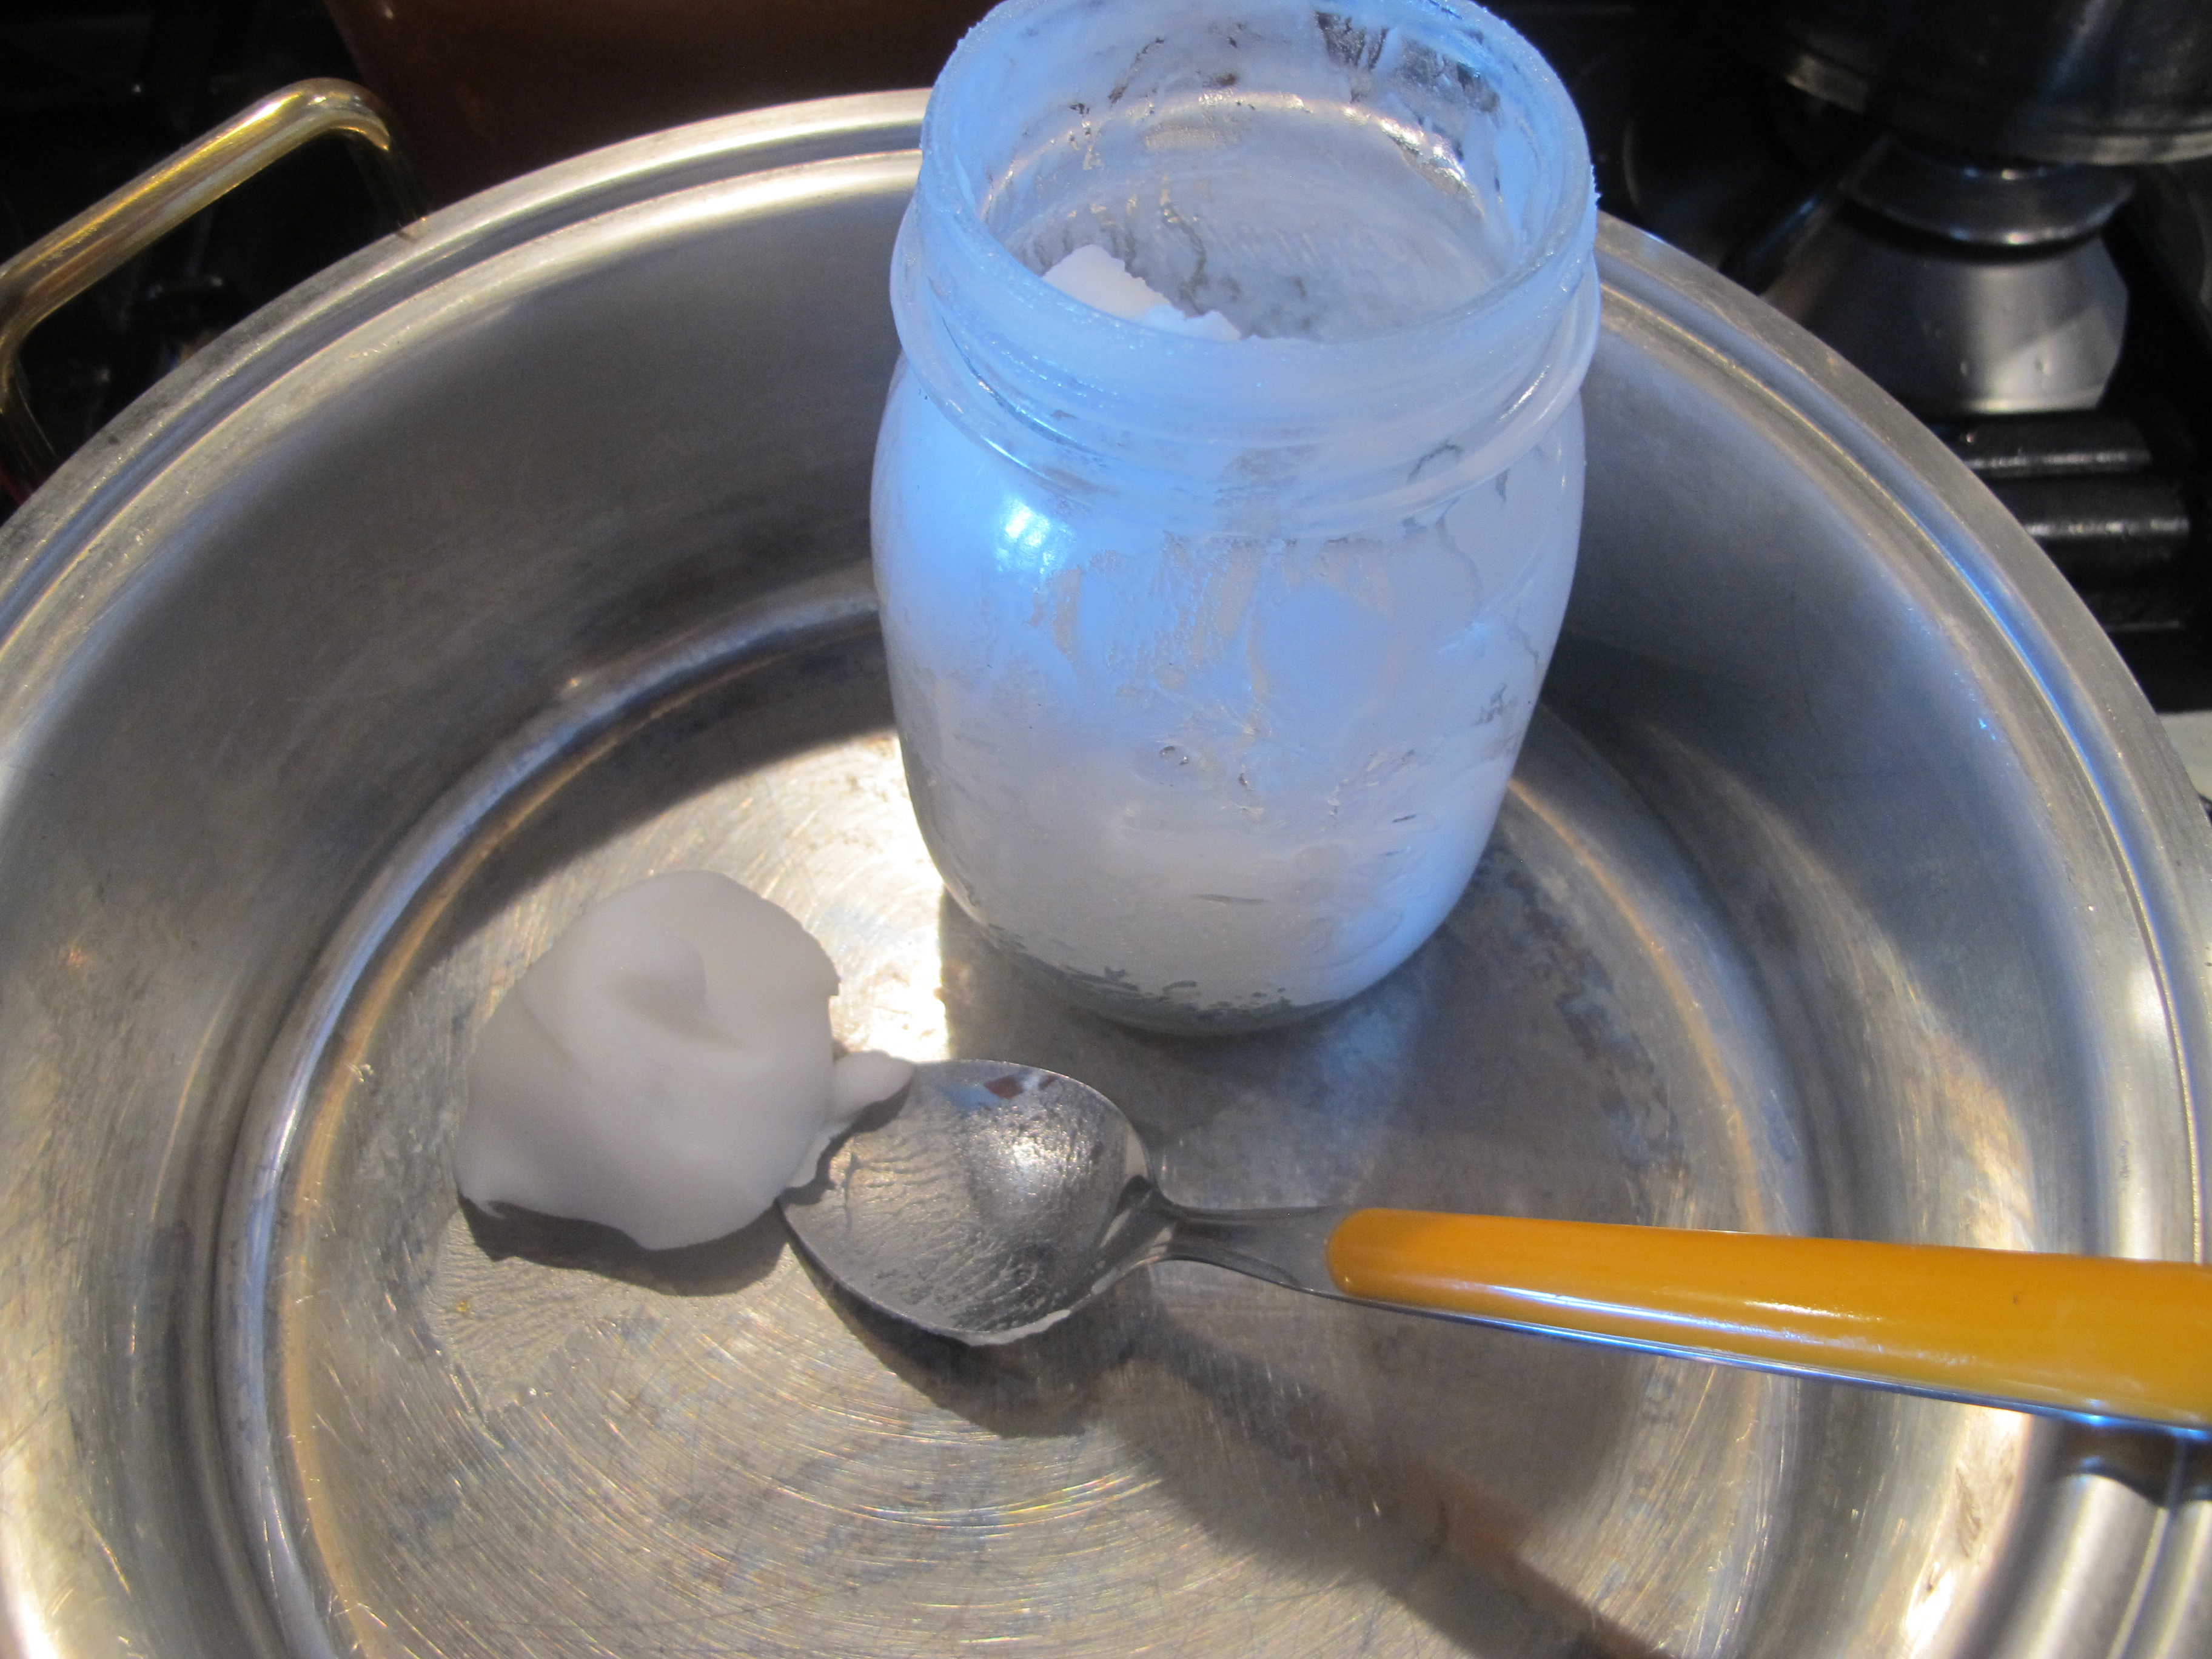
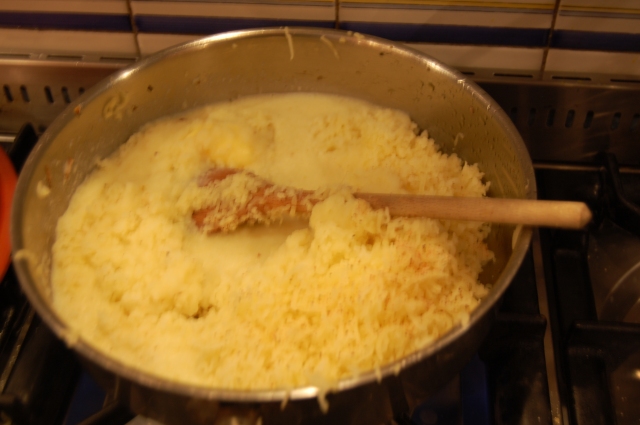 Mash potatoe Italian style includes a few spoons of freshly grated parmesan and a twist of nutmeg. Set aside.
PART V – Combining the Foods
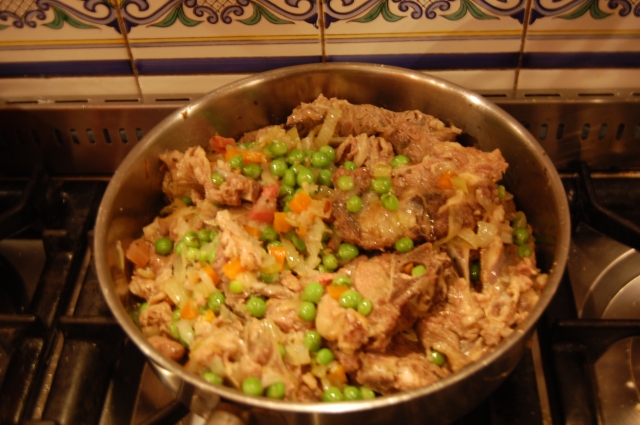
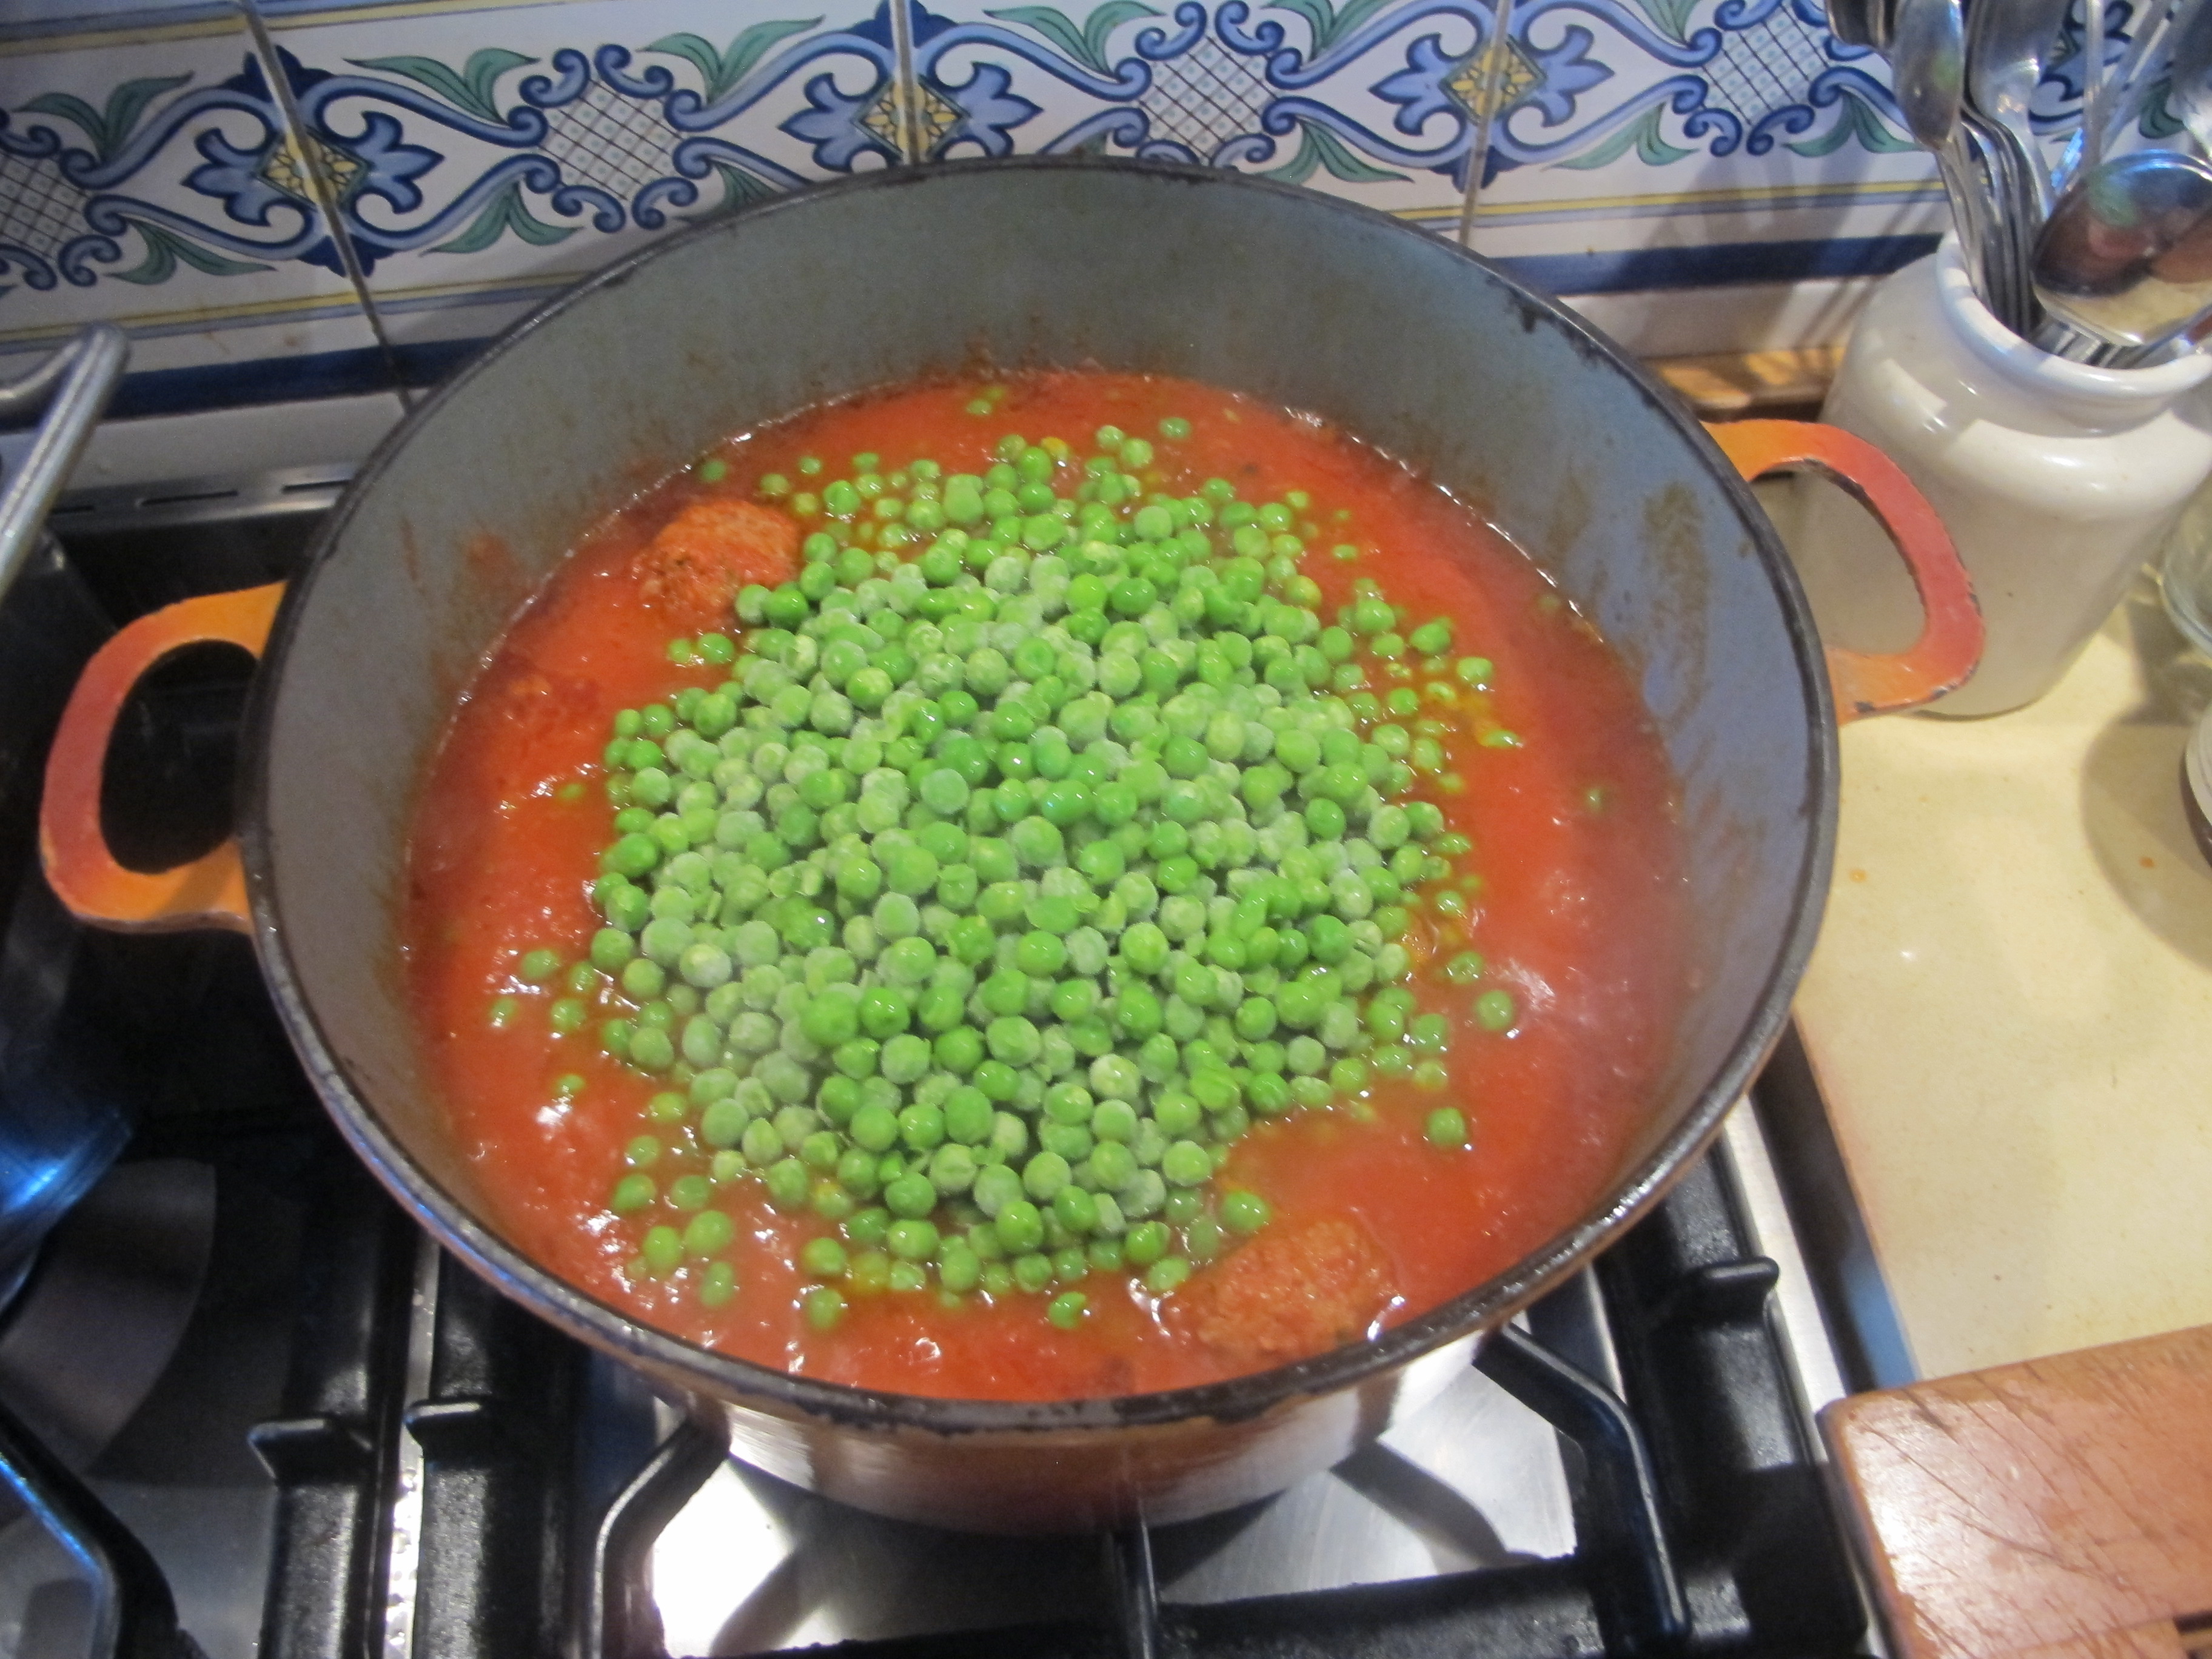
 When the stew is almost cooked (and this can take up to 1 and 1/2 hours, it will depend on the meat), add the peas, gently stir, taste and see whether the stew requires a little more salt, and cook for another 10 minutes over a very low heat, without the lid. I say without the lid because you can keep an eye on what’s going on better this way … it would be a disaster if the meat got too dry at this stage, Saint Lawrence forbid ! (Saint Lawrence is the patron saint of cooks).
And now for a bit of ‘fiddly’. The meat has cooked in white wine and the sauce that ensued could do with a little thickening. So … Remove the stew to another pan for the moment …
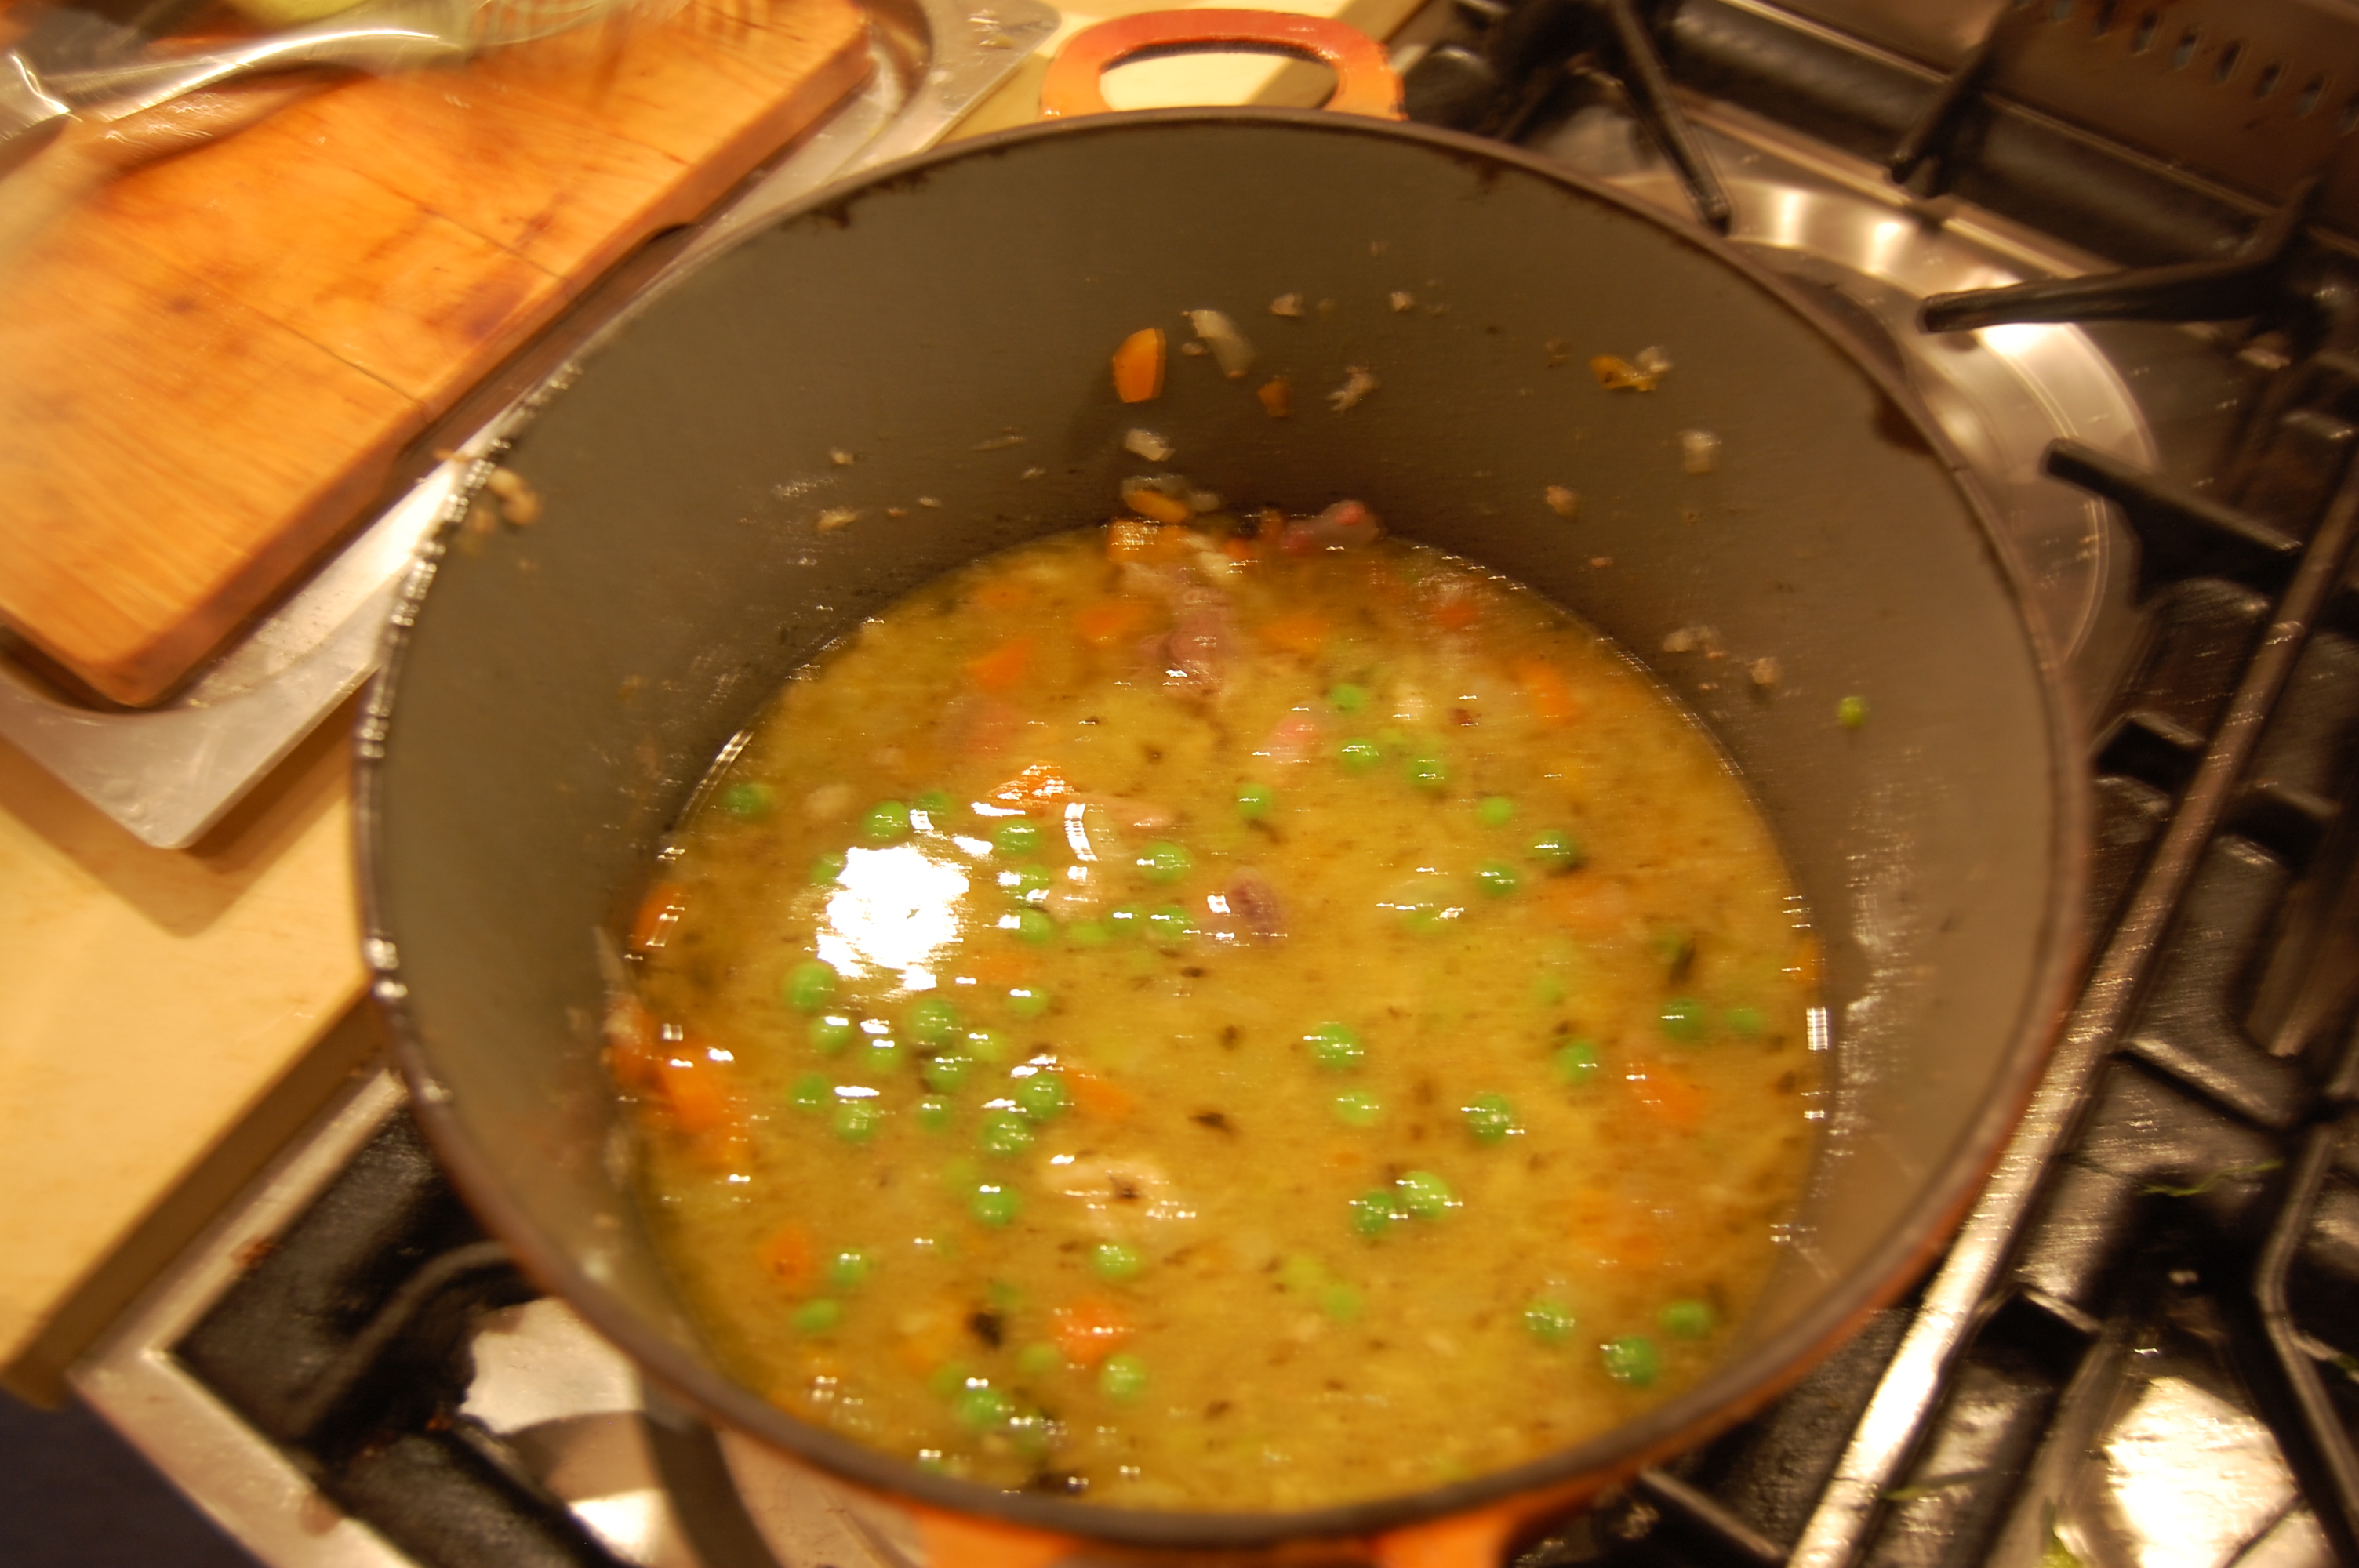
 I transferred the stew to the pan where I had cooked the peas.
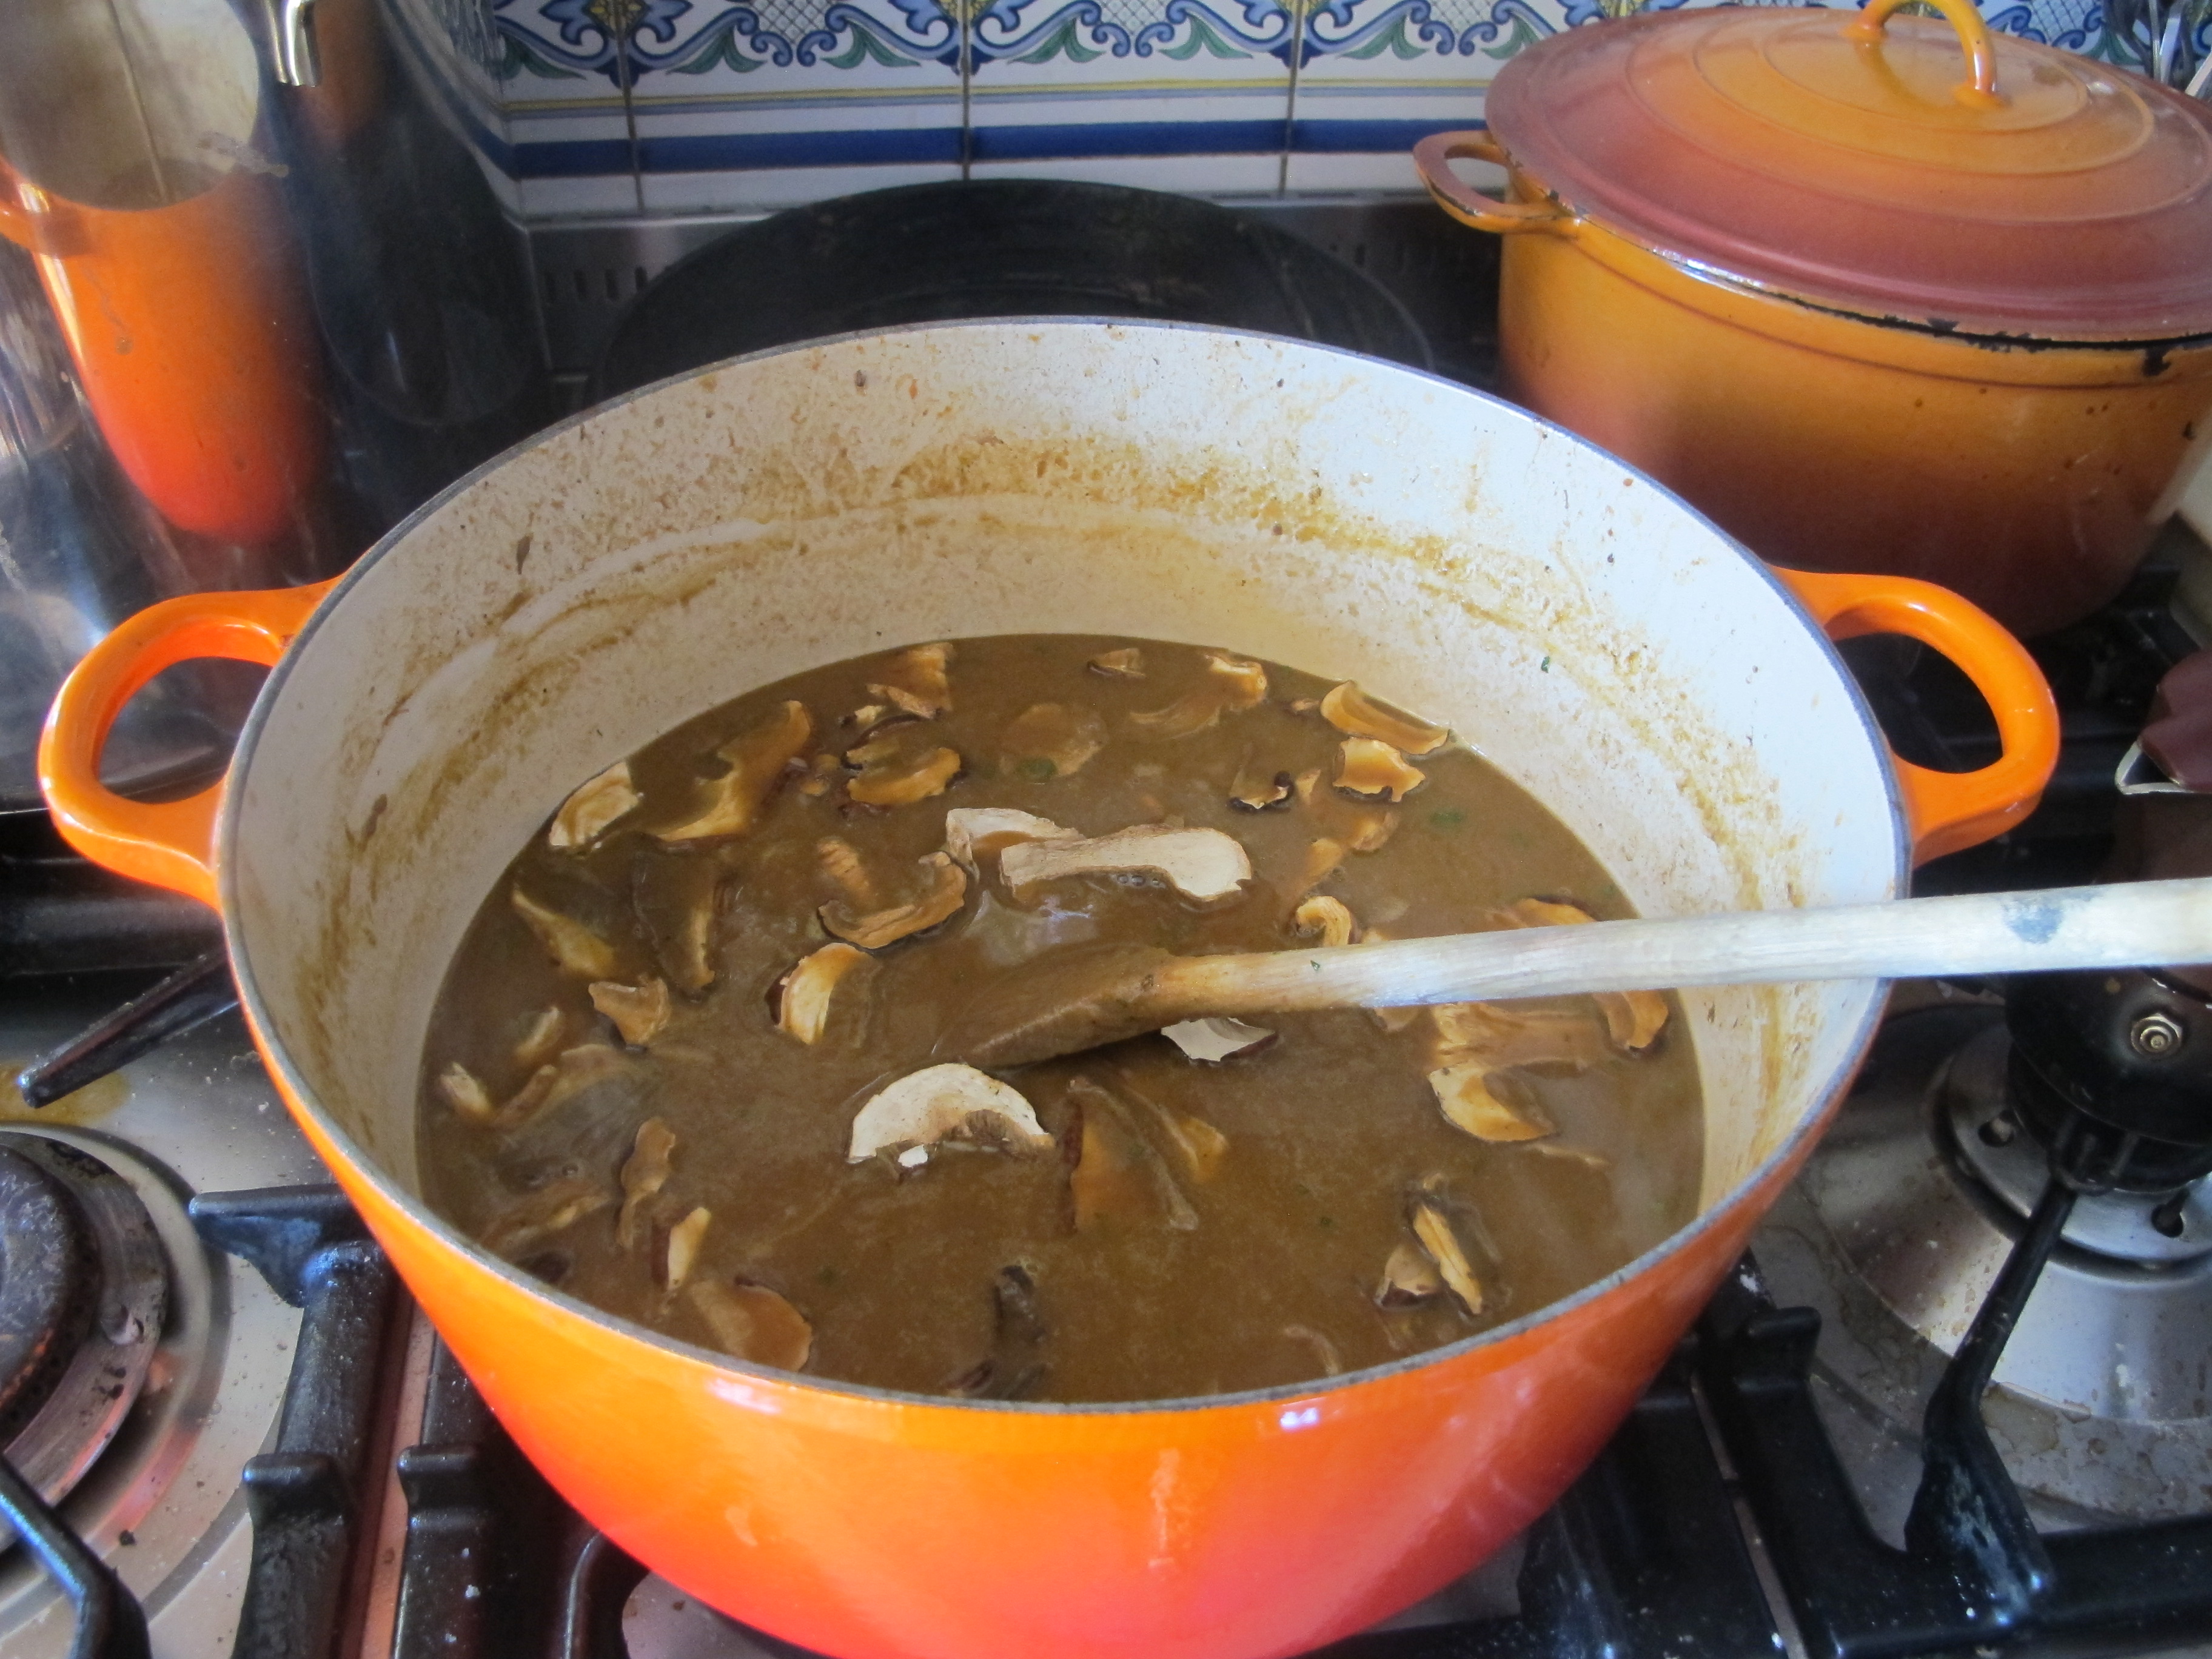
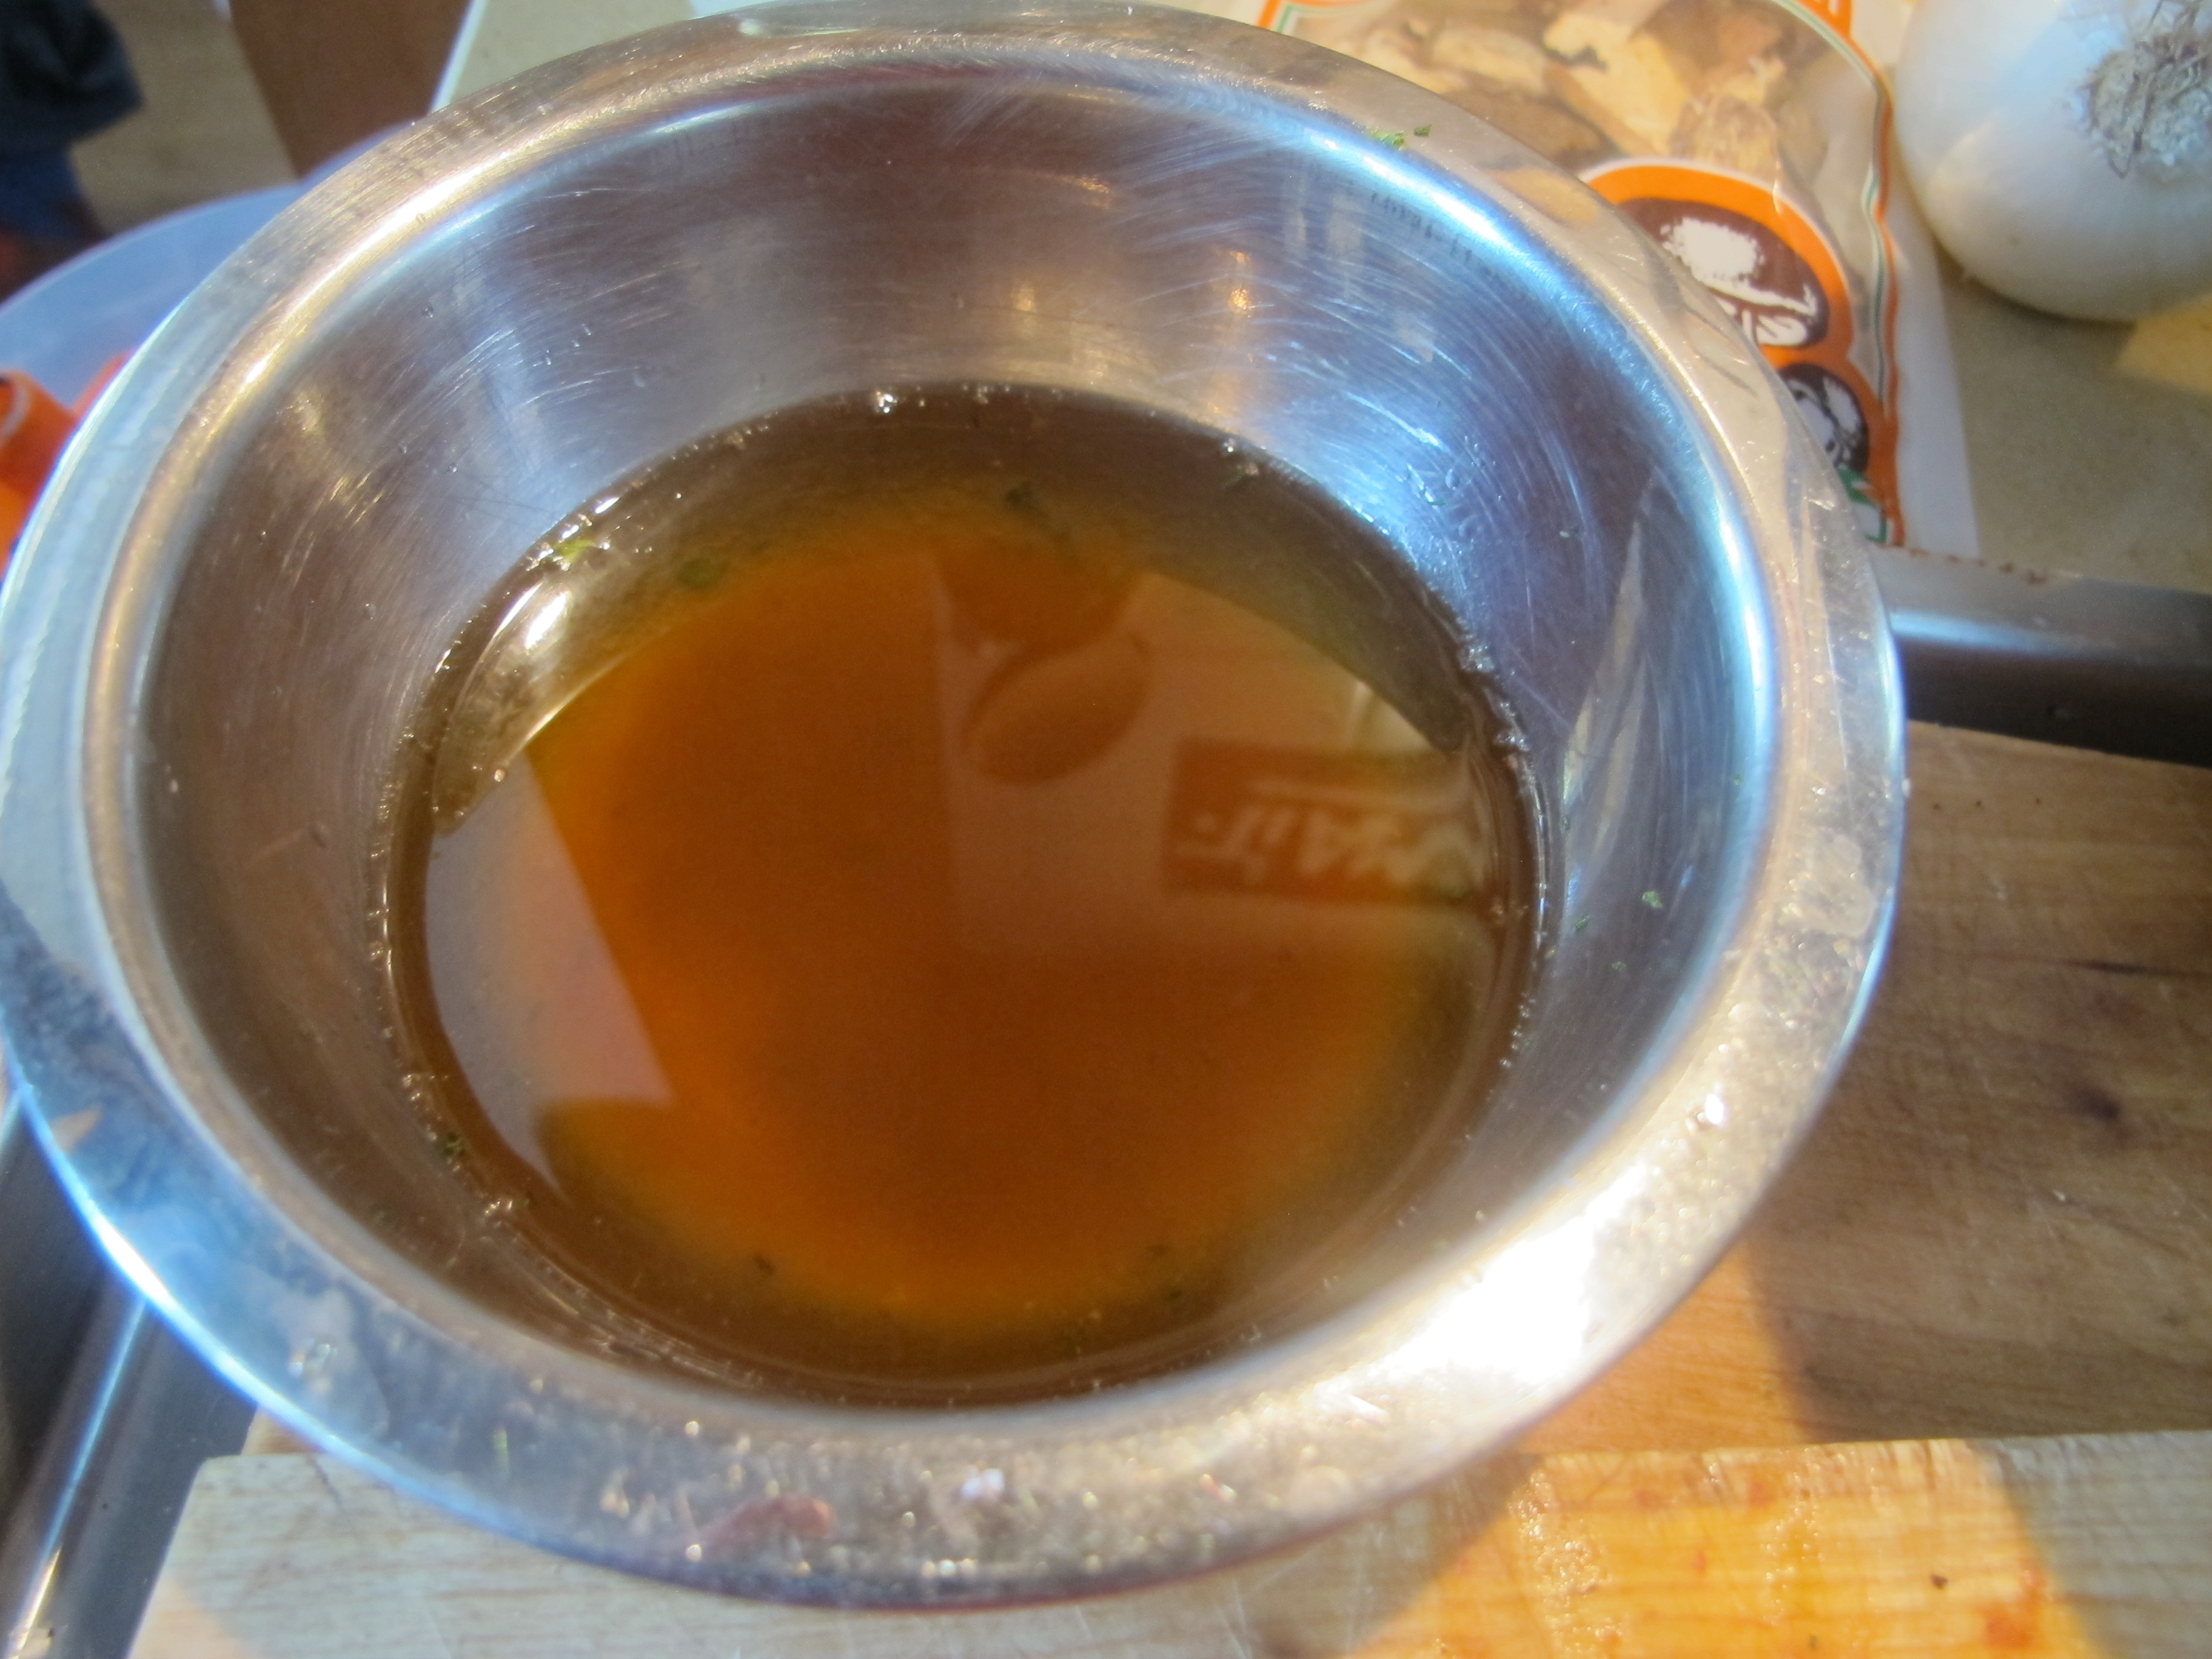
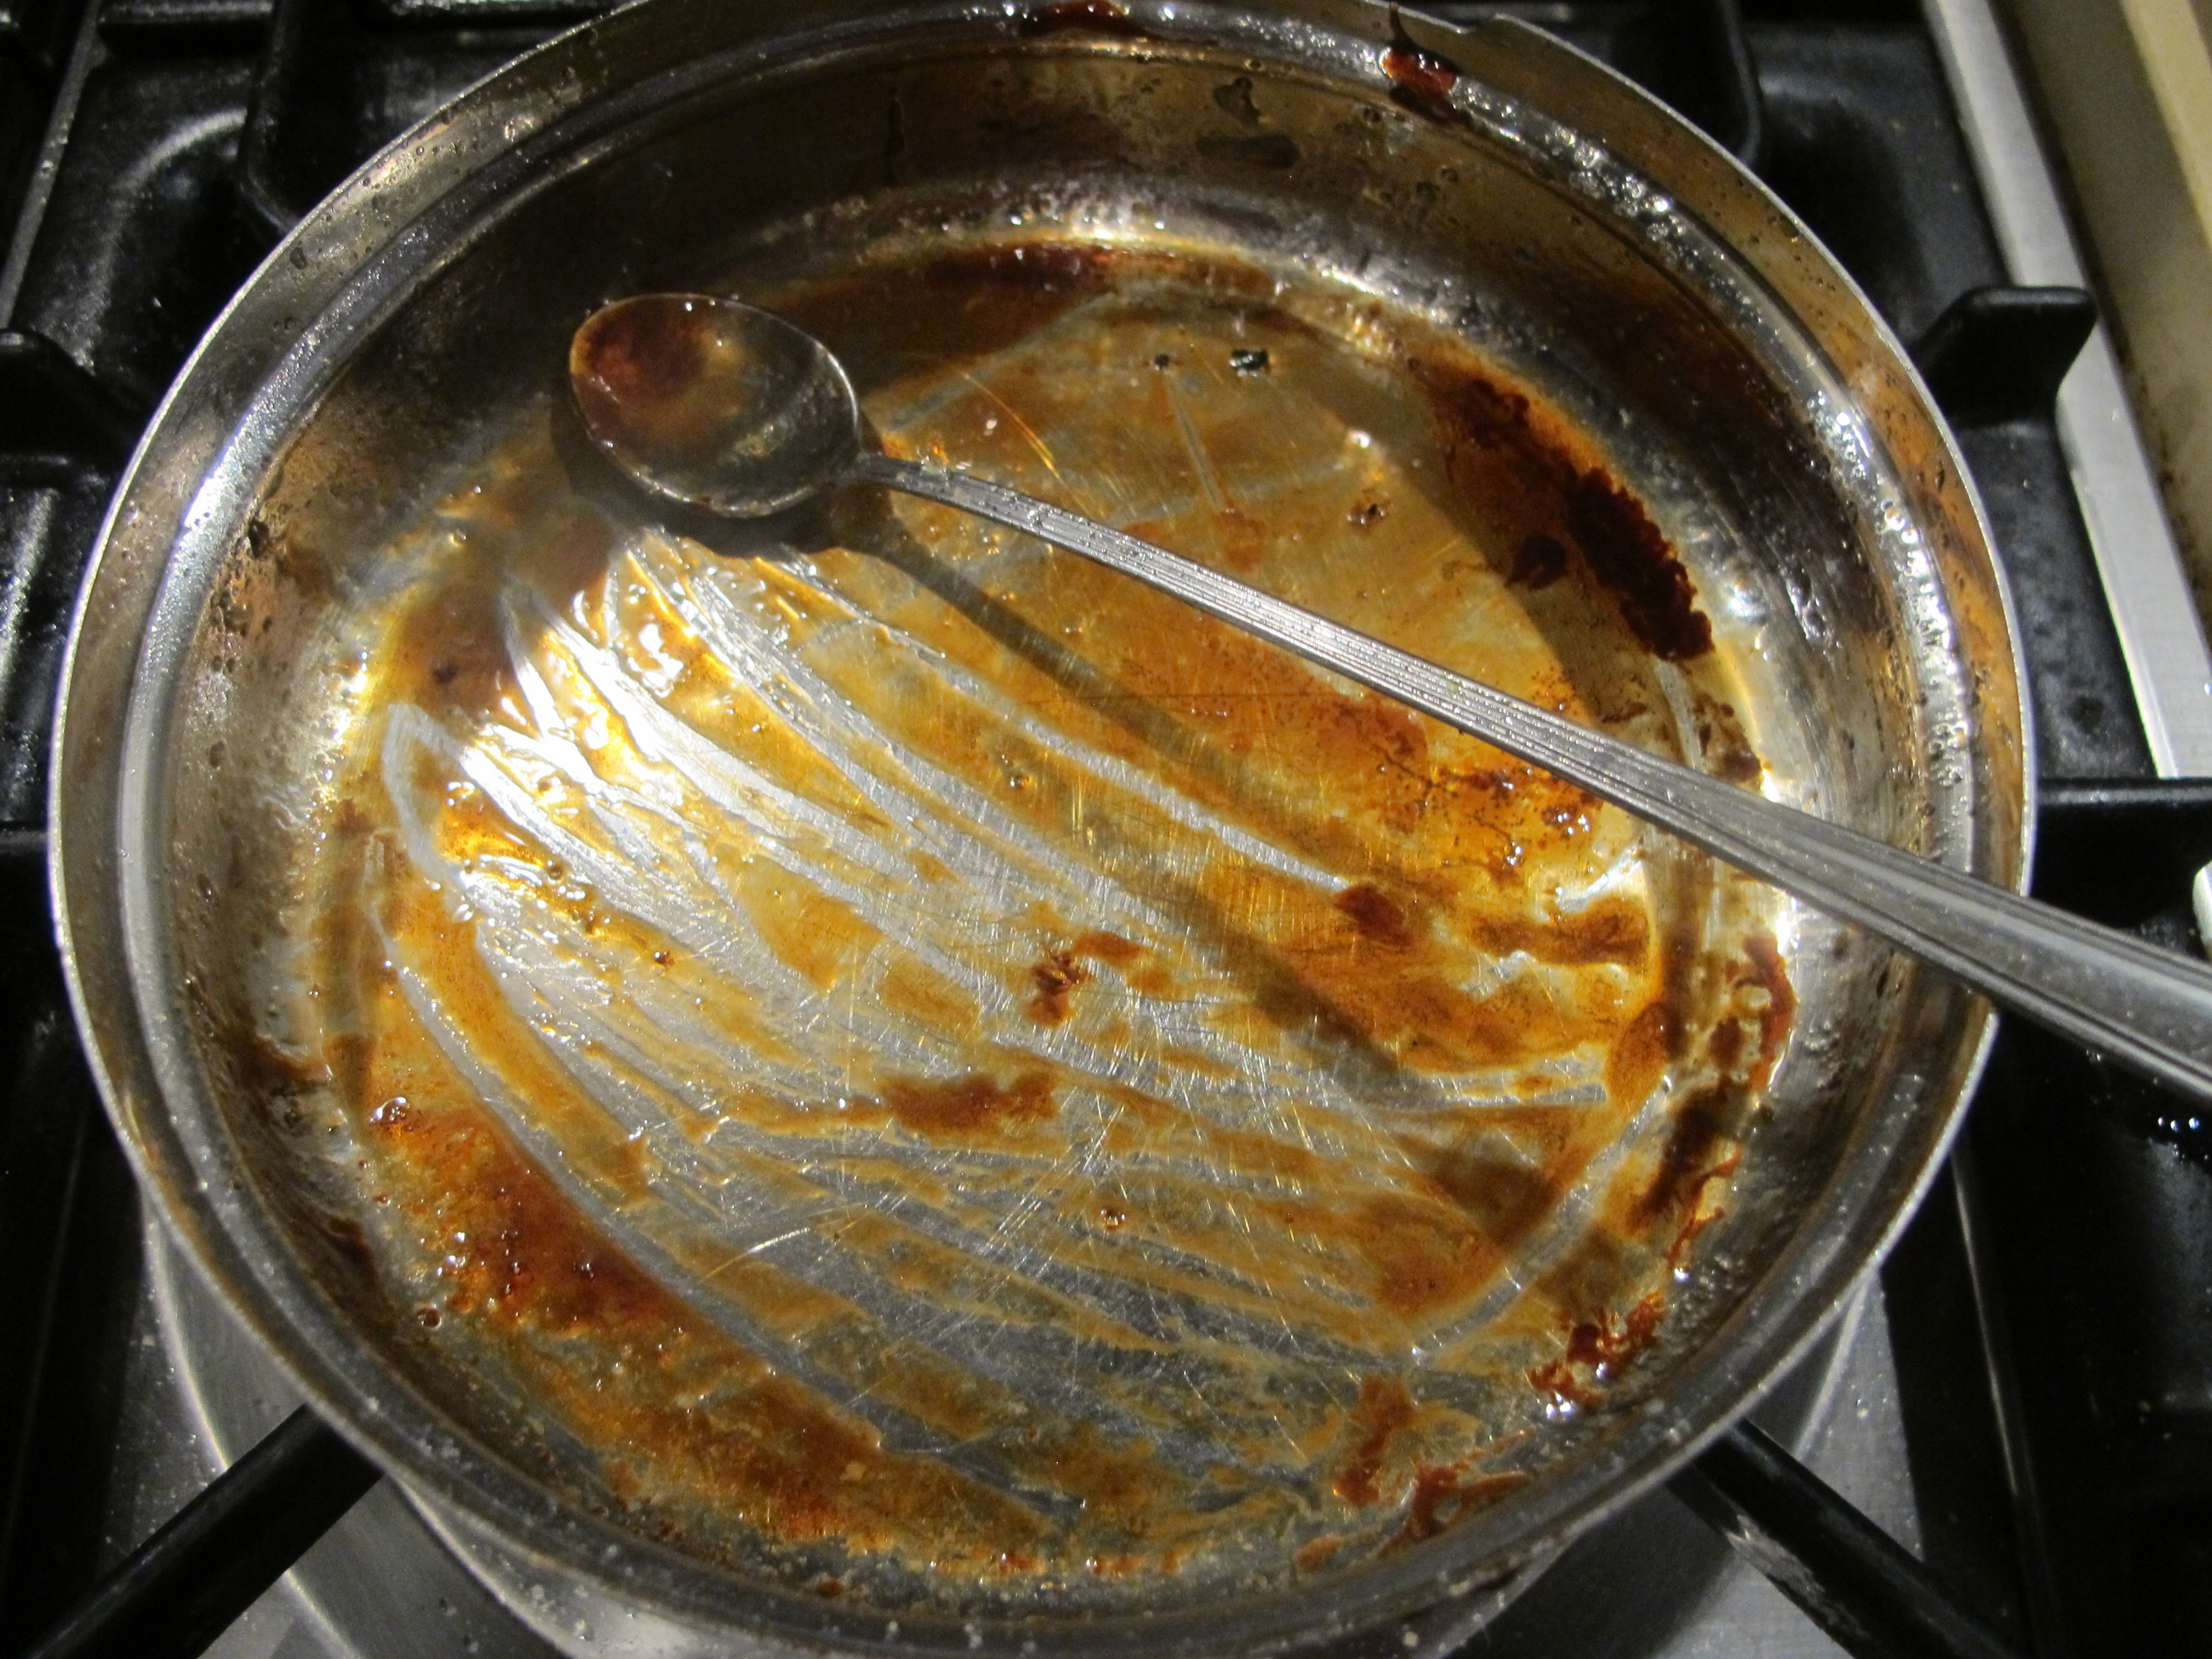
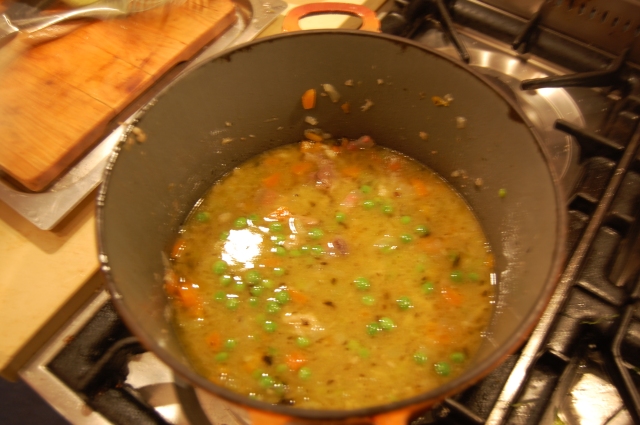 And this was the gravy and juices left behind in the casserole dish.
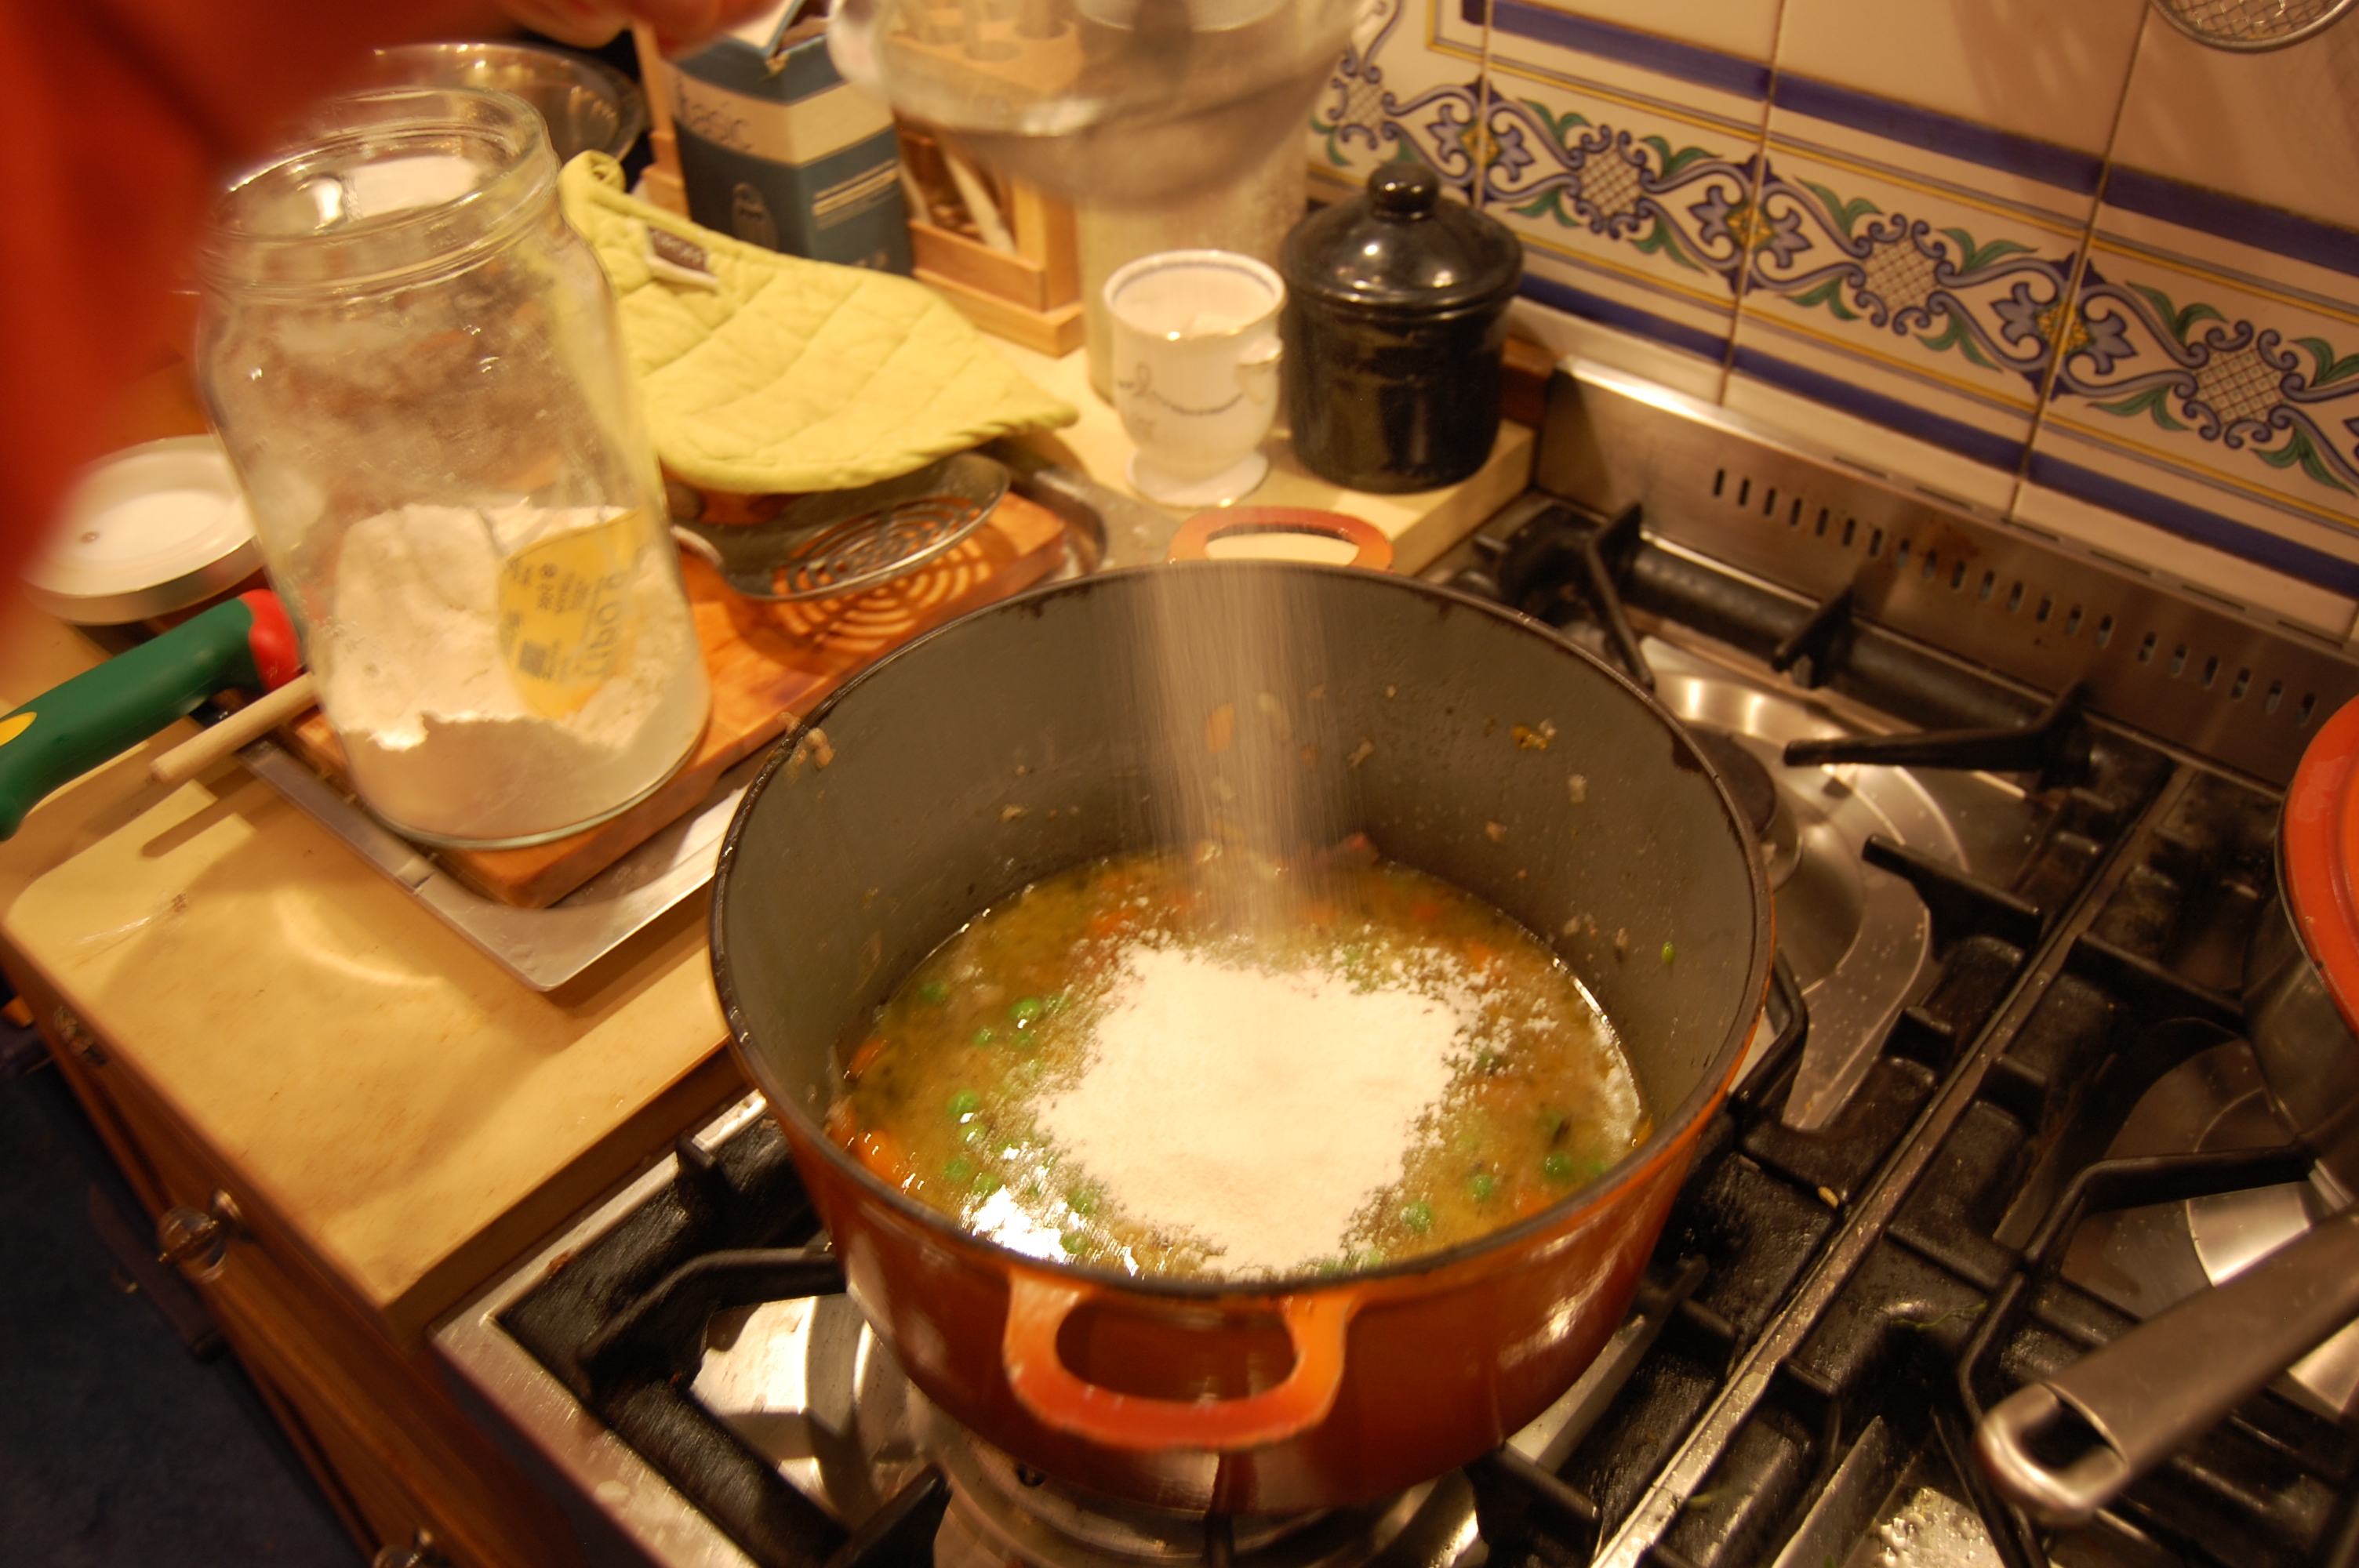
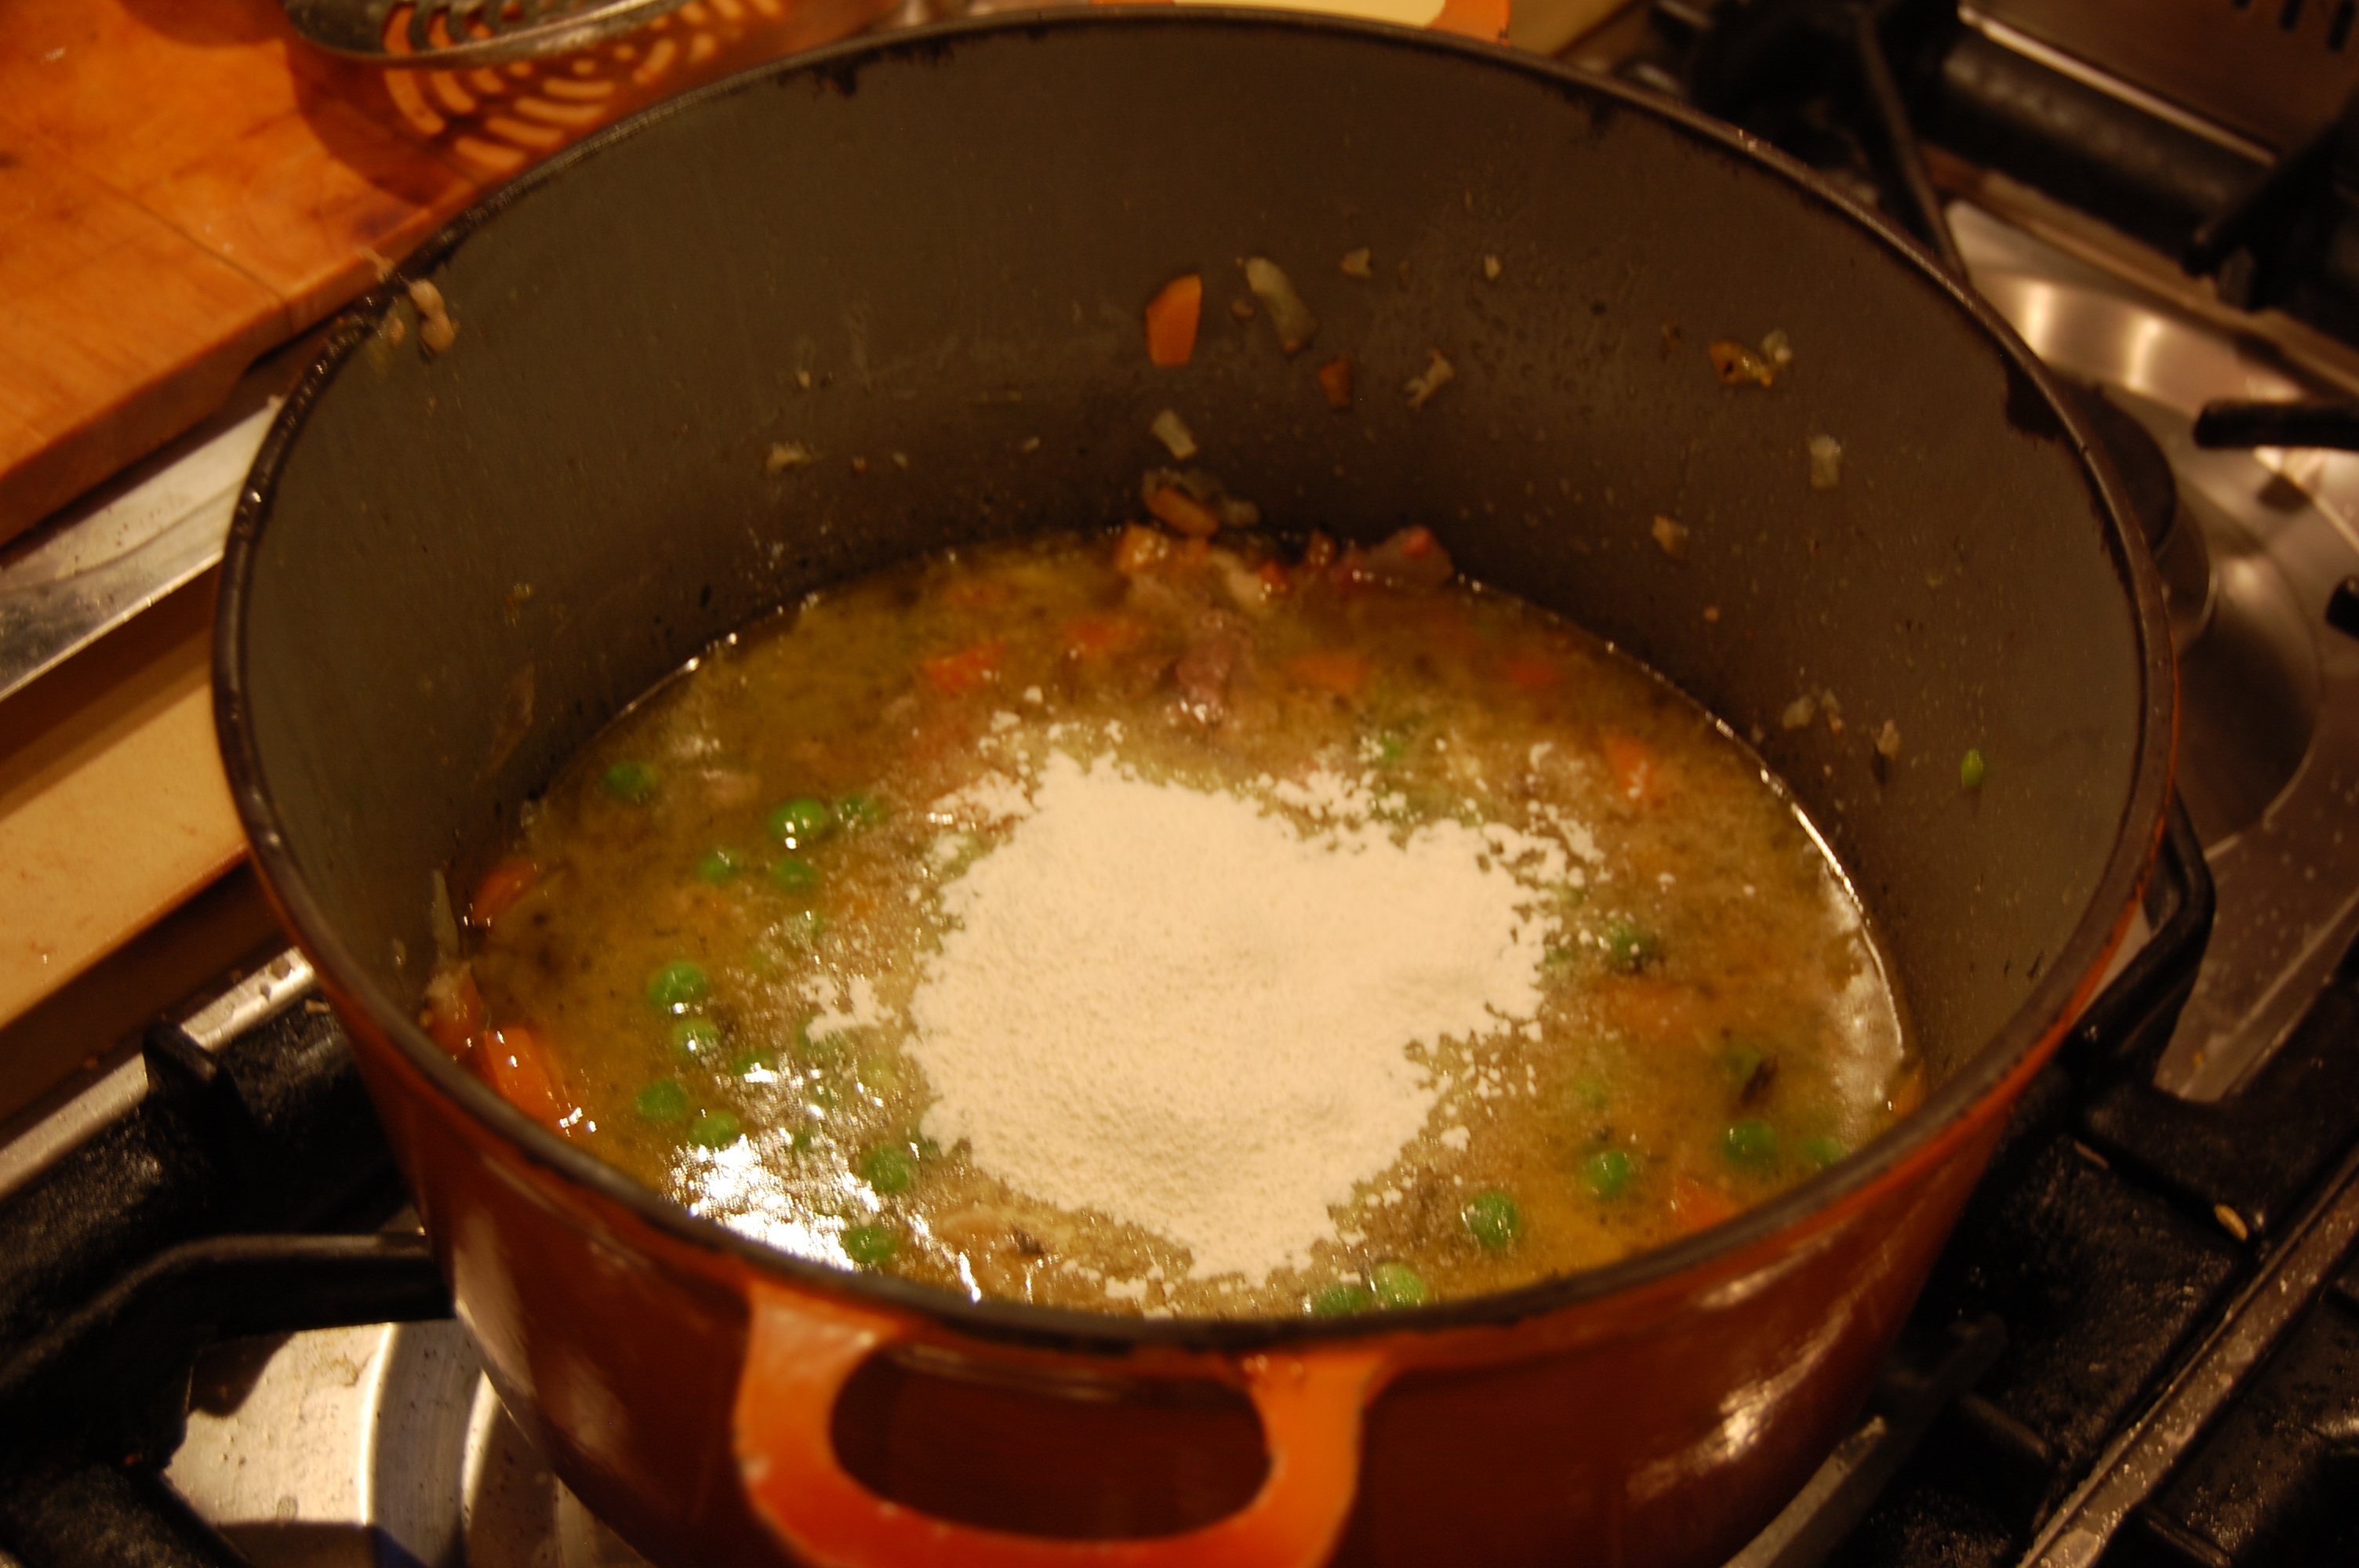
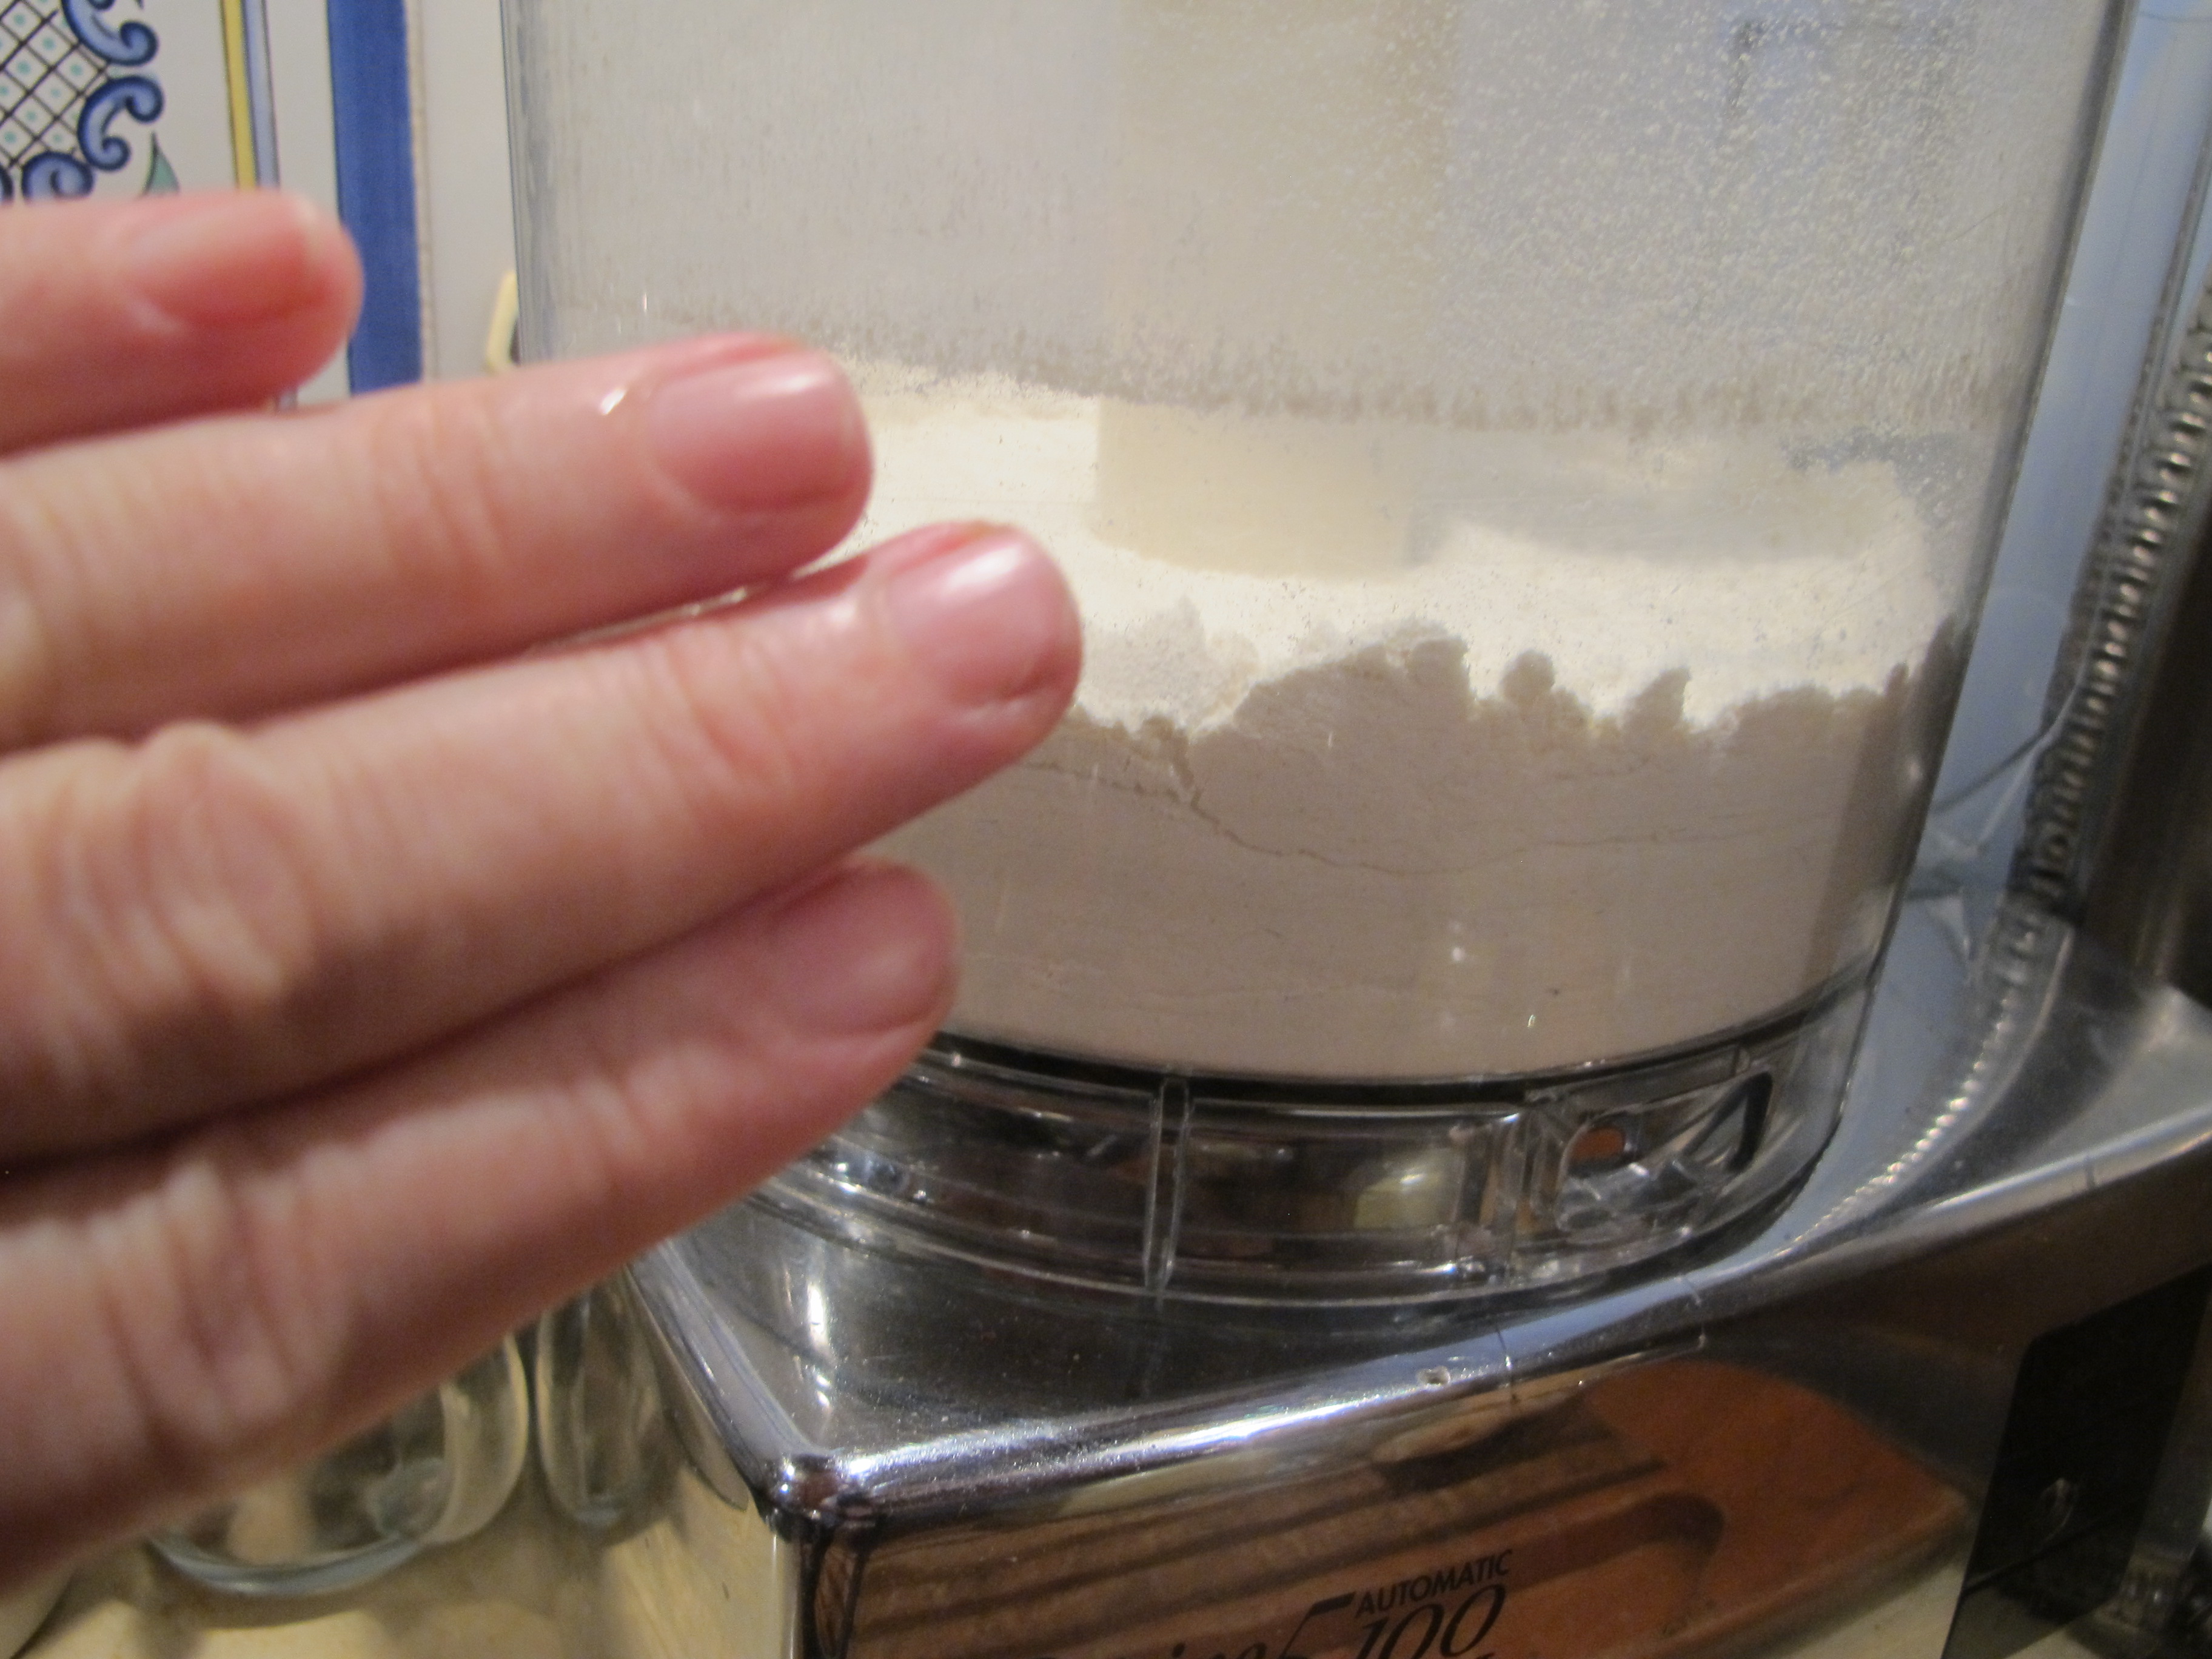
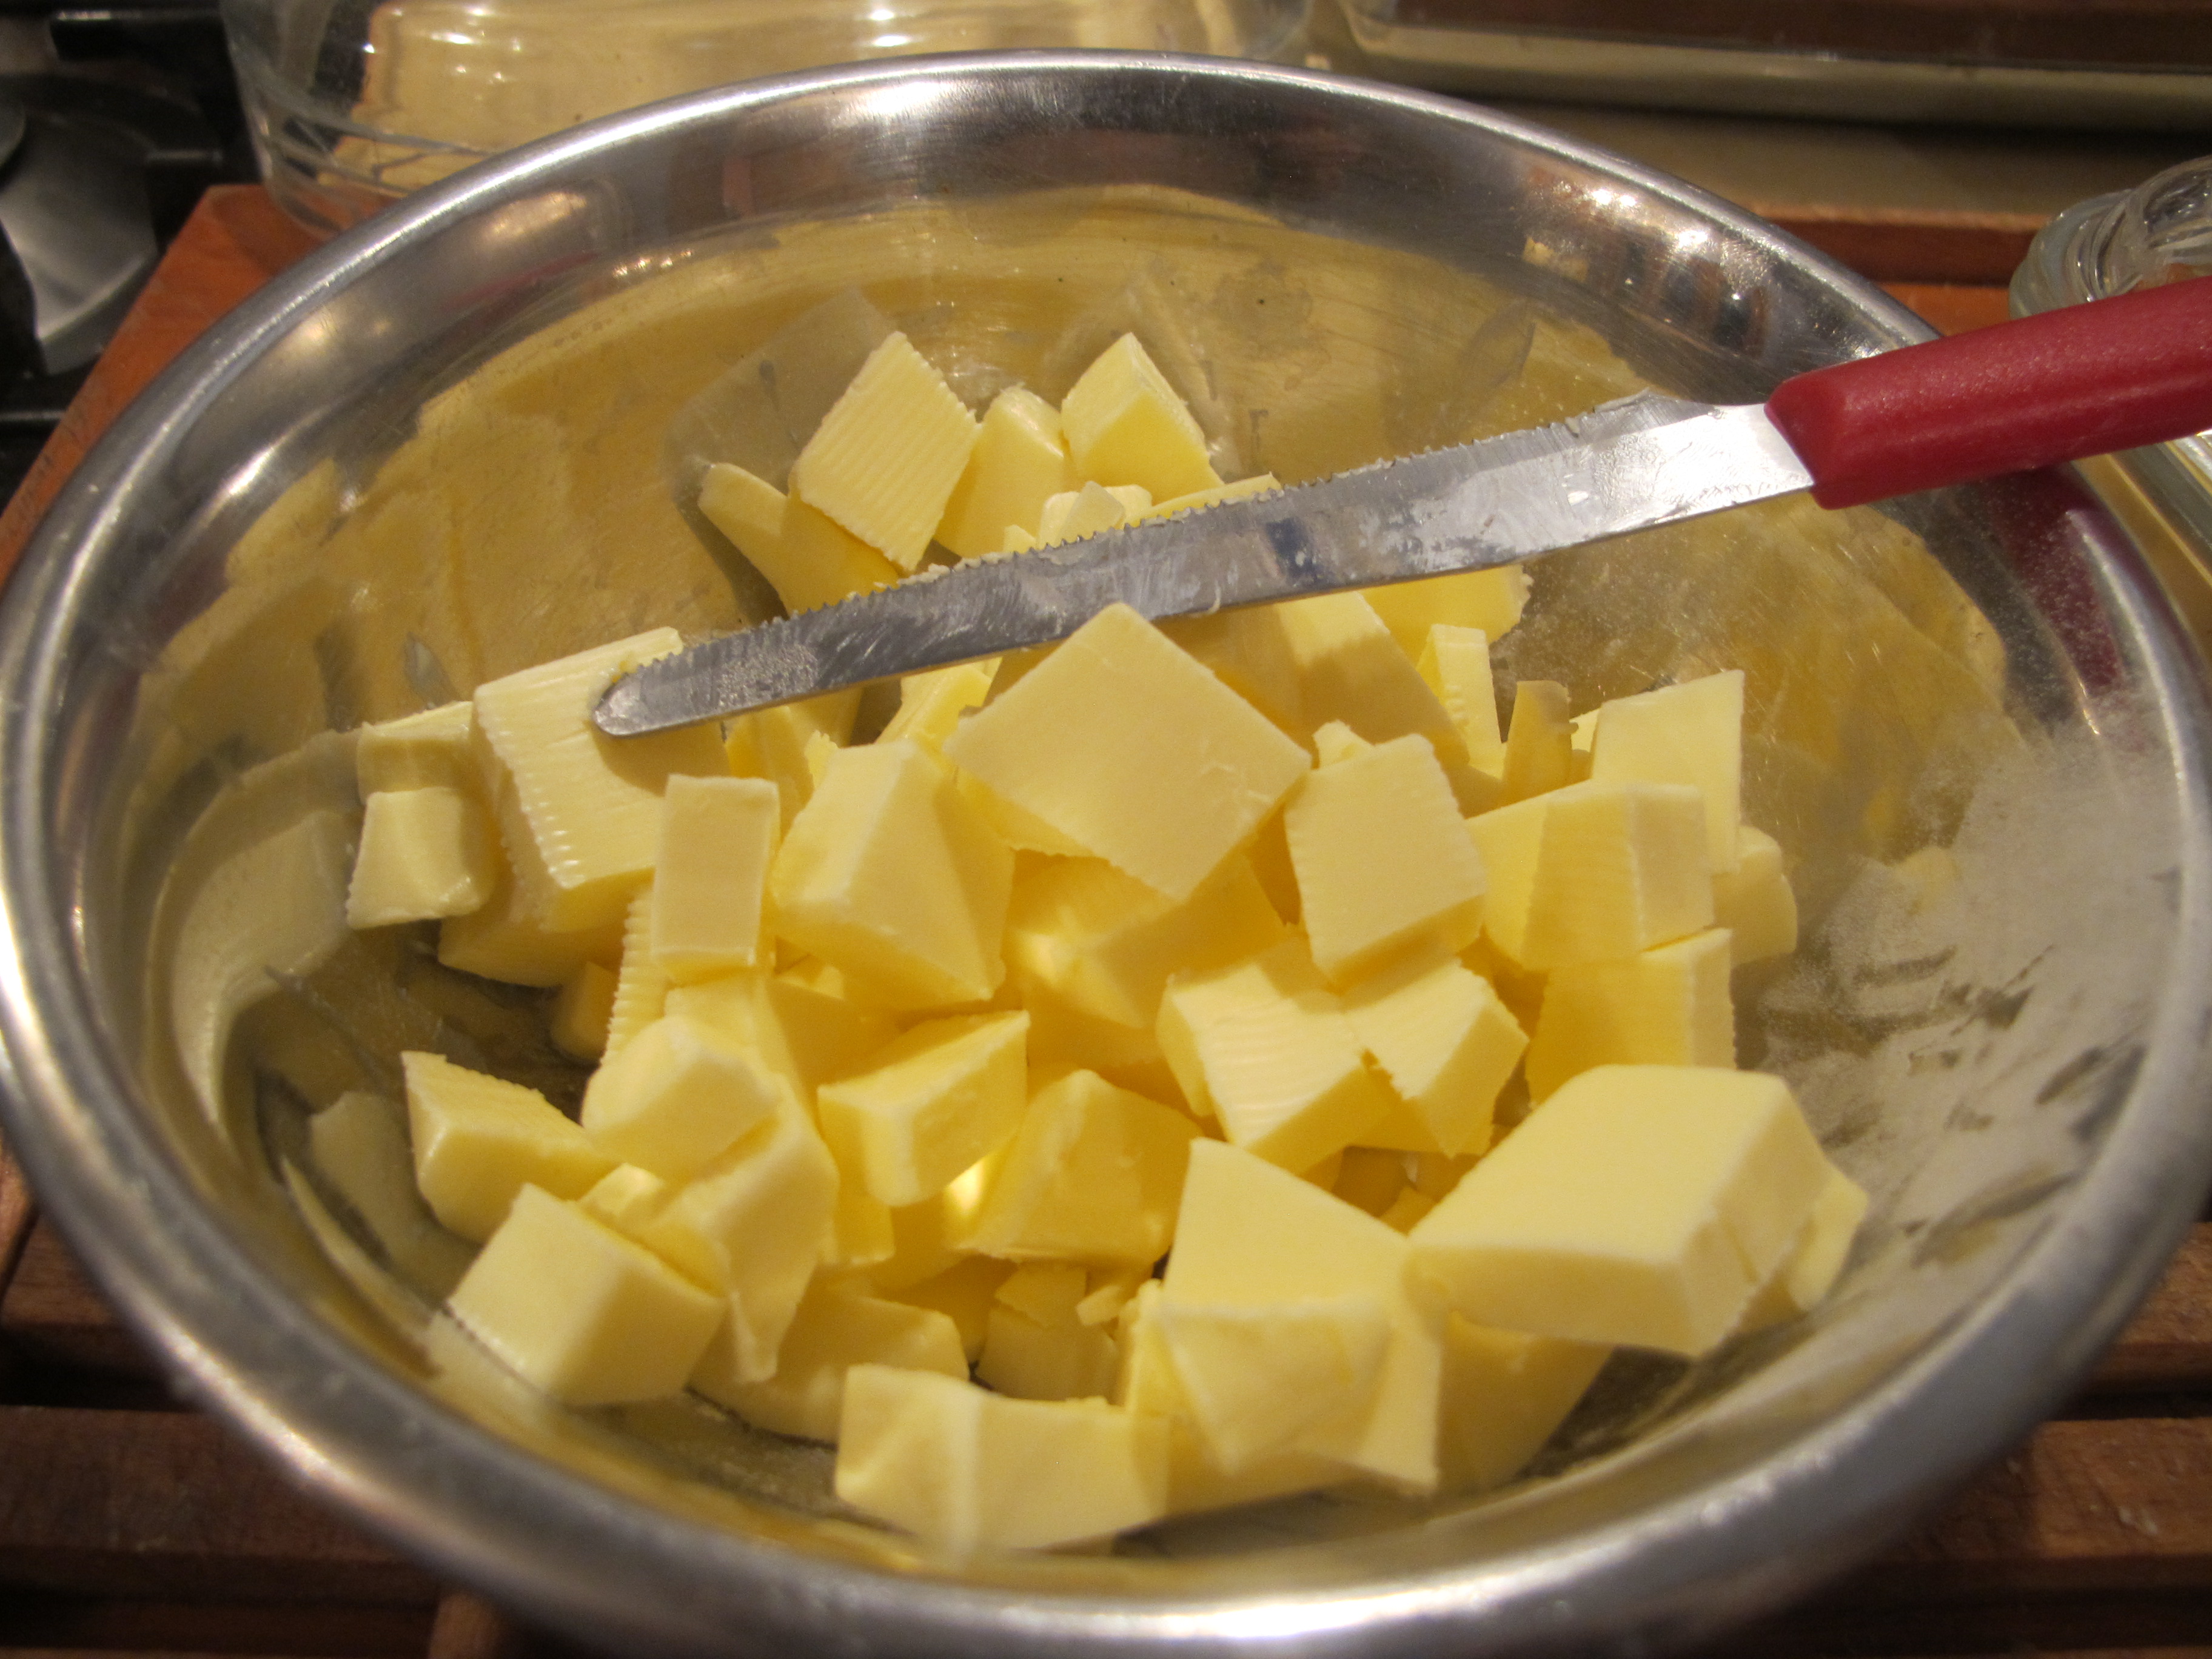
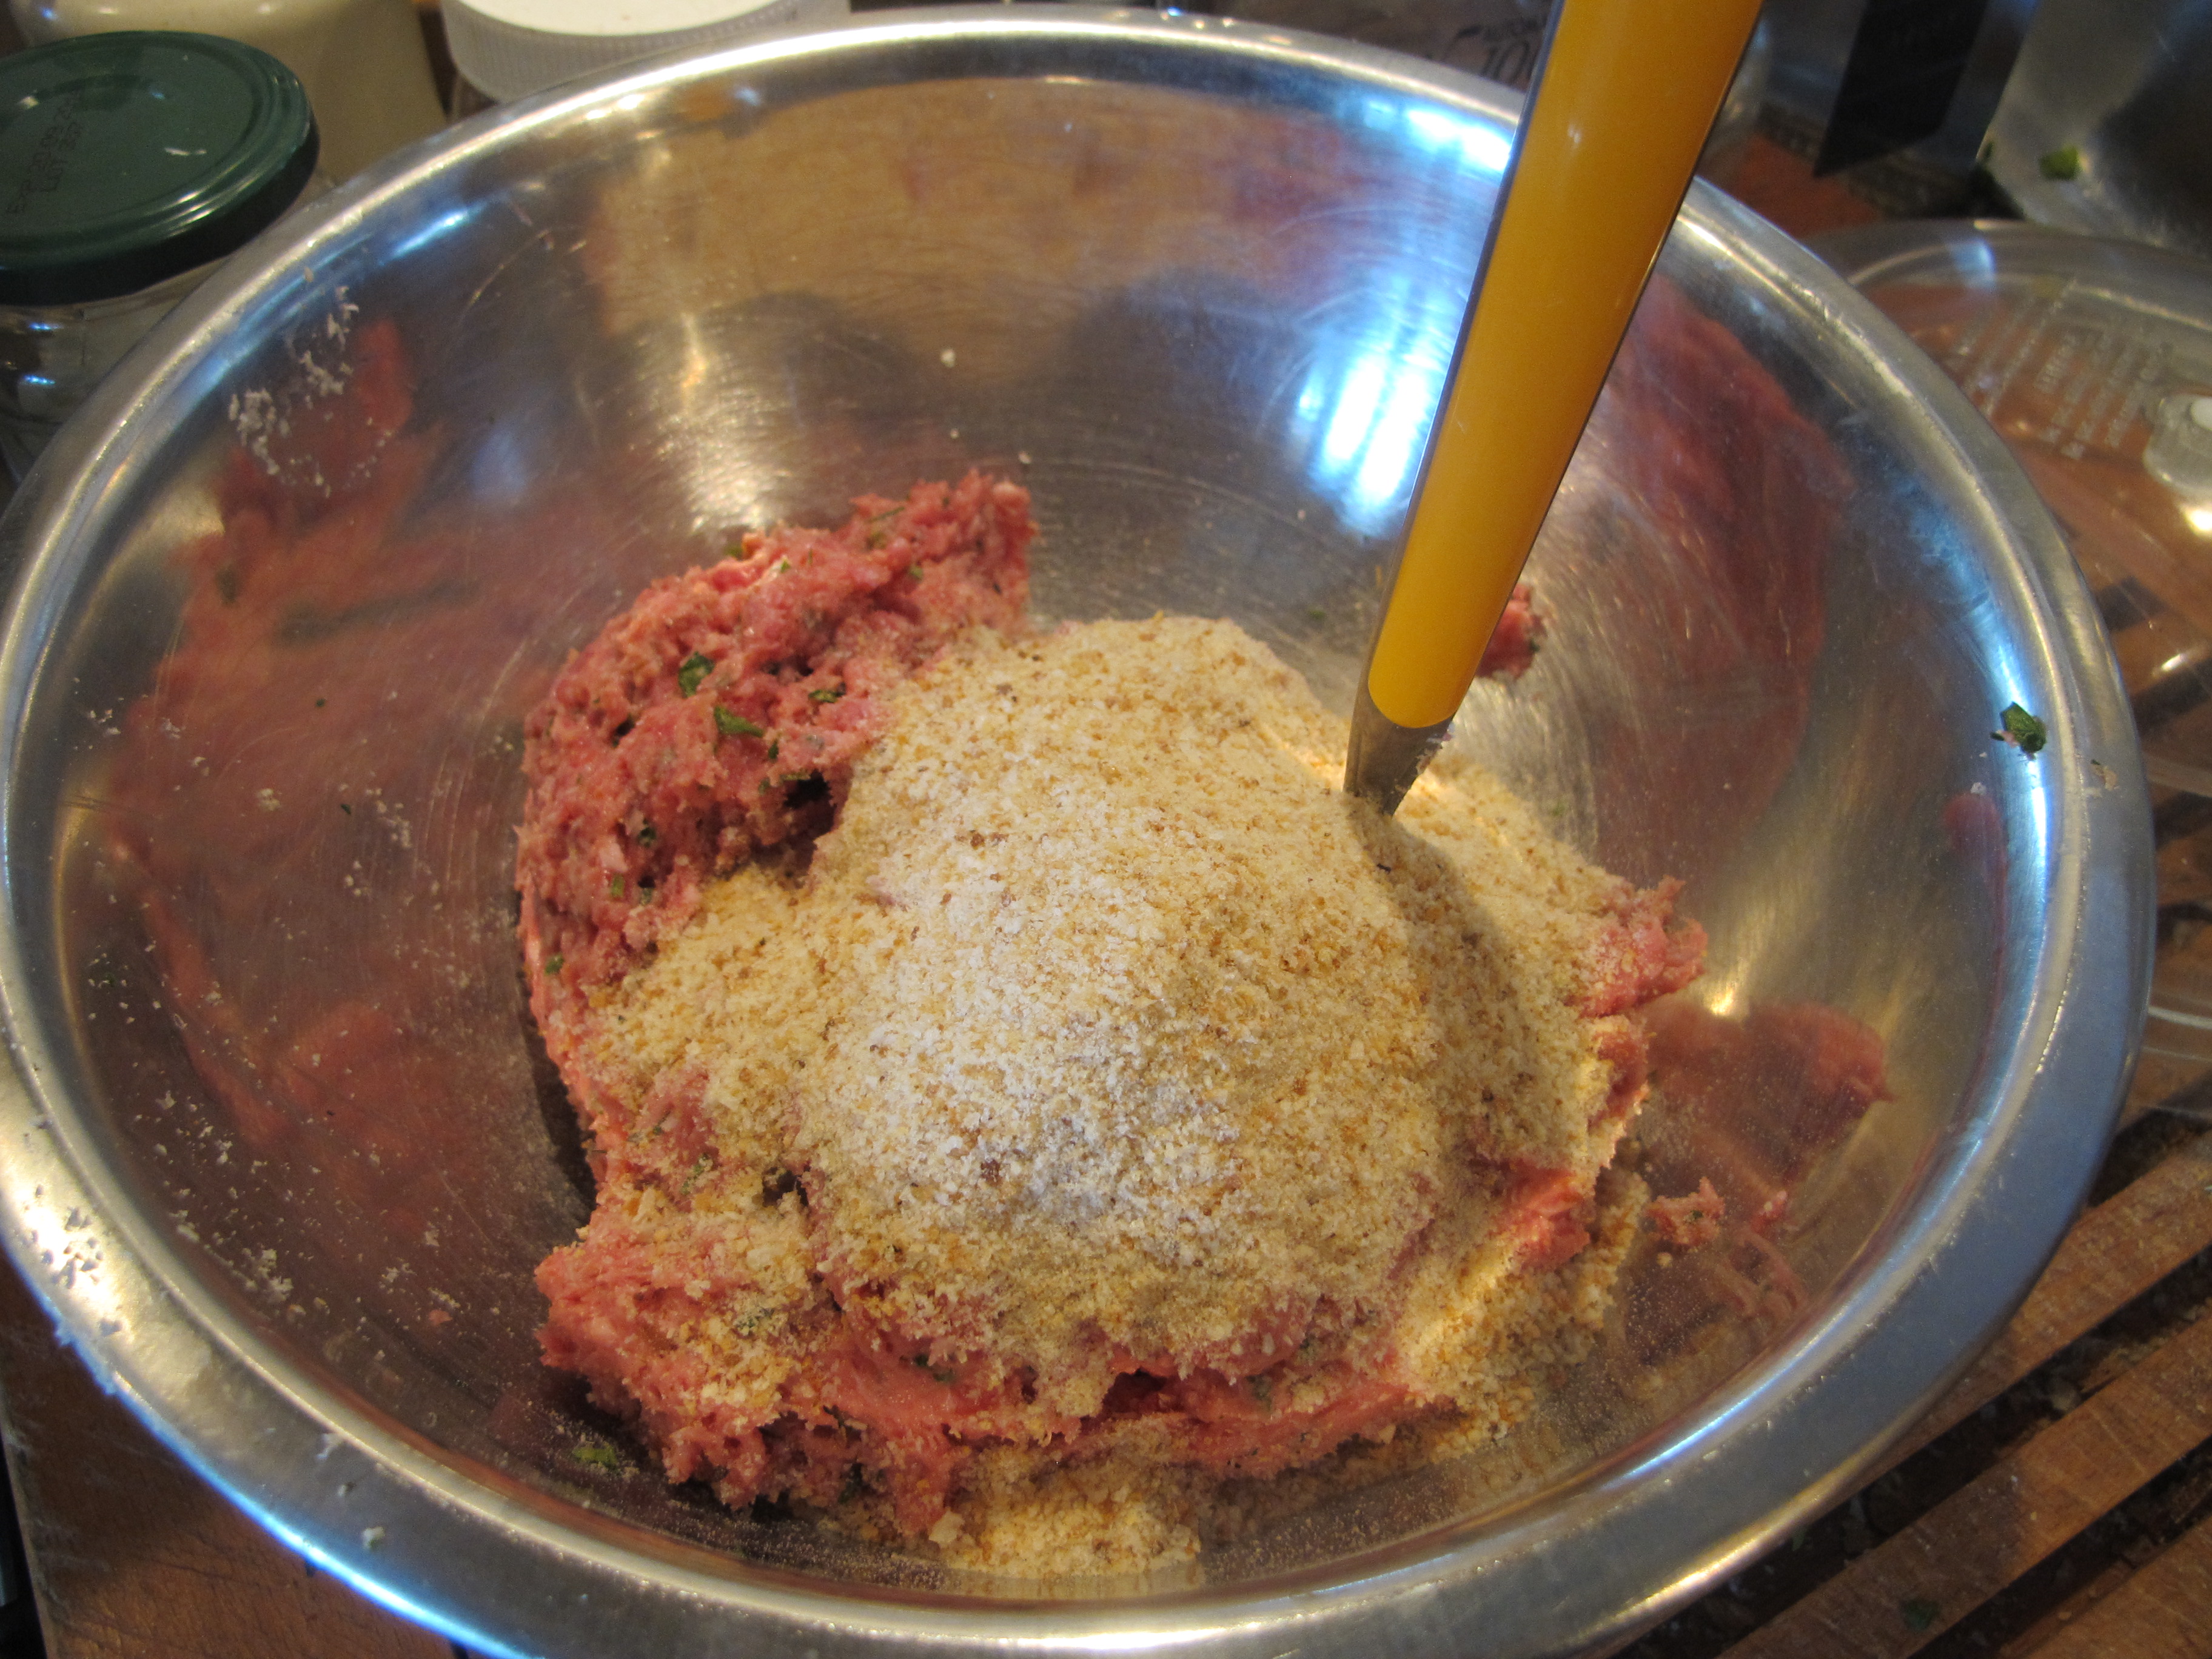
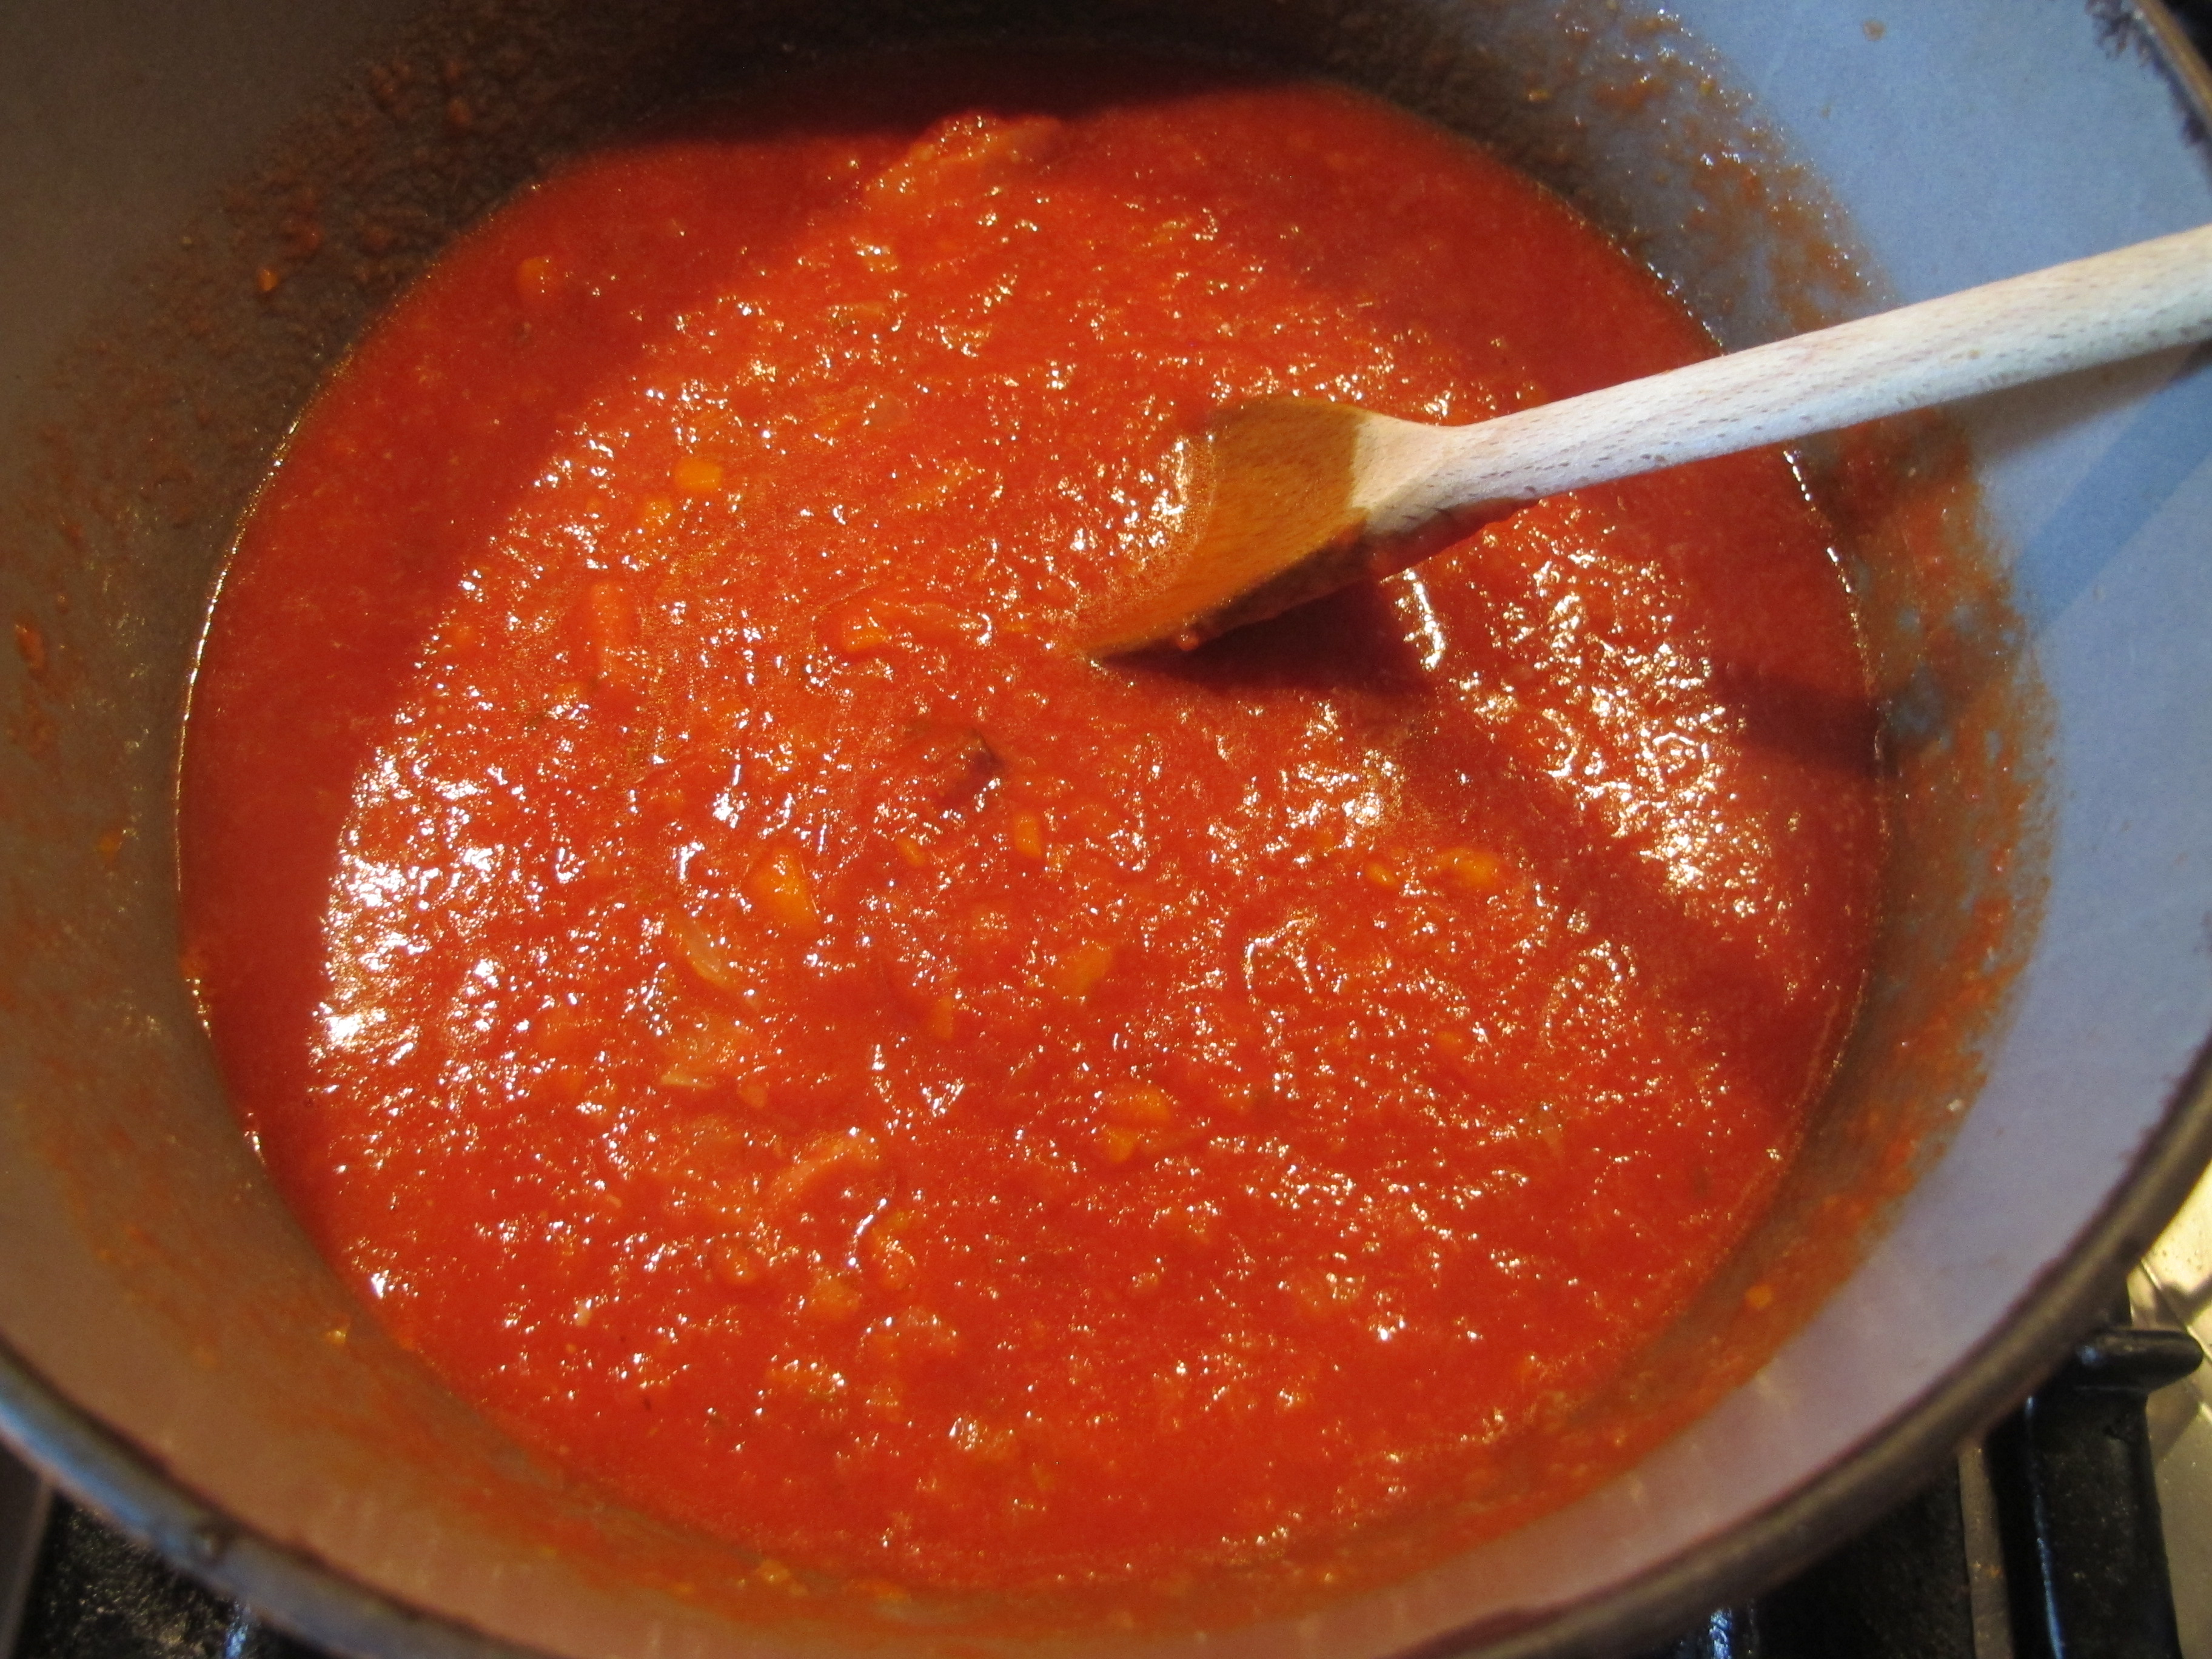
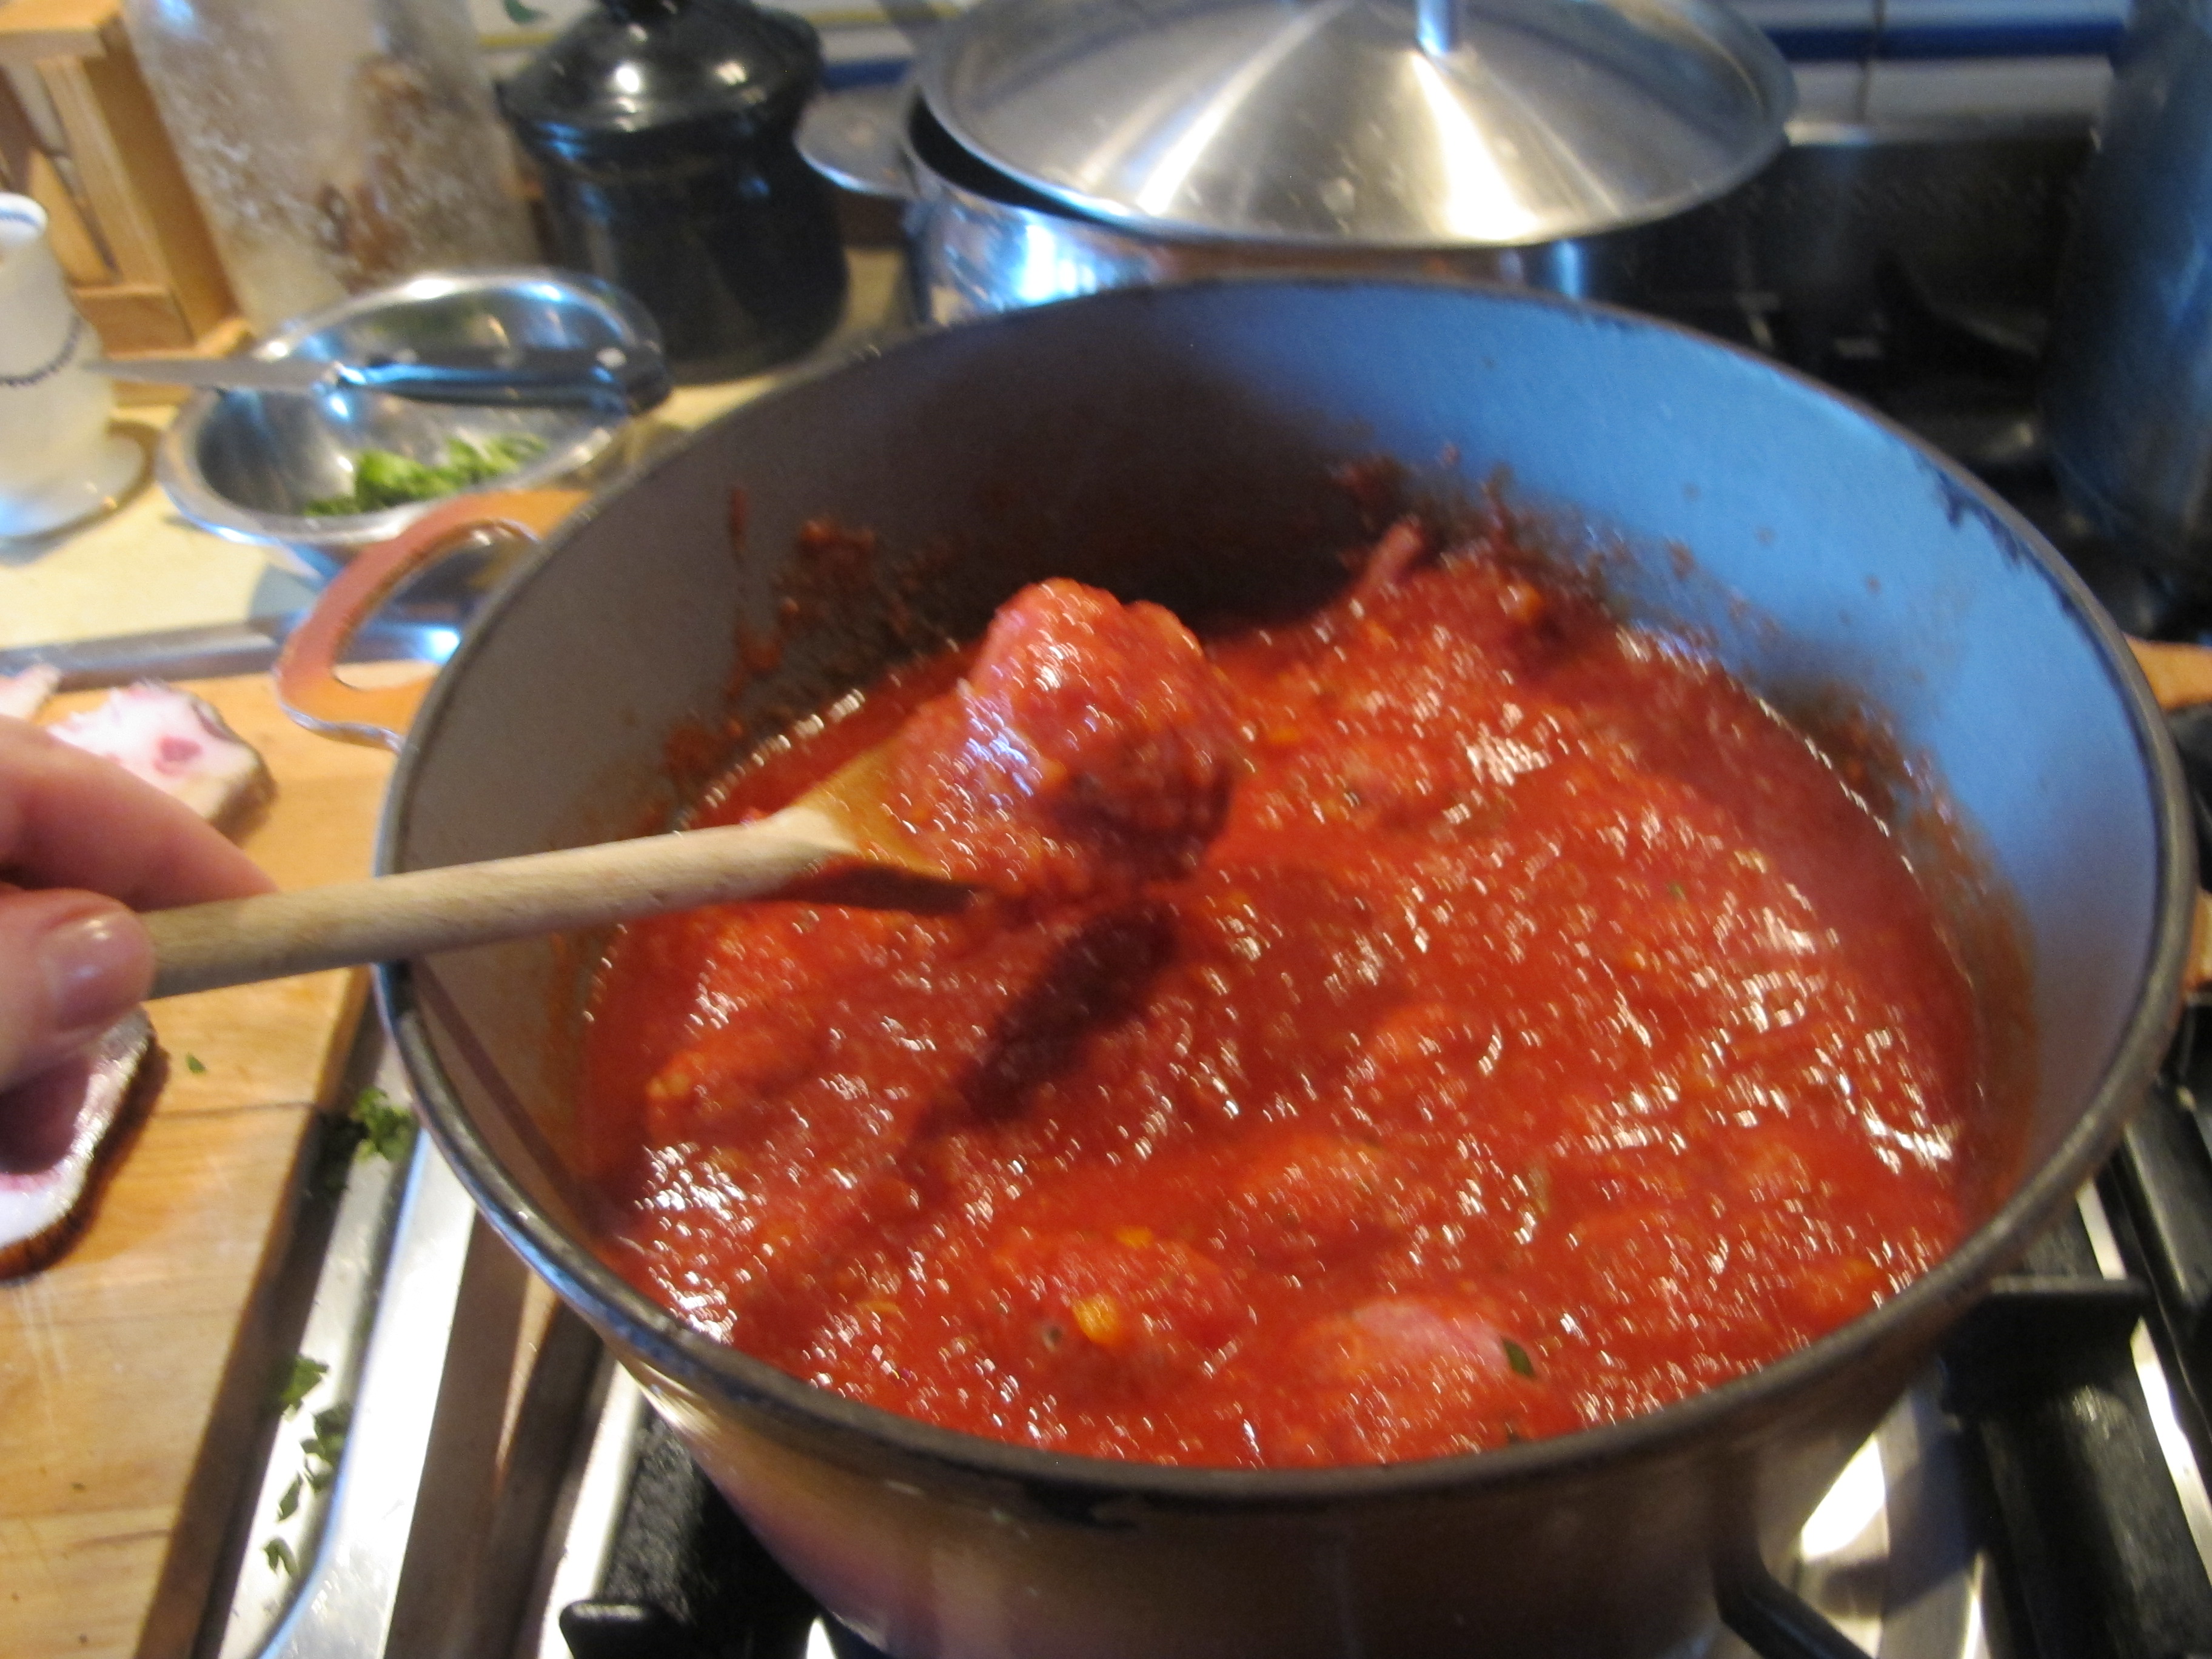
 I used a sieve to add some flour … it looks like an awful lot in this photo, but I seem to remember using about 1 large serving-spoon’s worth of flour only.
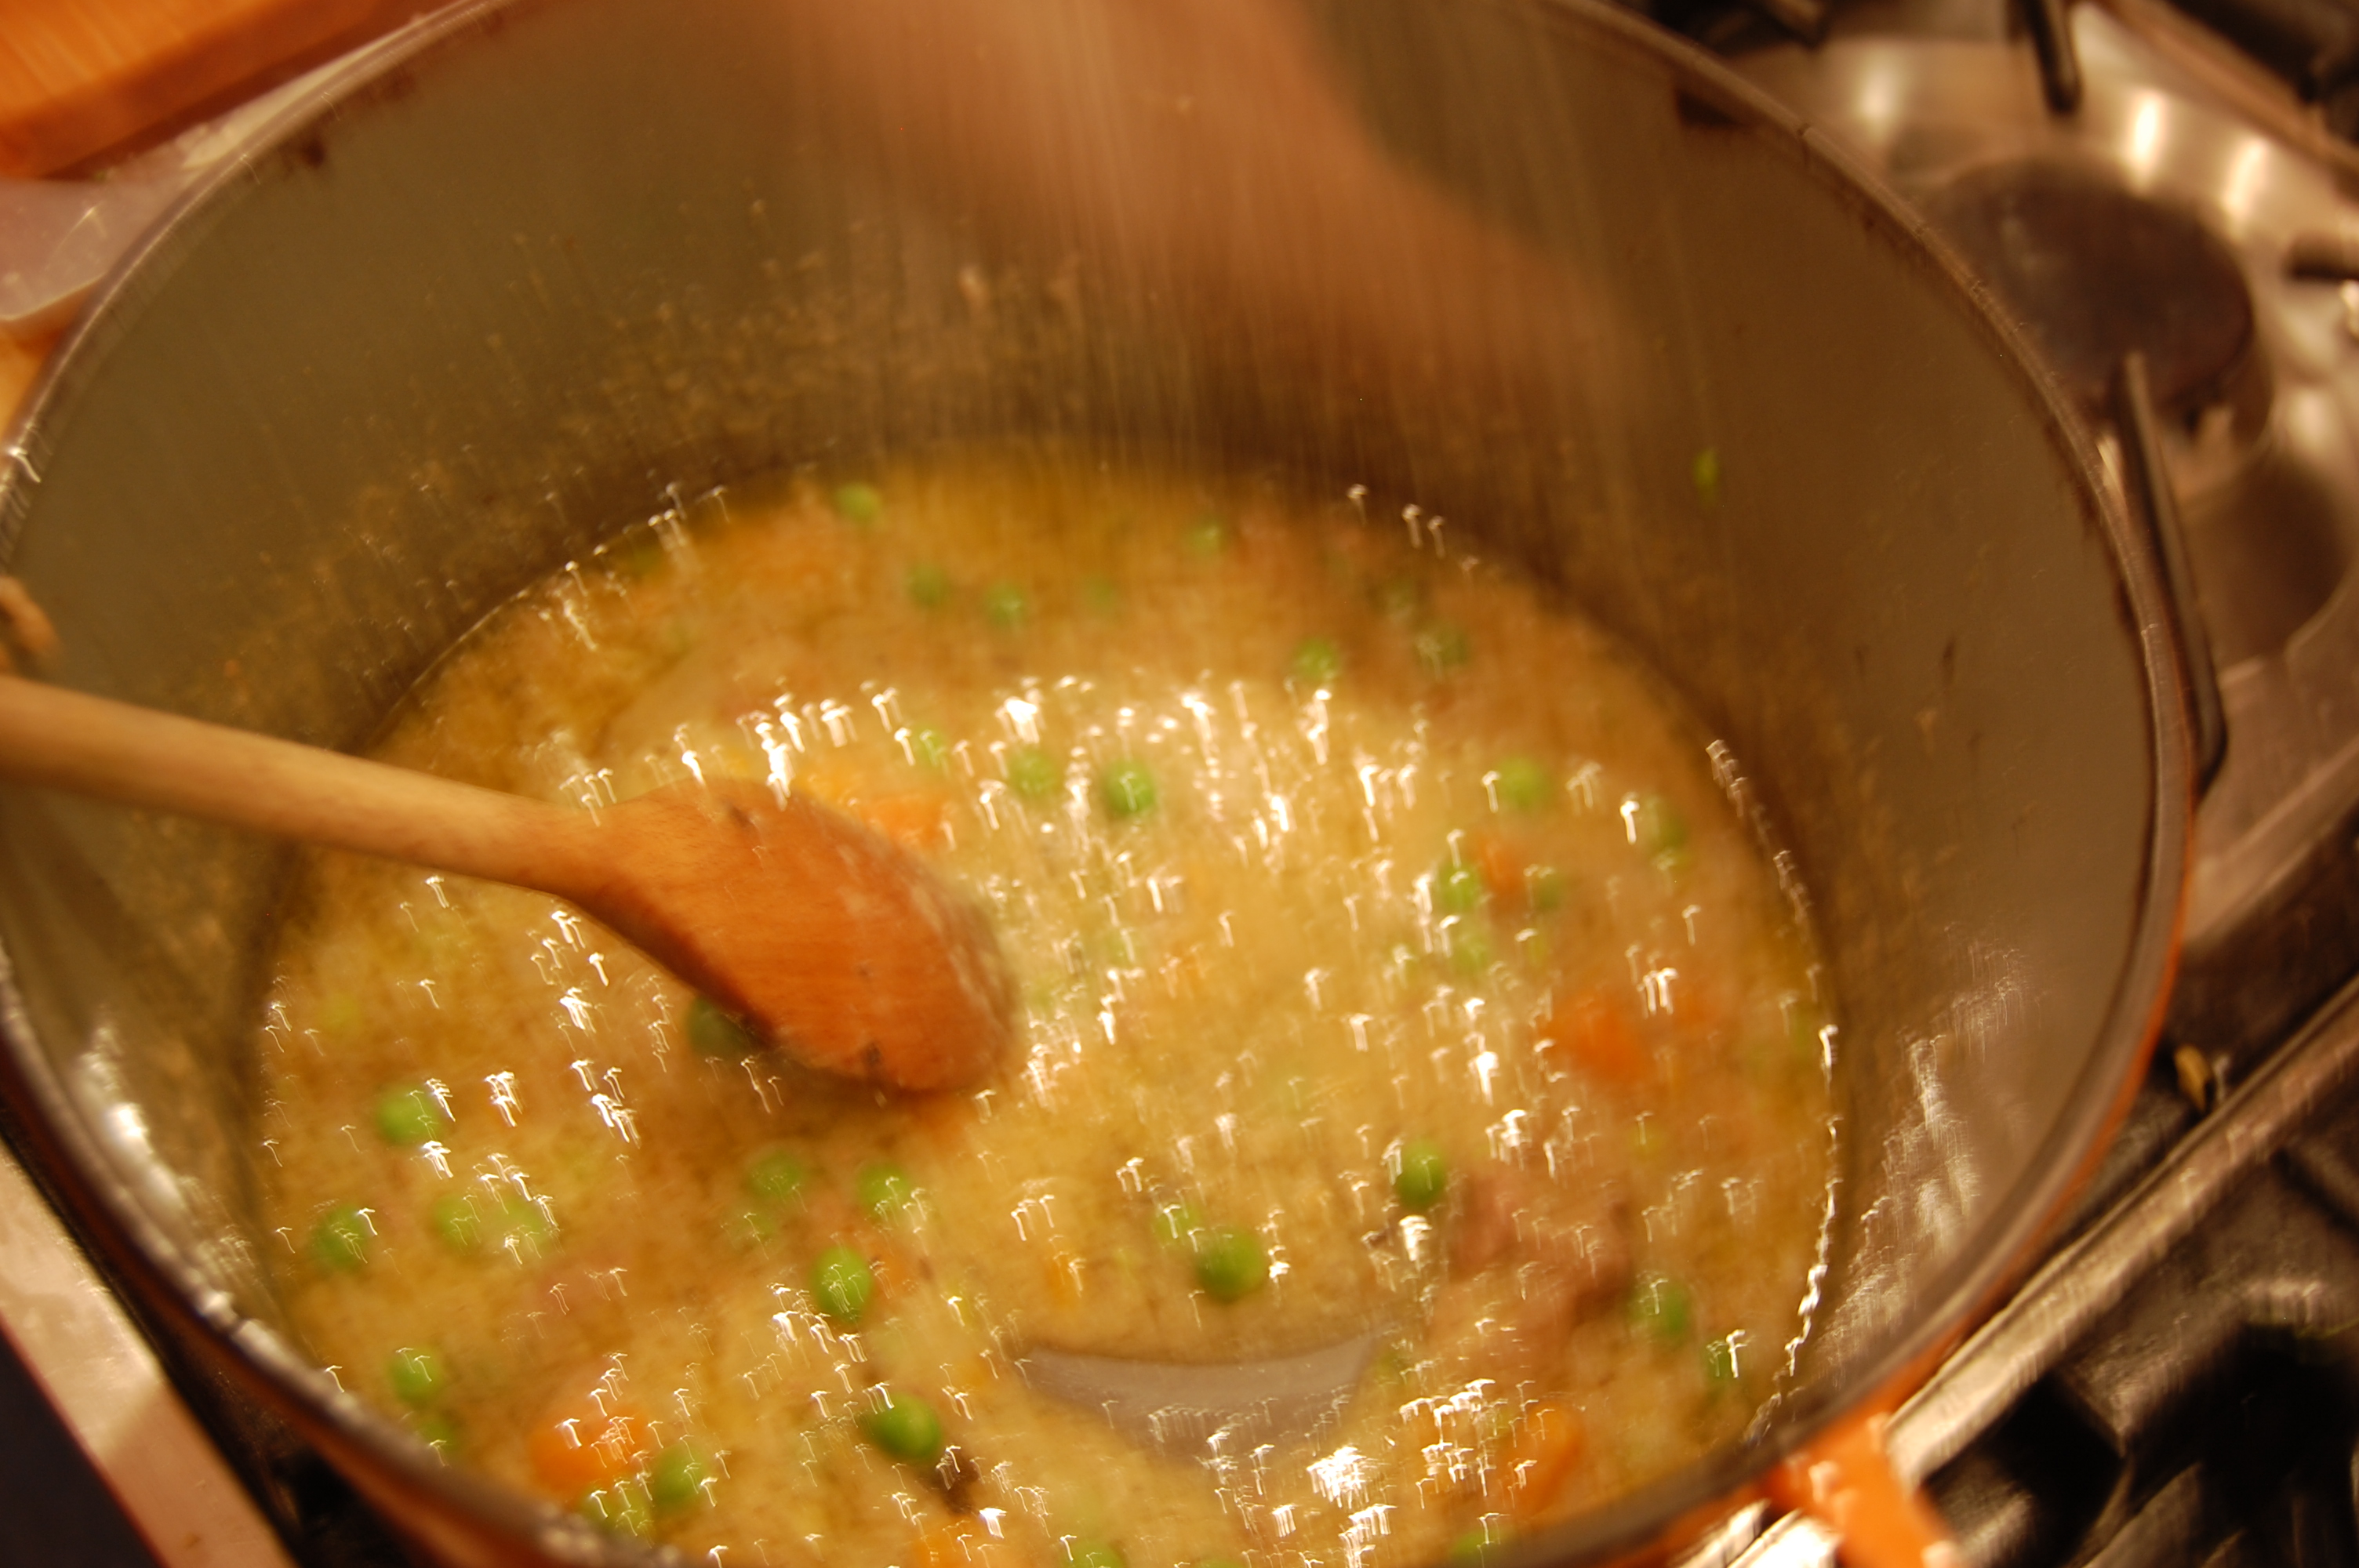
 Turn the heat on and use a wooden spoon to mix the flour in and make the gravy thicken smoothly. Cook the flour for at least five minutes (otherwise the flour will ruin the taste).
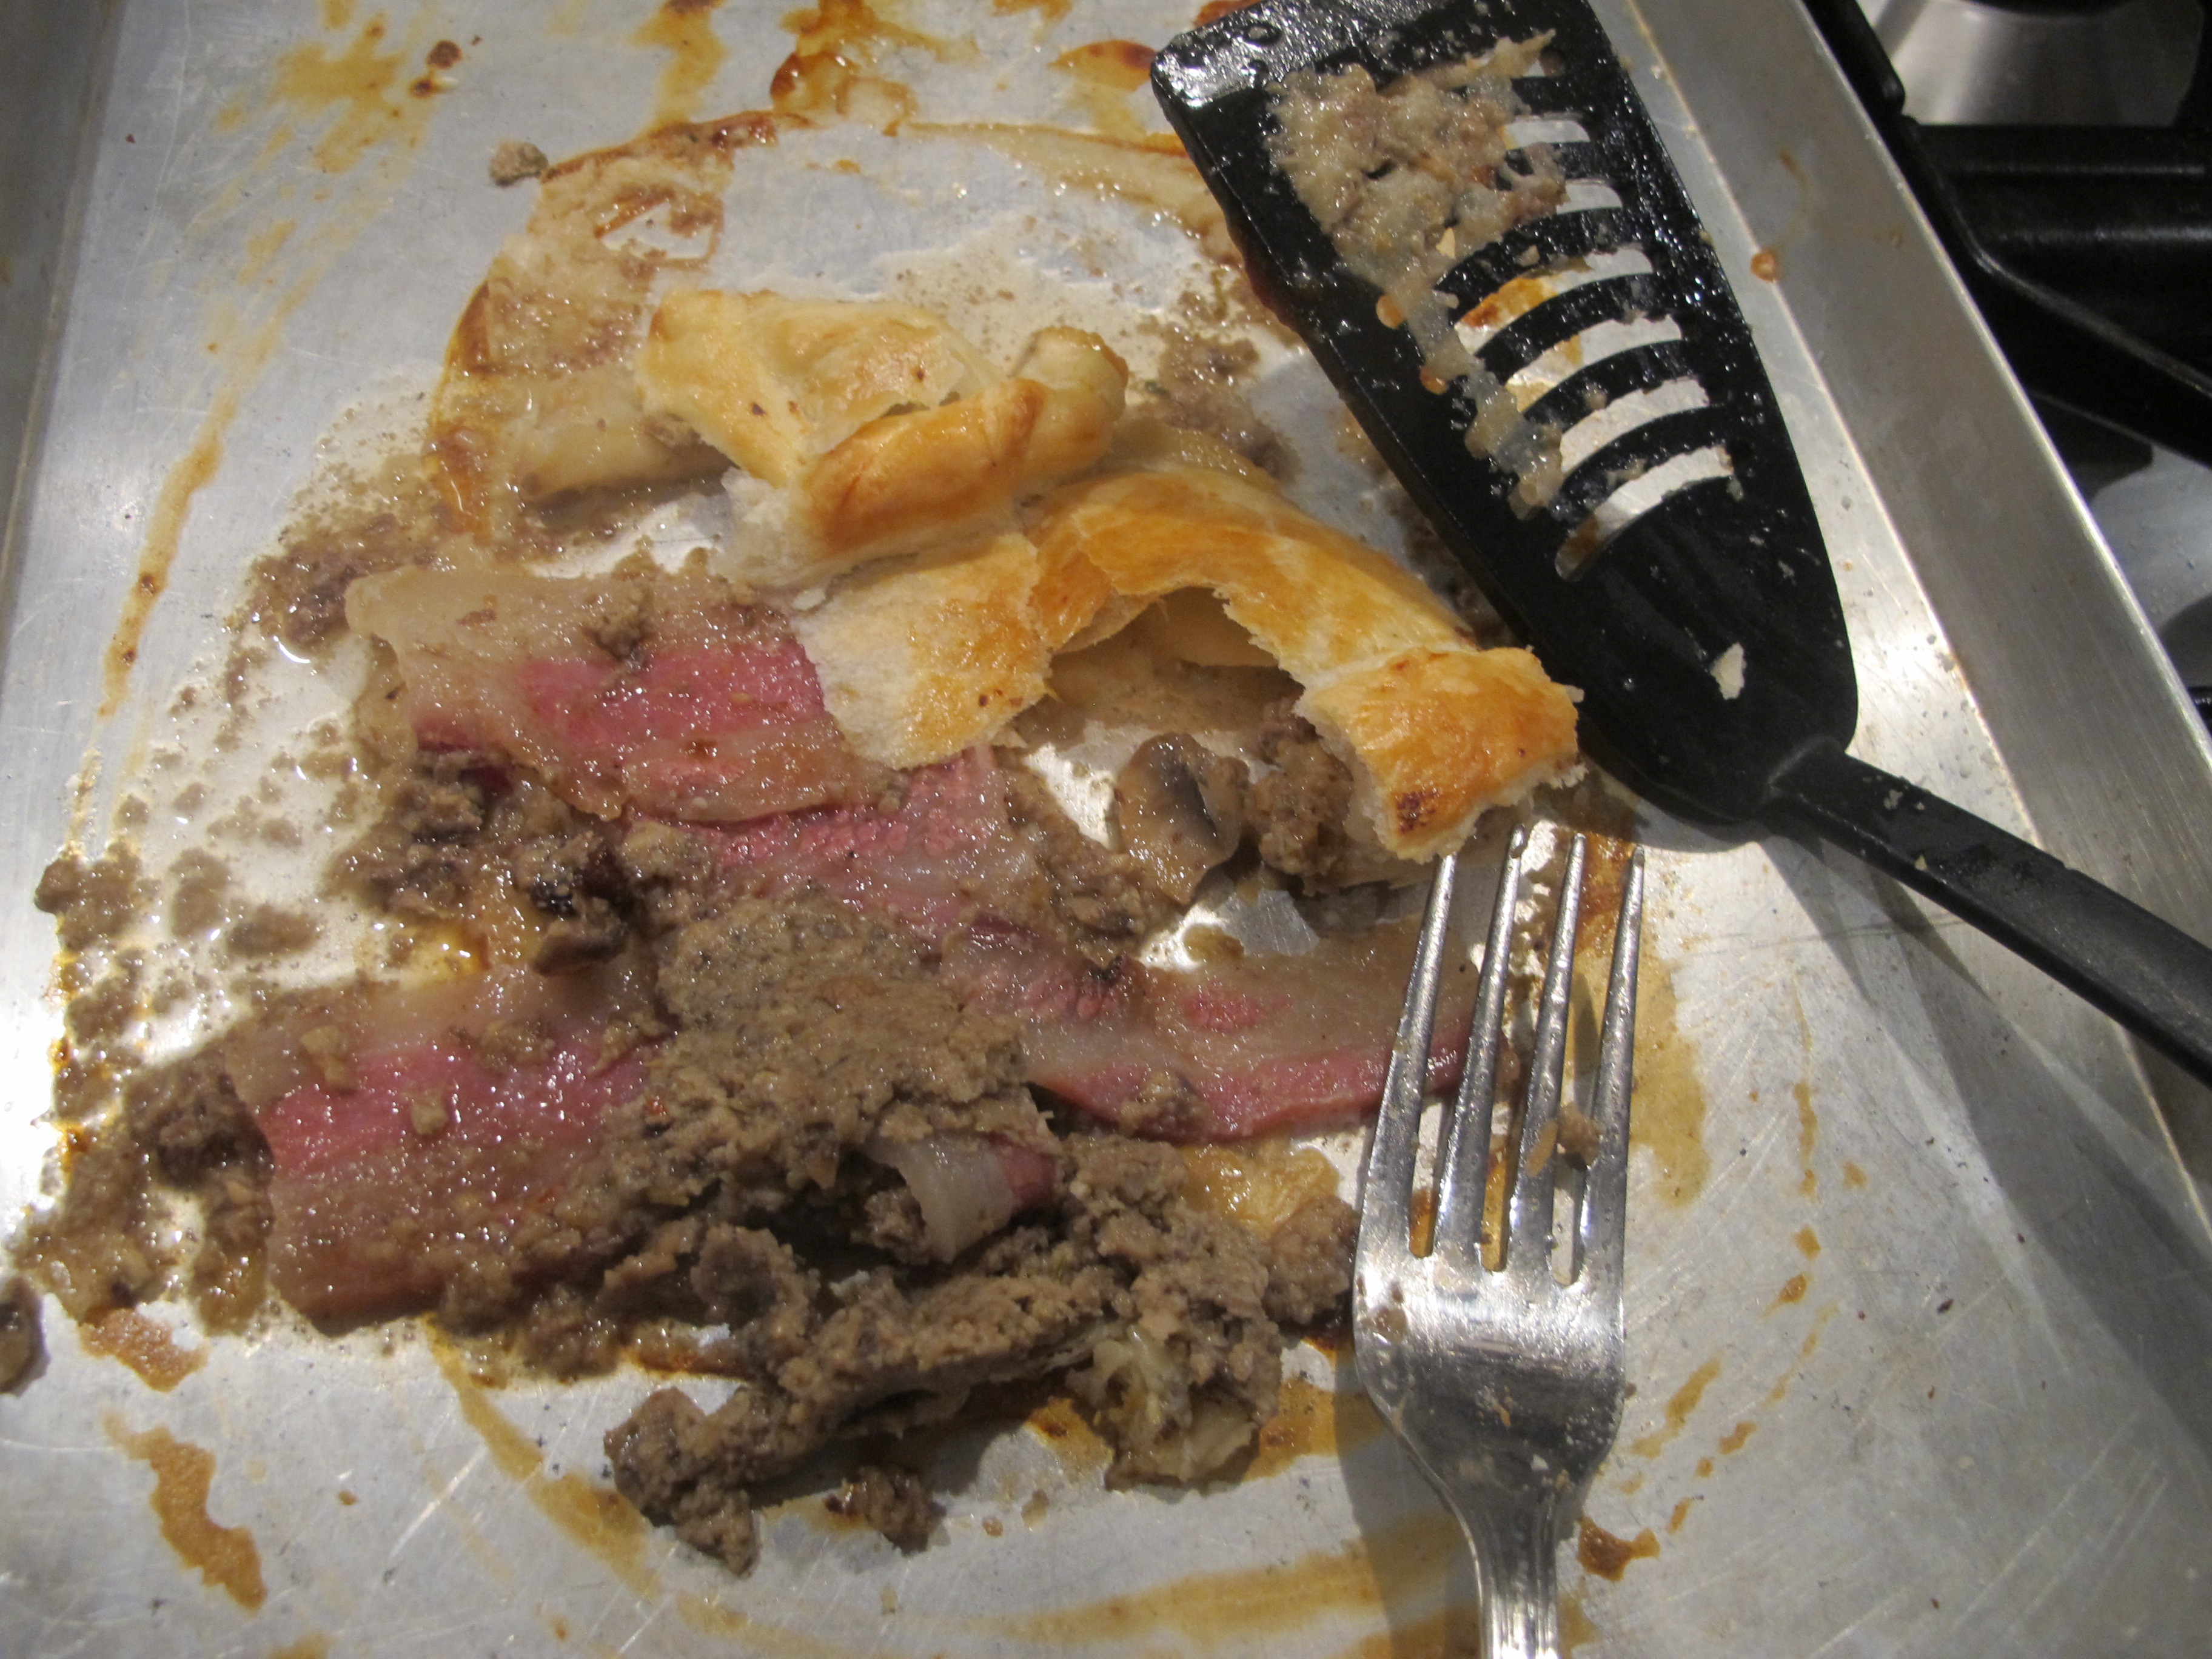
 This is an abominable photo … but it was a question of getting the dish right or the photo right, you do understand don’t you. And it was at this point that I added a shot of Brandy, to impart another layer of taste to the stew. The recipe I have for coq-au-vin adds Cognac towards the end, so I thought I would do something similar and added some Italian Brandy (Vecchia Romagna – Etichetta Nera).
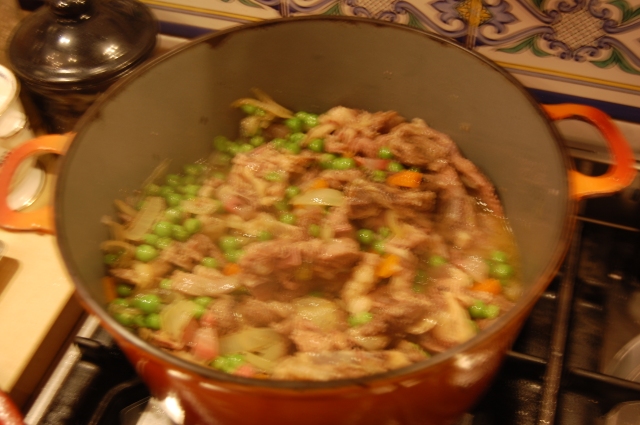
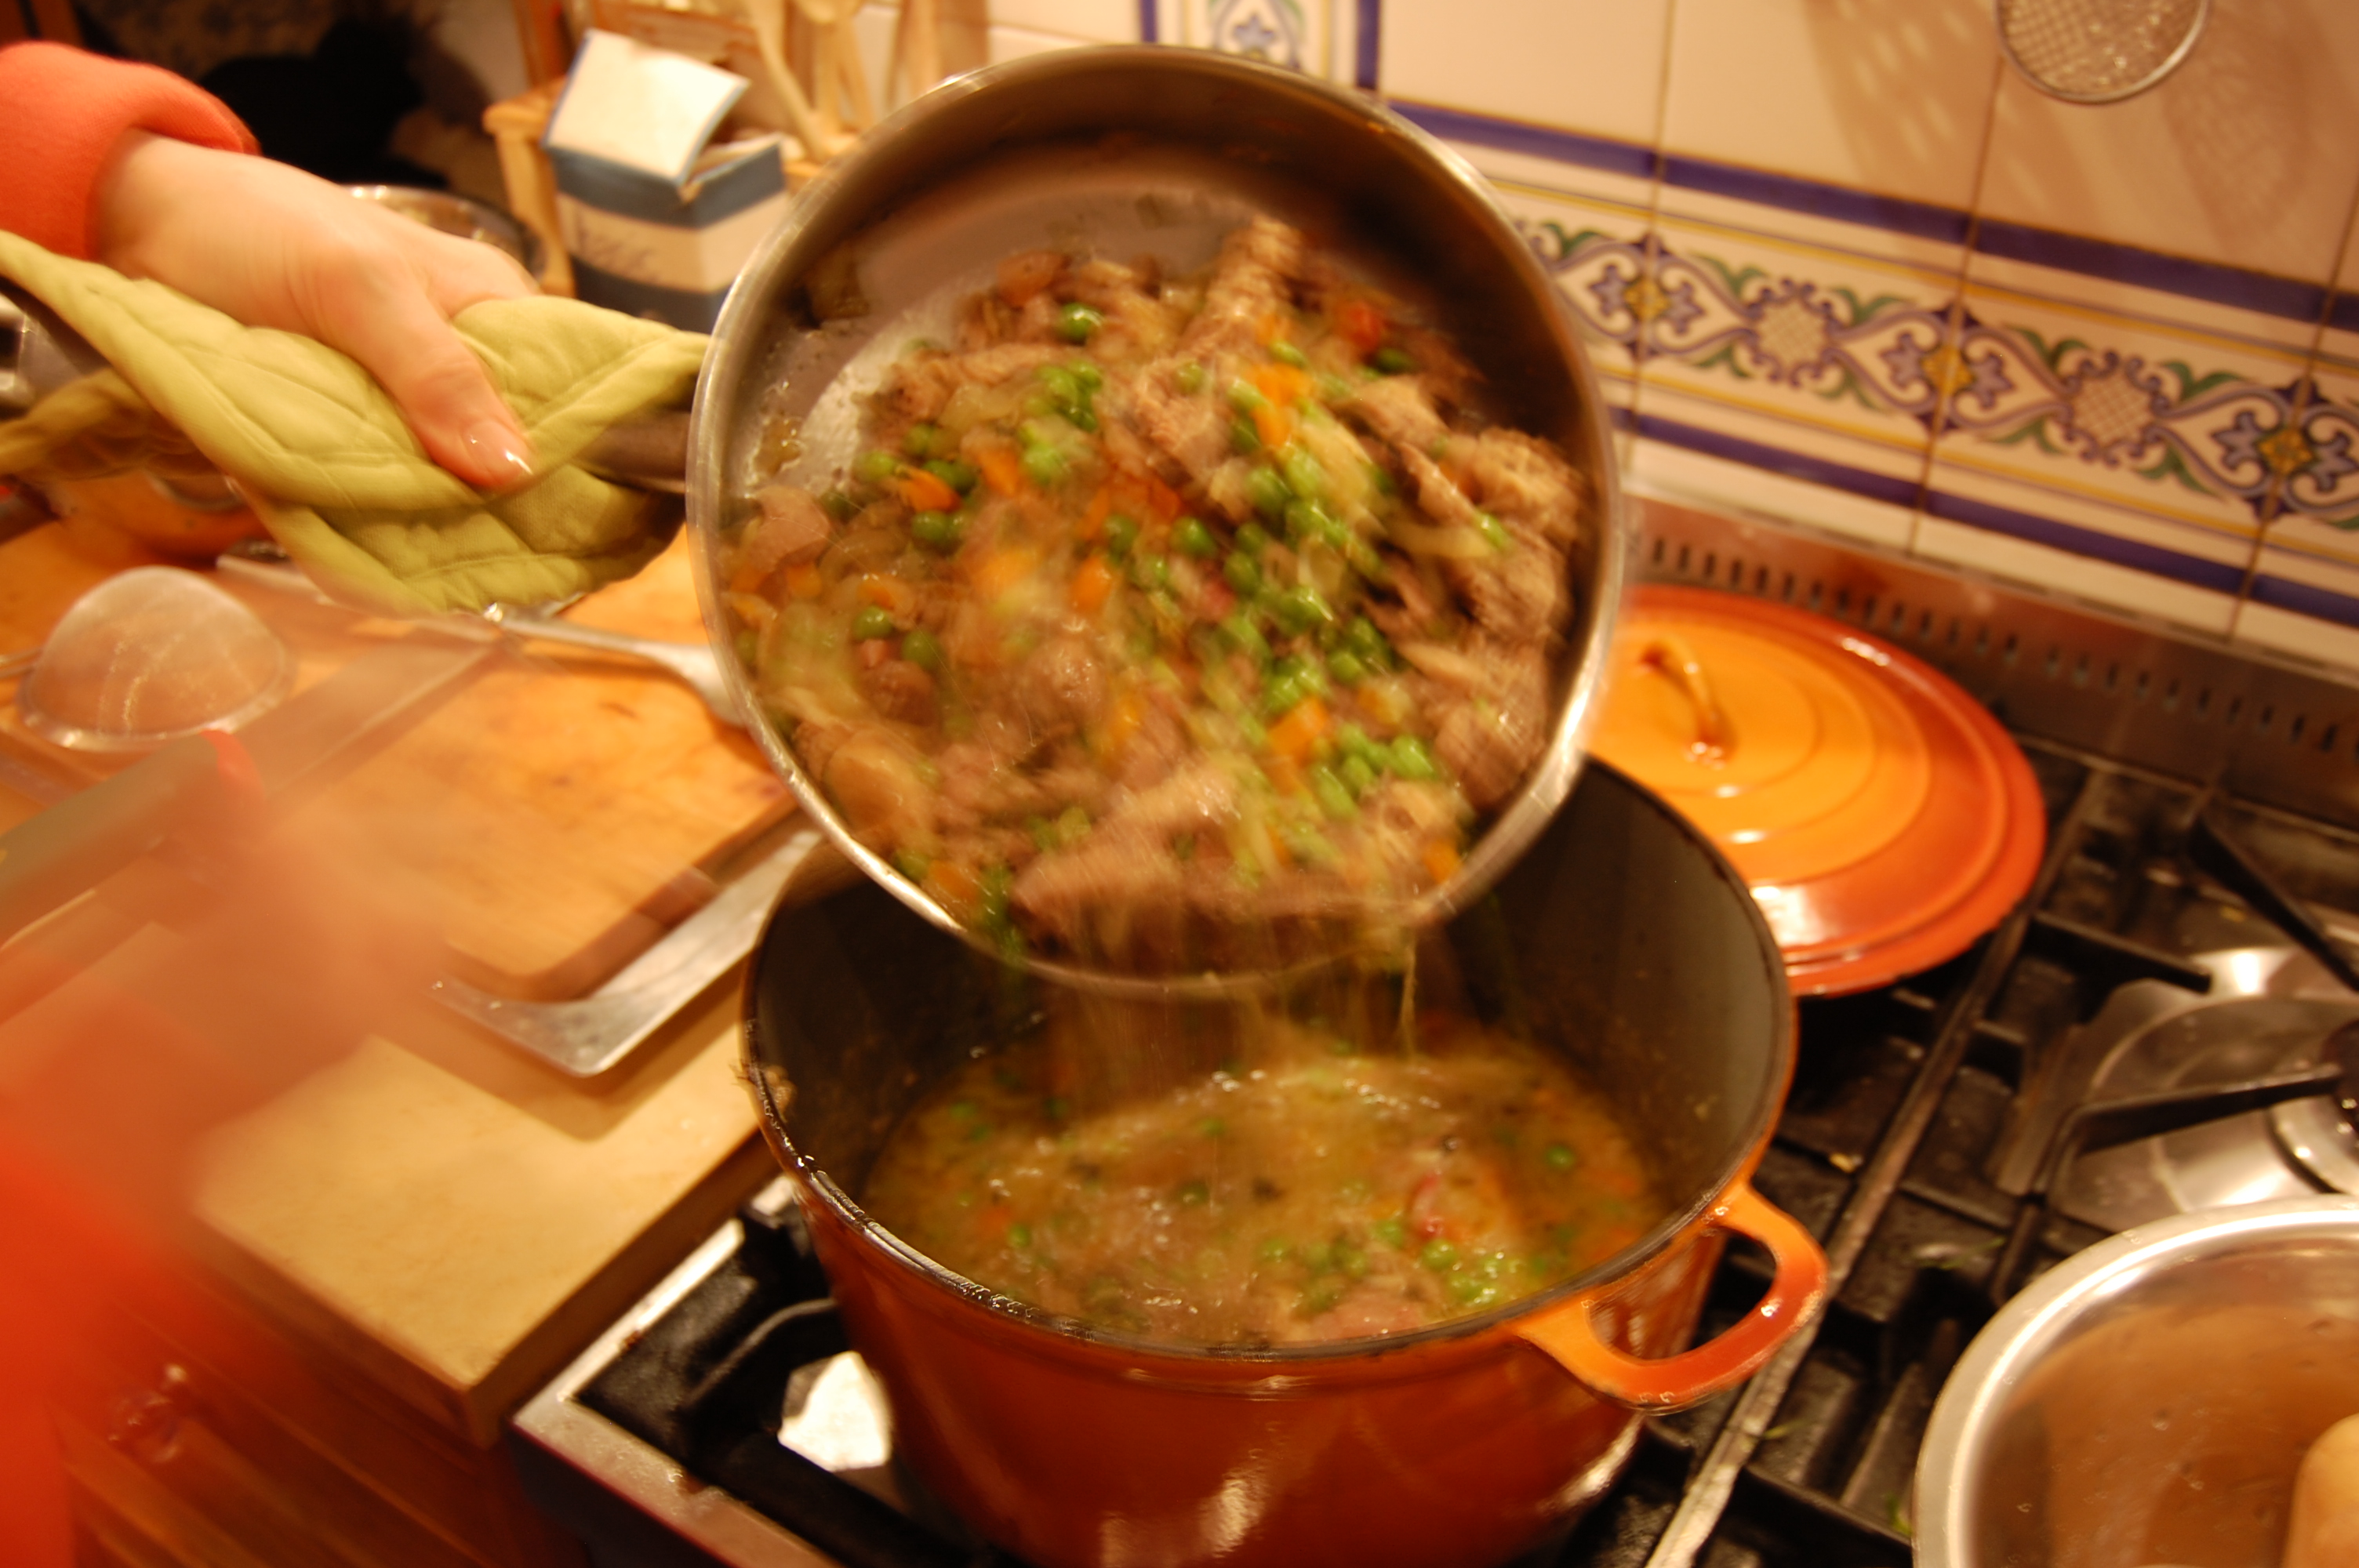
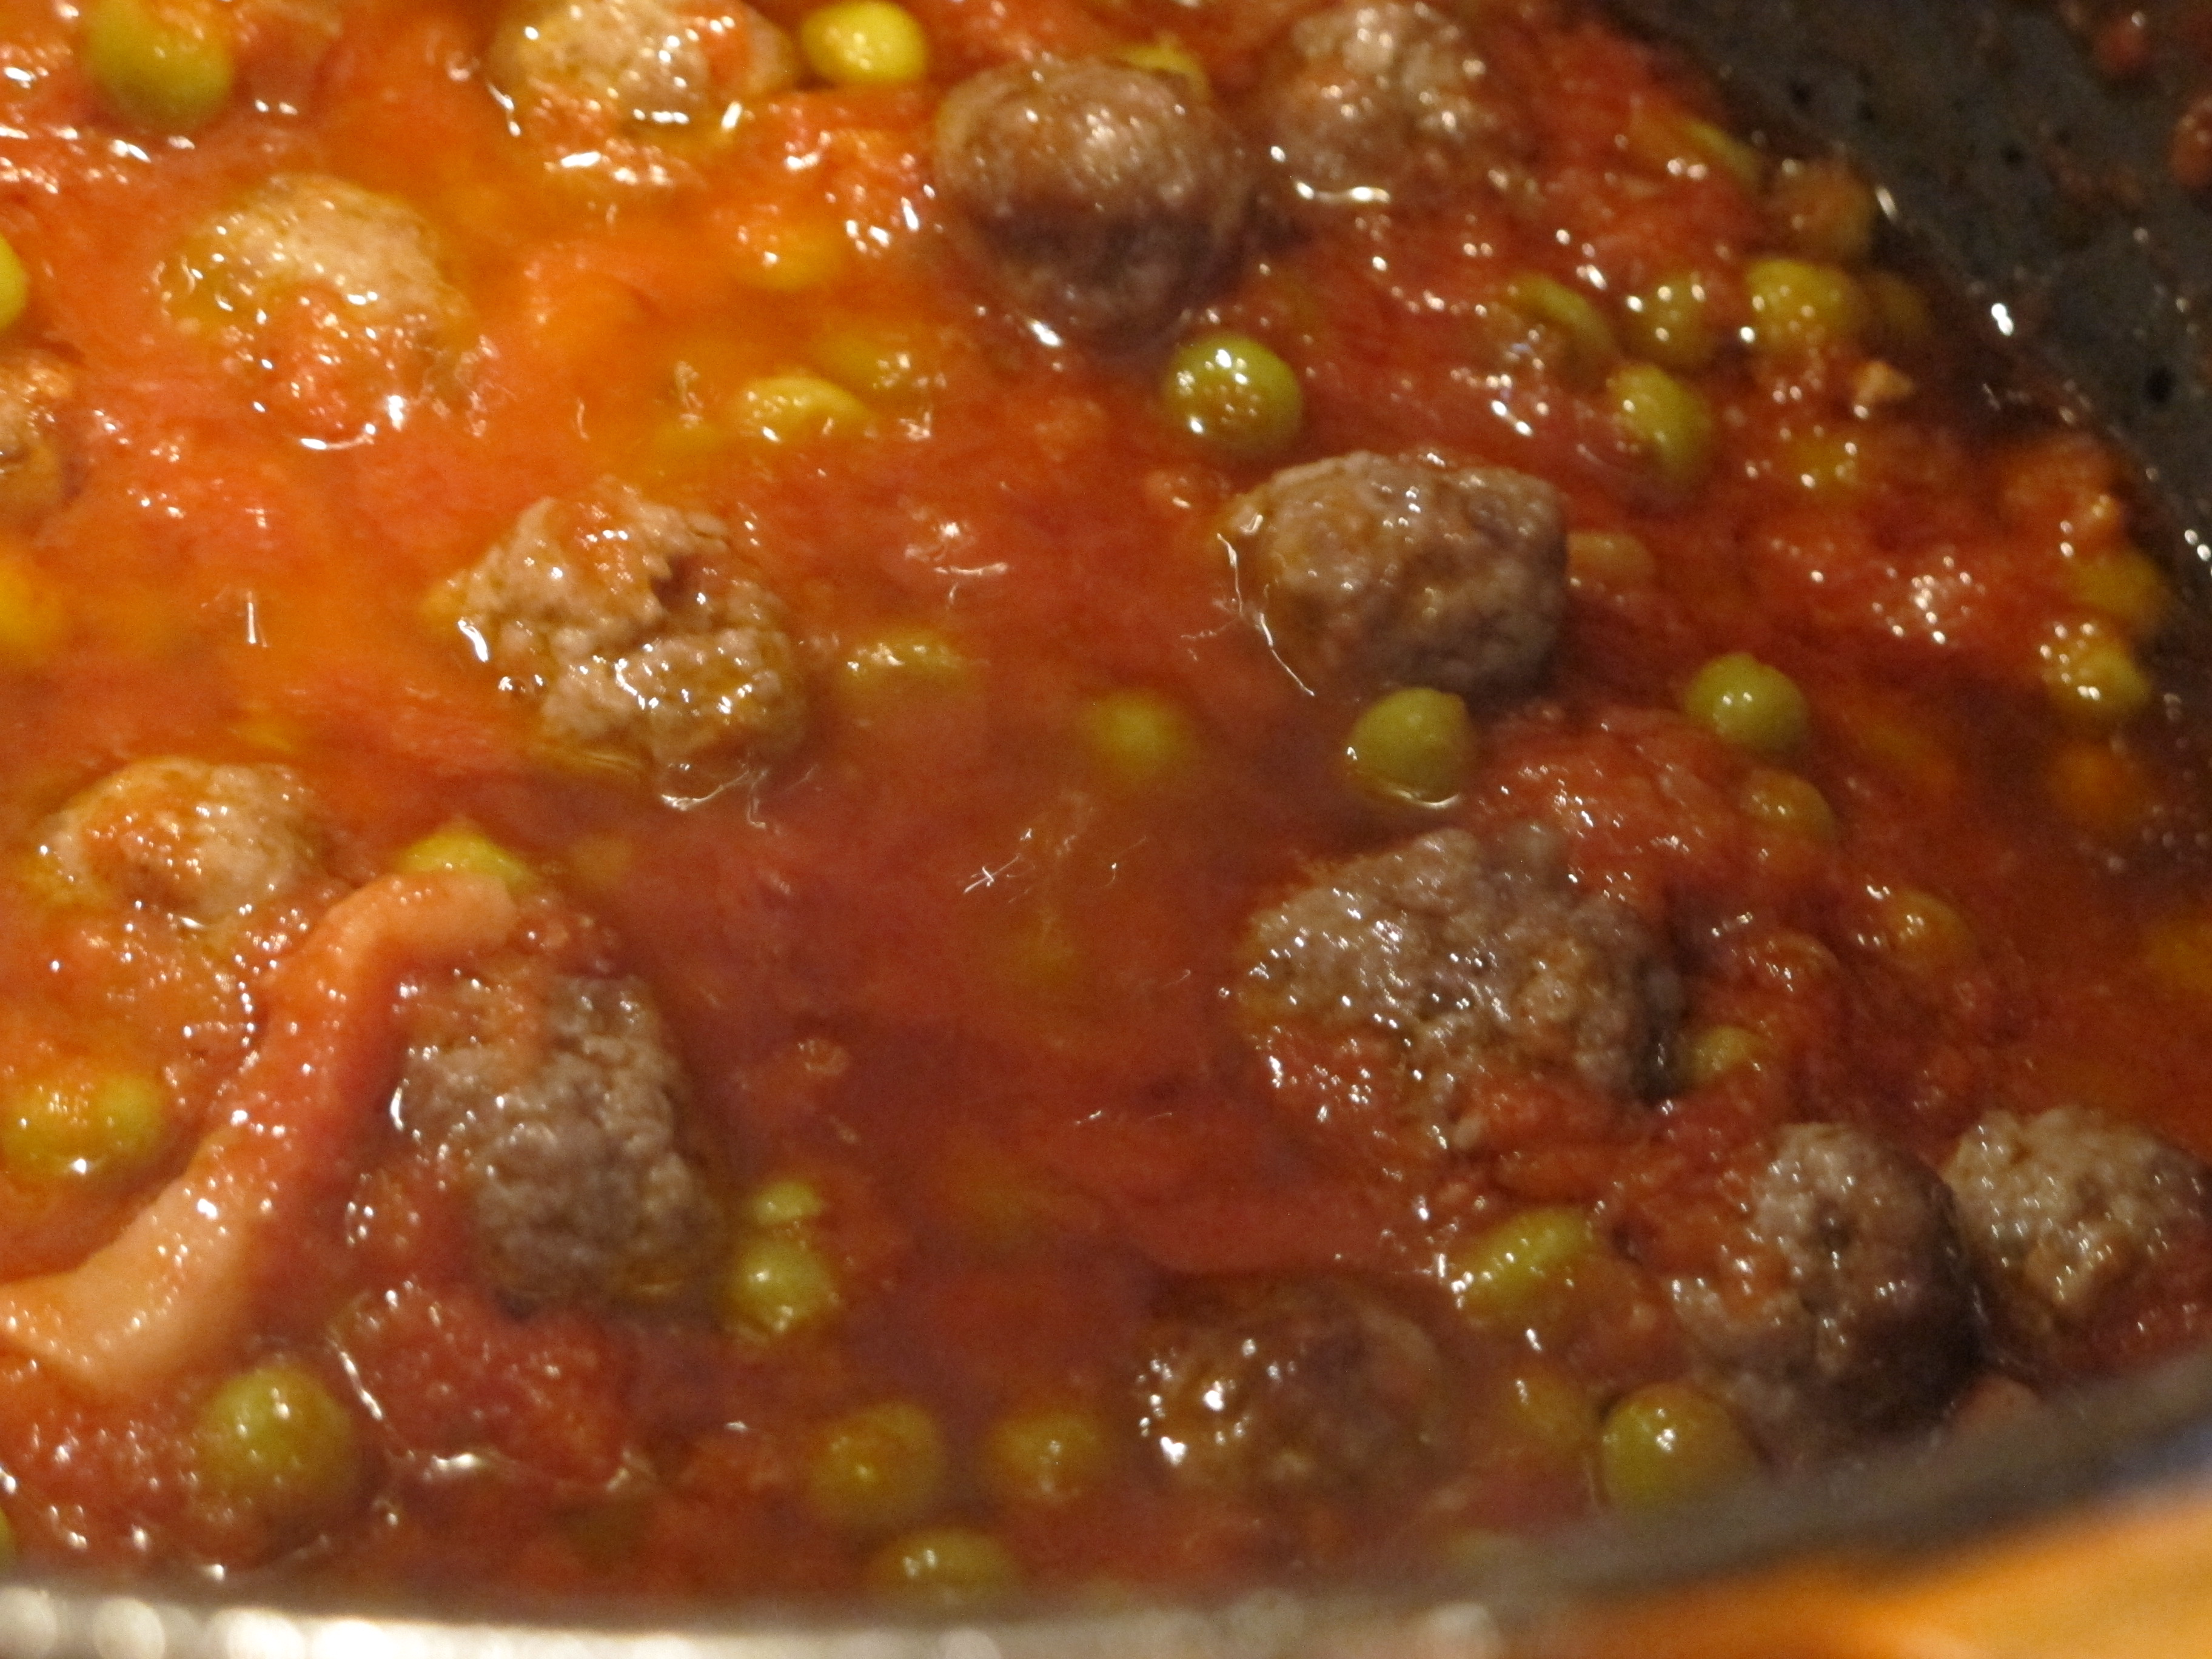
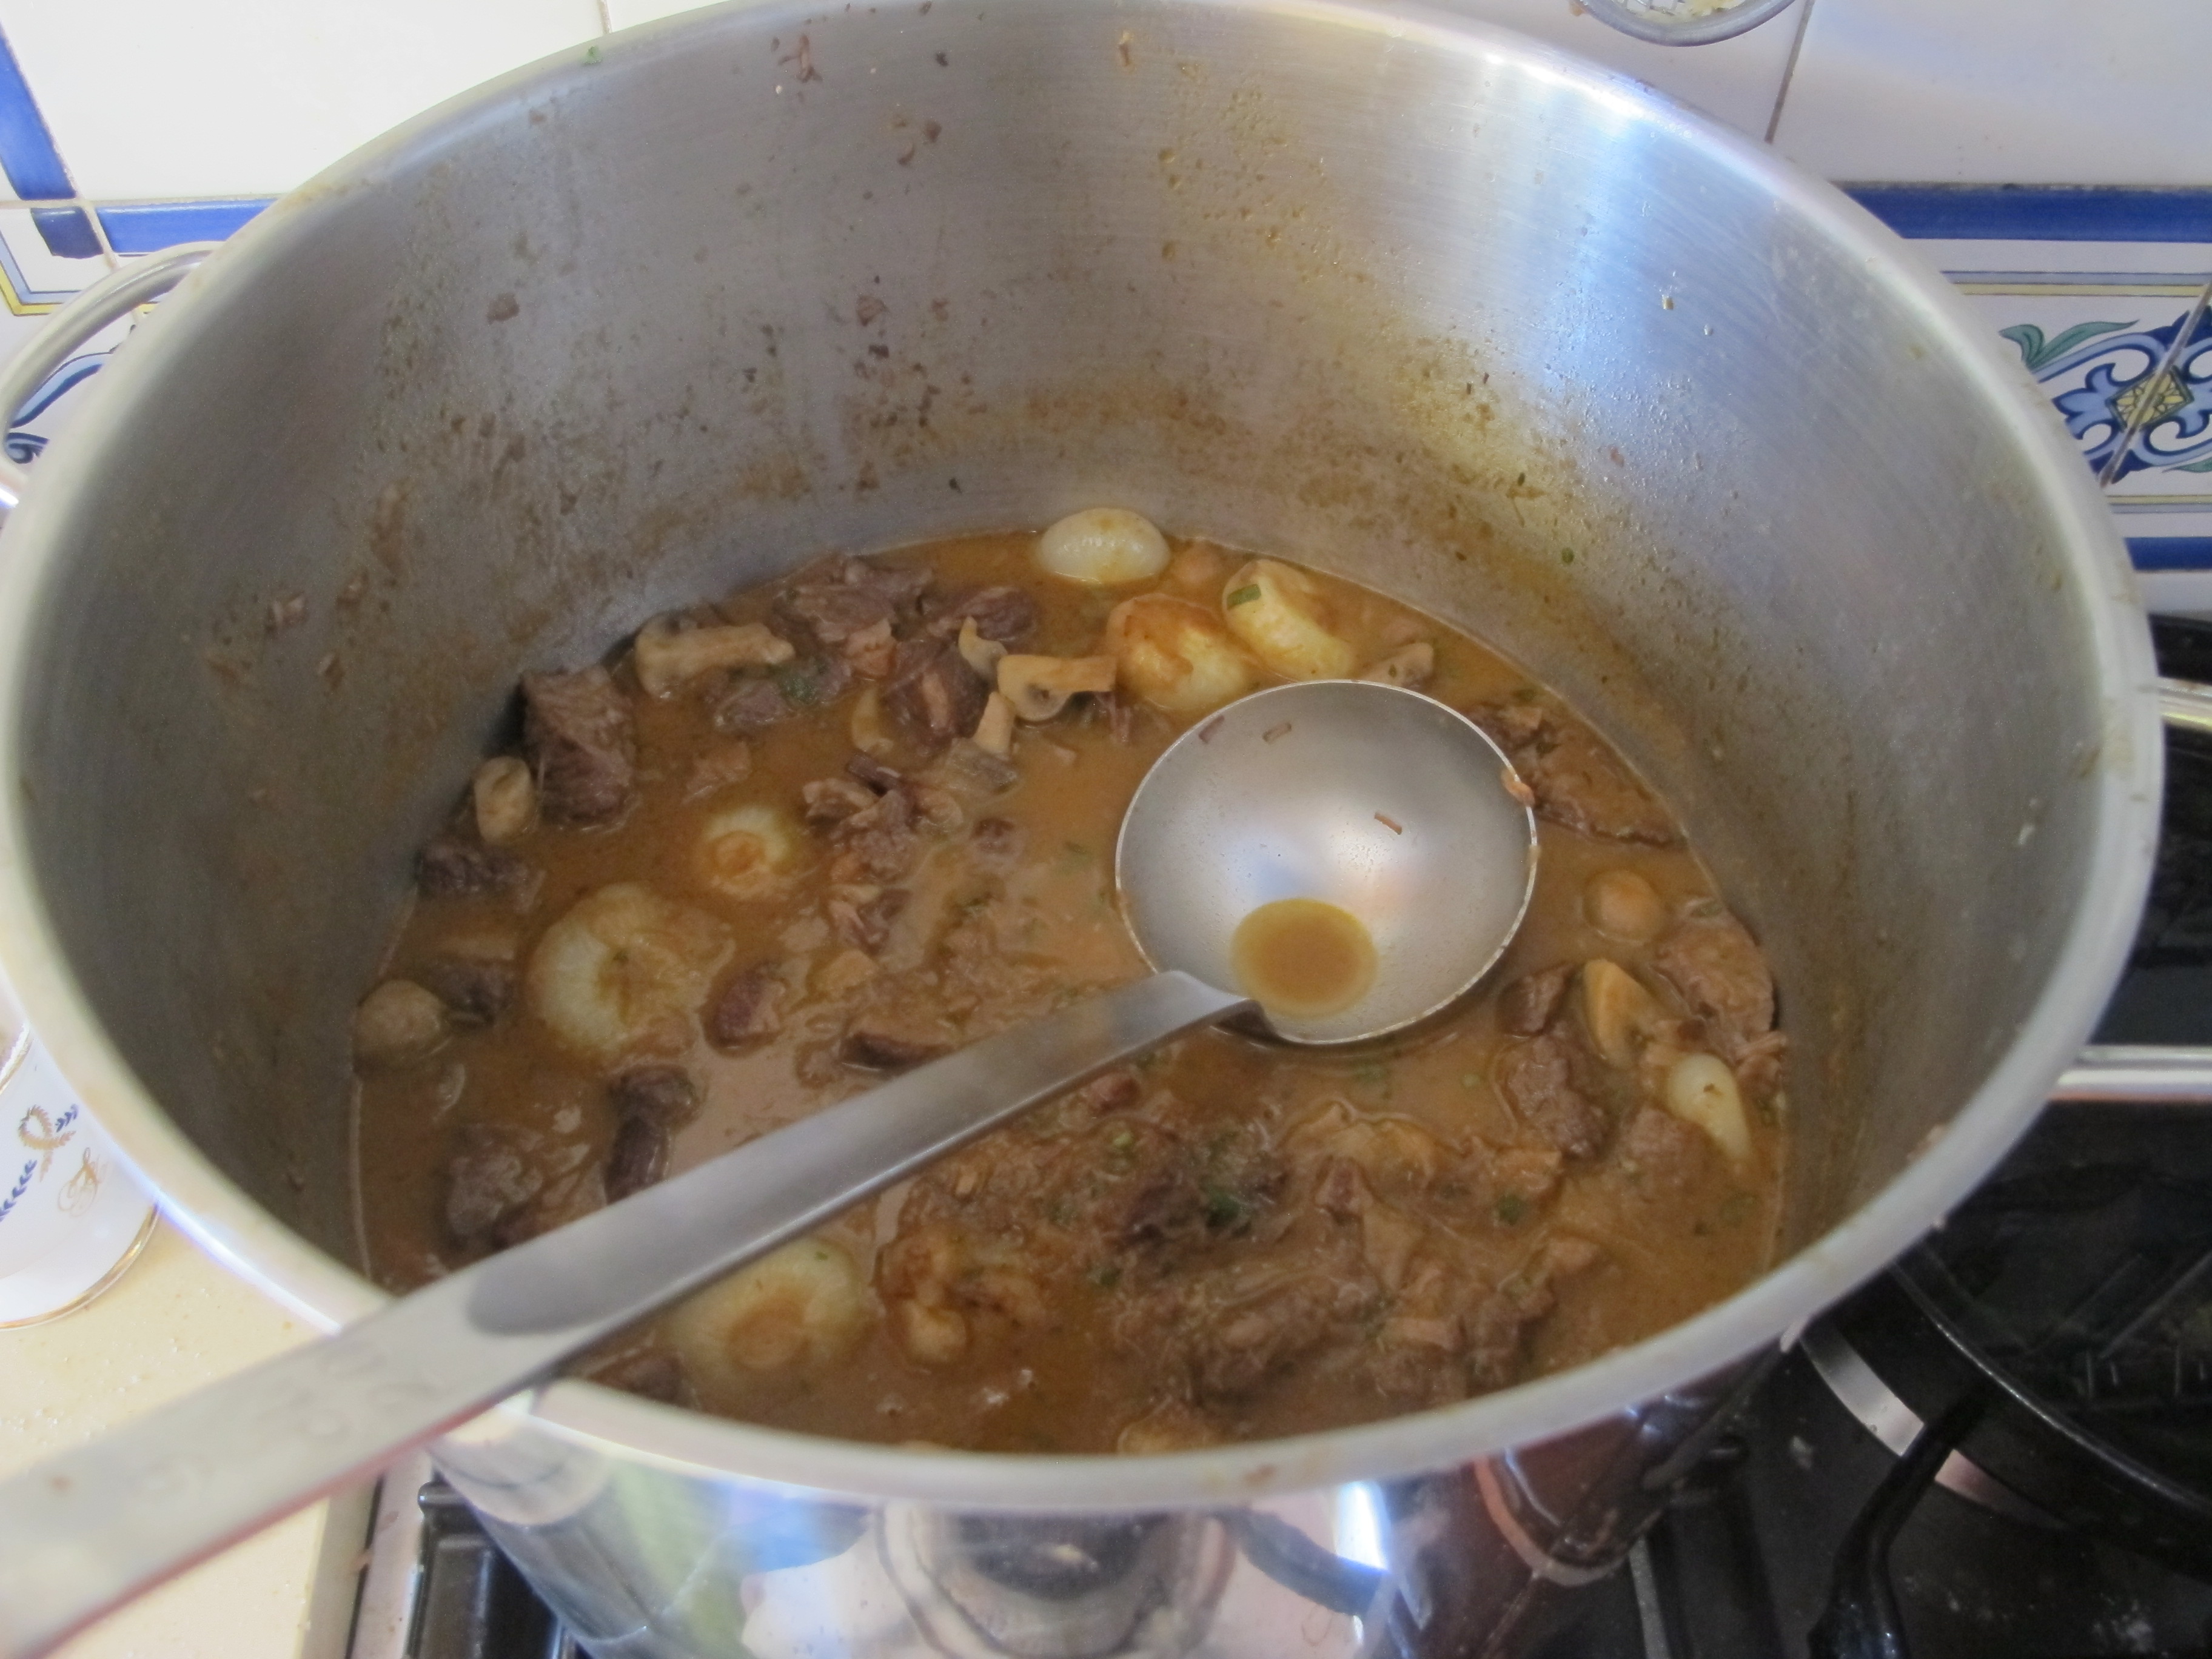
 And now the stew went back into the casserole dish and all the ingredients reunited at last.
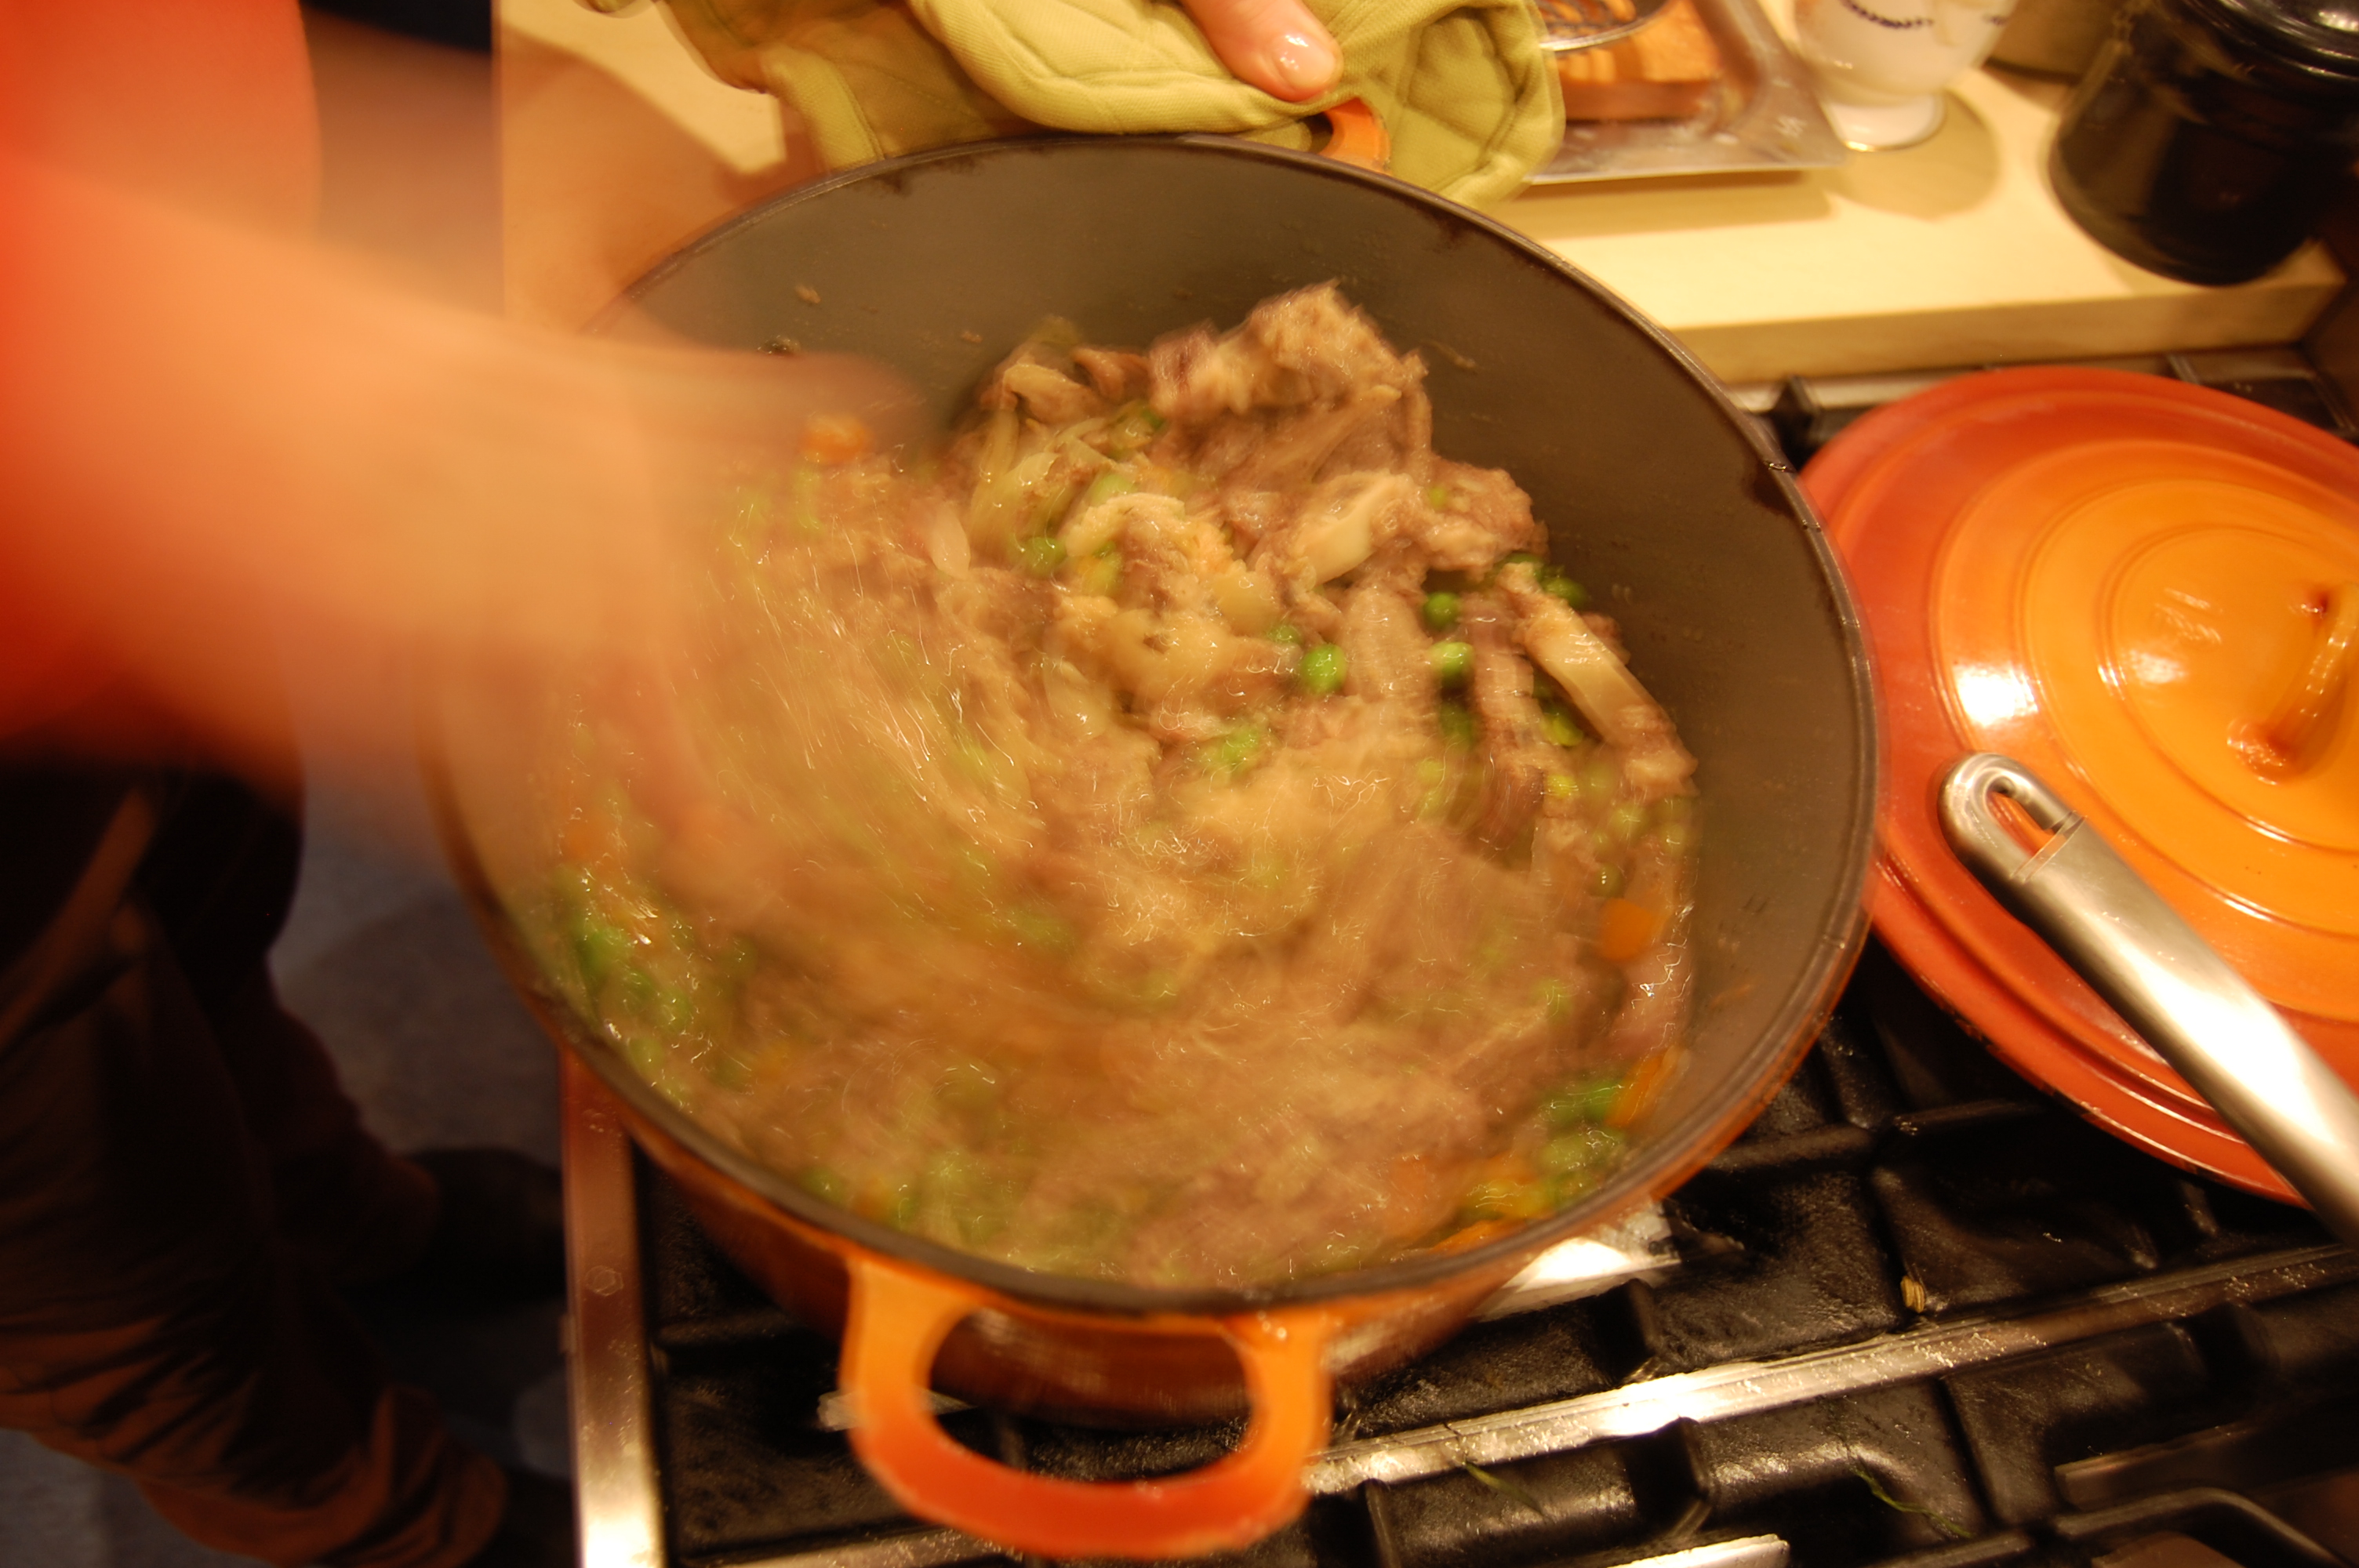
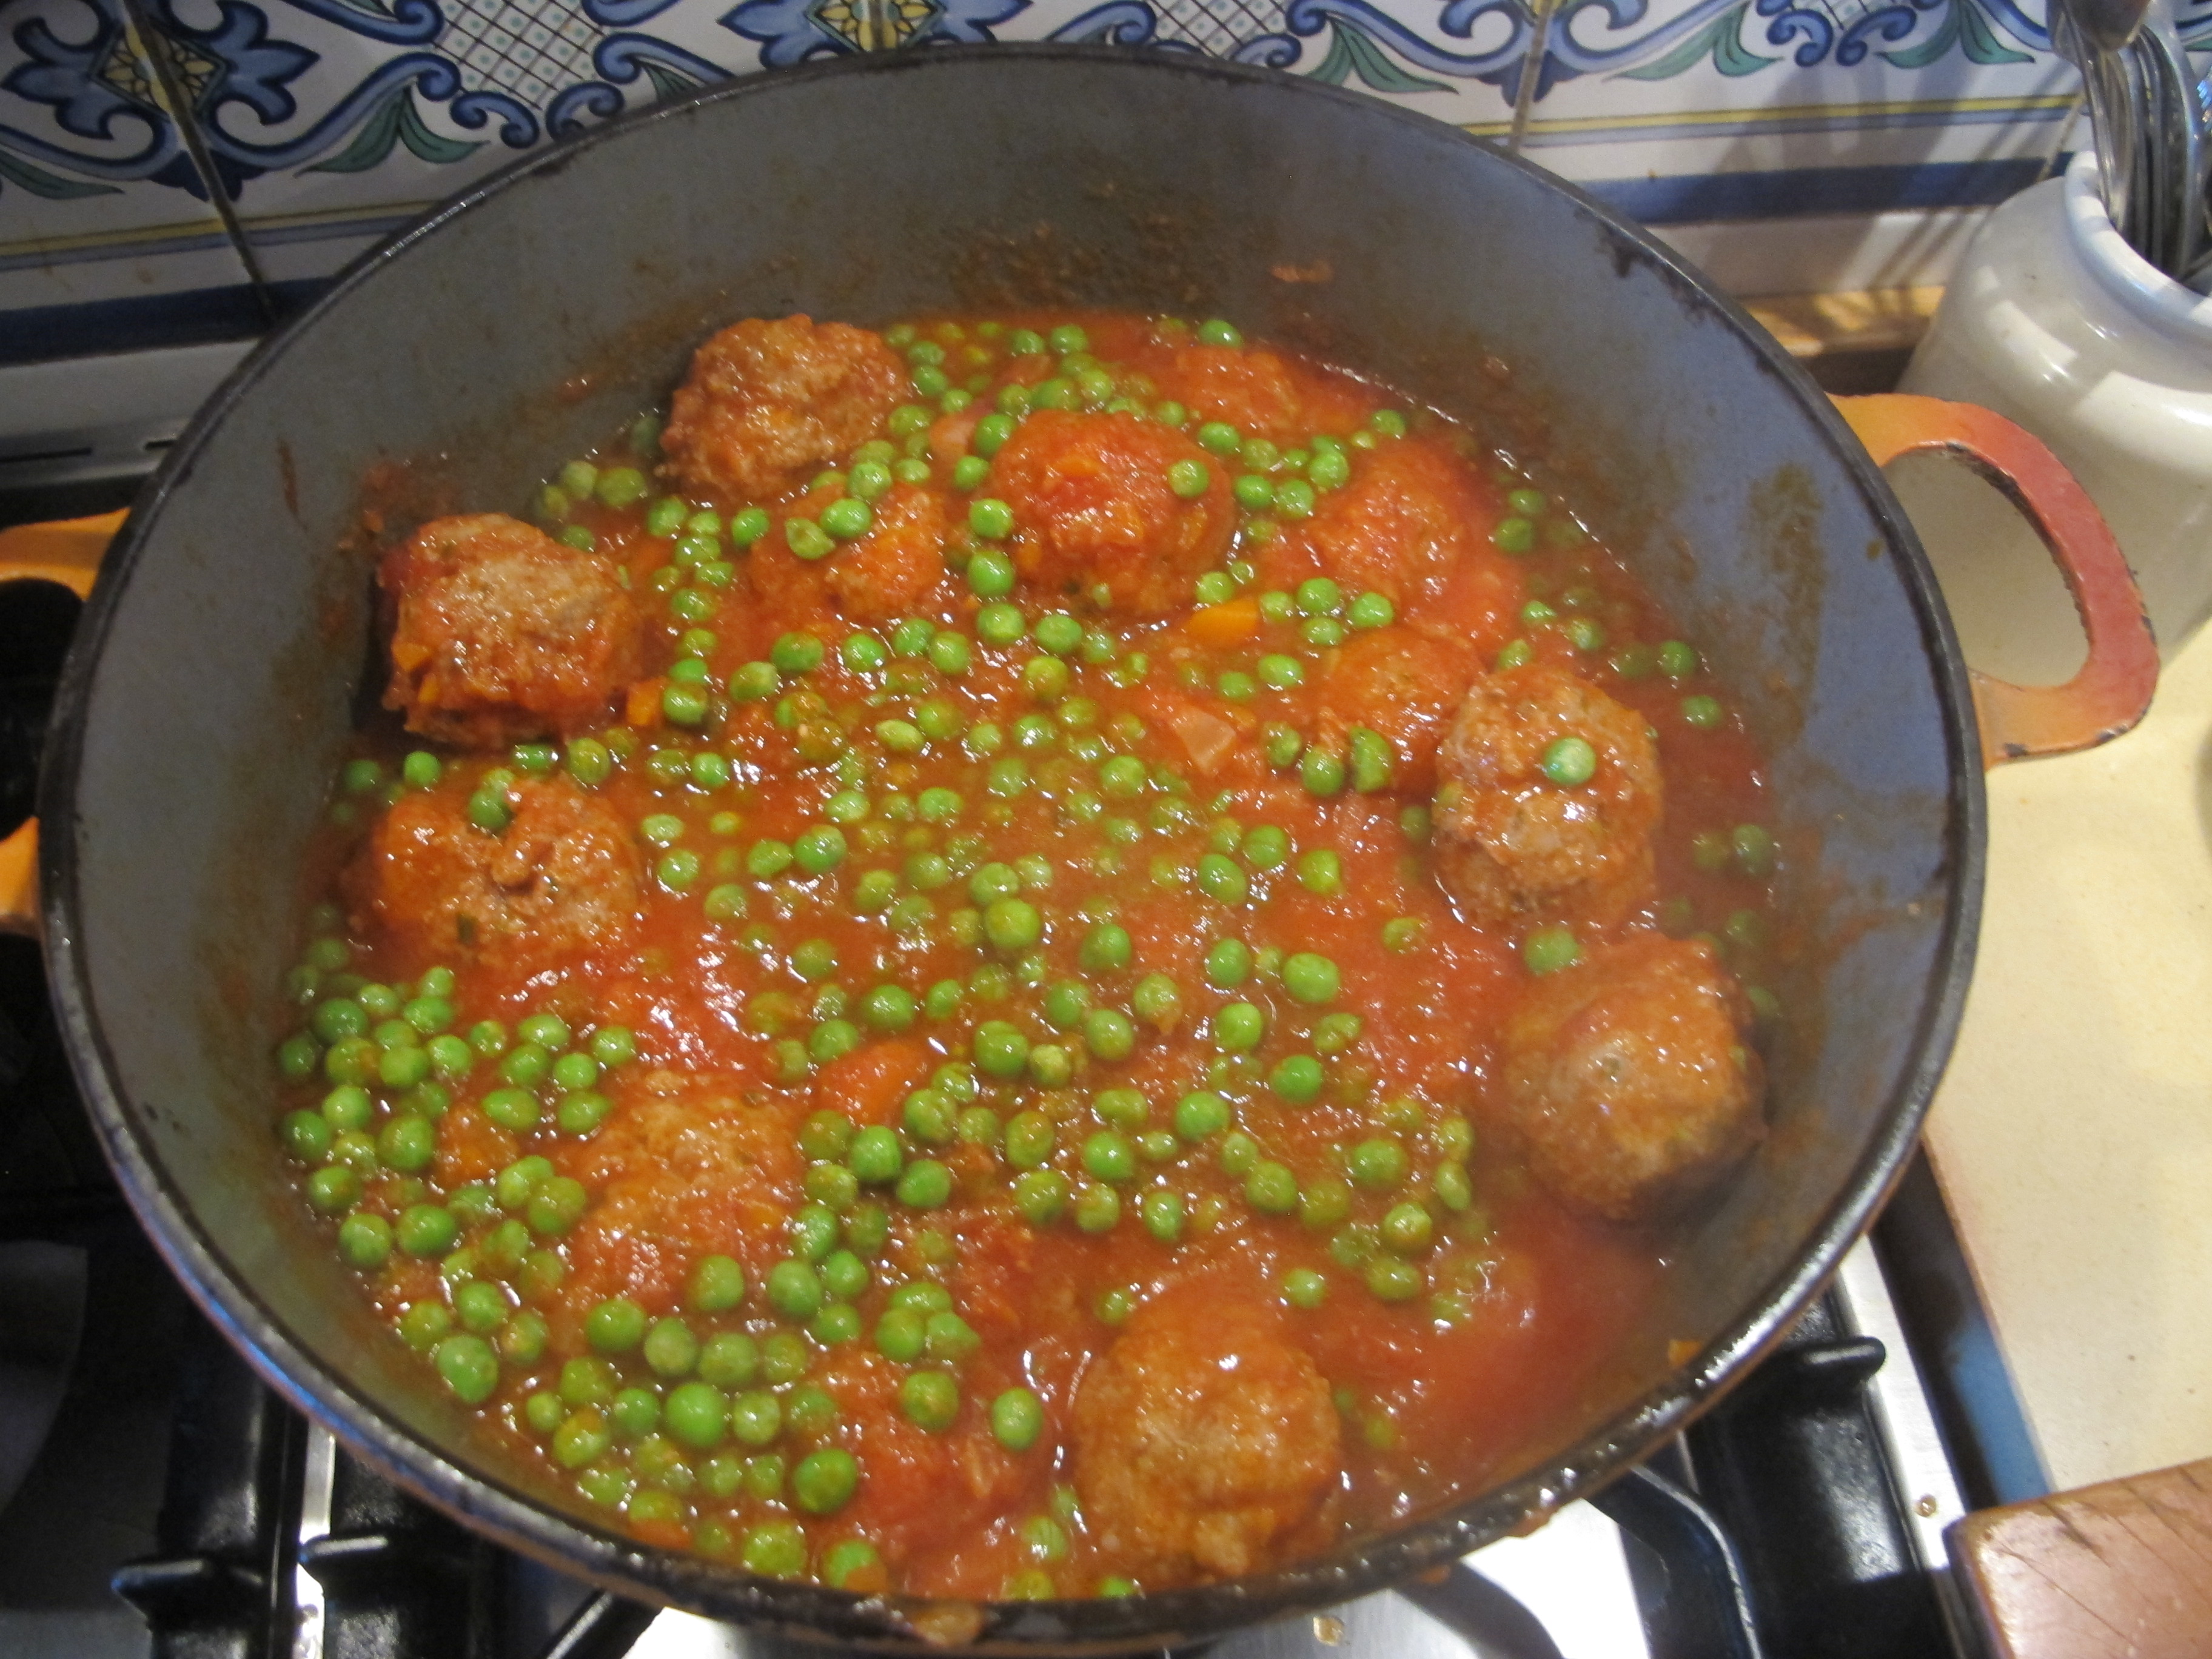
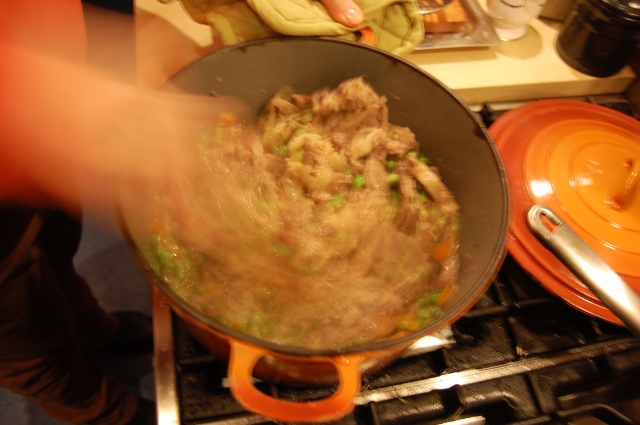 Use a wooden spoon to gently jostle the ingredients into a harmonious whole.
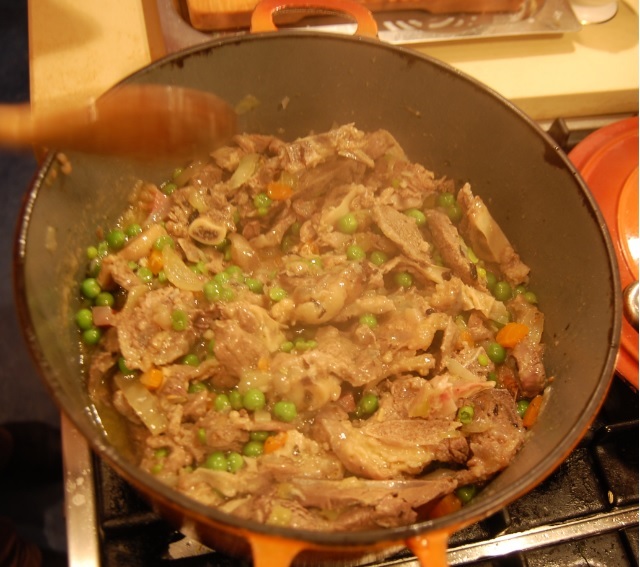 A final taste … a twist of pepper, another pinch of salt maybe ? Cover with the lid and get ready to plate.
PART VI – GRAND FINALE
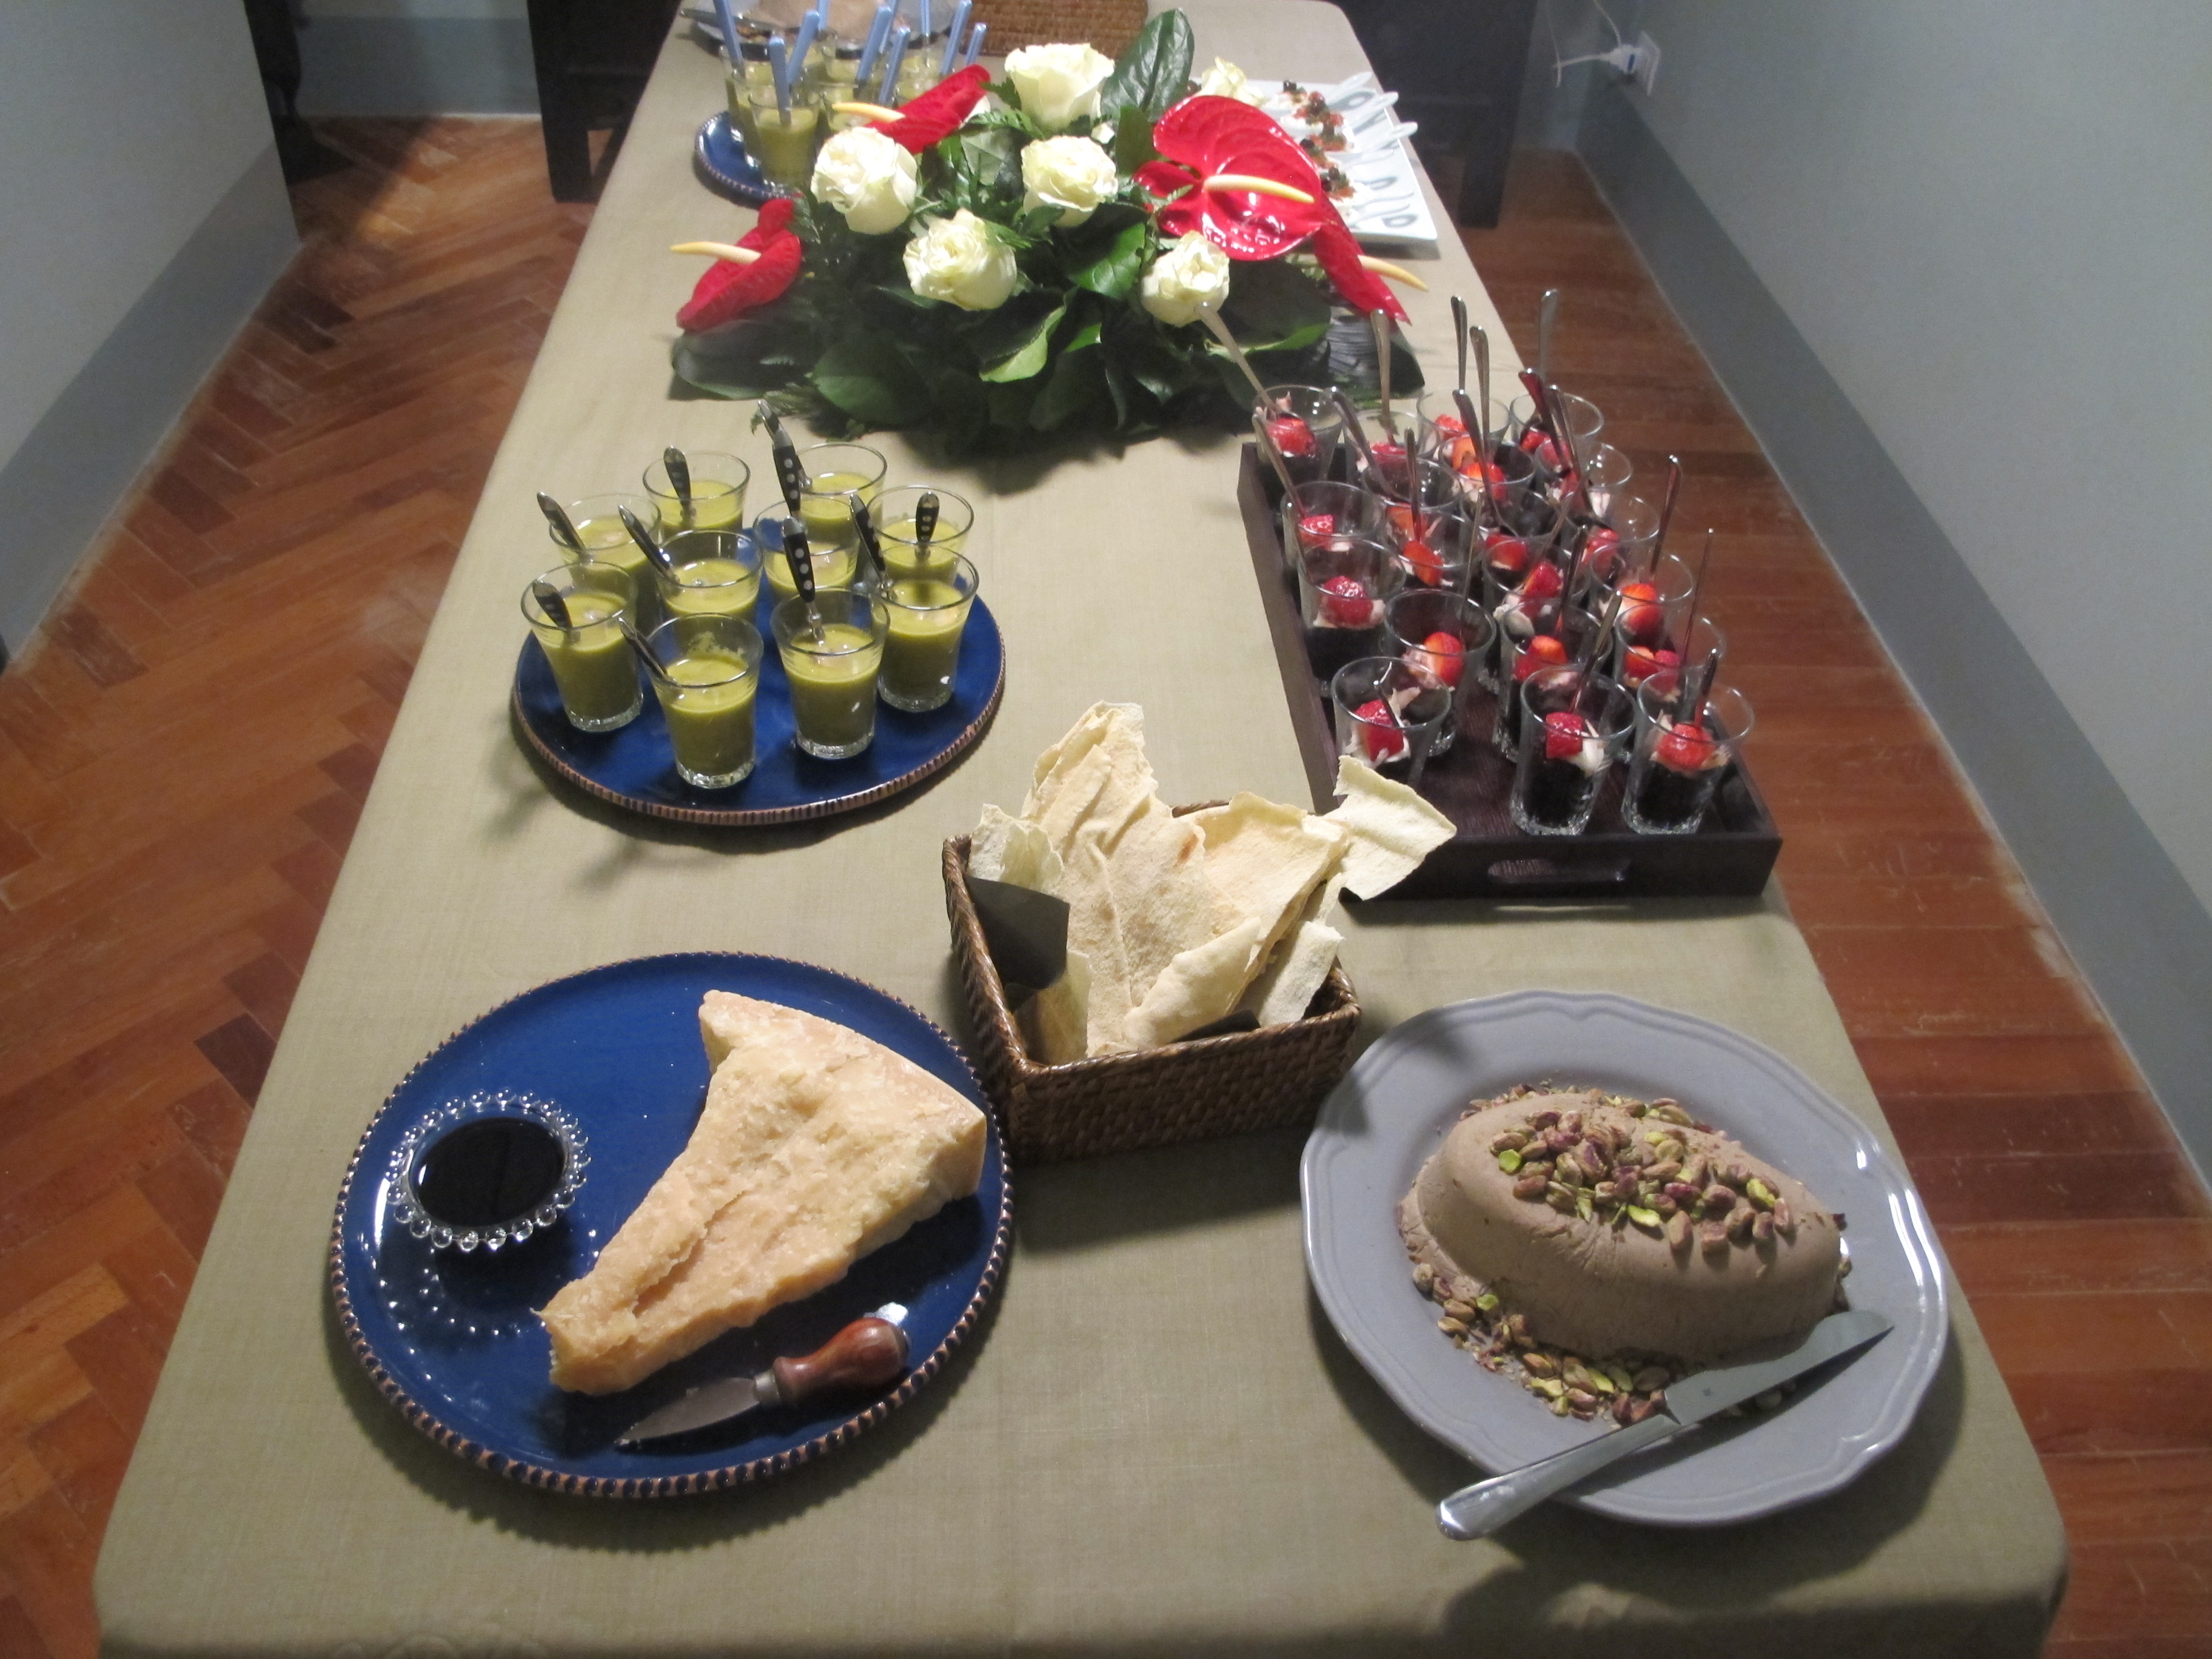
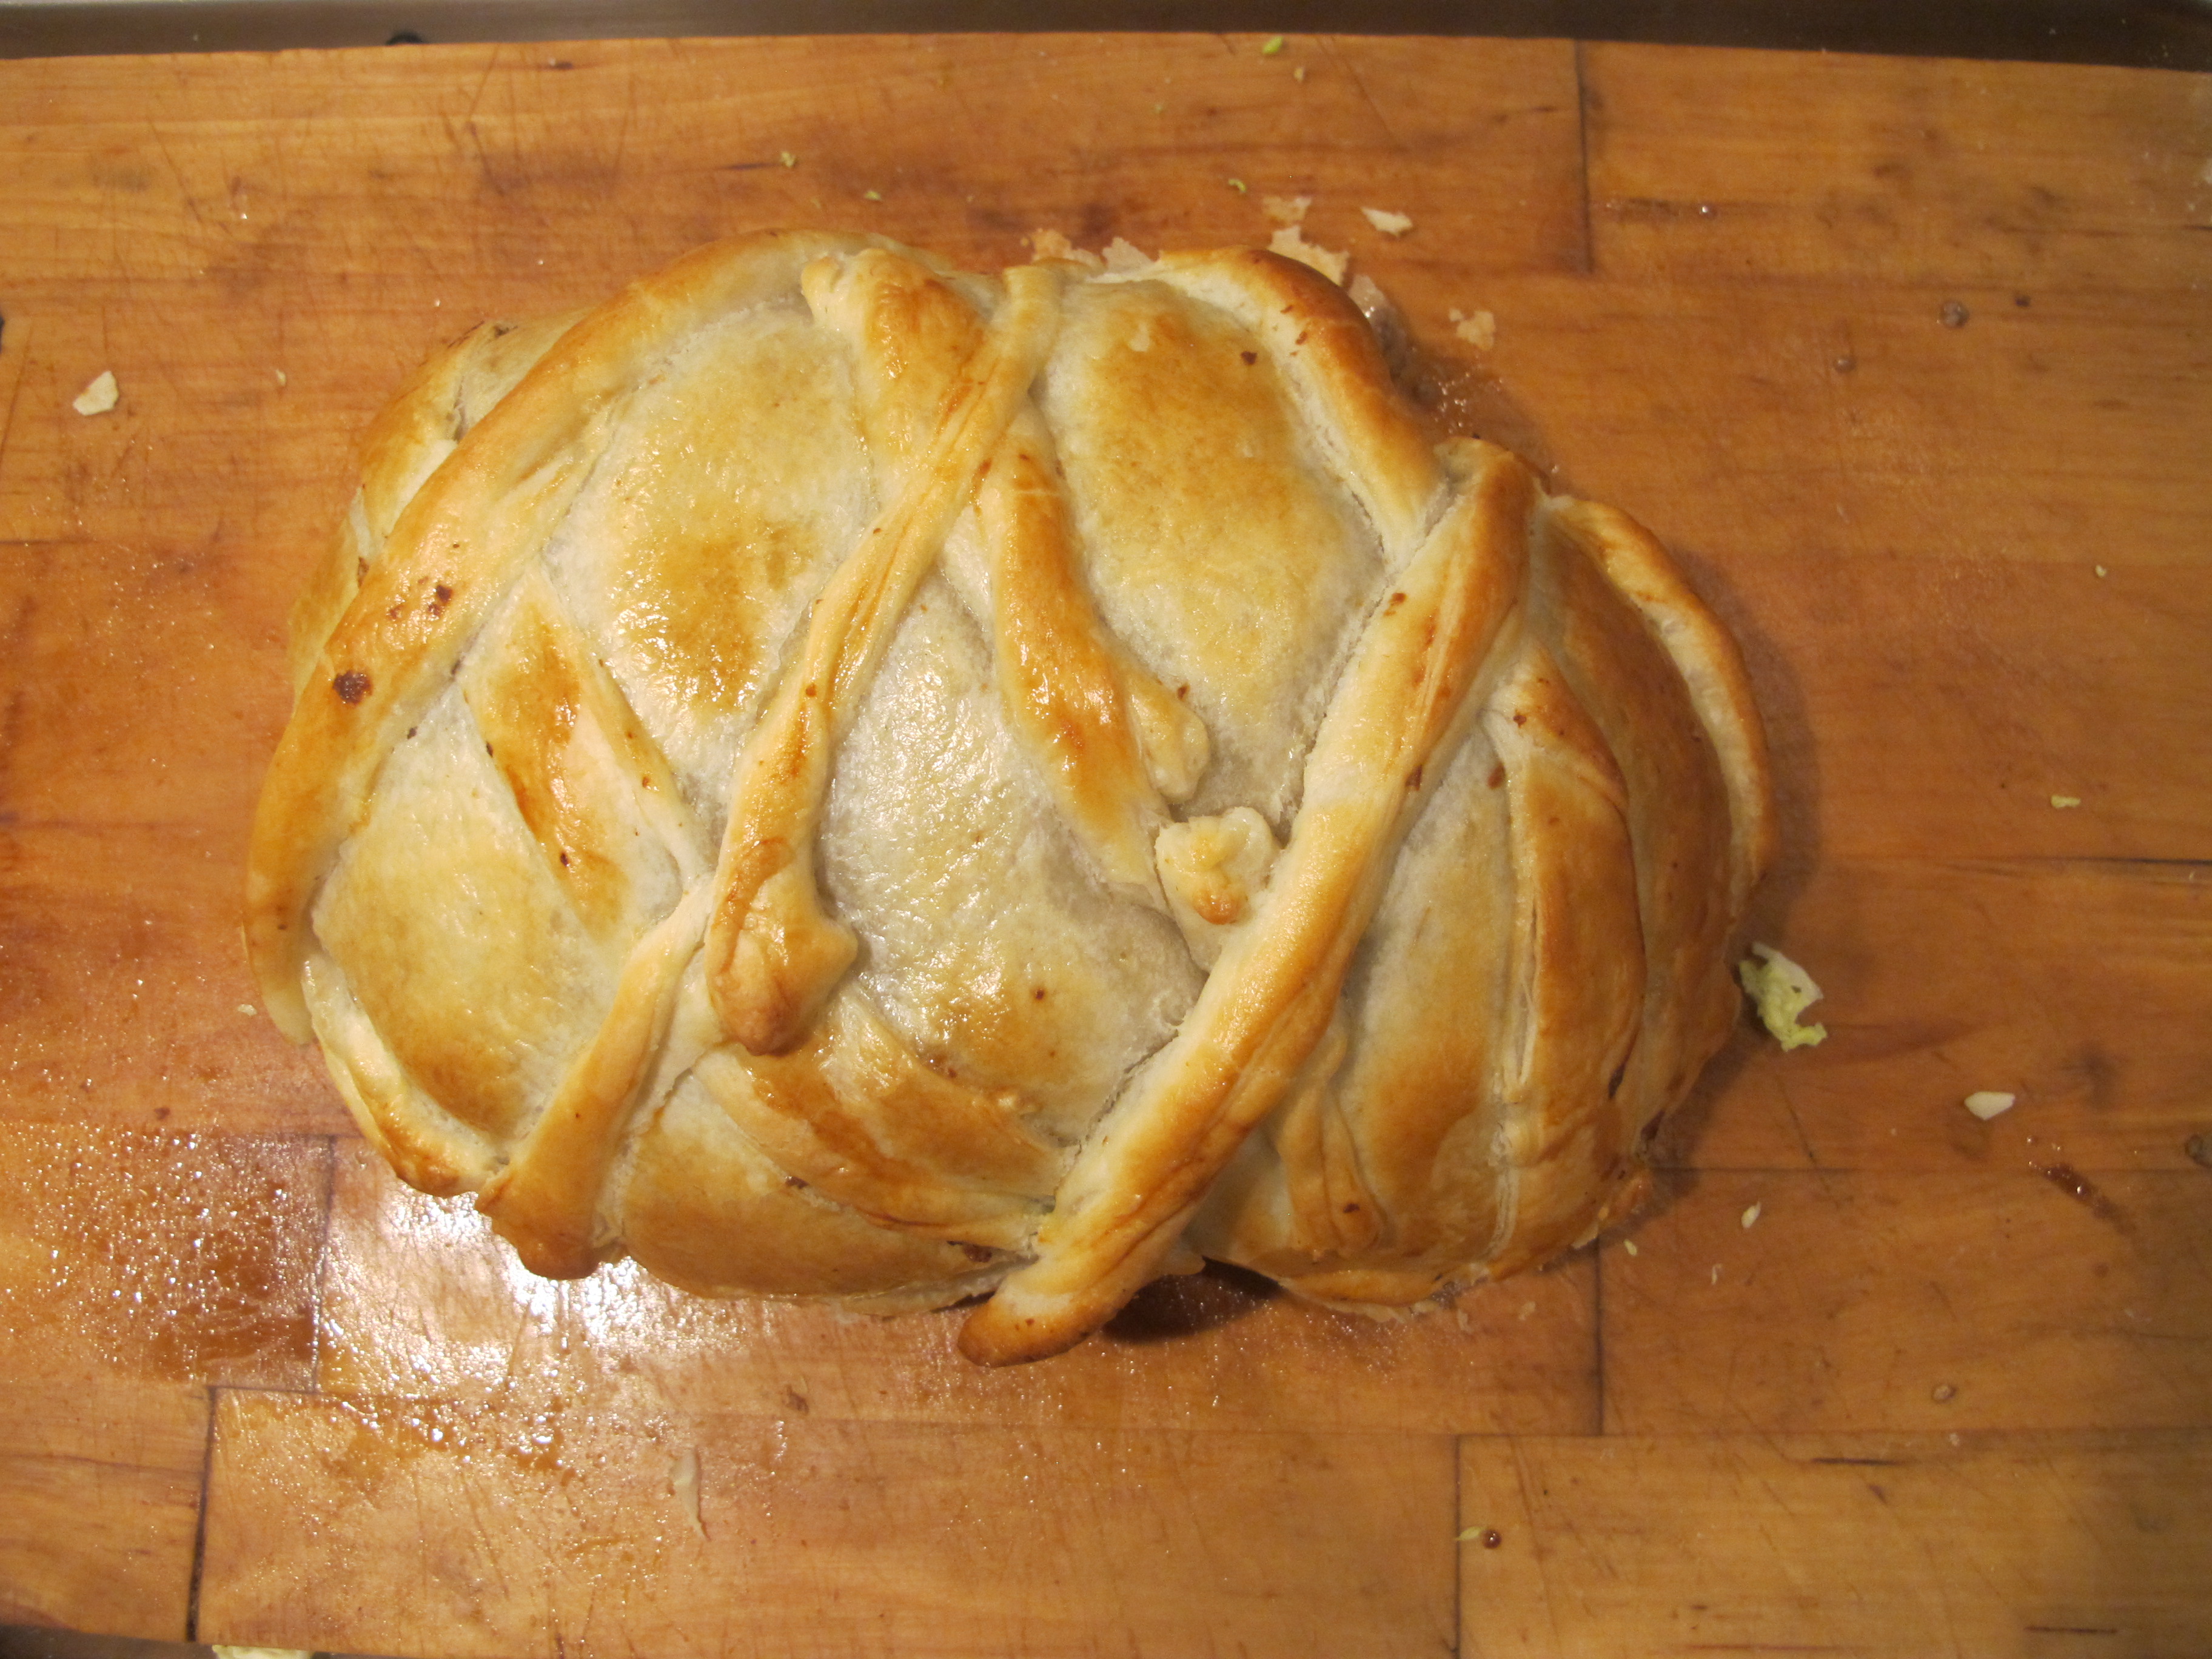
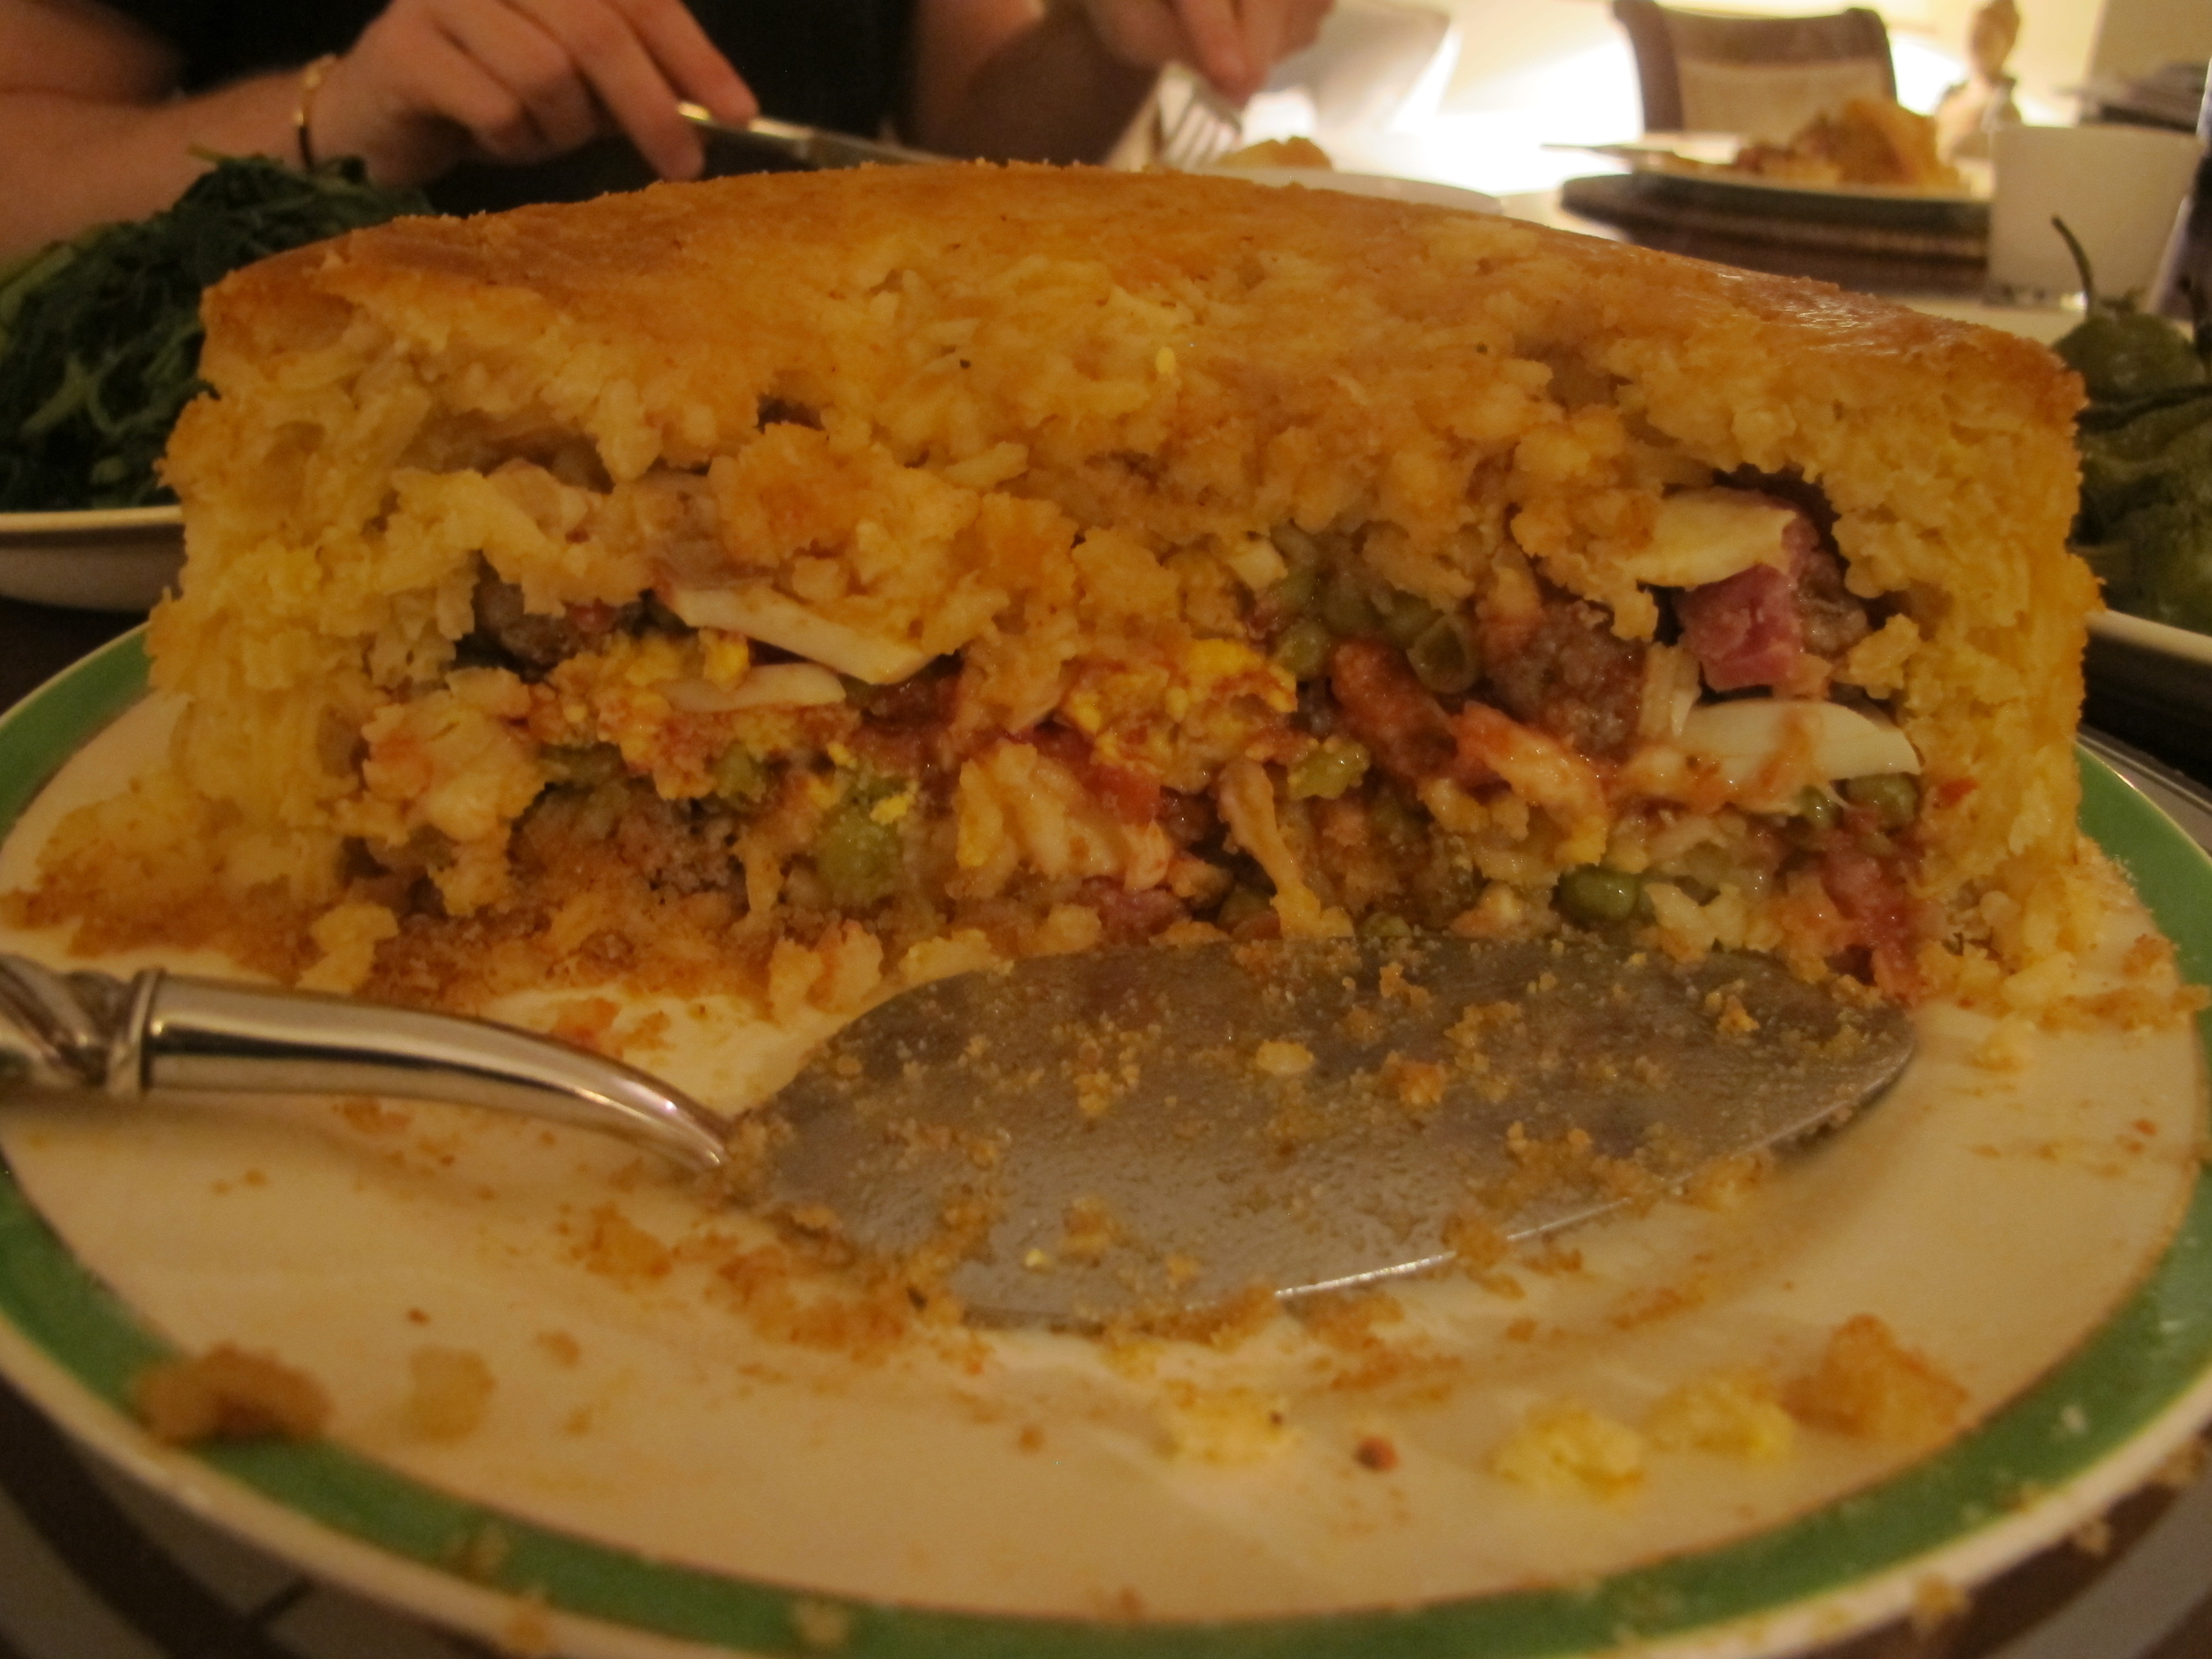
I know it is trendy and aesthetically pleasing, not to mention gastronomically inviting, to plate individual dishes, and I would expect no less at any restaurant. At home, however, nothing speaks more loudly of home cooking and love of friends and family as does a generous serving dish, however 1970s and ‘naff’ that might seem to people who scrutinise such practice disdainfully. Home isn’t about being trendy, though home can indeed be elegant.
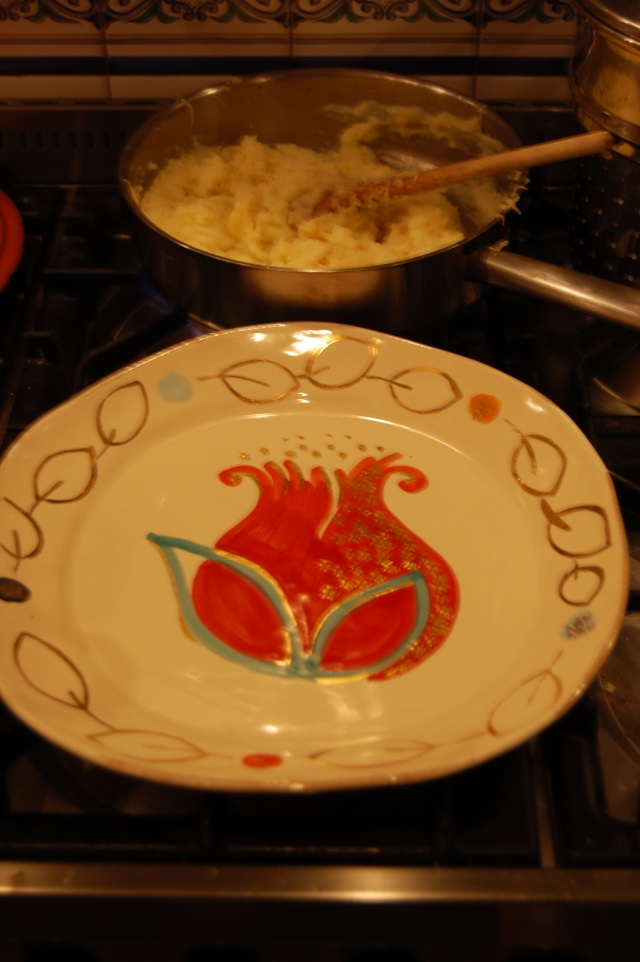 So here is the beautiful serving dish, designed by artist Cassandra Wainhouse who has made Italy, and San Gimignano and Florence in particular, her home for decades now. Her serving platters are not just gorgeous to look at, their shape makes for versatility with a capital V. Even a sad ol’ salad can look inviting on one of her platters … they glint with gold (literally … there is gold leaf on them).
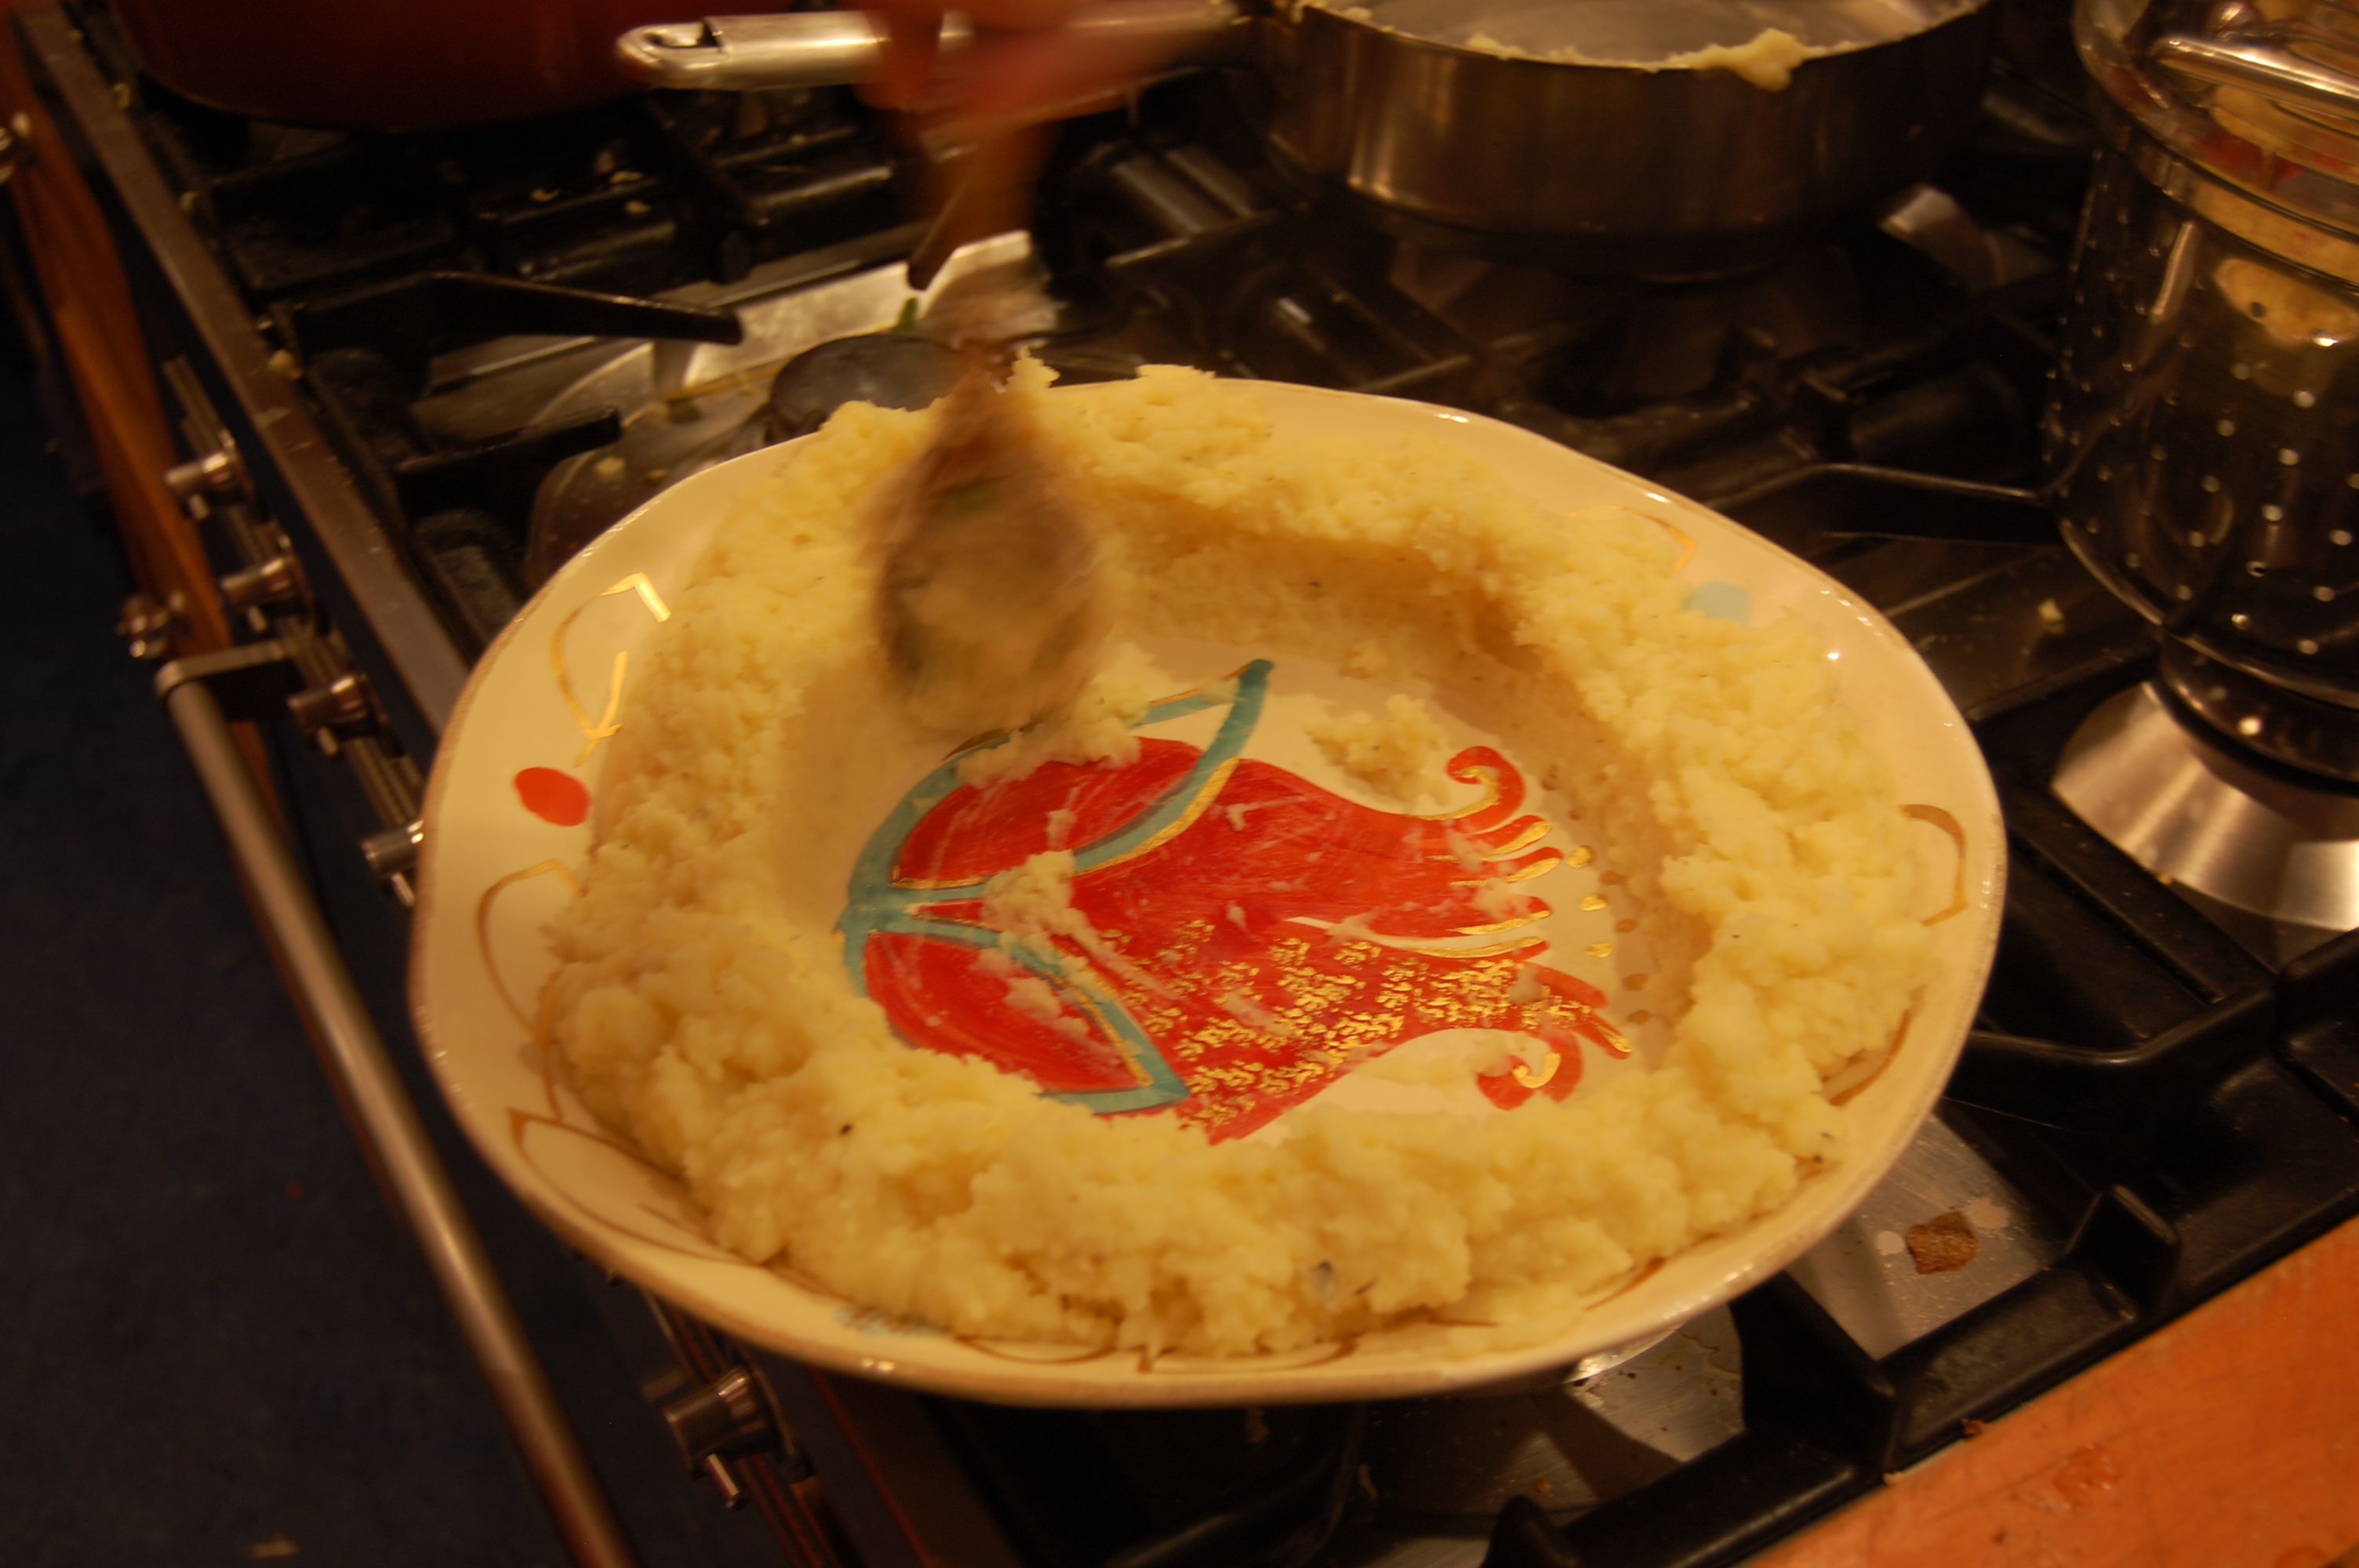
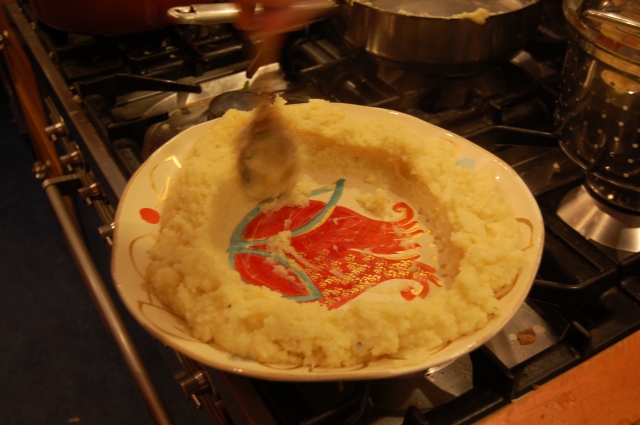 I being no artist, on the other hand, was having a bit of a struggle trying to make a ring mould with the mashed potatoes. The mash was very hot otherwise I would have used by fingers … I had to make do with the wooden spoon instead.
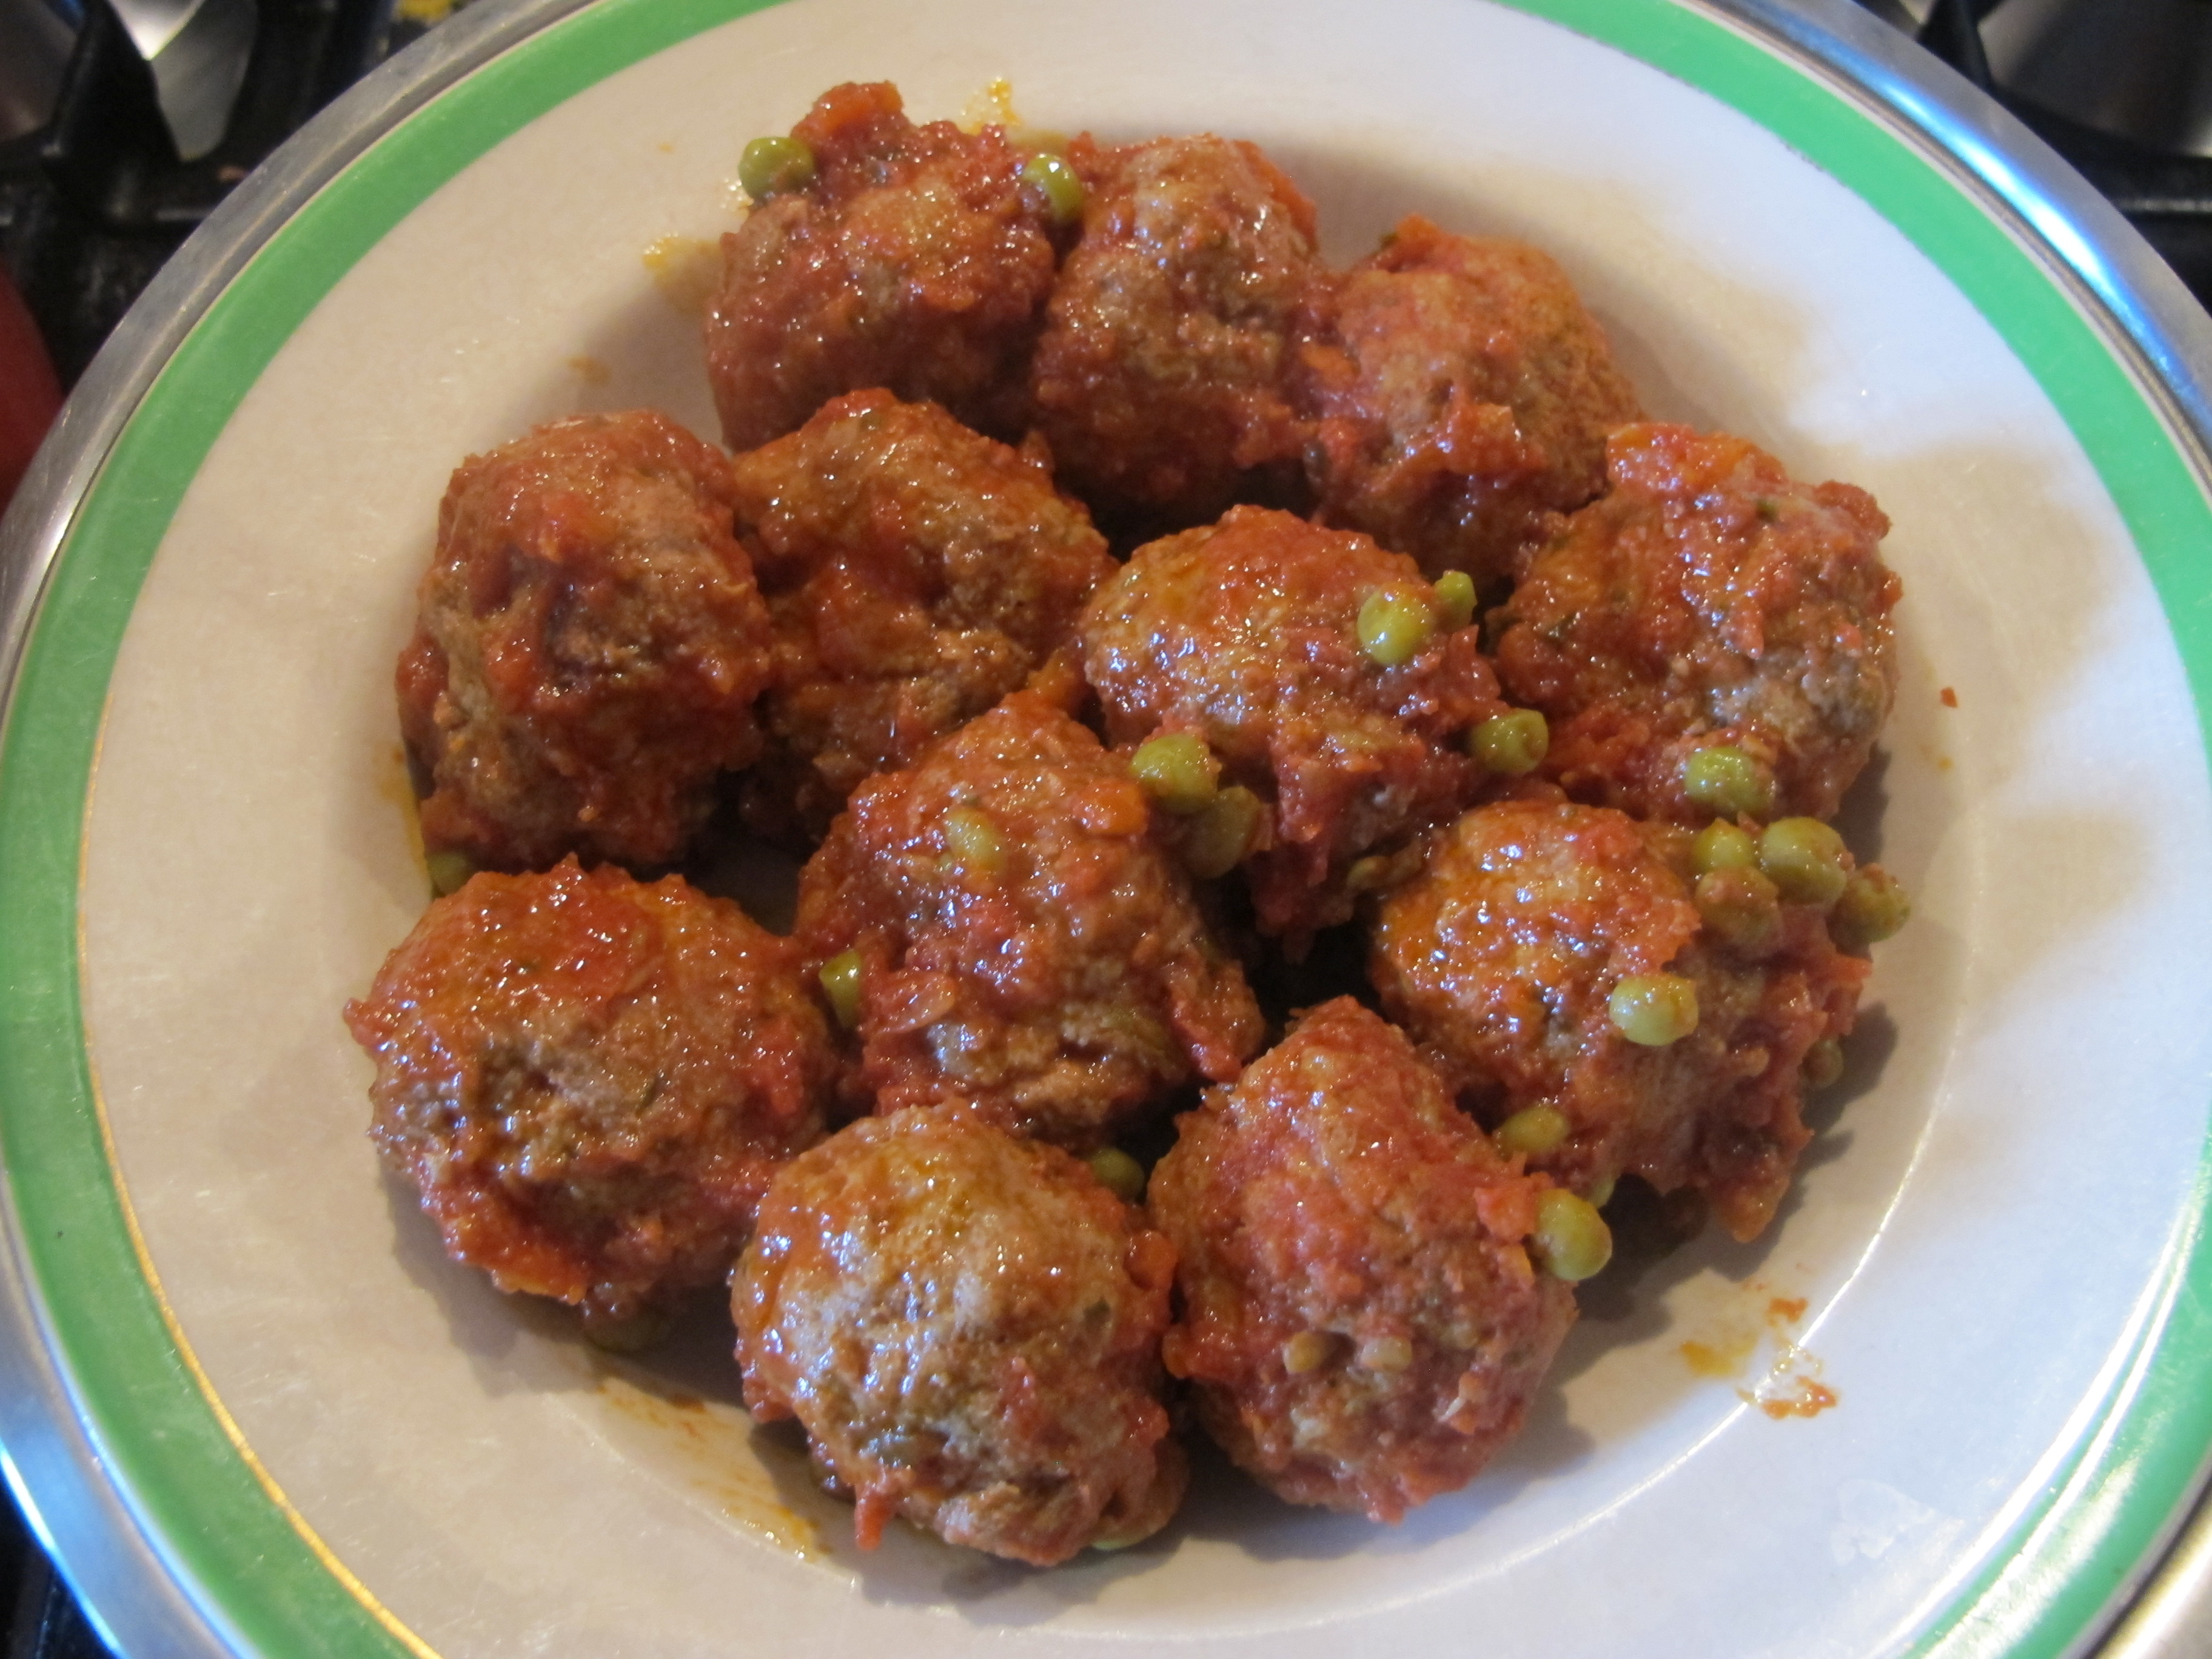
 I then spooned the mutton stew into the centre of the potato ‘ring’.
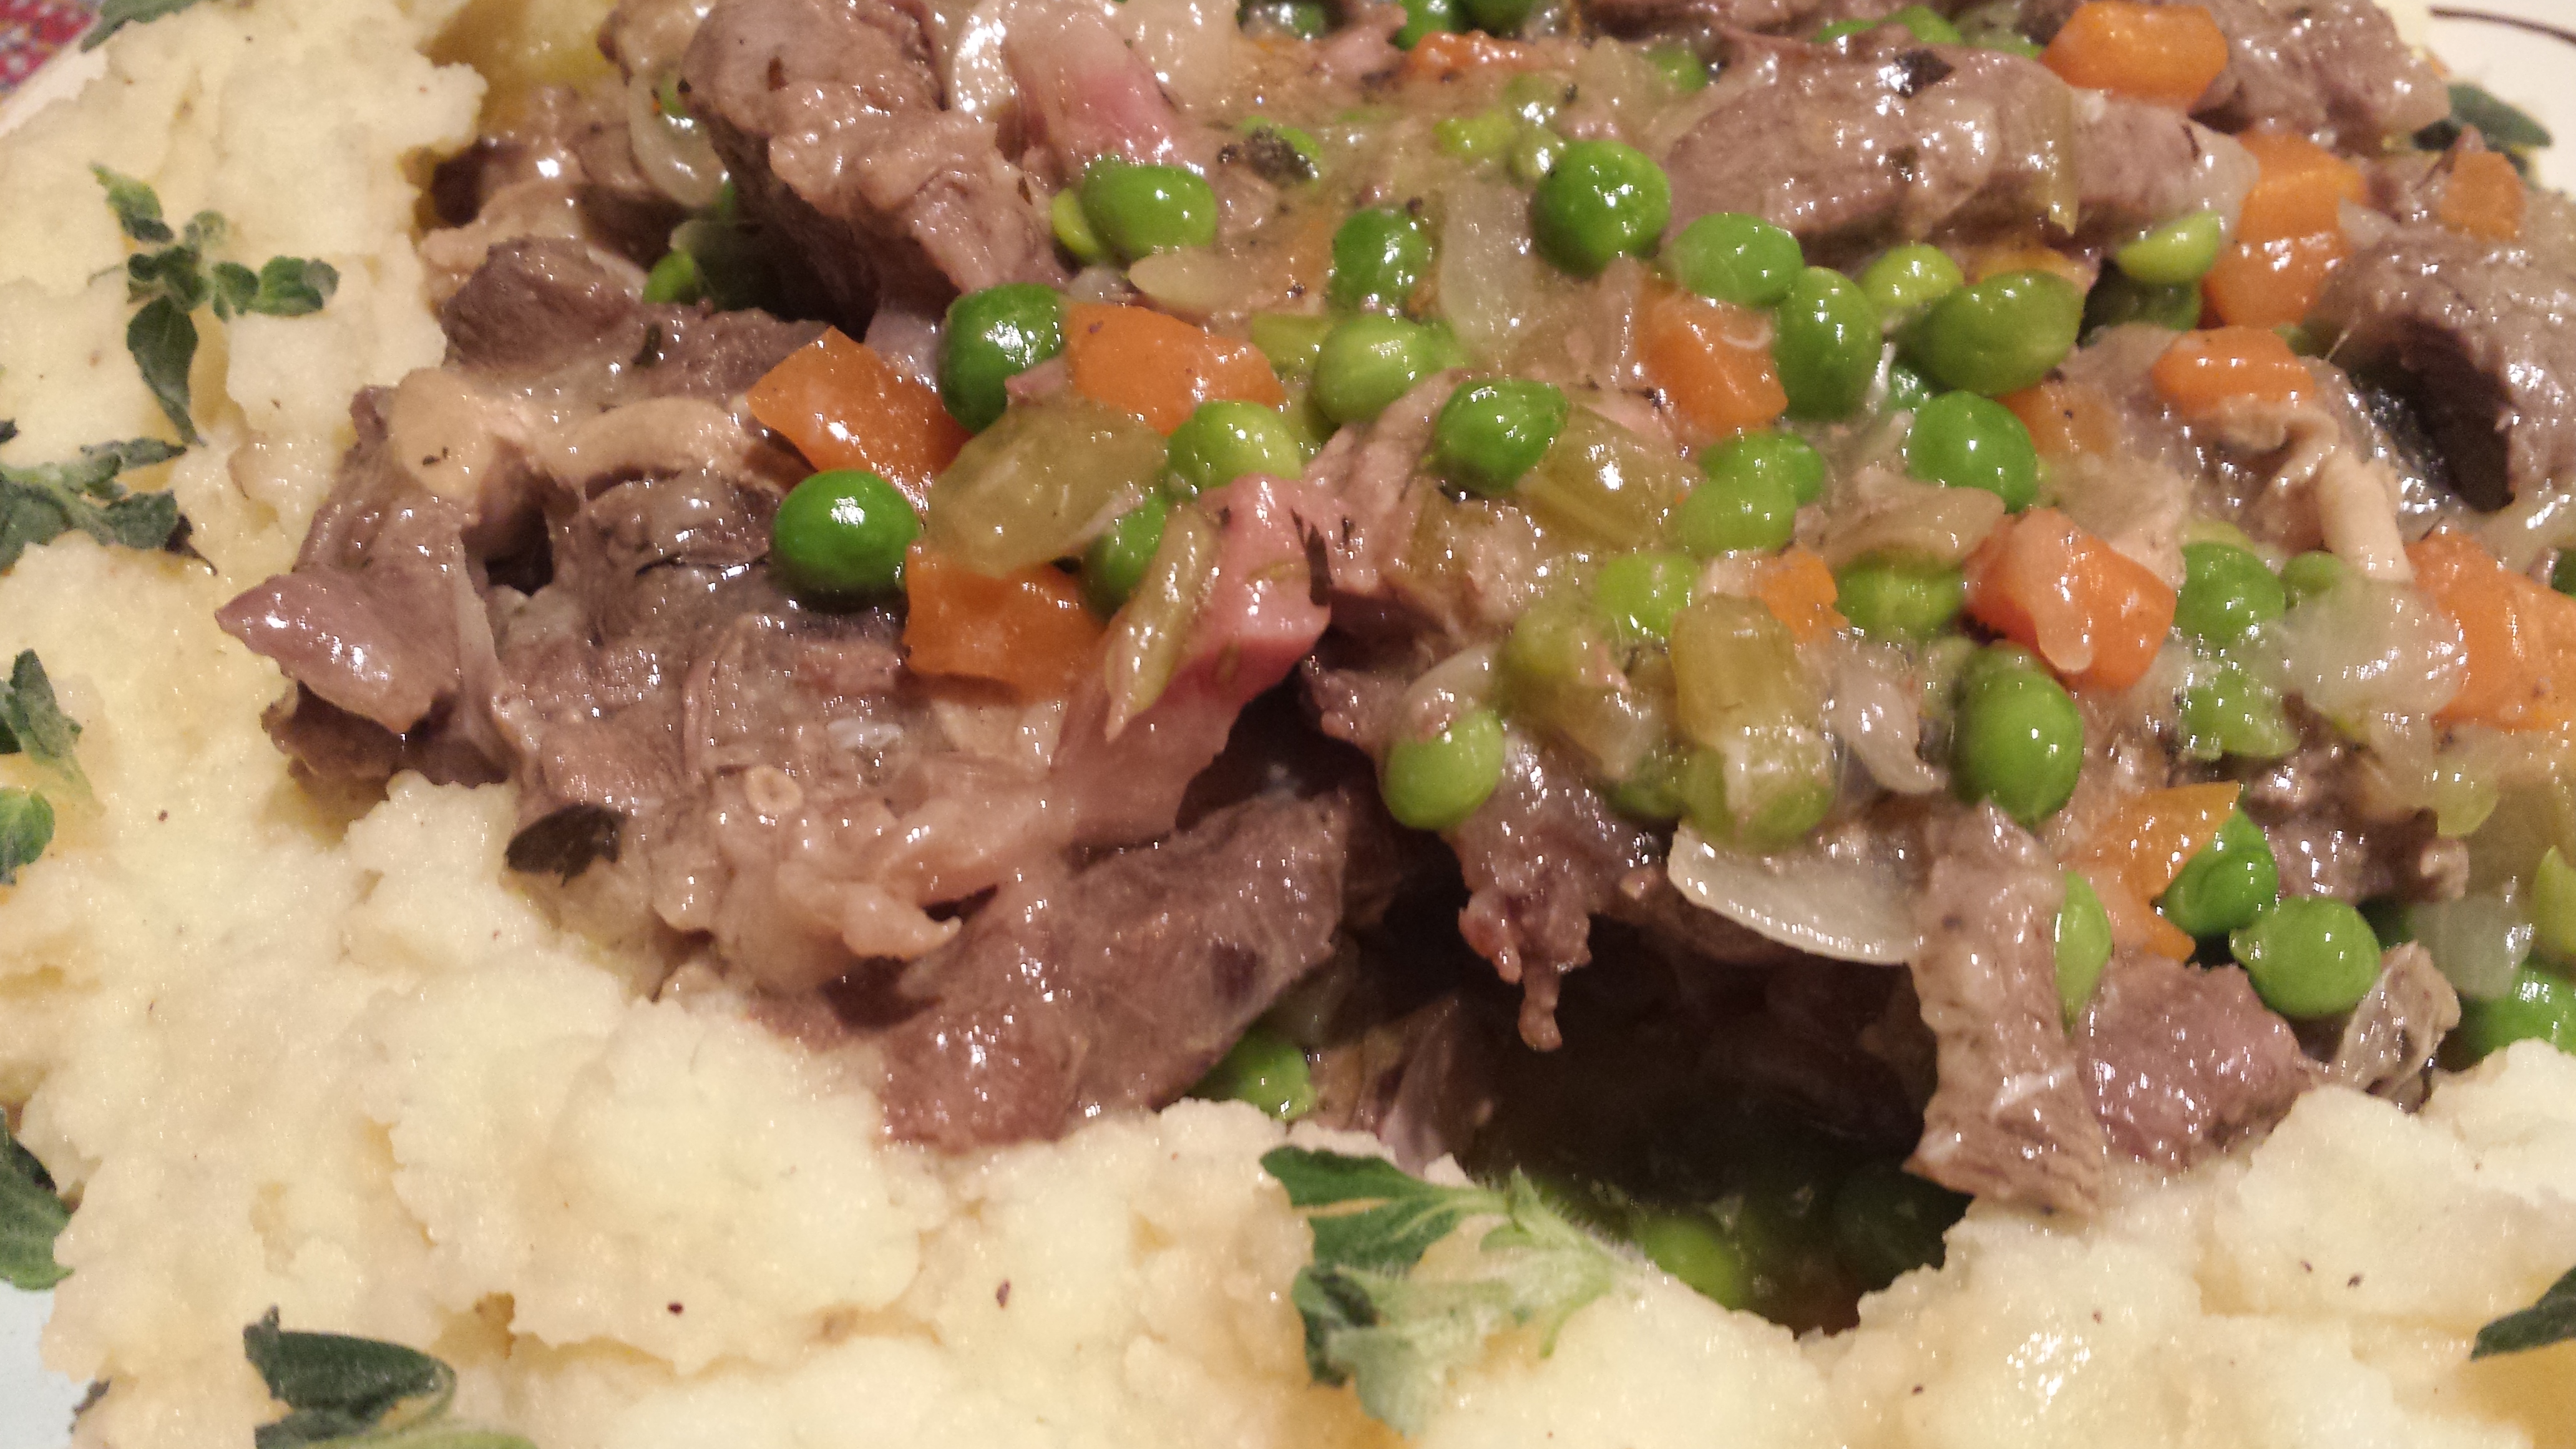
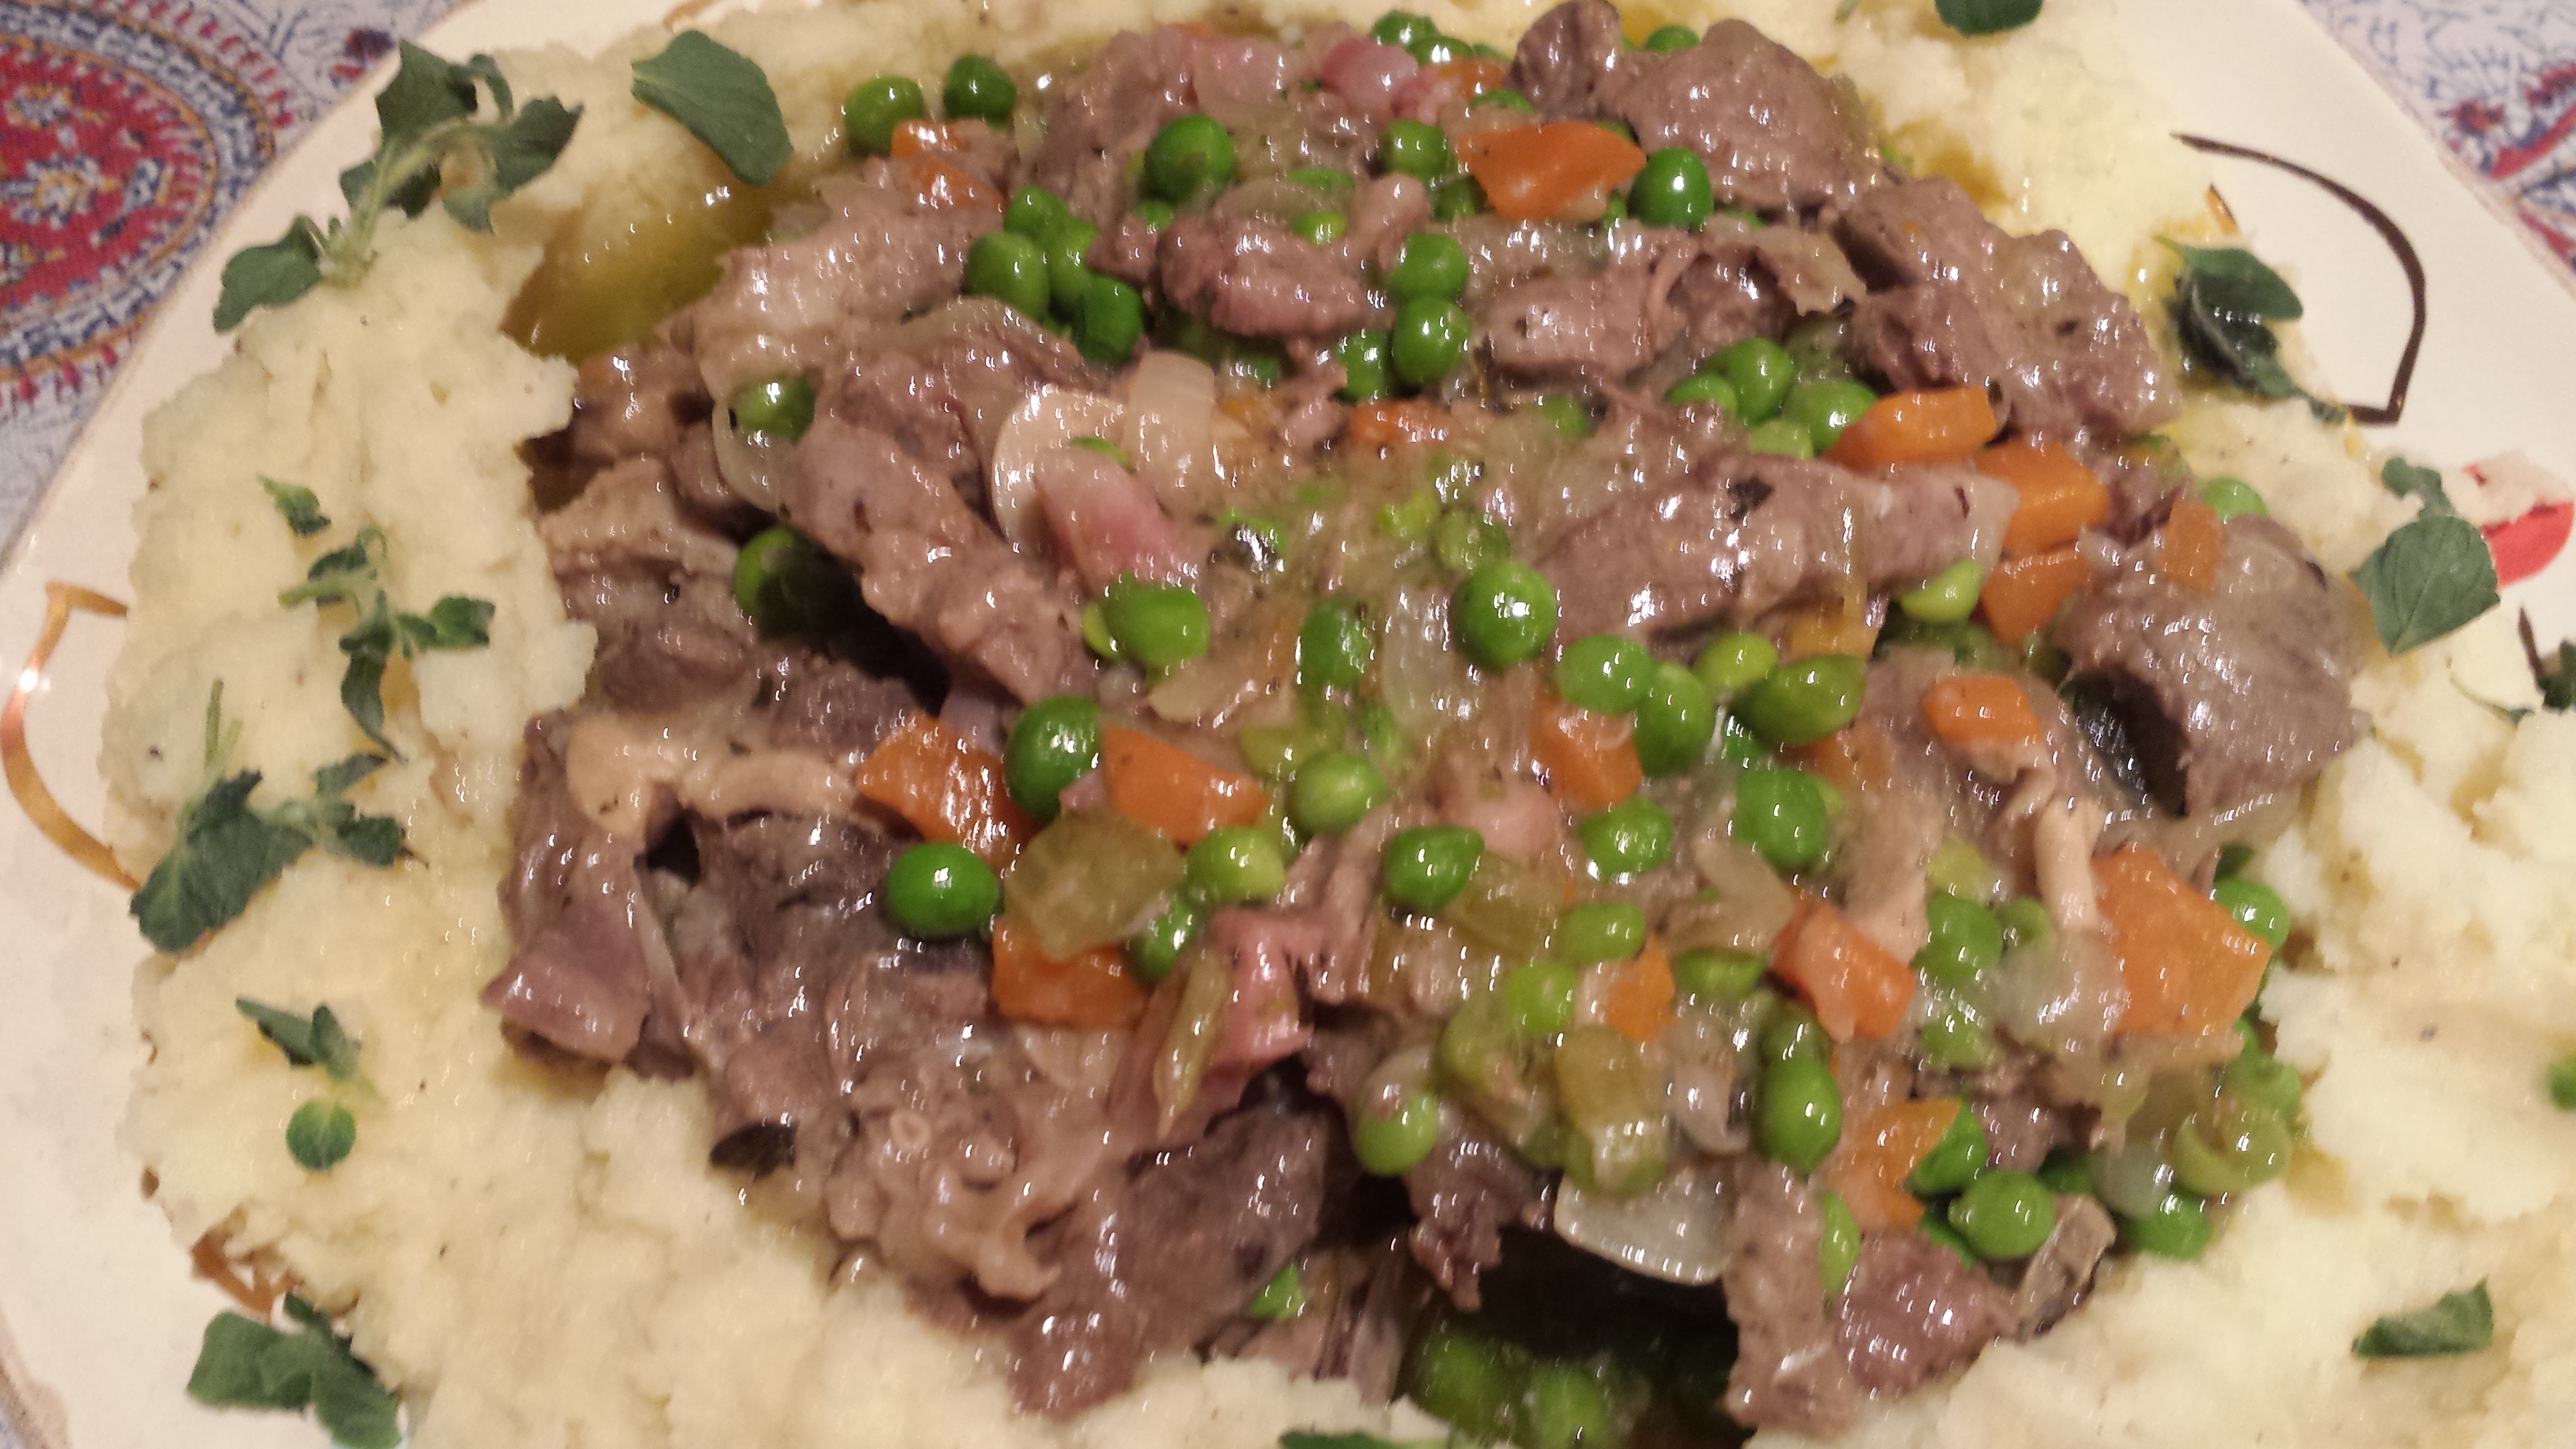
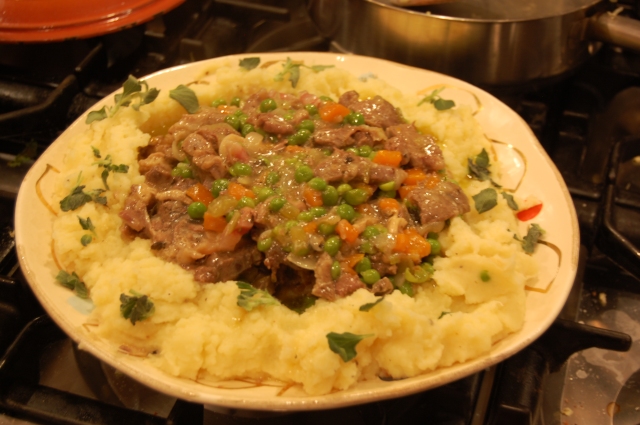 And did a bit of silly-billy strewing of fresh mint leaves on the potatoes.
  It may not look much …
Stews aren’t famous for their looks. How did it taste? Well, with little care for modesty on this occasion, can I say? … it was bloody good. Blushingly happy. It was everything one would expect of a stew … the words ‘filling’ and ‘satisfying’ come to mind. But it was also light and ‘playful’ on the palate, and the taste wanted to linger on. Which was just as well because we polished the lot in record time …

 Grazie amore mio …


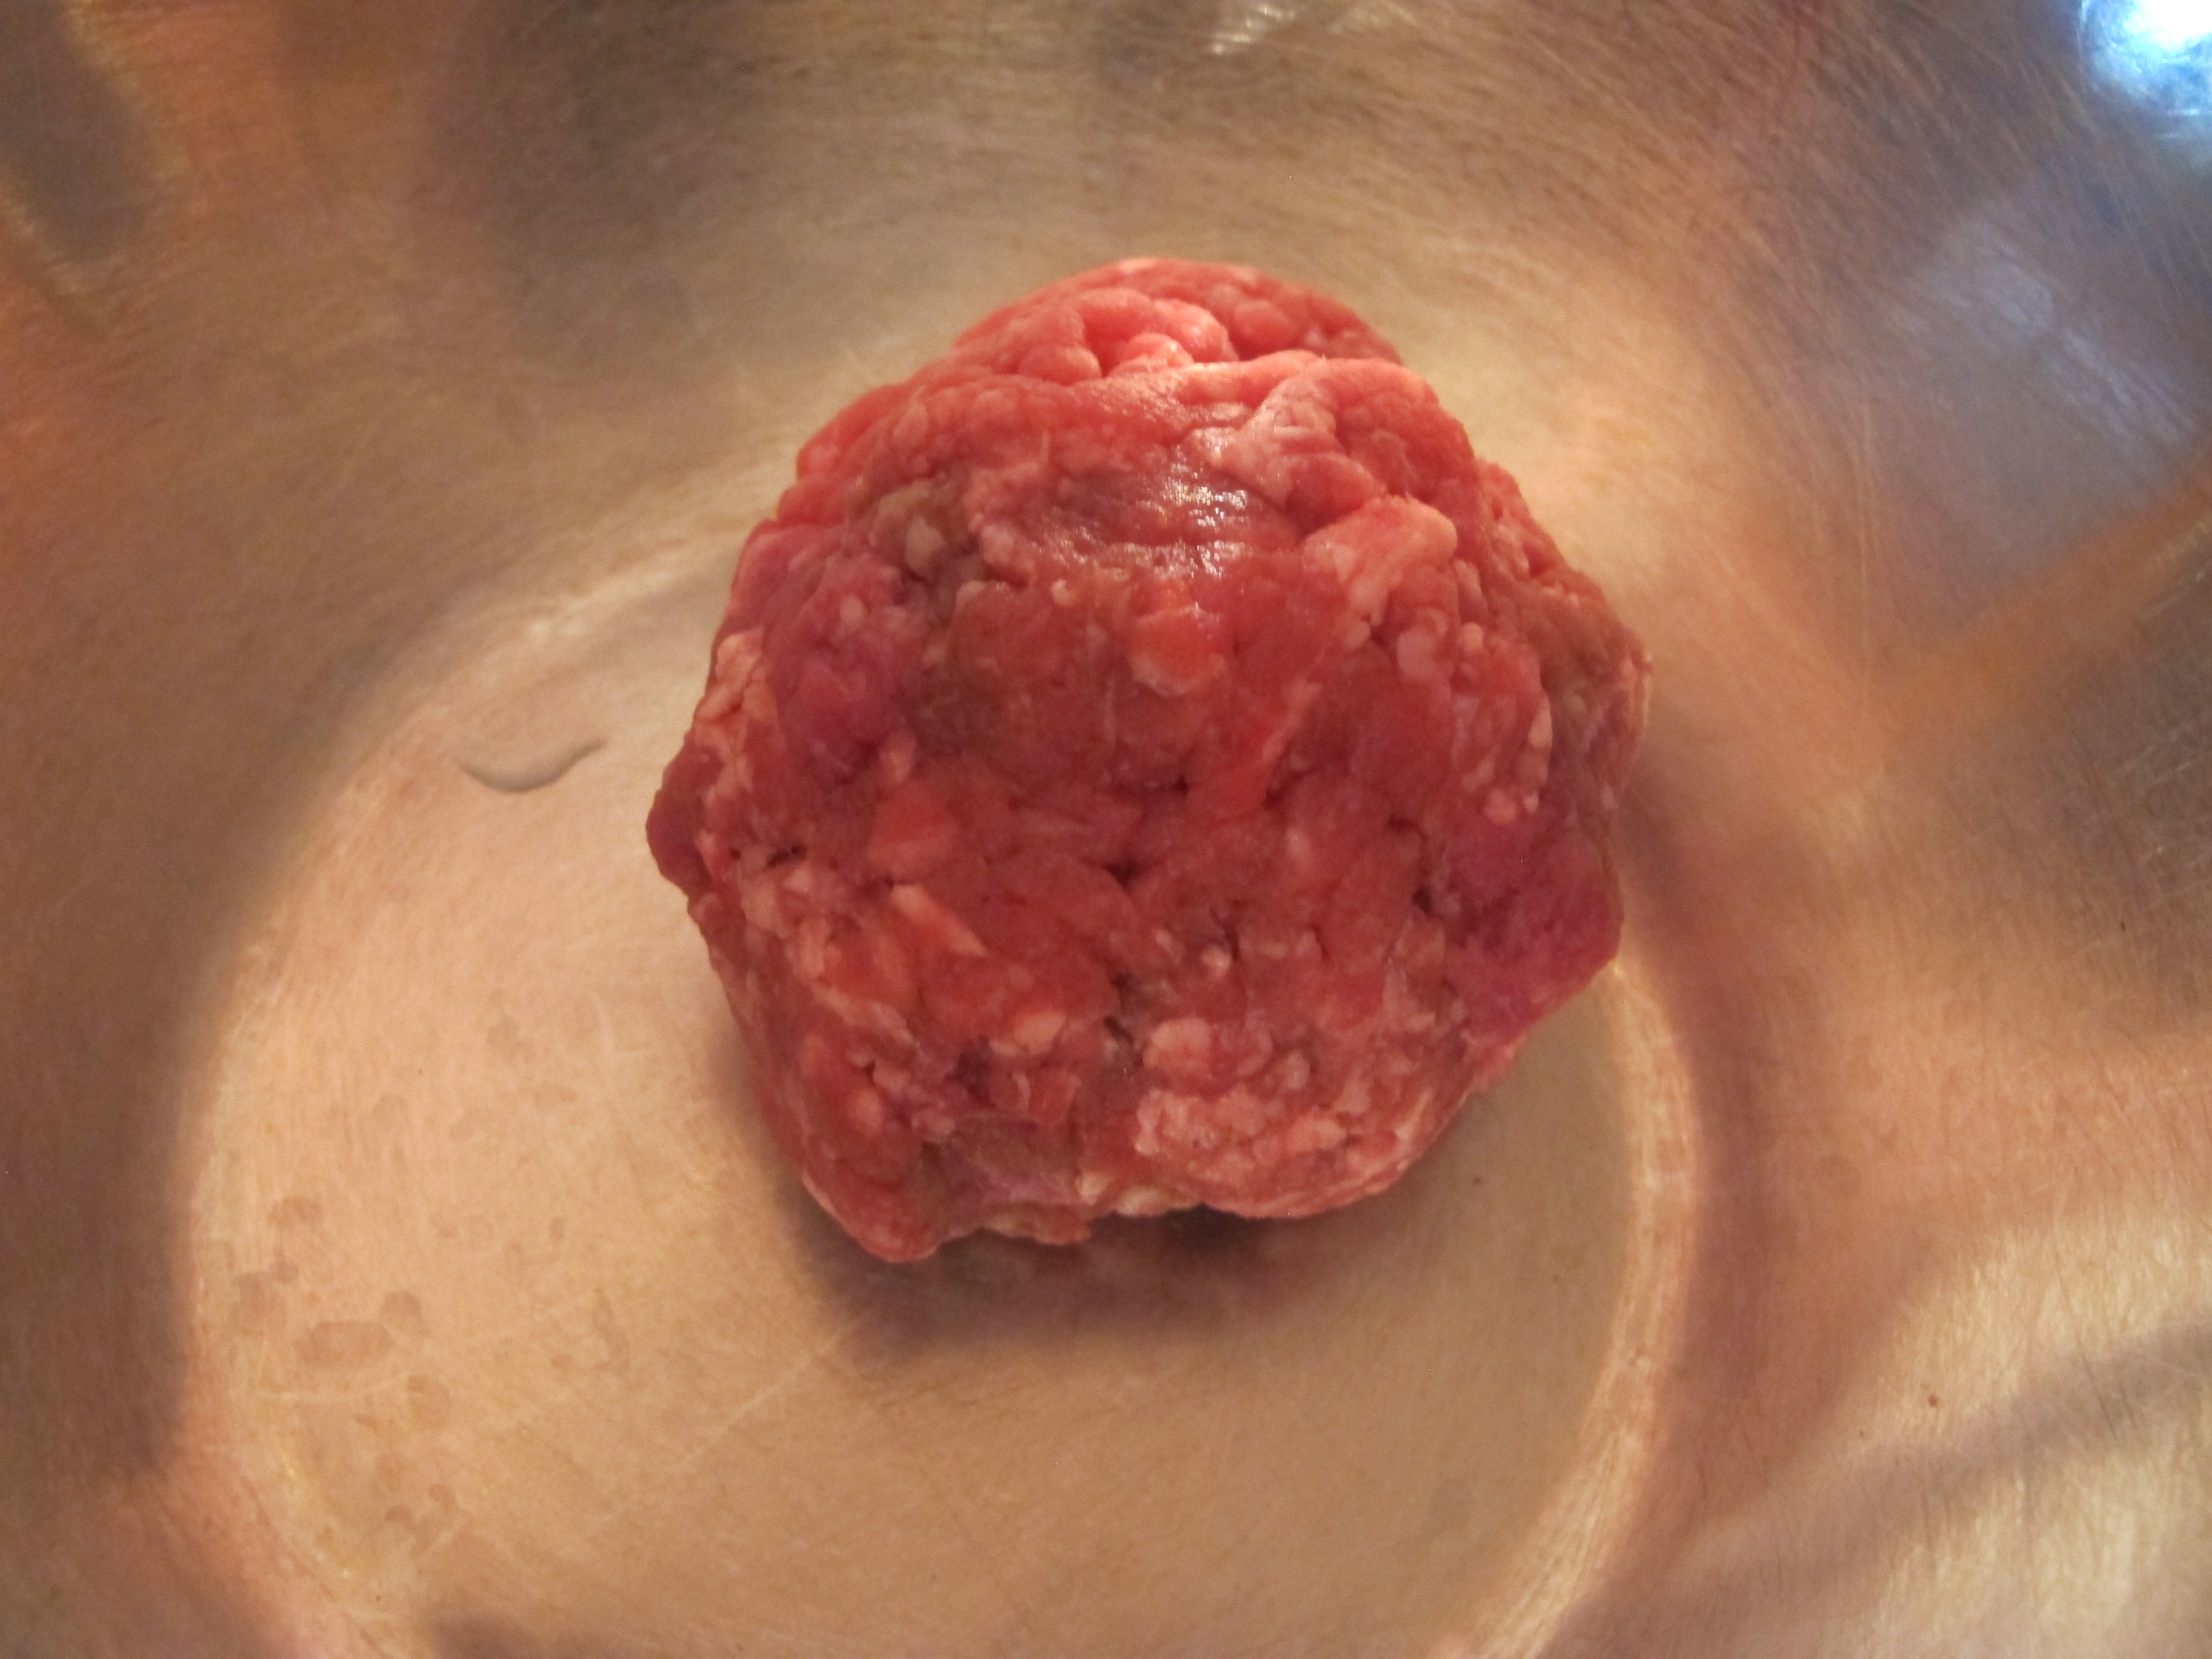
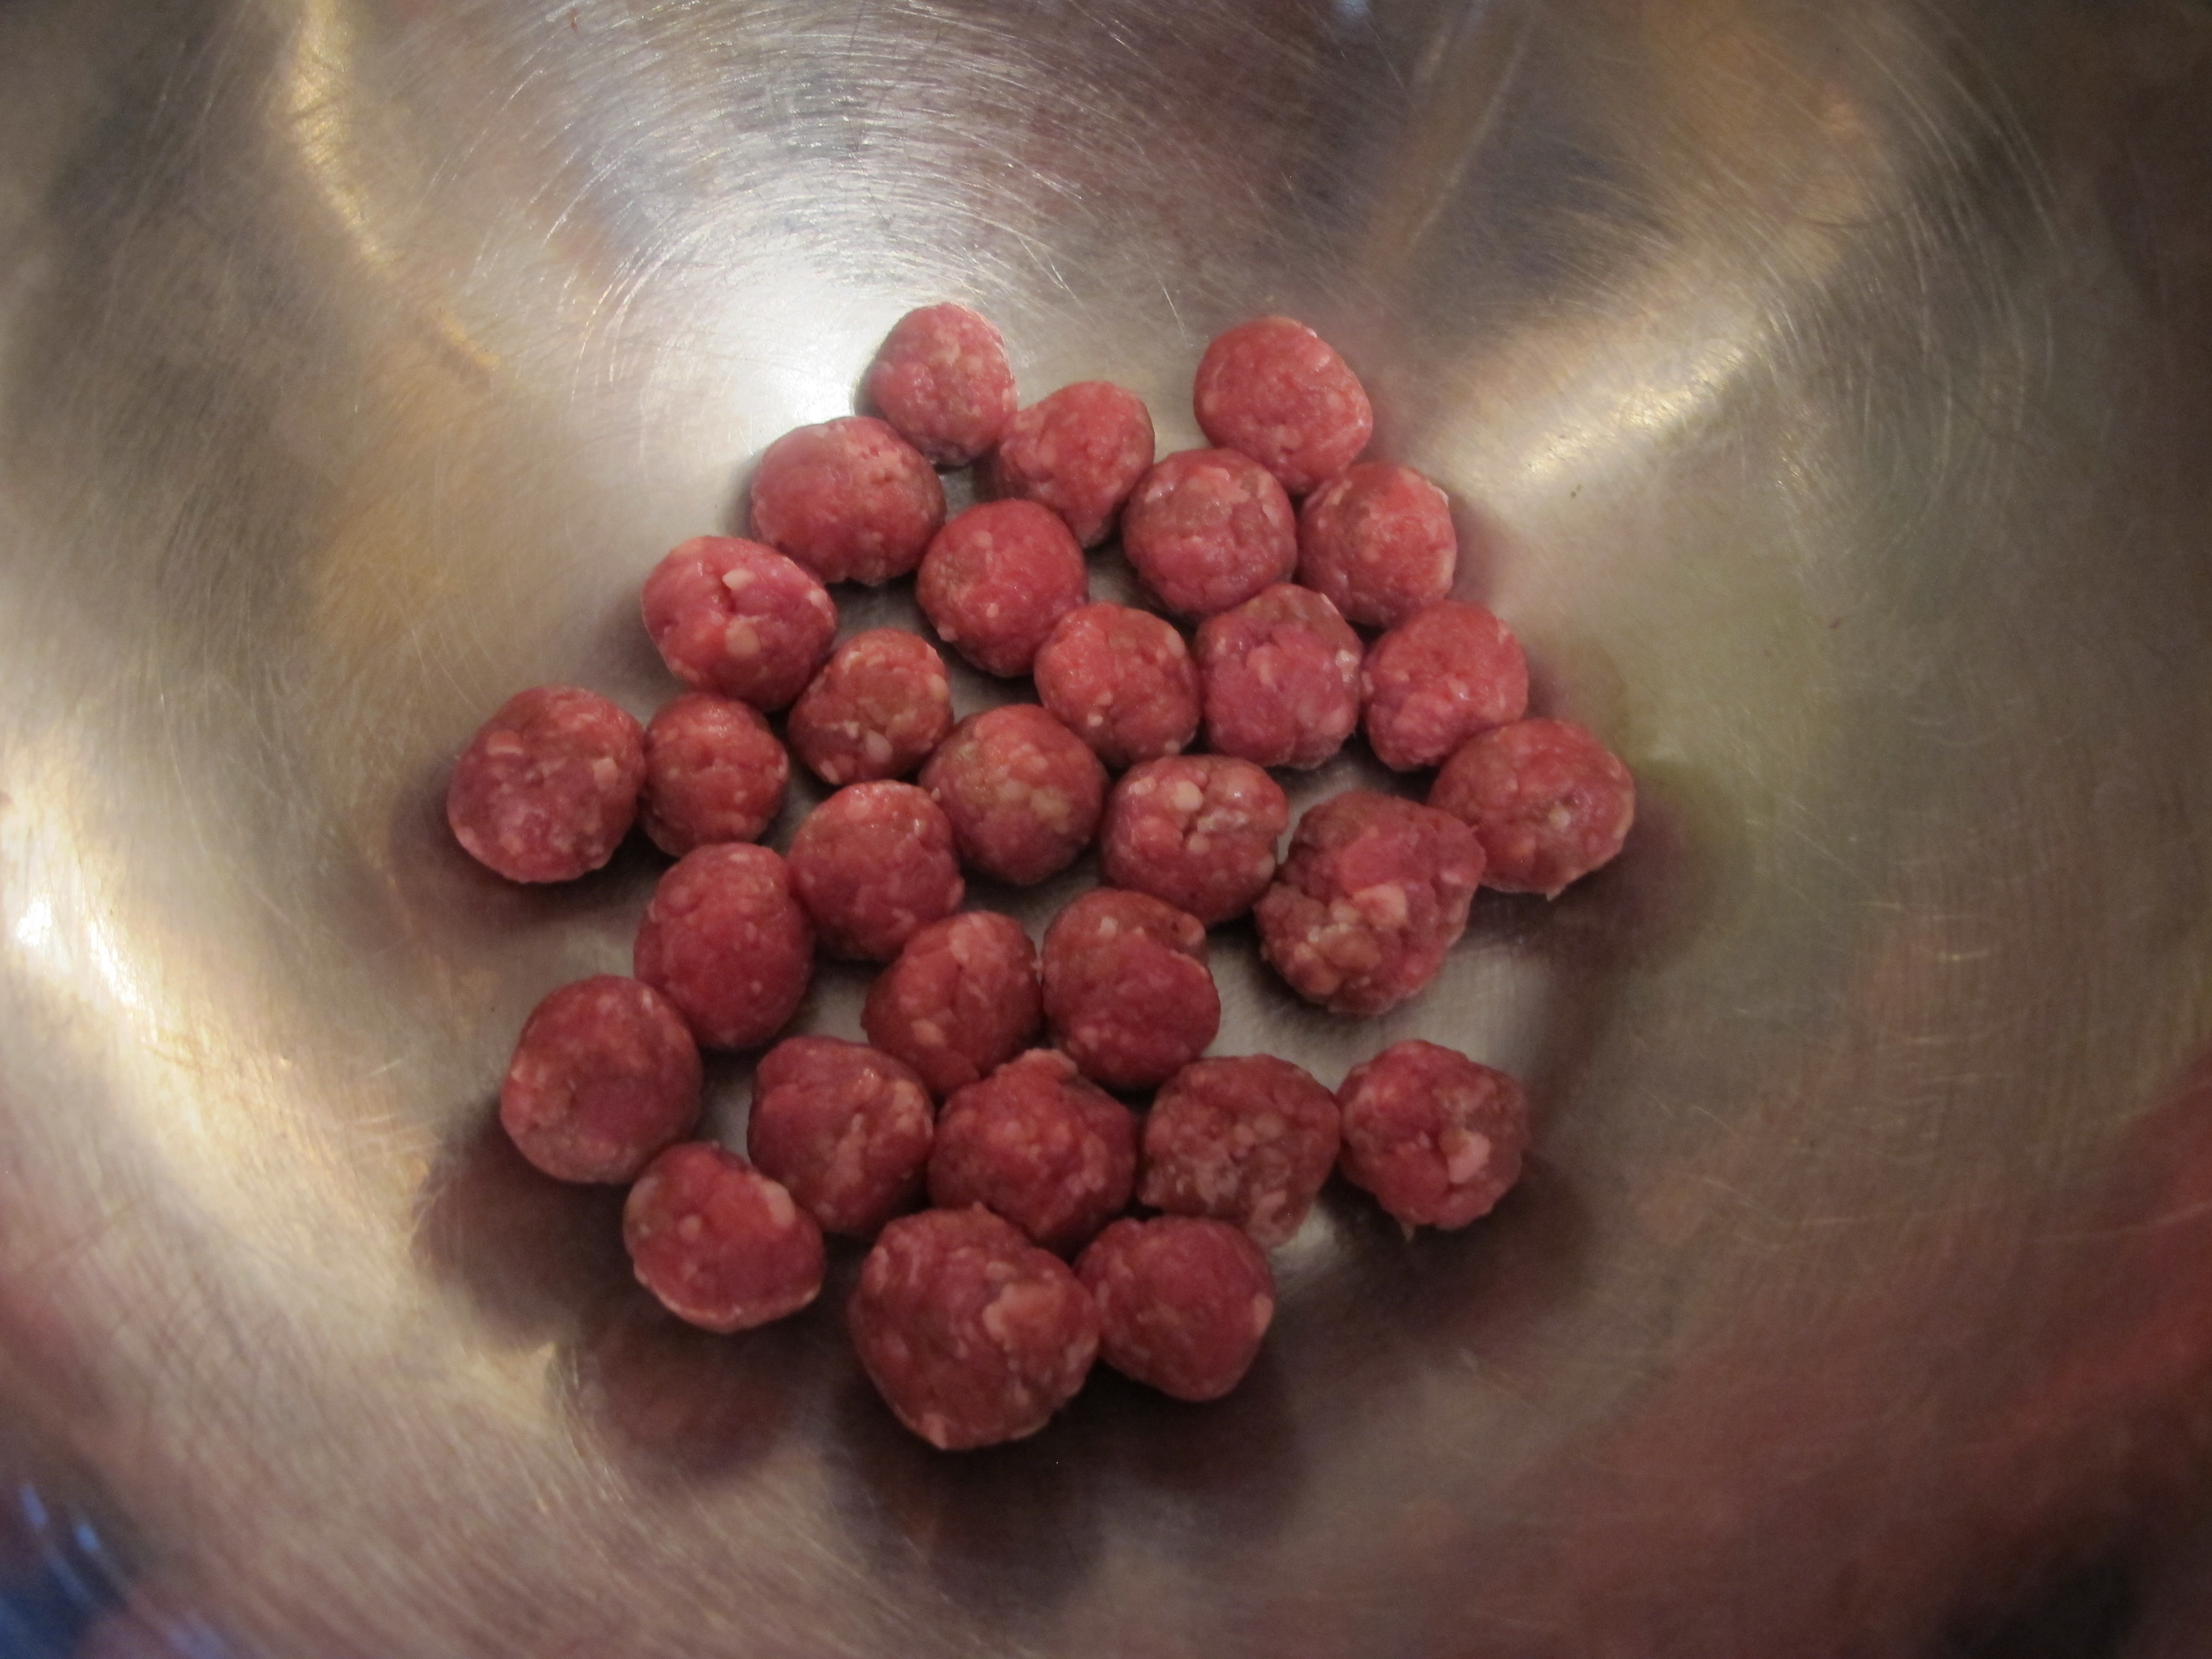
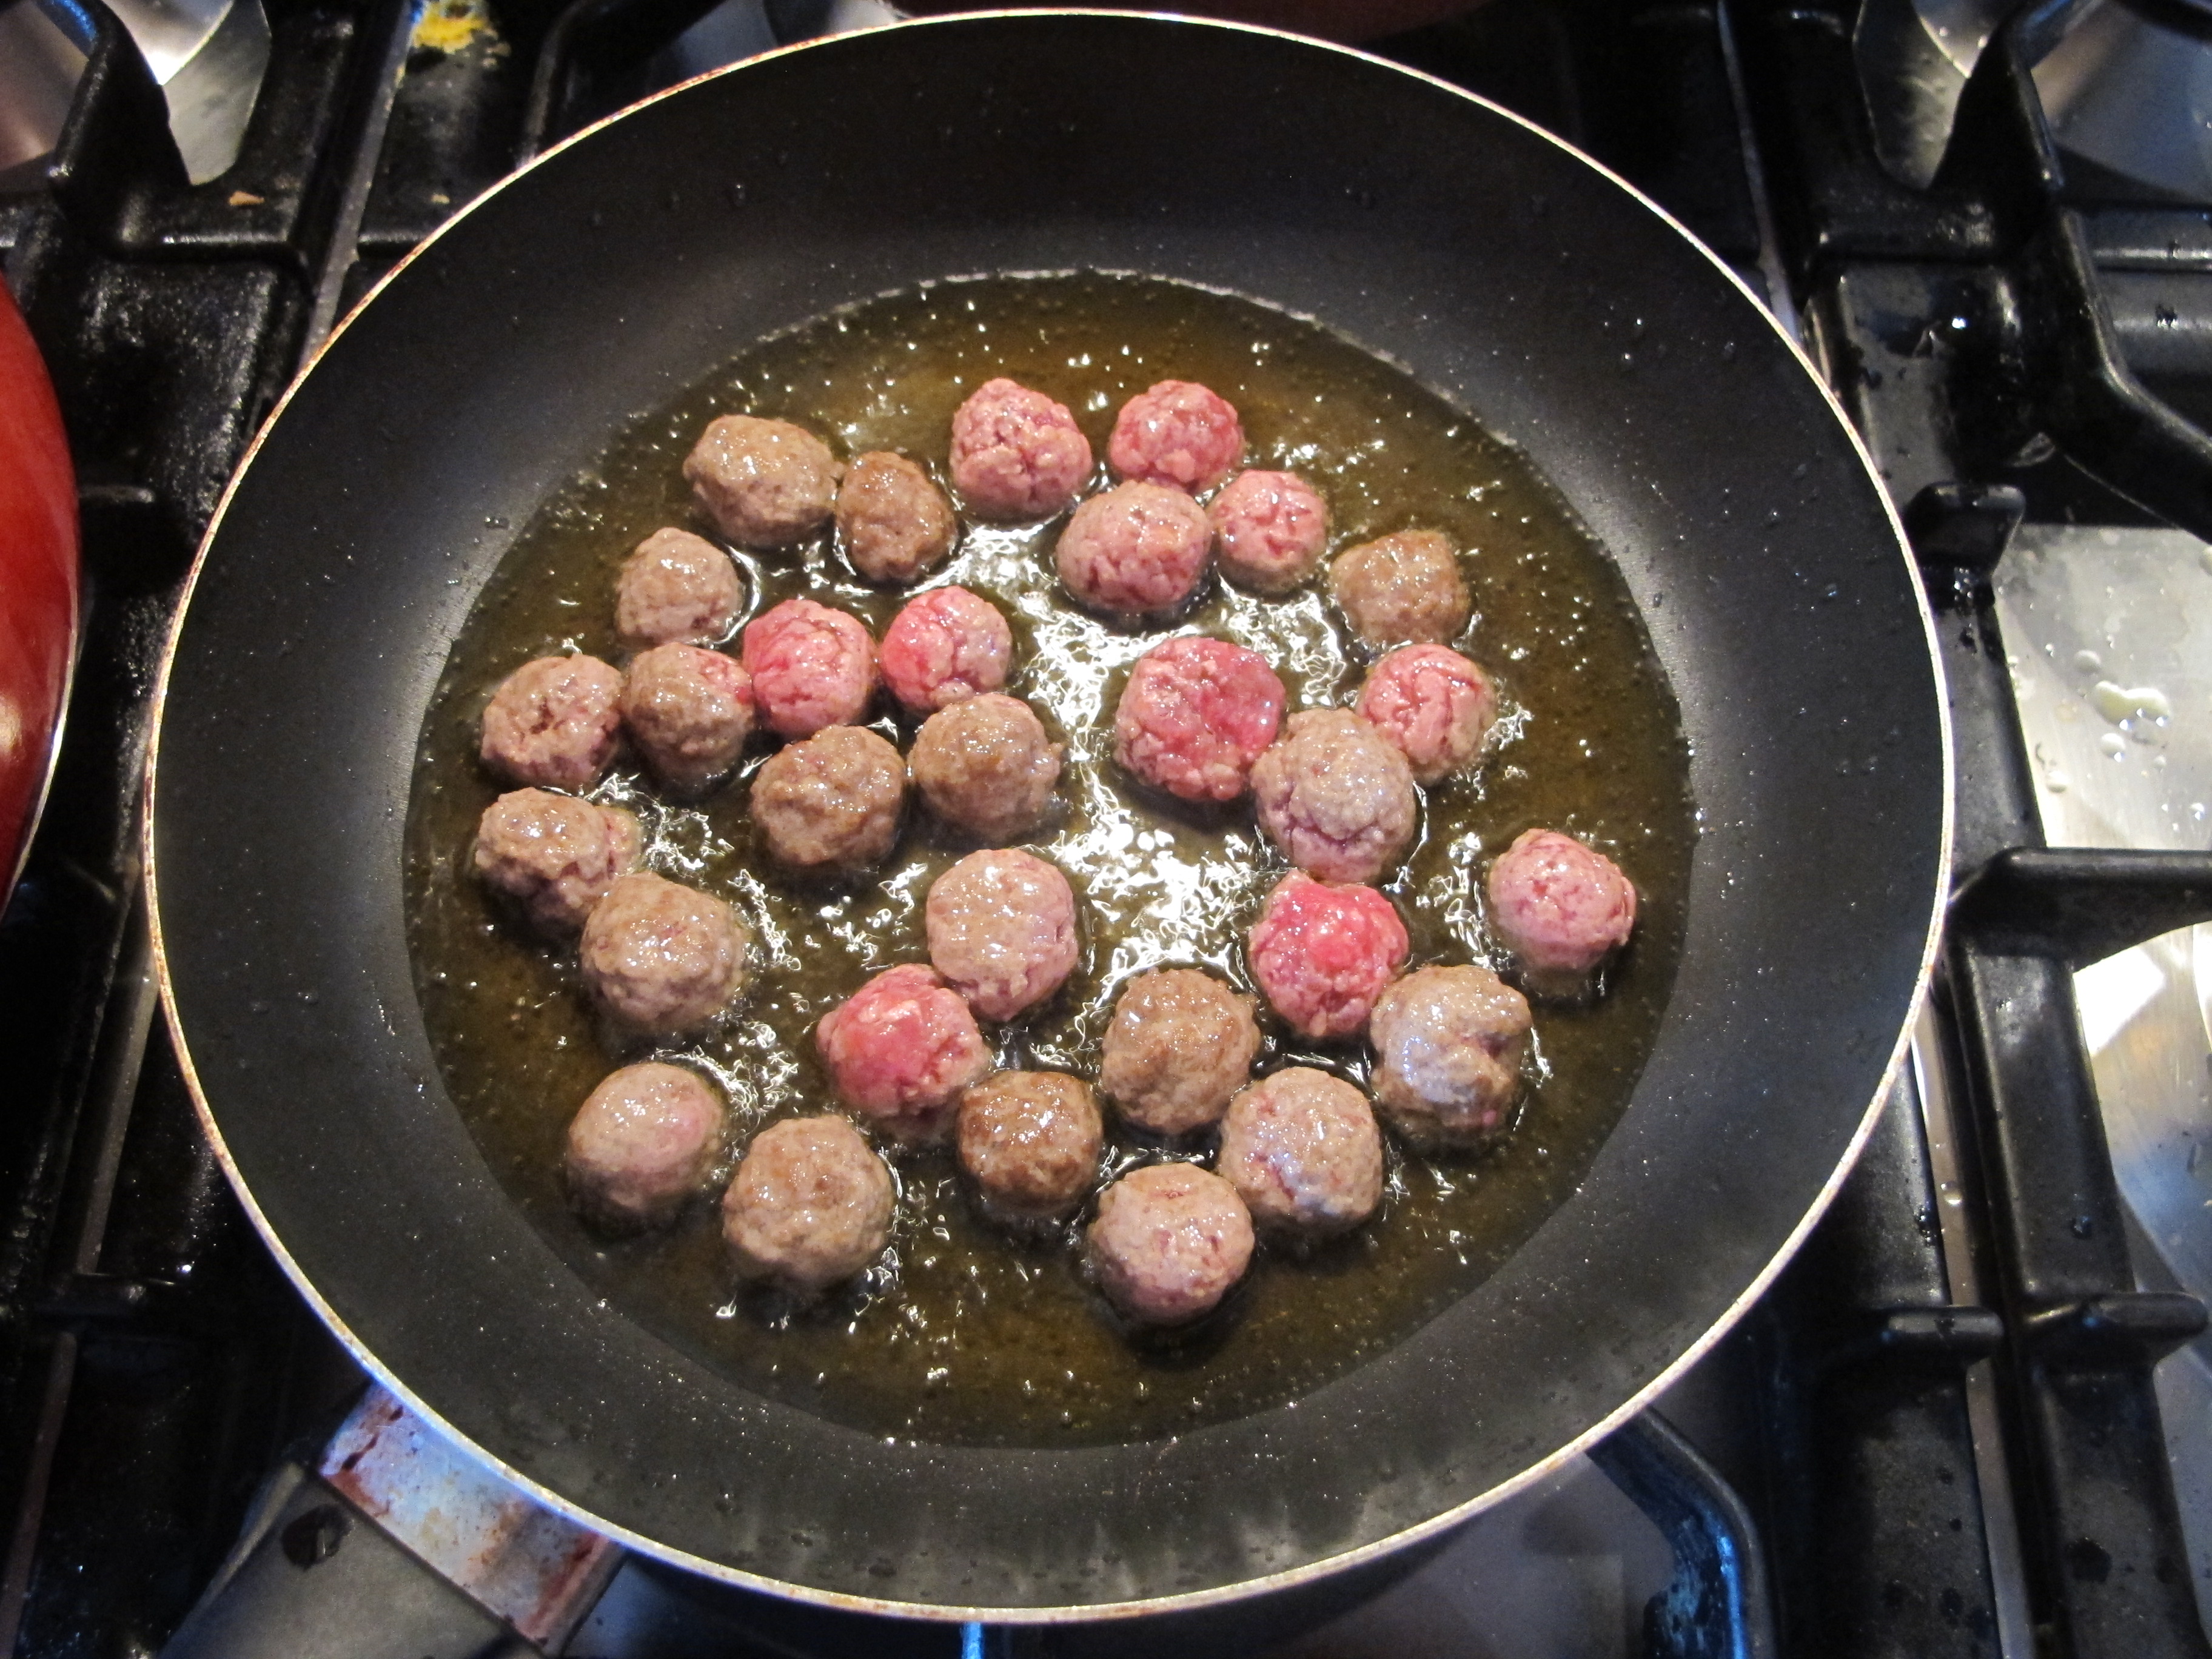


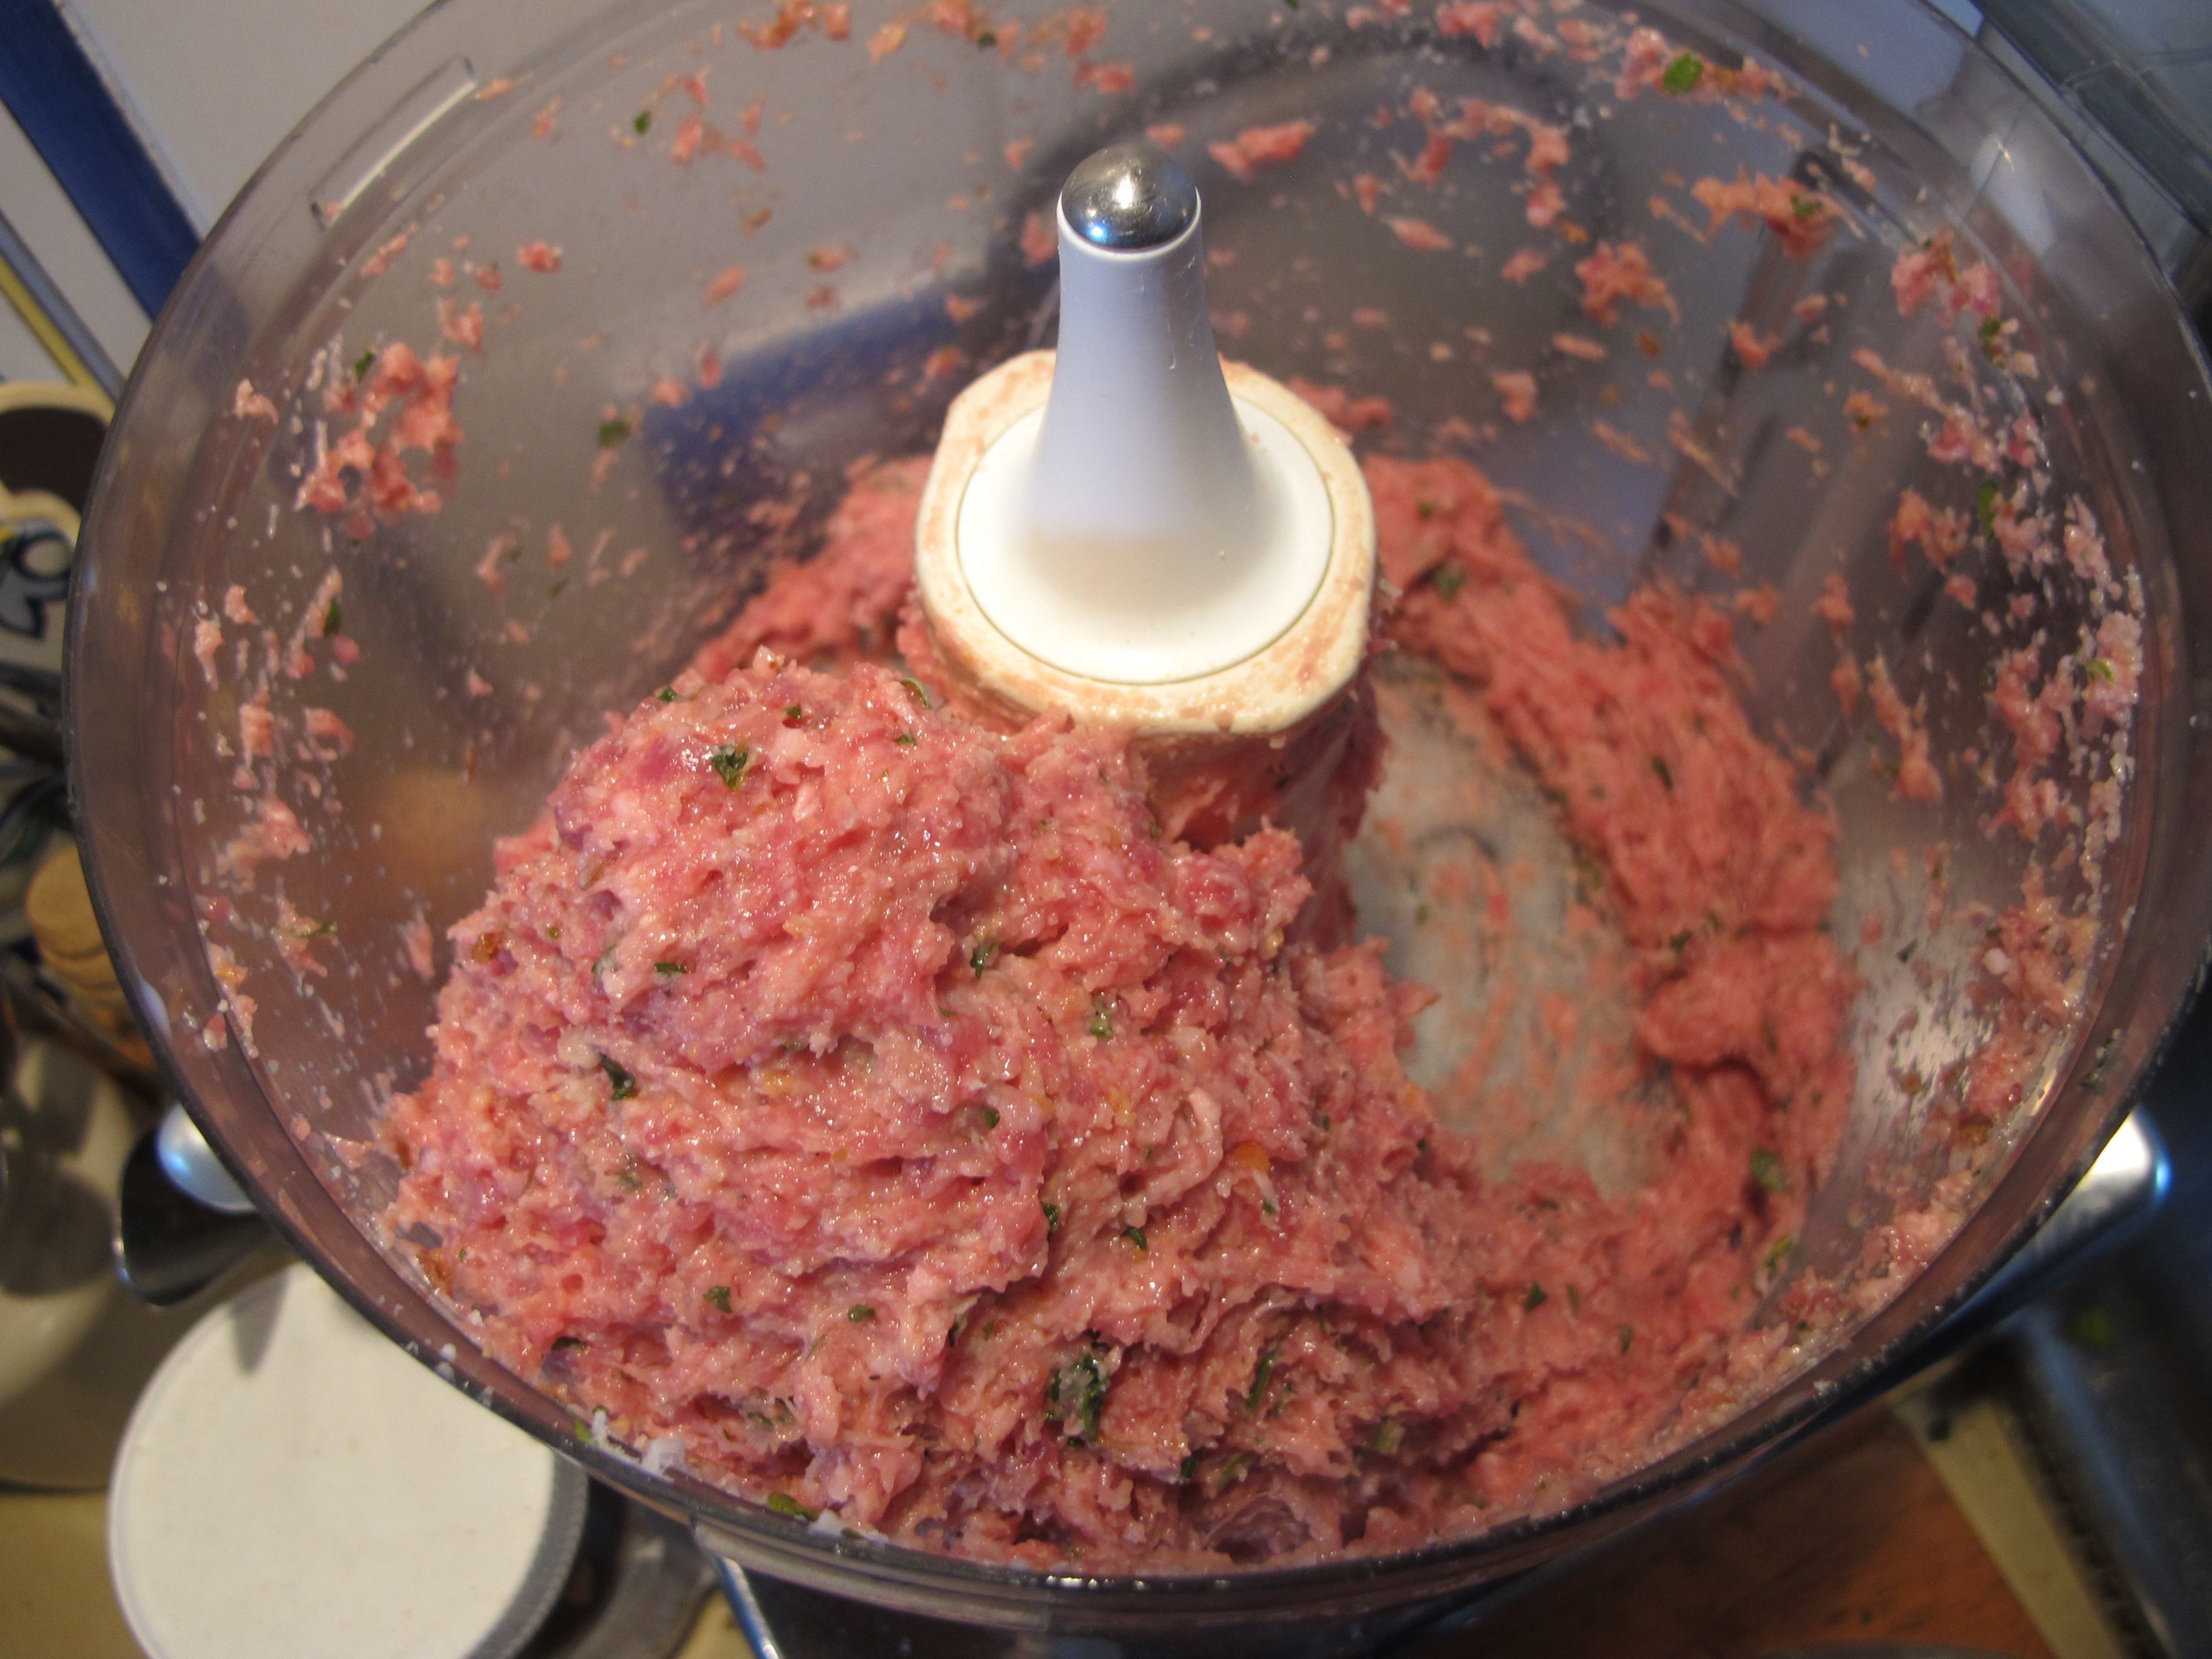
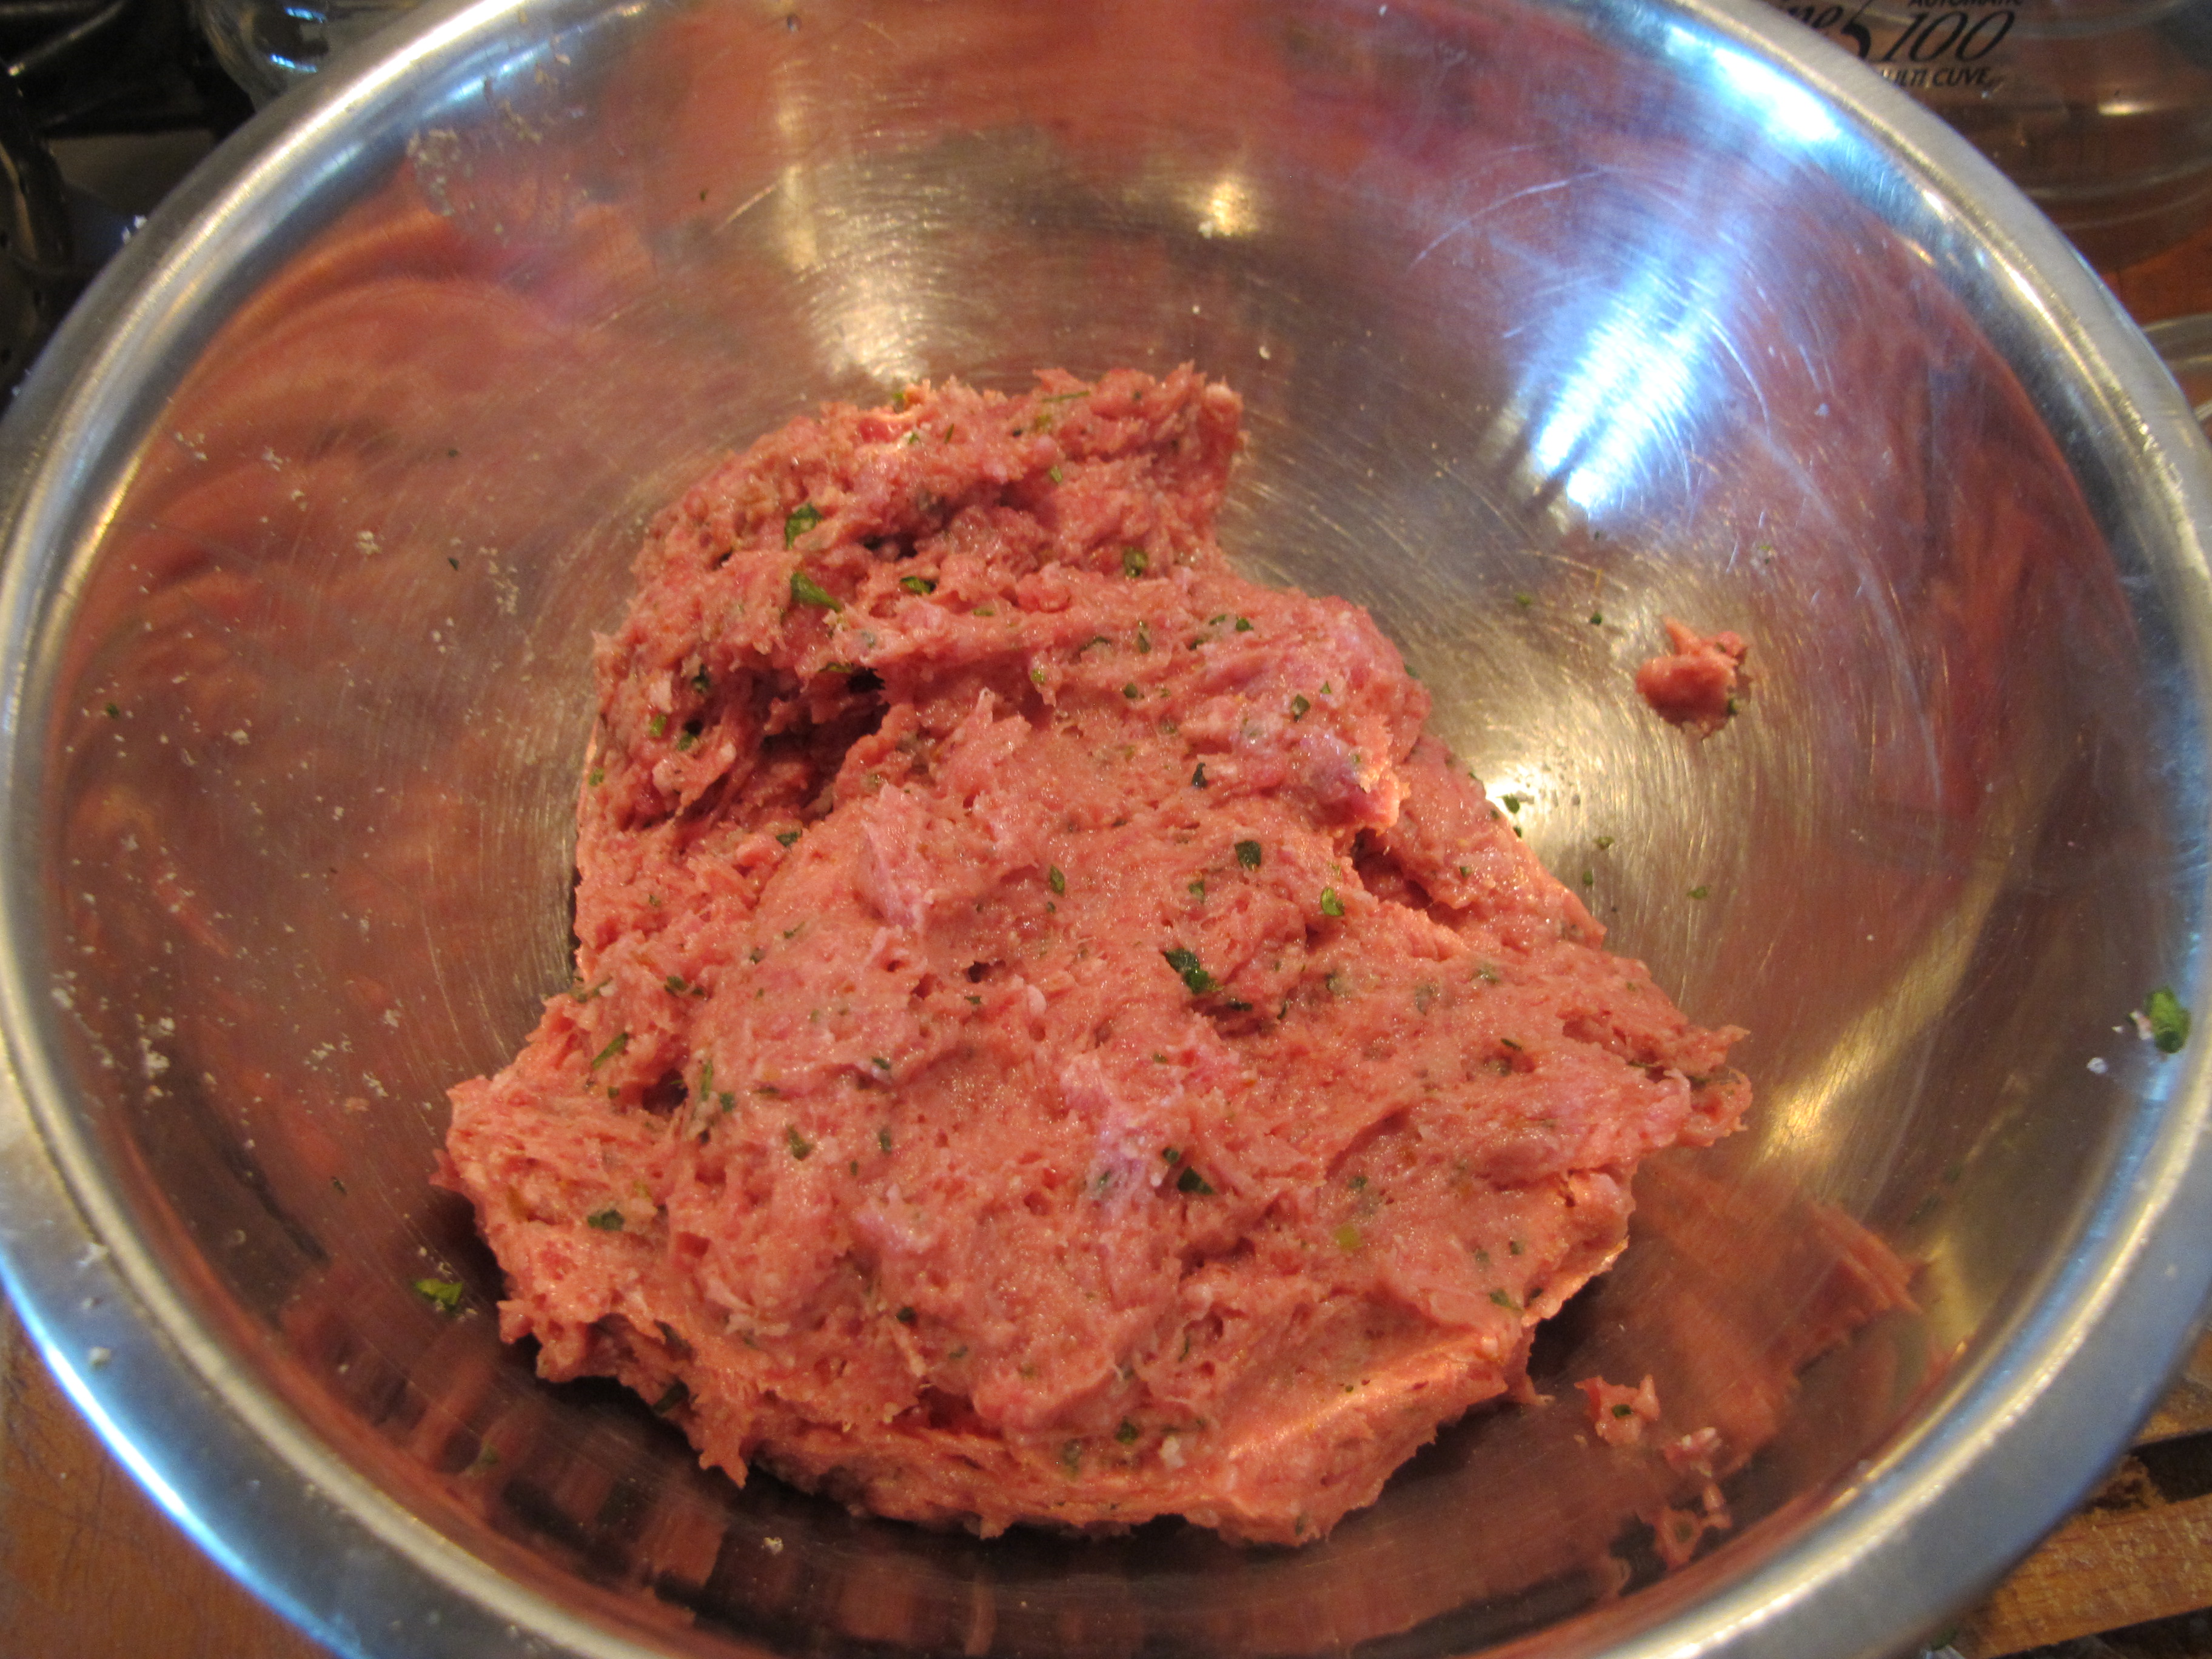
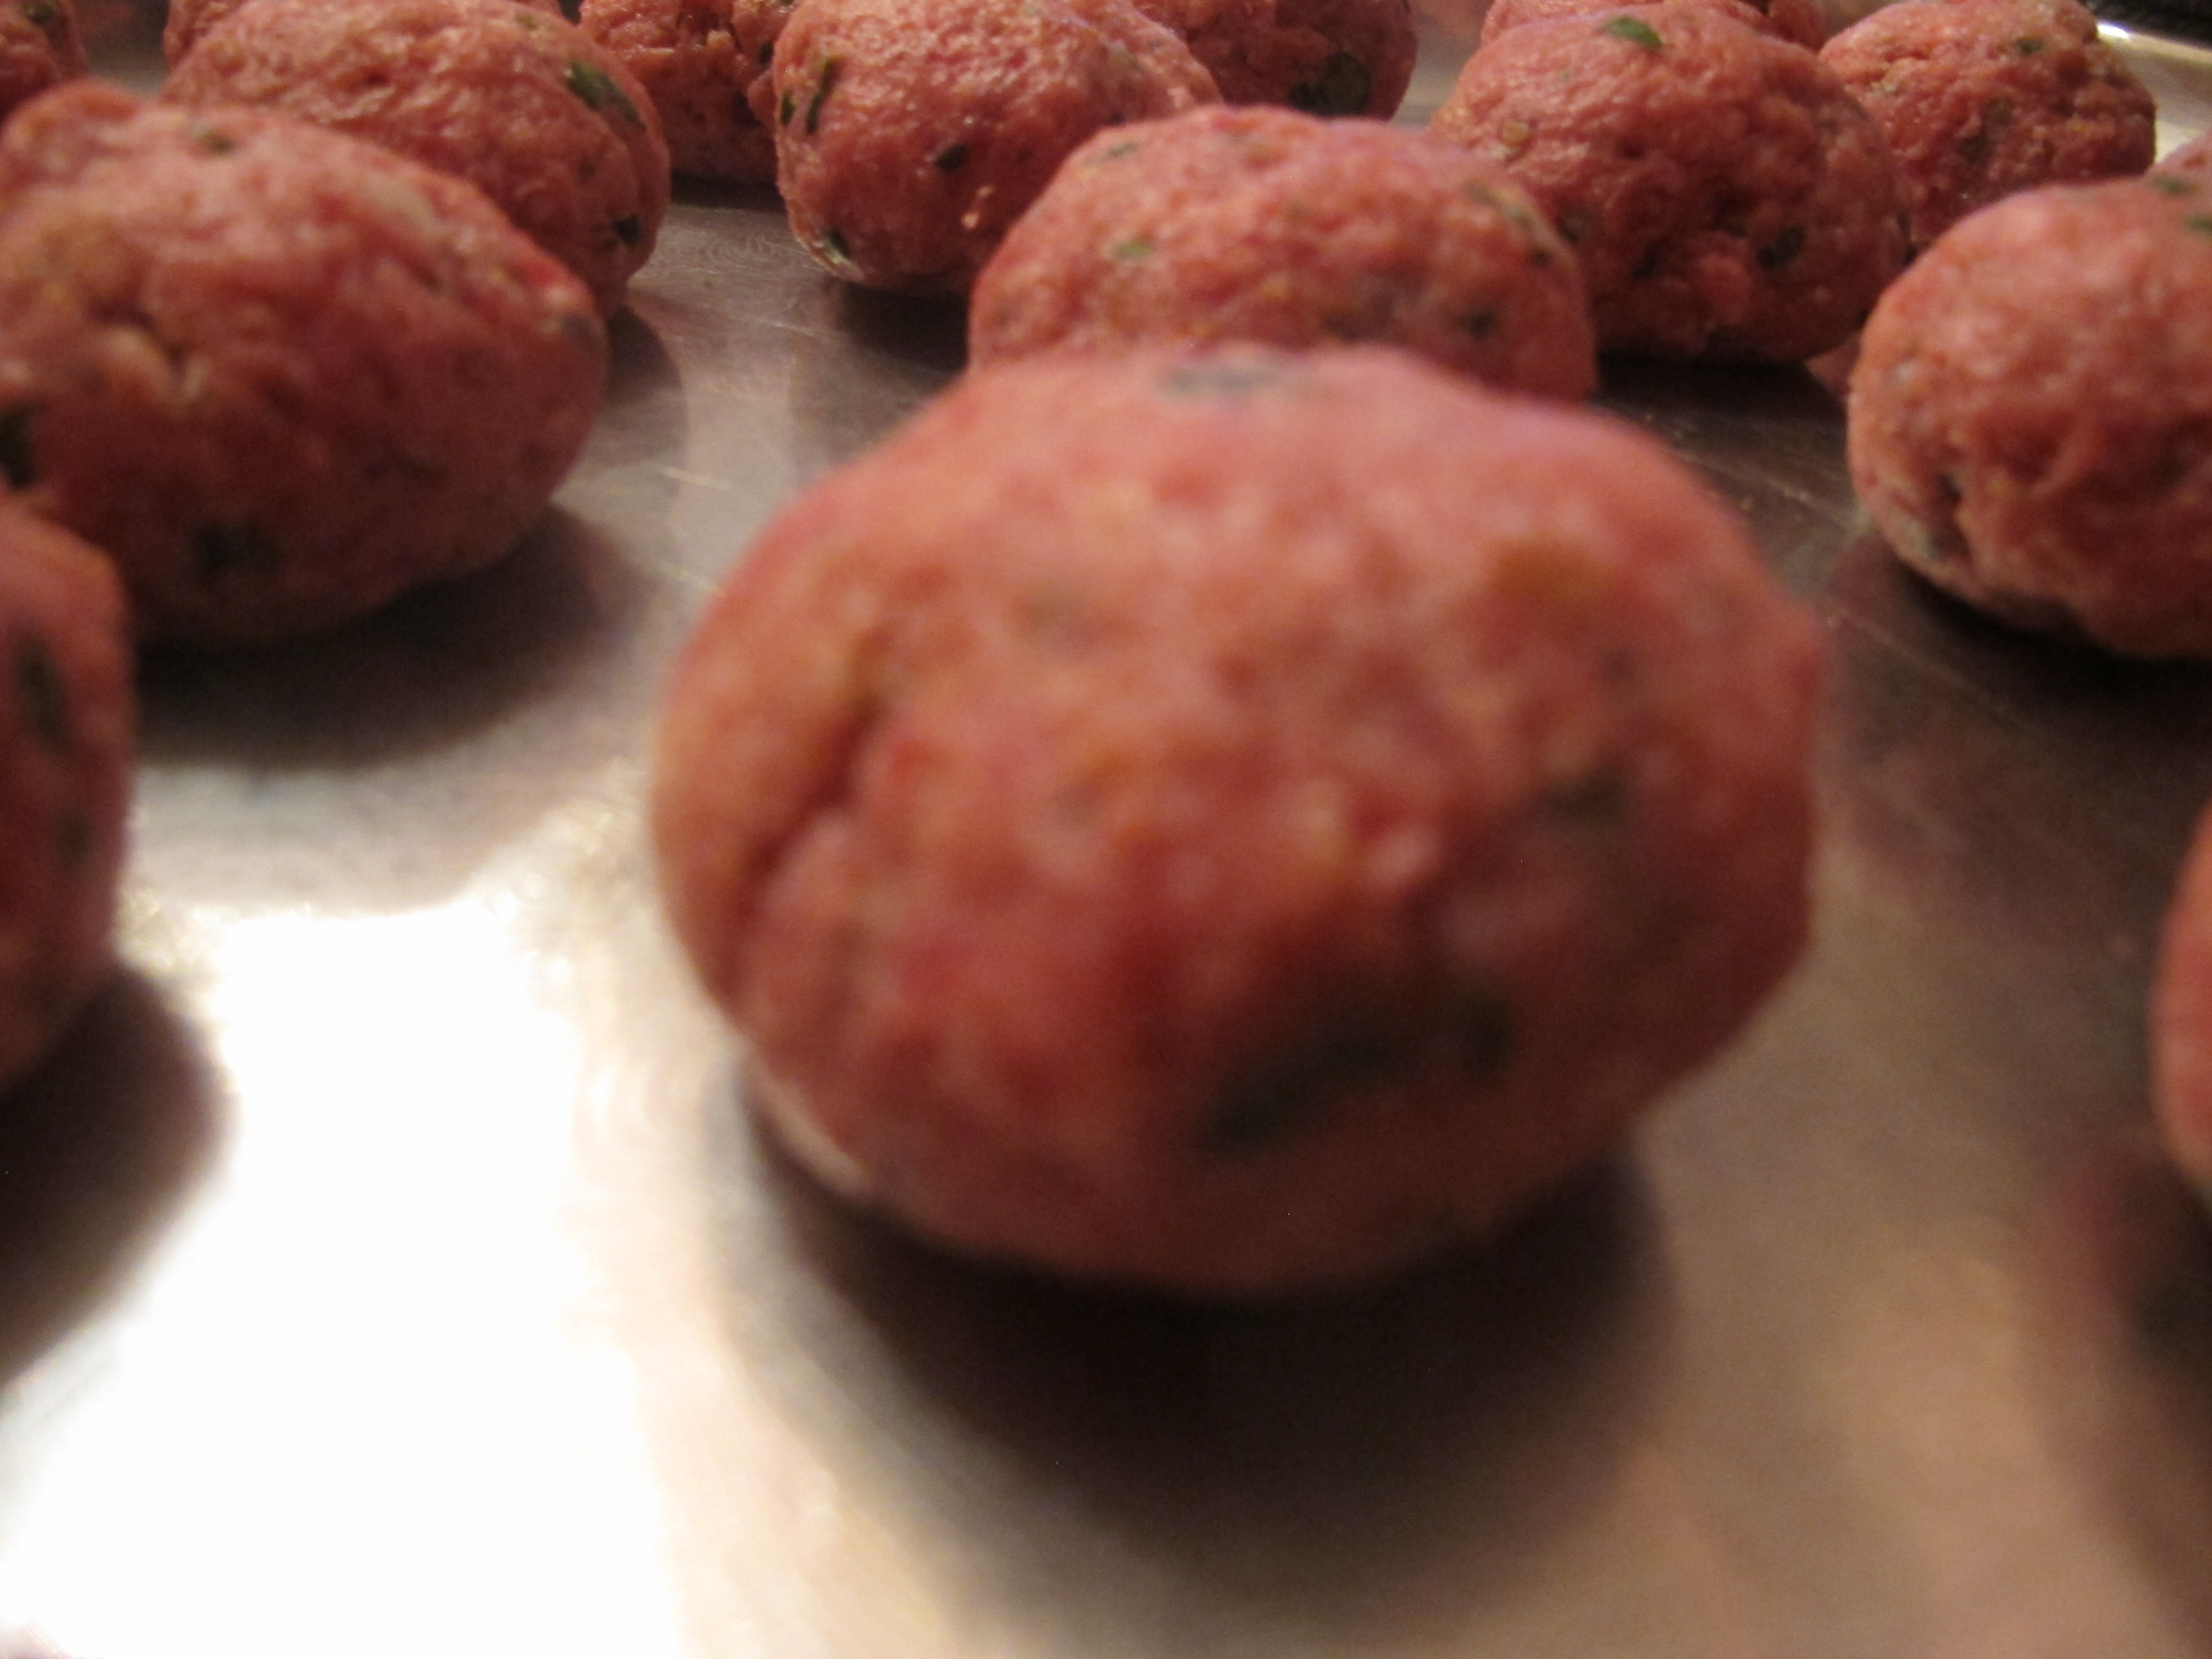
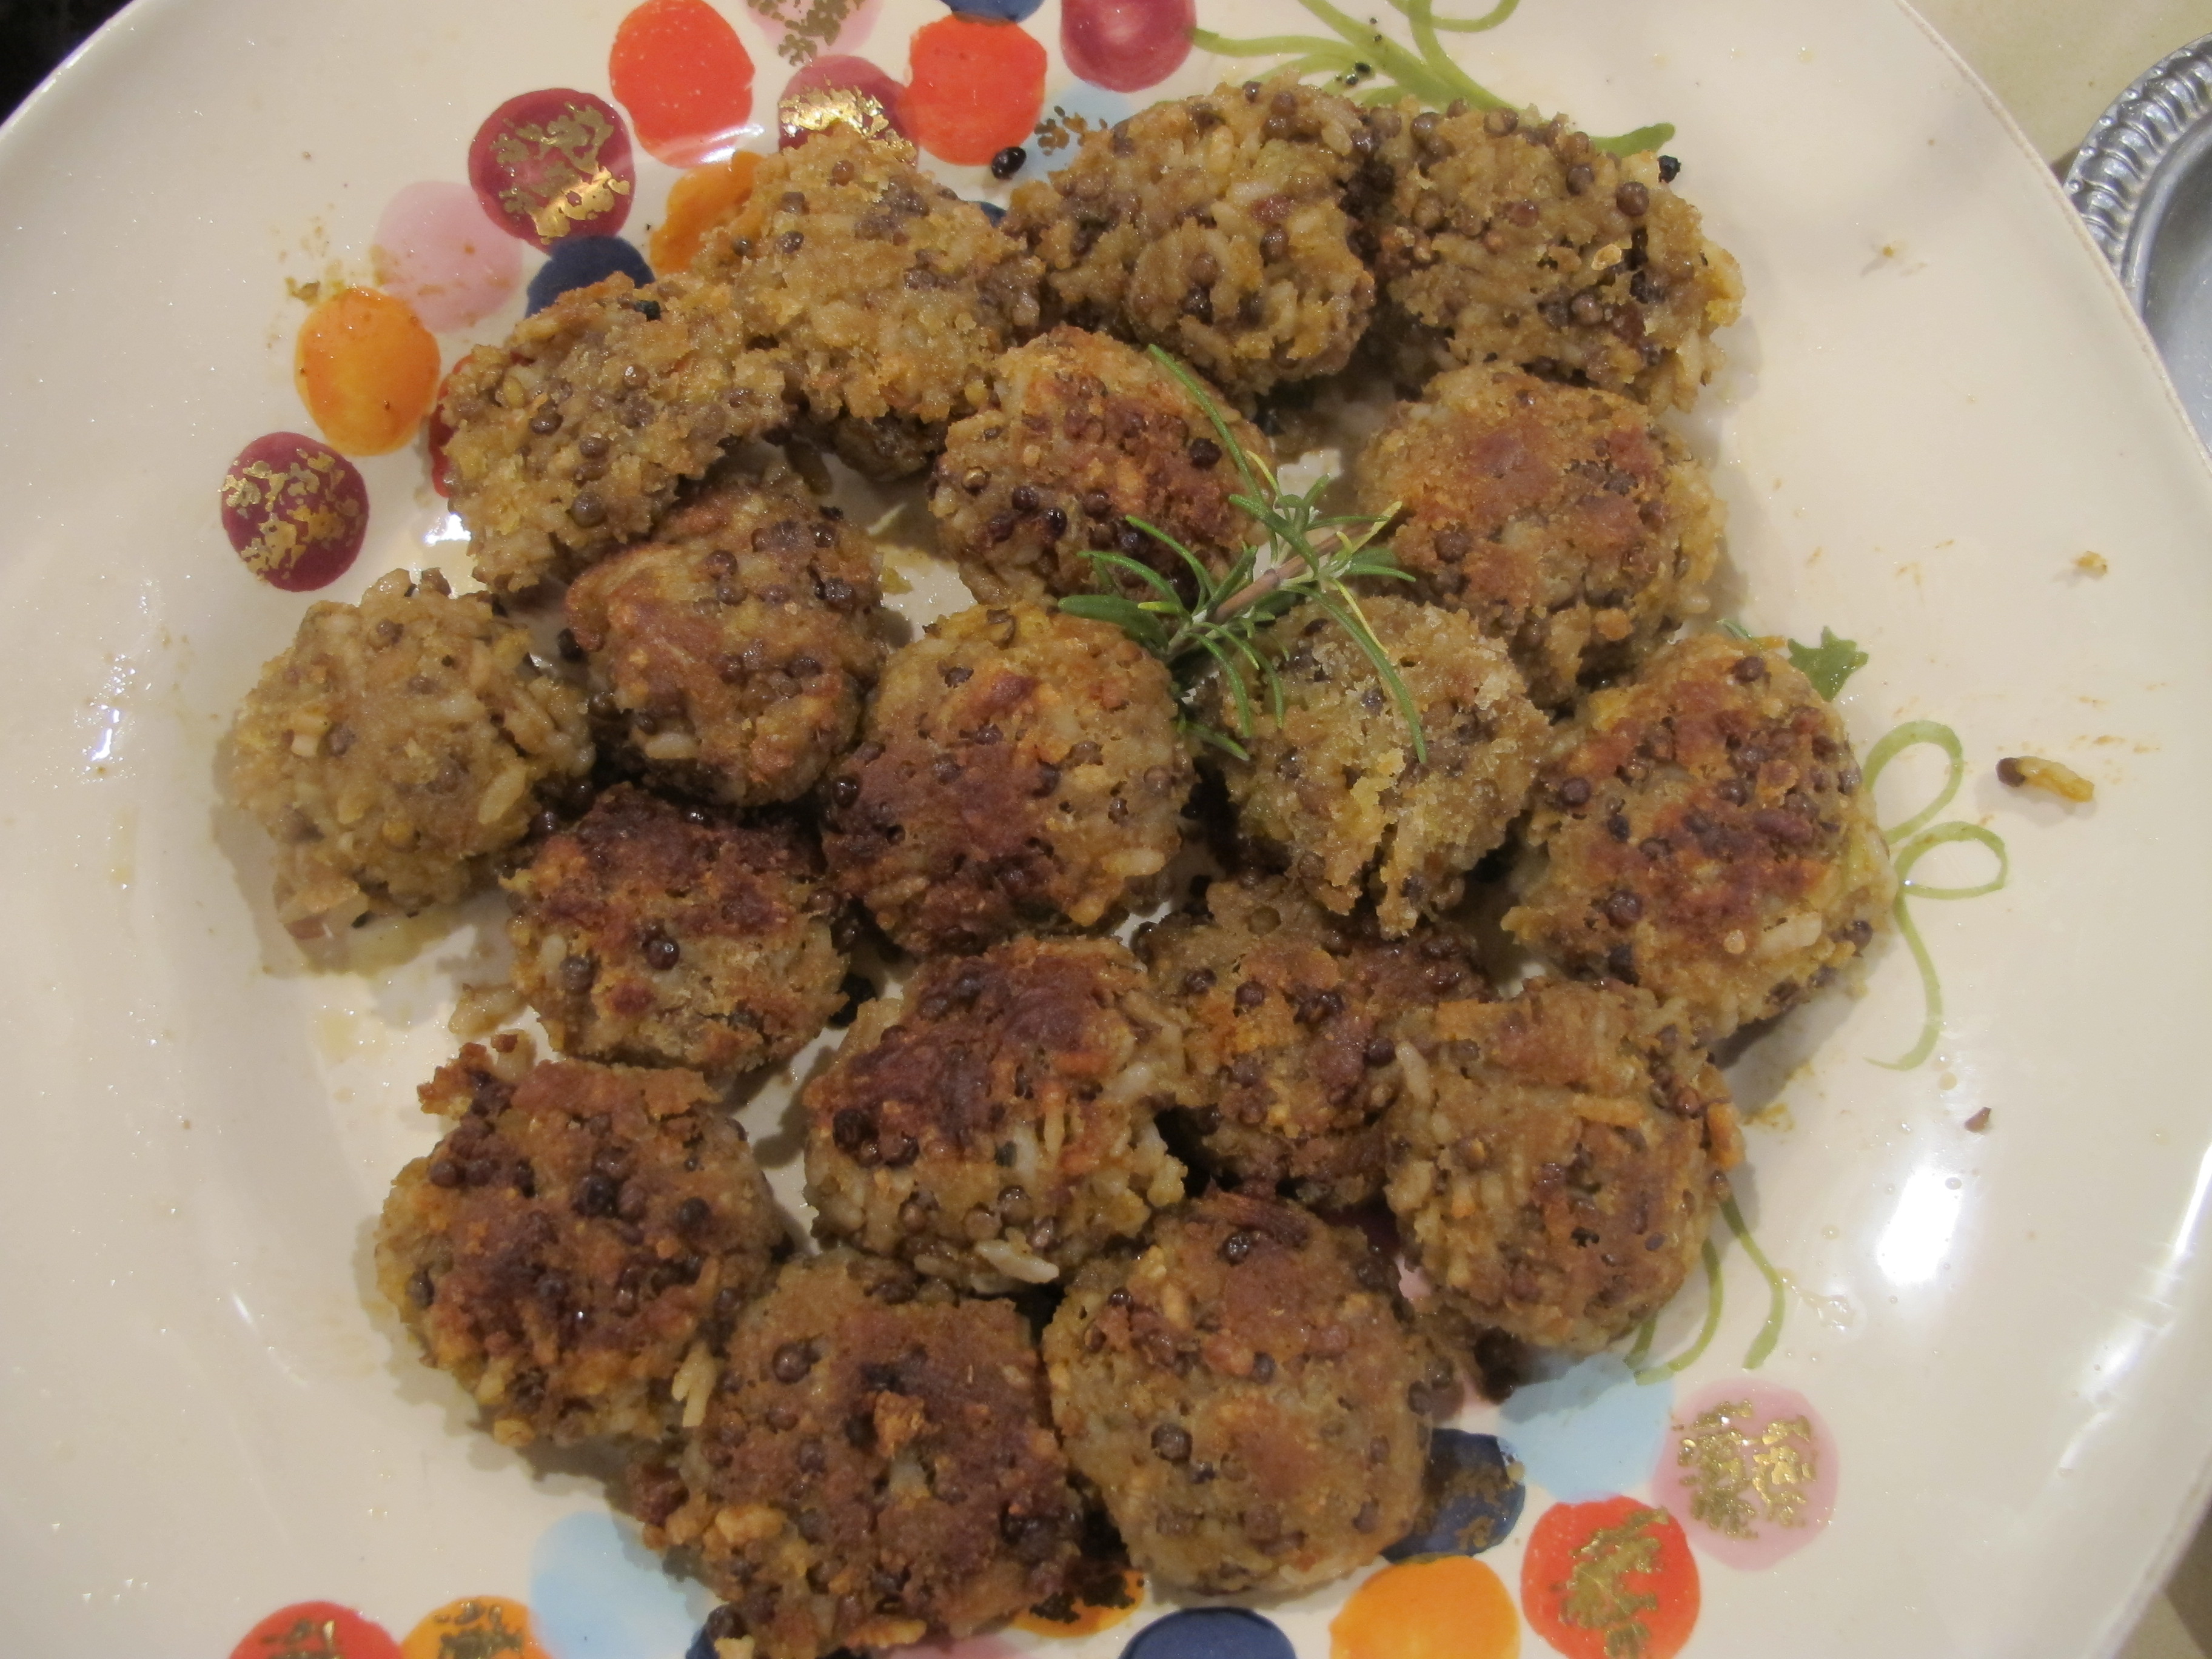
 Take a look : “Aphrodite can also be said to have caused the Trojan War. This came about in the following fashion. When the hero Peleus was married to the sea-nymph Thetis, all the gods were invited to the ceremony — all but one that is. The slighted goddess happened to a specialist in sowing discord, so she maliciously deposited a golden apple on the banquet table. The fruit was inscribed with the legend, “For the fairest”. Immediately all the goddesses began to argue about whose beauty entitled her to be the rightful possesor of this prize. Finally it was decided to put the dispute to arbitration. Reasonably enough, the designated judge was to be the most handsome mortal in the world. This turned out to be a noble Trojan youth named Paris, who was serving as a shepherd at the time. So the three finalists — Aphrodite, Hera and Athena — sought him out in the meadow where he was tending his flocks. Not content to leave the outcome to the judge’s discernment, the three goddesses proceeded to offer bribes. Hera, Queen of Olympus, took Paris aside and told him she would help him rule the world. Athena, goddess of war, said she would make him victorious in battle. Aphrodite sized Paris up and decided he would be more impressed with the guaranteed love of the most beautiful woman in the world. This was Helen, who happened to be married to the king of Sparta. Paris promptly awarded the golden apple to Aphrodite, who in turn enabled him to elope with Helen, who thenceforth became notorious as Helen of Troy. Helen’s husband and his brother raised a Greek army to retrieve his wife, and this was the inception of the Trojan War.” (quote from http://www.mythweb.com/encyc/entries/aphrodite.html). Well … none of us wants to spark off any kind of war, especially not a culinary one … so I hope you will enjoy today’s post about … yet ANOTHER meatball/polpette recipe. This one hails, originally from Emilia Romagna … but you can’t take the pancetta and/or pork jowl out of a Lazio gal like me … so I just had to add some to the original.
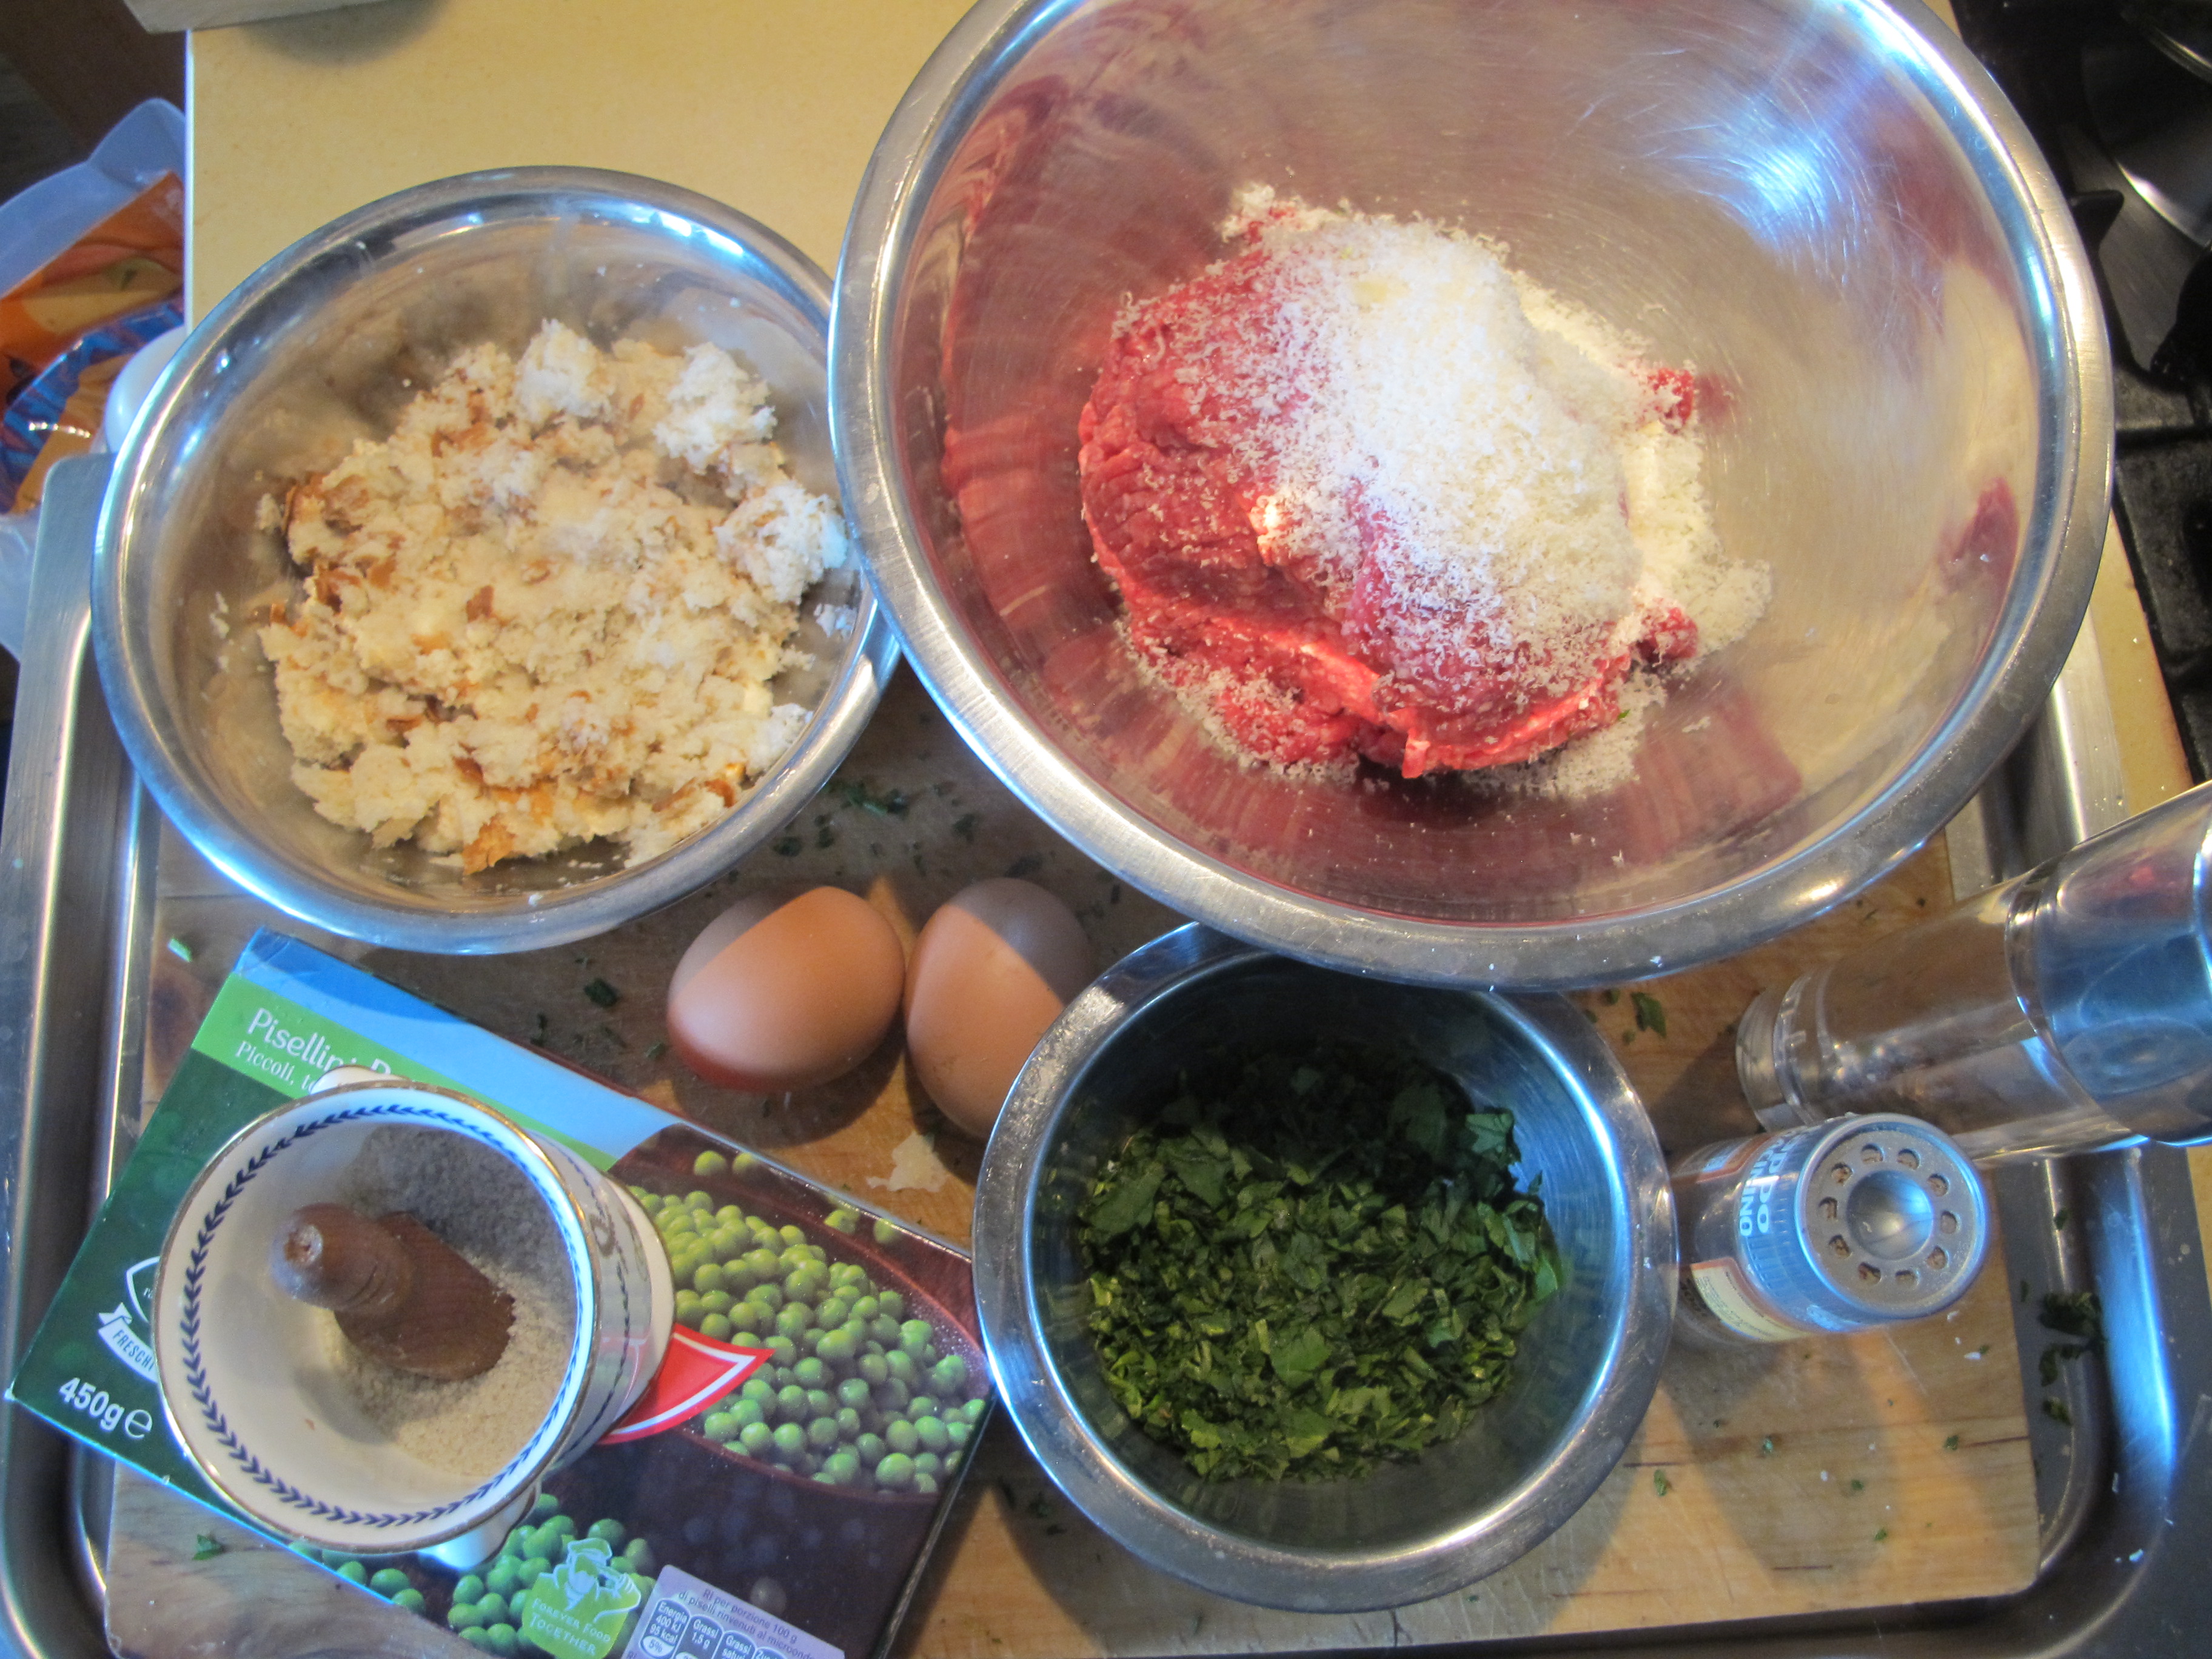


